
Introduction
This manual provides instructions for the safe installation, operation, and maintenance of your Catalina 1-Light Semi Flush Mount Ceiling Light. Please read all instructions carefully before beginning installation and retain this manual for future reference. This fixture features a vintage-inspired design with a brushed nickel finish and a clear glass dome shade, and is dimmable when used with a compatible dimmer switch.
Safety Information
- WARNING: To avoid electric shock, ensure power is turned off at the main circuit breaker or fuse box before installation or servicing.
- All electrical connections must be in accordance with local codes, ordinances, or the National Electric Code (NEC). Consult a qualified electrician if you are unfamiliar with proper electrical wiring connections.
- This fixture is designed for indoor use and is damp-rated, making it suitable for bathrooms and kitchens.
- Do not exceed the maximum wattage specified for the light bulb.
- Always handle glass components with care.
Package Contents
Verify that all components are present before beginning installation. If any parts are missing or damaged, do not attempt to assemble or install the fixture.
- Fixture Body (Brushed Nickel)
- Clear Glass Dome Shade
- Mounting Hardware (including screws, wire nuts, and mounting bracket)
Note: Light bulb is not included. One (1) Type-A E26 bulb is required.

Image 1: Overview of the Catalina 1-Light Semi Flush Mount Ceiling Light in Brushed Nickel with clear glass shade.
Setup and Installation
Follow these steps for proper installation. It is recommended to have a second person assist during installation.
- Turn Off Power: Locate the circuit breaker or fuse box and turn off the power to the junction box where the fixture will be installed.
- Prepare Mounting Location: Ensure the existing junction box is securely mounted and capable of supporting the fixture's weight.
- Attach Mounting Bracket: Secure the provided mounting bracket to the junction box using the screws provided. Ensure the bracket is flush against the ceiling.
- Make Electrical Connections:
- Connect the black wire from the fixture to the black (hot) wire from the junction box using a wire nut.
- Connect the white wire from the fixture to the white (neutral) wire from the junction box using a wire nut.
- Connect the ground wire from the fixture (usually bare copper or green) to the ground wire from the junction box and the ground screw on the mounting bracket.
Ensure all wire connections are secure and covered by wire nuts.
- Secure Fixture Body: Carefully tuck the wires into the junction box. Align the holes in the fixture's canopy with the screws on the mounting bracket. Secure the fixture to the mounting bracket using the decorative nuts or screws provided.
- Install Glass Shade: Carefully attach the clear glass dome shade to the fixture body. Ensure it is securely fastened according to the design (e.g., by screwing it onto a threaded socket or securing with retaining rings).
- Install Light Bulb: Screw one (1) Type-A E26 bulb (max 60 watts) into the socket. A vintage-style clear bulb with an exposed filament is recommended for aesthetic purposes.
- Restore Power: Turn the power back on at the main circuit breaker or fuse box. Test the light fixture.

Image 2: Close-up view of the brushed nickel canopy and mounting points.
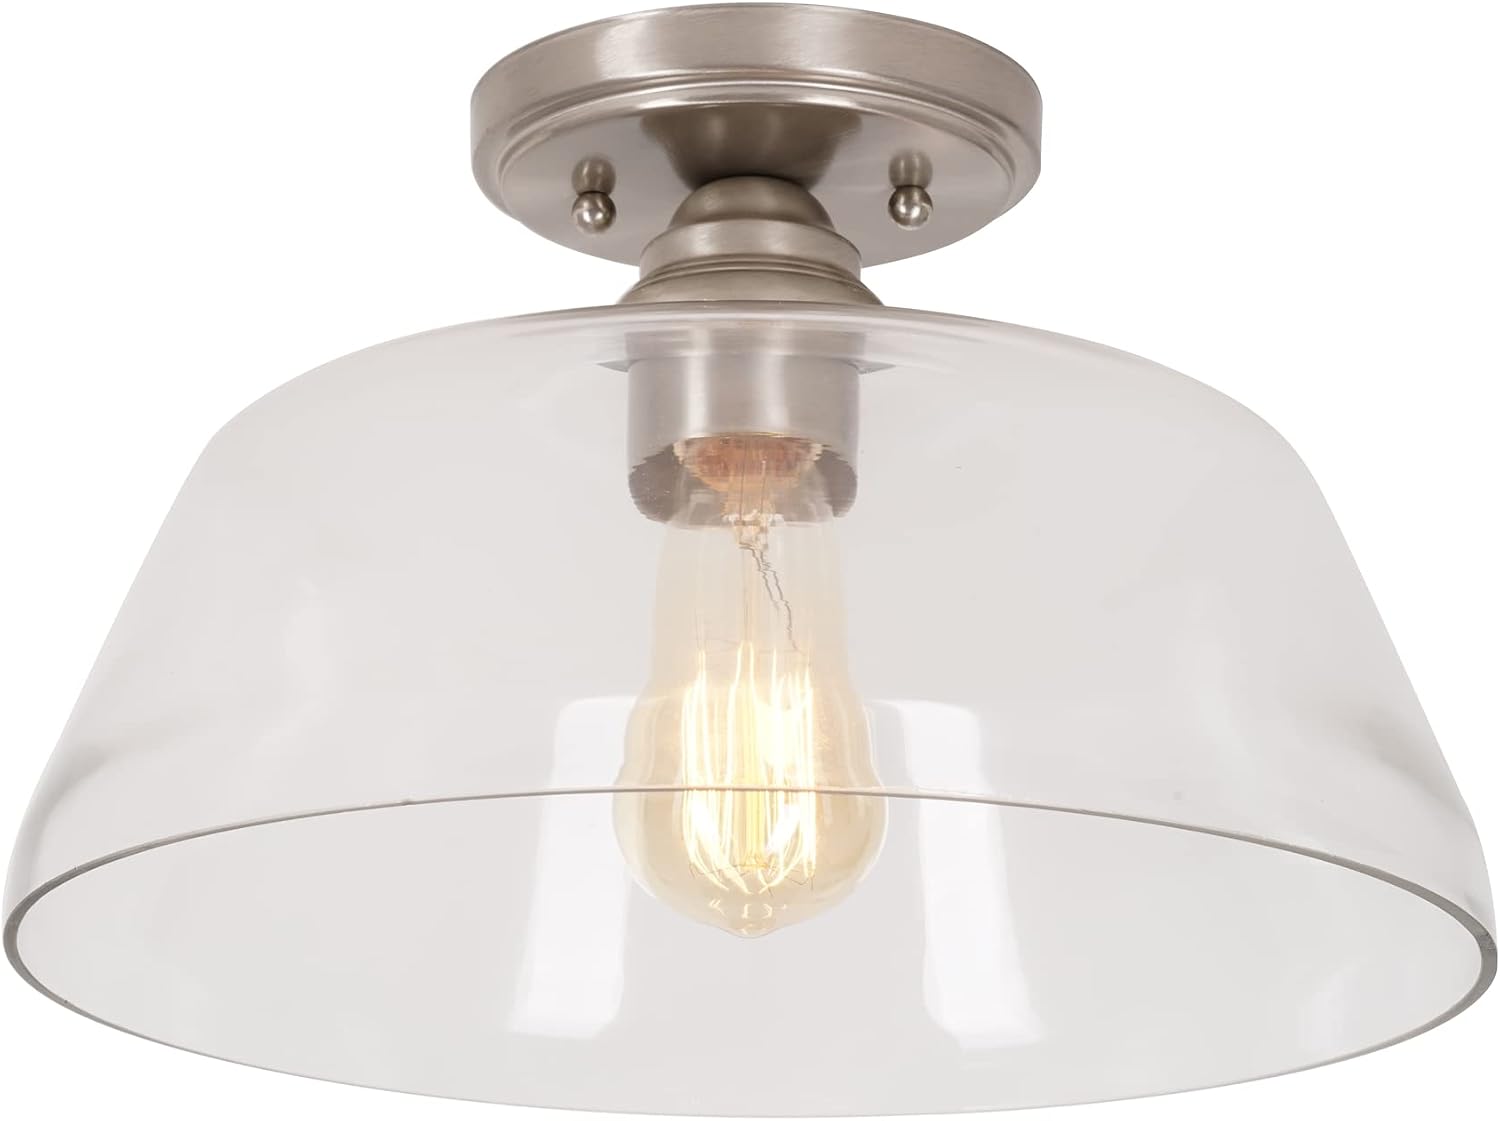
Image 3: Detailed view of the bulb socket and how the glass shade attaches to the fixture.
Operating Instructions
This fixture operates like a standard ceiling light. It requires a single Type-A E26 bulb with a maximum wattage of 60 watts. The fixture is compatible with standard dimmer switches (not included), allowing you to adjust the light intensity when a dimmable bulb is used with a compatible dimmer.

Image 4: The semi-flush mount light fixture installed in a living space, demonstrating its appearance.

Image 5: The semi-flush mount light fixture installed in a kitchen environment.
Maintenance
- Cleaning: To clean the fixture, ensure the power is off. Wipe the metal parts with a soft, dry cloth. The glass shade can be removed and washed with mild soap and water, then dried thoroughly before reinstallation. Do not use abrasive cleaners or solvents, as they may damage the finish or glass.
- Bulb Replacement: Before replacing the bulb, turn off the power to the fixture at the circuit breaker. Allow the bulb to cool completely. Unscrew the old bulb and screw in a new Type-A E26 bulb (max 60 watts).
Troubleshooting
| Problem | Possible Cause | Solution |
|---|---|---|
| Light does not turn on | No power to fixture; Loose wiring; Faulty bulb | Check circuit breaker; Verify wire connections; Replace bulb |
| Light flickers | Loose bulb; Incompatible dimmer switch; Loose wiring | Tighten bulb; Ensure dimmer is compatible with LED/incandescent bulbs; Check wire connections |
| Glass shade is unstable | Shade not properly secured | Re-secure the glass shade according to installation steps |
Specifications

Image 6: Dimensional diagram of the Catalina 1-Light Semi Flush Mount Ceiling Light.
| Feature | Detail |
|---|---|
| Brand | Catalina Lighting |
| Model Name | 24058-000 |
| Color | Brushed Nickel |
| Material | Glass, Metal |
| Product Dimensions | 12.63"L x 12.63"W x 7.75"H |
| Installation Type | Semi Flush Mount |
| Light Source Type | LED (compatible) |
| Bulb Base | E26 |
| Number of Light Sources | 1 |
| Wattage | 60 watts (max) |
| Special Feature | Dimmable (with compatible dimmer) |
| Indoor/Outdoor Usage | Indoor |
| Water Resistance Level | Water Resistant (Damp-rated) |
| Item Weight | 4.19 pounds |
| UPC | 022011702179 |
Warranty and Support
This product comes with a 1-year manufacturer's warranty. For warranty claims or technical support, please contact Catalina Lighting customer service. Keep your purchase receipt as proof of purchase.