1. Introduction
Thank you for choosing the edihome Double Garment Rack with Shoe Shelf. This manual provides essential information for the safe assembly, operation, and maintenance of your new garment rack. Please read these instructions carefully before assembly and retain them for future reference.
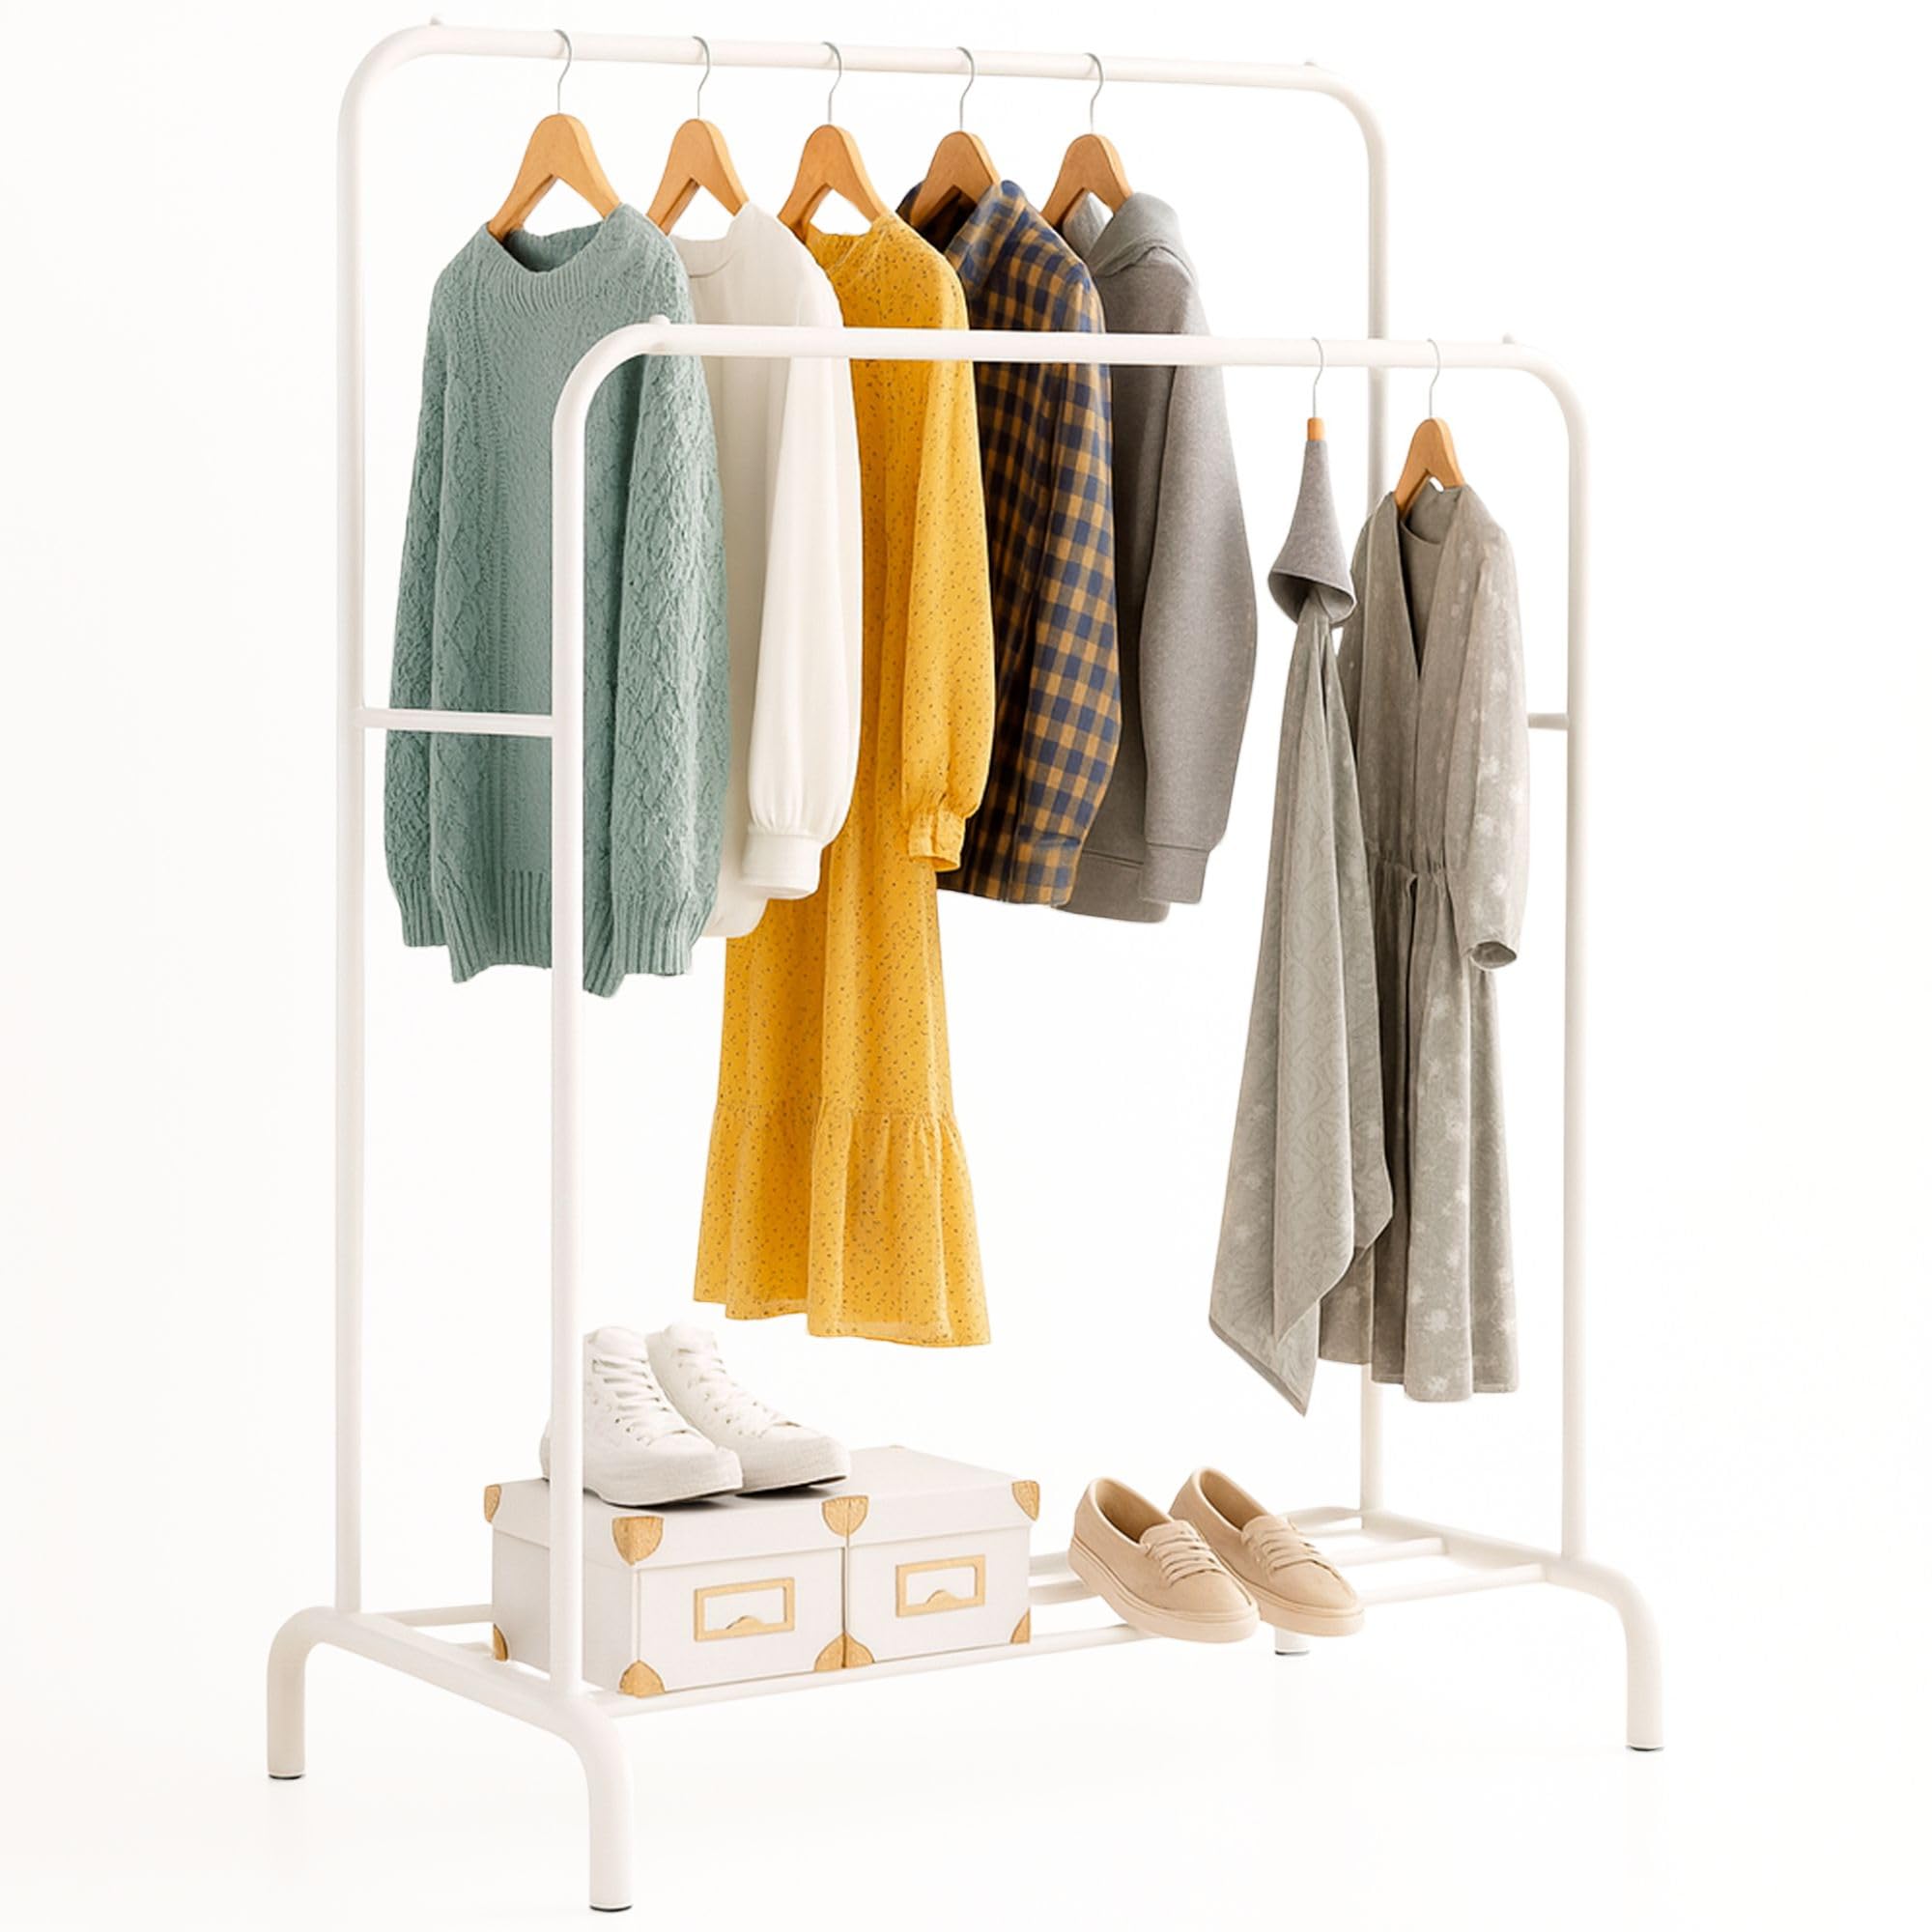
Image 1: edihome Double Garment Rack with Shoe Shelf, fully assembled.
2. Safety Information
- Read all instructions before assembly and use.
- Keep all small parts and packaging materials away from children and pets to prevent choking hazards.
- Ensure all connections are securely fastened before placing items on the rack.
- Do not overload the garment rack. Refer to the 'Specifications' section for maximum weight capacity.
- Distribute weight evenly on both hanging bars and the shoe shelf to maintain stability.
- Do not climb on or hang from the garment rack.
- Place the rack on a flat, stable surface to prevent tipping.
3. Package Contents
Before beginning assembly, verify that all parts listed below are present and undamaged:
- Manual
- All necessary parts for assembly (e.g., tubes, connectors, screws, foot pads)
4. Product Features
The edihome Double Garment Rack is designed for efficient clothing storage with several key features:
- Double Hanging Bars: Maximizes storage space for various garments.
- Integrated Shoe Shelf: Provides additional storage for shoes, boxes, or accessories.
- Heavy-Duty Metal Construction: Made from durable painted steel tubing for reliable support.
- Anti-Slip Bead Design: Prevents hangers from sliding off the ends of the bars.
- Wear-Resistant Anti-Slip Foot Pads: Protects floors and enhances stability.
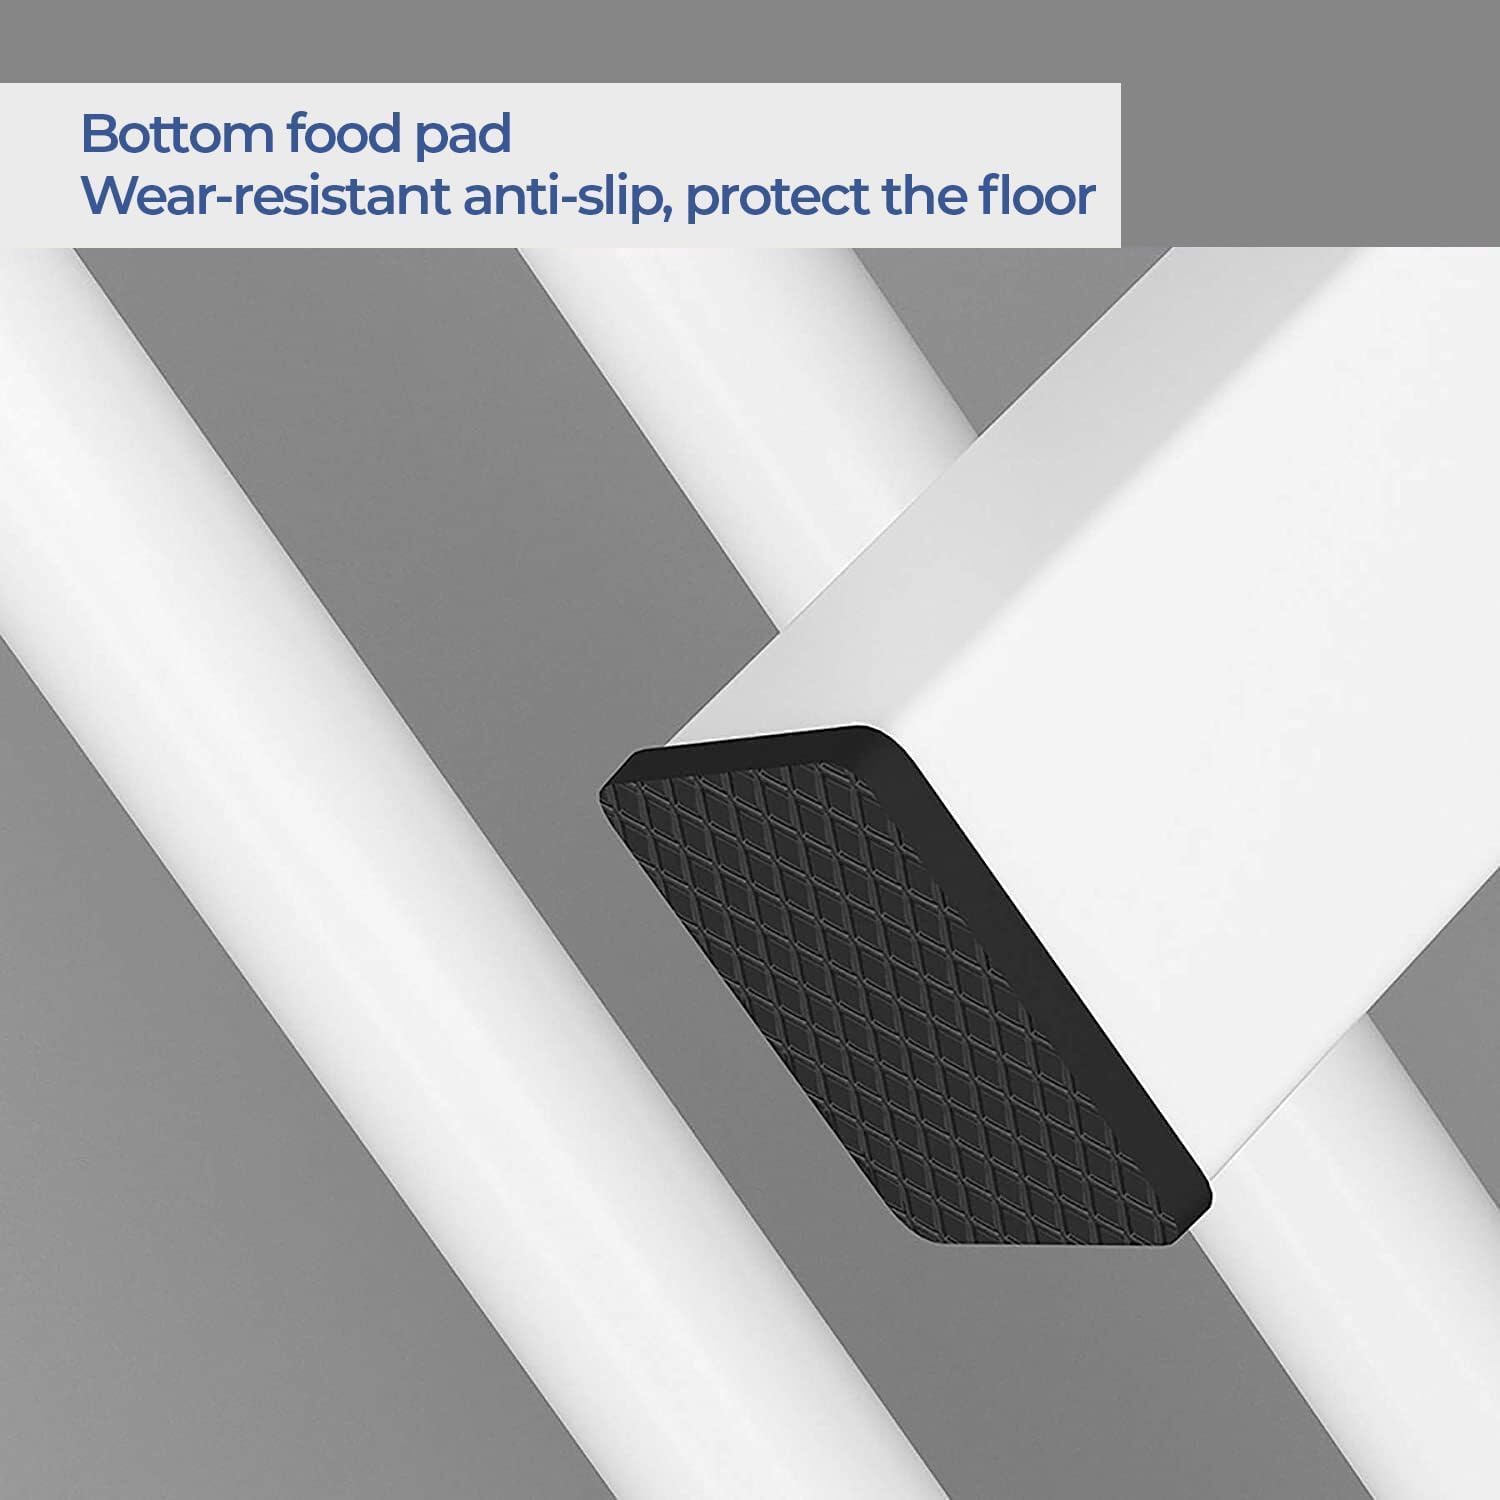
Image 2: Detail of the anti-slip bead design on the hanging bars, preventing hangers from falling.

Image 3: Detail of the bottom foot pad, designed for wear resistance and floor protection.
5. Setup and Assembly
Assembly is quick and easy. Please follow these steps carefully:
- Unpack Components: Carefully remove all parts from the packaging and lay them out on a clean, soft surface to prevent scratches. Verify all parts are present against the package contents list.
- Assemble Base Frame: Connect the horizontal base tubes to the vertical support tubes using the provided connectors and screws. Ensure the foot pads are attached to the bottom of the vertical supports.
- Install Shoe Shelf: Secure the shoe shelf bars to the designated slots or connectors on the lower part of the base frame.
- Attach Lower Hanging Bar: Connect the lower hanging bar to the vertical supports at the appropriate height. Ensure the anti-slip beads are facing outwards.
- Attach Upper Hanging Bar: Connect the upper, taller hanging bar to the vertical supports. Ensure the anti-slip beads are facing outwards.
- Tighten All Connections: Once all parts are in place, carefully tighten all screws and connections to ensure the rack is stable and secure. Do not overtighten.
- Final Check: Gently shake the assembled rack to confirm stability. If any wobbling occurs, re-check all connections.
6. Operating Instructions
Using your edihome Double Garment Rack is straightforward:
- Hanging Garments: Use hangers to place clothes on both the upper and lower hanging bars. Distribute the weight evenly to maintain balance.
- Utilizing the Shoe Shelf: Place shoes, storage boxes, or other accessories on the bottom shelf.
- Placement: Position the garment rack in your bedroom, closet, laundry room, or entryway as needed. Ensure it is not blocking pathways or exits.

Image 4: The garment rack in use, displaying clothes on both bars and shoes on the lower shelf.
7. Maintenance
To ensure the longevity and appearance of your garment rack:
- Cleaning: Wipe the rack with a soft, damp cloth. Avoid using abrasive cleaners or harsh chemicals, as they may damage the painted finish.
- Regular Checks: Periodically check all screws and connections to ensure they remain tight. Re-tighten if necessary.
- Weight Distribution: Always ensure weight is distributed evenly to prevent stress on the frame.
8. Troubleshooting
If you encounter any issues with your garment rack, refer to the following common problems and solutions:
- Rack is Wobbly:
- Ensure all screws and connections are fully tightened.
- Verify the rack is placed on a flat, even surface.
- Check if the weight on the rack is evenly distributed.
- Hangers Slide Off:
- Ensure the anti-slip bead design is correctly positioned at the ends of the hanging bars.
- Consider using hangers with non-slip surfaces.
- Parts Missing or Damaged:
- Refer to the 'Package Contents' section and contact customer support if parts are missing or damaged upon arrival.
9. Specifications
| Model Name | EDIH-0277 |
| Brand | edihome |
| Material | Alloy Steel |
| Color | White |
| Product Dimensions (D x W x H) | 21.26"D x 59.06"W x 43.31"H (54cm D x 150cm W x 110cm H for lower bar, 132cm H for upper bar) |
| Installation Type | Free Standing |
| Load Capacity (Maximum) | 66.1 Pounds (approximately 30 kg) |
| Number of Shelves | 2 (including shoe shelf) |
| Item Weight | 2.82 Kilograms |

Image 5: Dimensional diagram of the garment rack, showing height, width, and depth measurements.
10. Warranty and Support
For warranty information or customer support, please refer to the purchase documentation or contact your retailer. Keep your proof of purchase for any warranty claims.