1. Important Safety Information
Please read this manual carefully before installing or using your new induction hob. Keep these instructions for future reference.
- Electrical Safety: Ensure the hob is correctly installed by a qualified electrician. Do not use if the power cord is damaged.
- Heat and Burn Hazard: The hob surface will be hot during and after use. Do not touch hot surfaces. Use oven mitts.
- Cookware: Only use induction-compatible cookware. Non-compatible cookware will not heat.
- Children: Keep children away from the hob during operation. Use the child safety lock feature.
- Ventilation: Ensure adequate ventilation around the hob during use.
- Cleaning: Disconnect power before cleaning. Allow the hob to cool completely.
2. Product Overview
The IsEasy 6800W 4-Zone Induction Hob offers efficient and precise cooking with its modern design and intuitive touch controls. It features four cooking zones, nine adjustable power levels, a timer, and safety functions like a child lock and residual heat indicator.
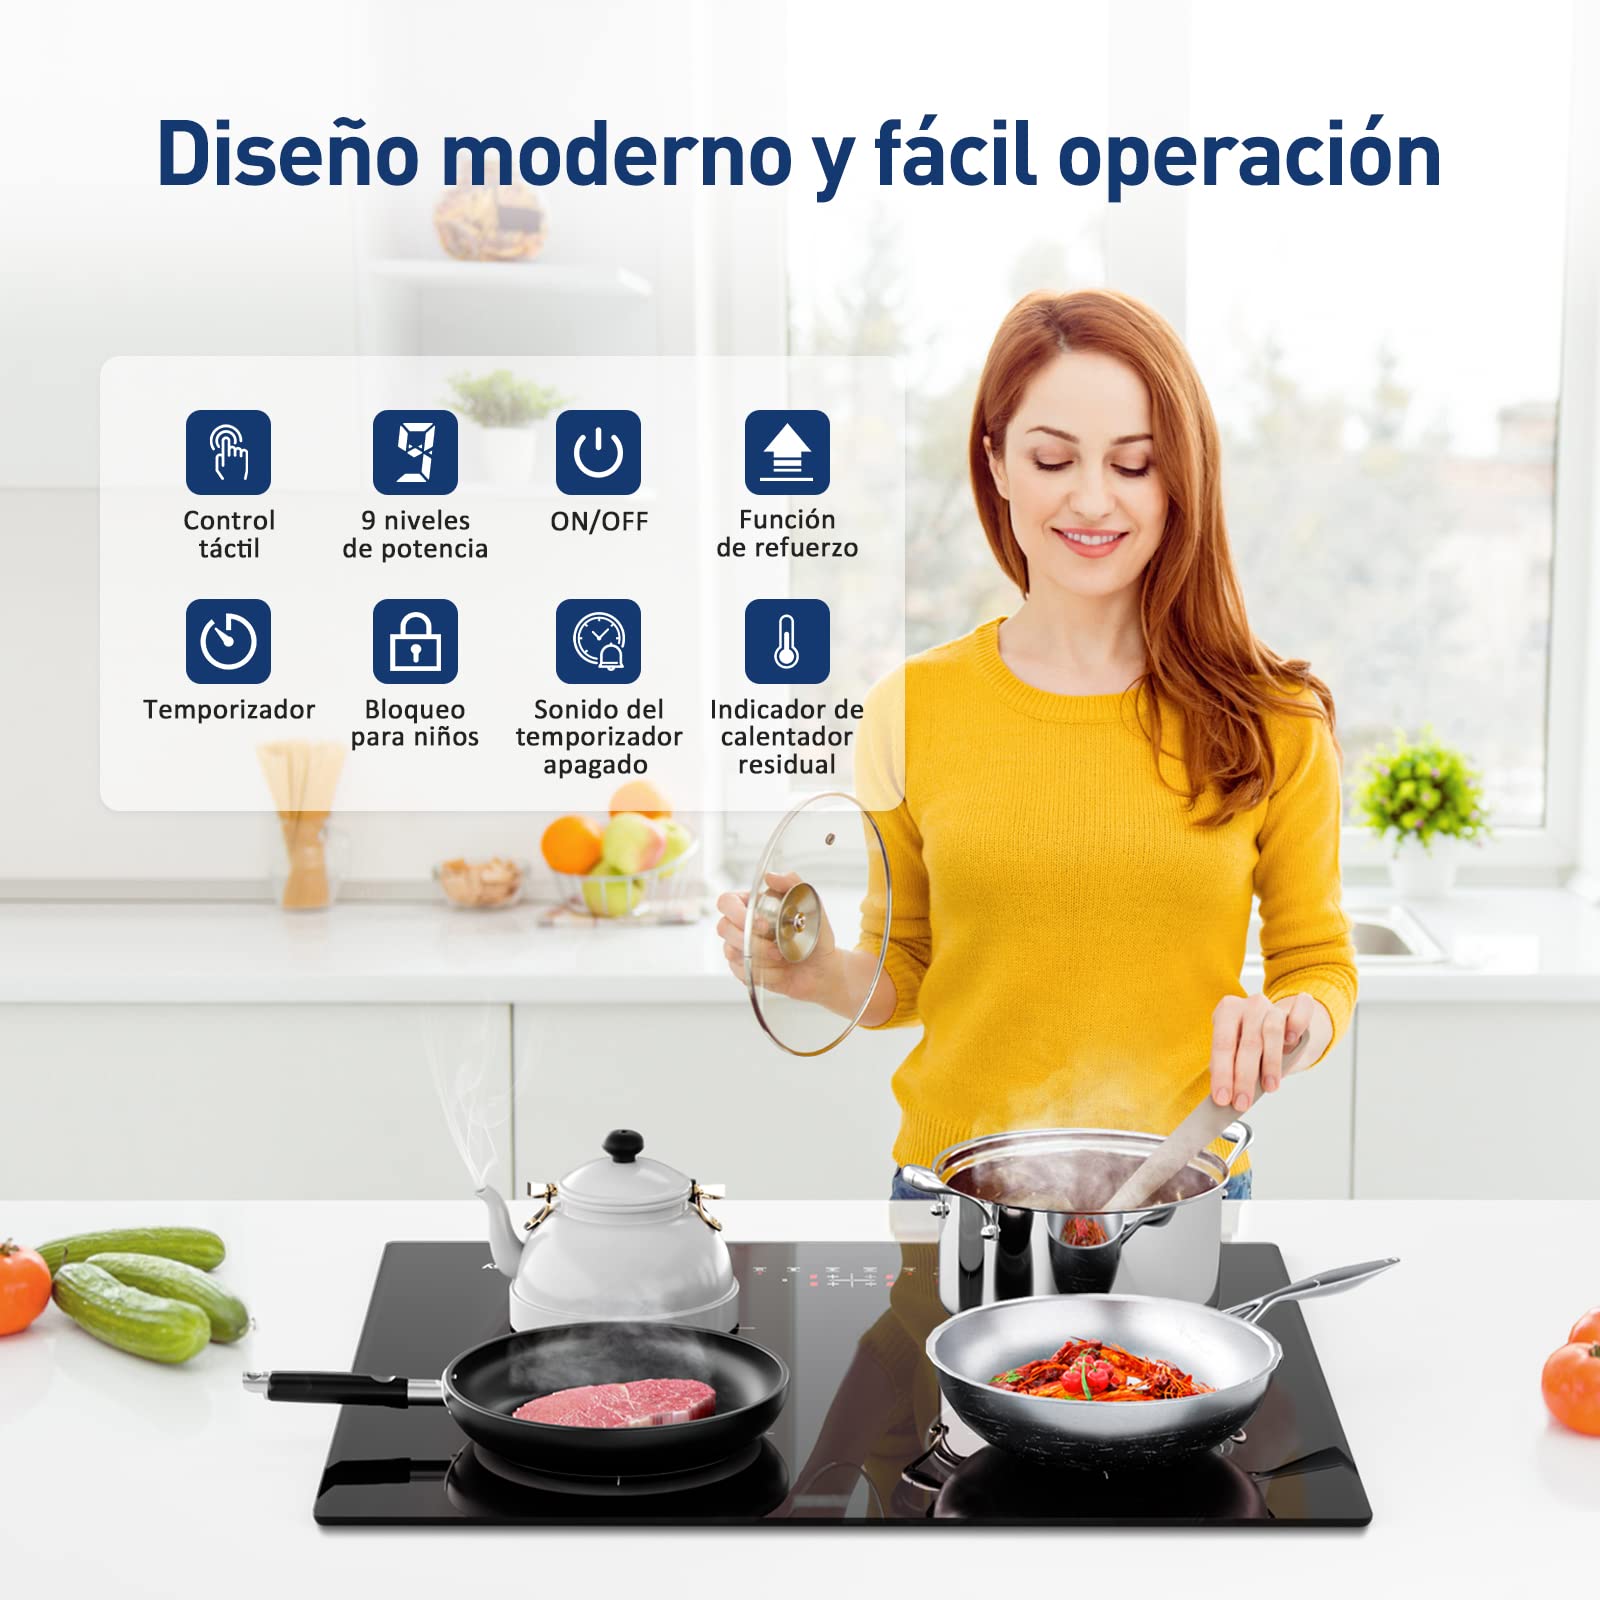
Image: The IsEasy induction hob showcasing its modern design and easy-to-use touch control panel. Icons indicate features such as touch control, 9 power levels, ON/OFF, booster function, timer, child lock, timer sound off, and residual heat indicator.
3. Installation
3.1 Dimensions and Cut-out
The hob is designed for integrated installation into a countertop. Ensure the countertop cut-out dimensions match the hob's requirements for a secure fit.
- Hob Dimensions (L x W x H): 59 cm x 52 cm x 5.8 cm
- Required Cut-out Dimensions: Refer to the diagram for precise measurements.
3.2 Electrical Connection
Electrical installation must be performed by a qualified professional in accordance with local wiring regulations. The hob requires a dedicated electrical circuit.
- Power Supply: 220-240V~, 32A (single phase) or 230V 2N~, 16A (two phase).
- Wiring: Connect blue and white wires to L1, brown to L2, and green/yellow to ground. Do not disconnect blue and white if unsure; consult customer service.
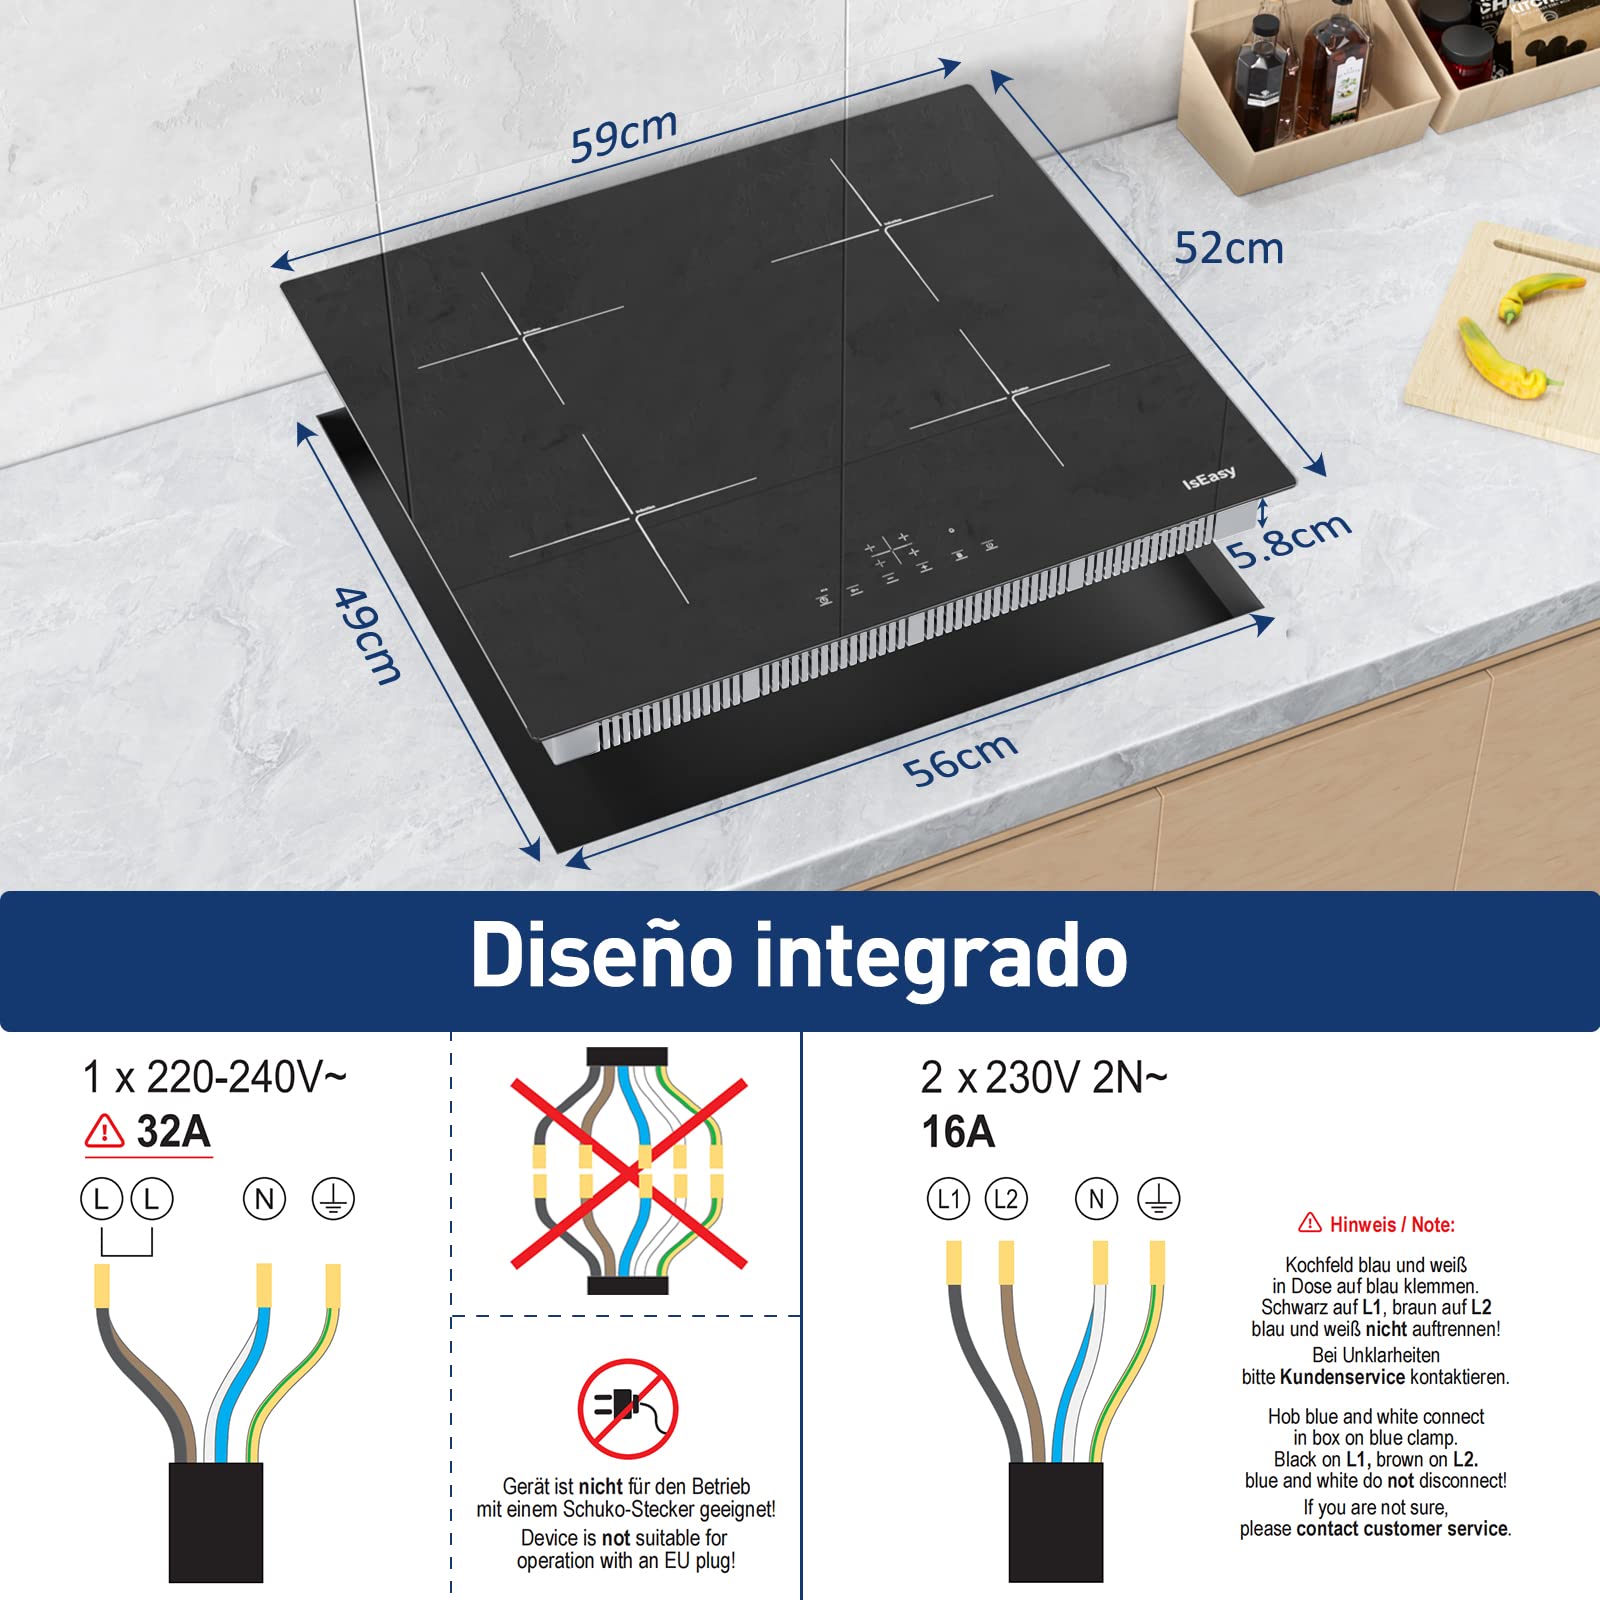
Image: Diagram illustrating the integrated design of the induction hob, showing its dimensions (59cm x 52cm x 5.8cm) and different electrical wiring configurations (1 x 220-240V~ 32A and 2 x 230V 2N~ 16A) with important connection notes.
4. Operating Instructions
4.1 Powering On/Off
Press the ON/OFF button to turn the hob on or off. The display will show '0' for inactive zones when powered on.
4.2 Adjusting Heat Levels
Each cooking zone has 9 adjustable heat levels, from gentle simmering (level 1) to rapid boiling (level 9). Use the '+' and '-' touch controls for the desired zone to increase or decrease the power level.
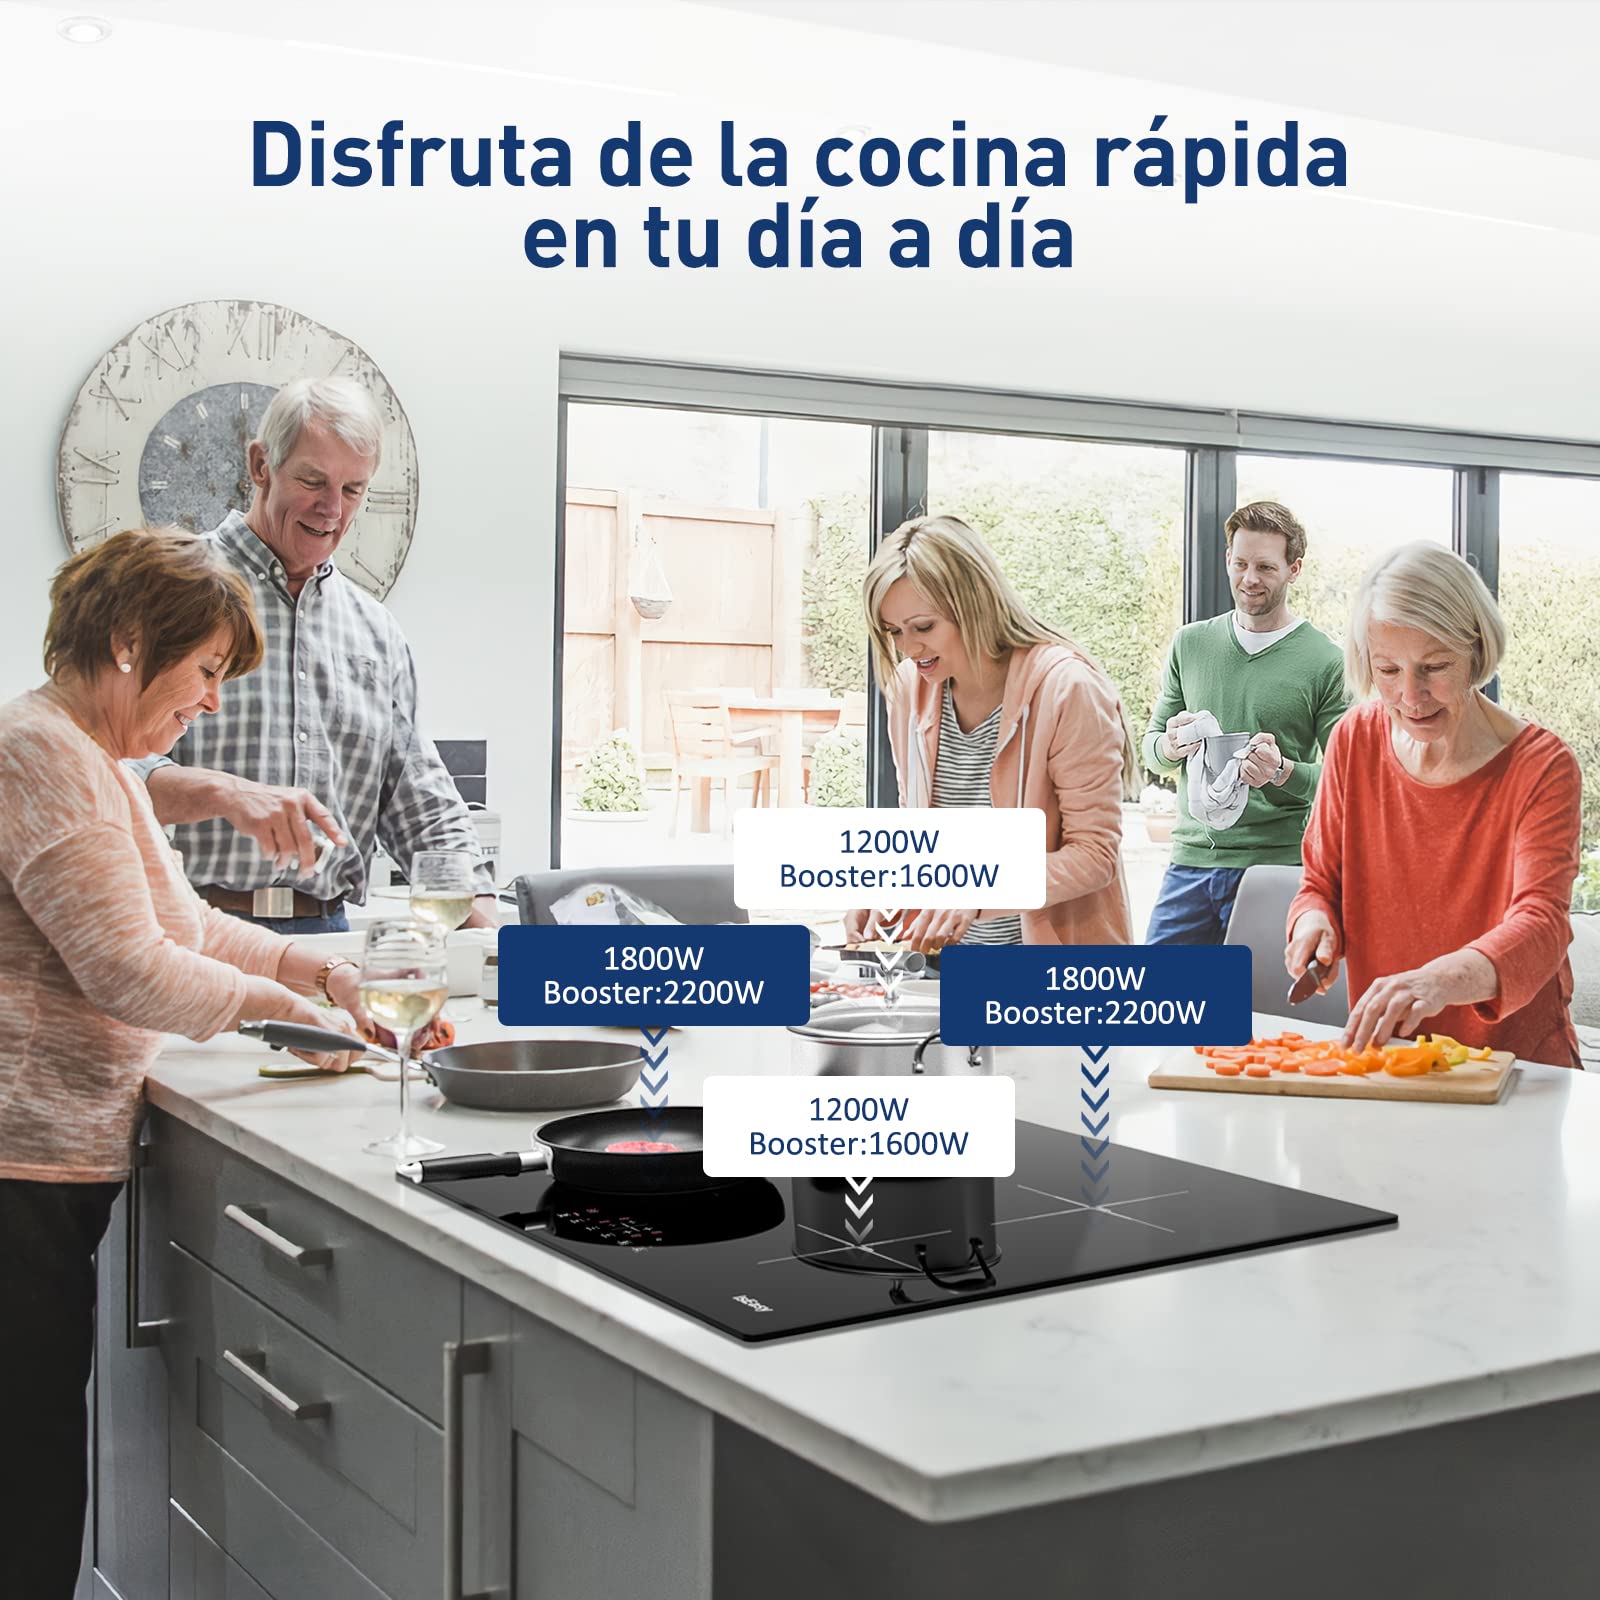
Image: An IsEasy induction hob in use, illustrating the power distribution across its four zones. Two zones are rated at 1200W (with a 1600W booster) and two zones at 1800W (with a 2200W booster), allowing for flexible cooking.
4.3 Cooking Zones and Power
The hob features four high-efficiency cooking zones:
- Two zones with 1200W standard power (Max 1600W with Booster).
- Two zones with 1800W standard power (Max 2200W with Booster).
4.4 Compatible Cookware
Induction hobs require cookware with a magnetic base. Suitable materials include iron, stainless steel, and alloy pots. Cookware made of glass, ceramic, aluminum, or copper without a magnetic base is not compatible.
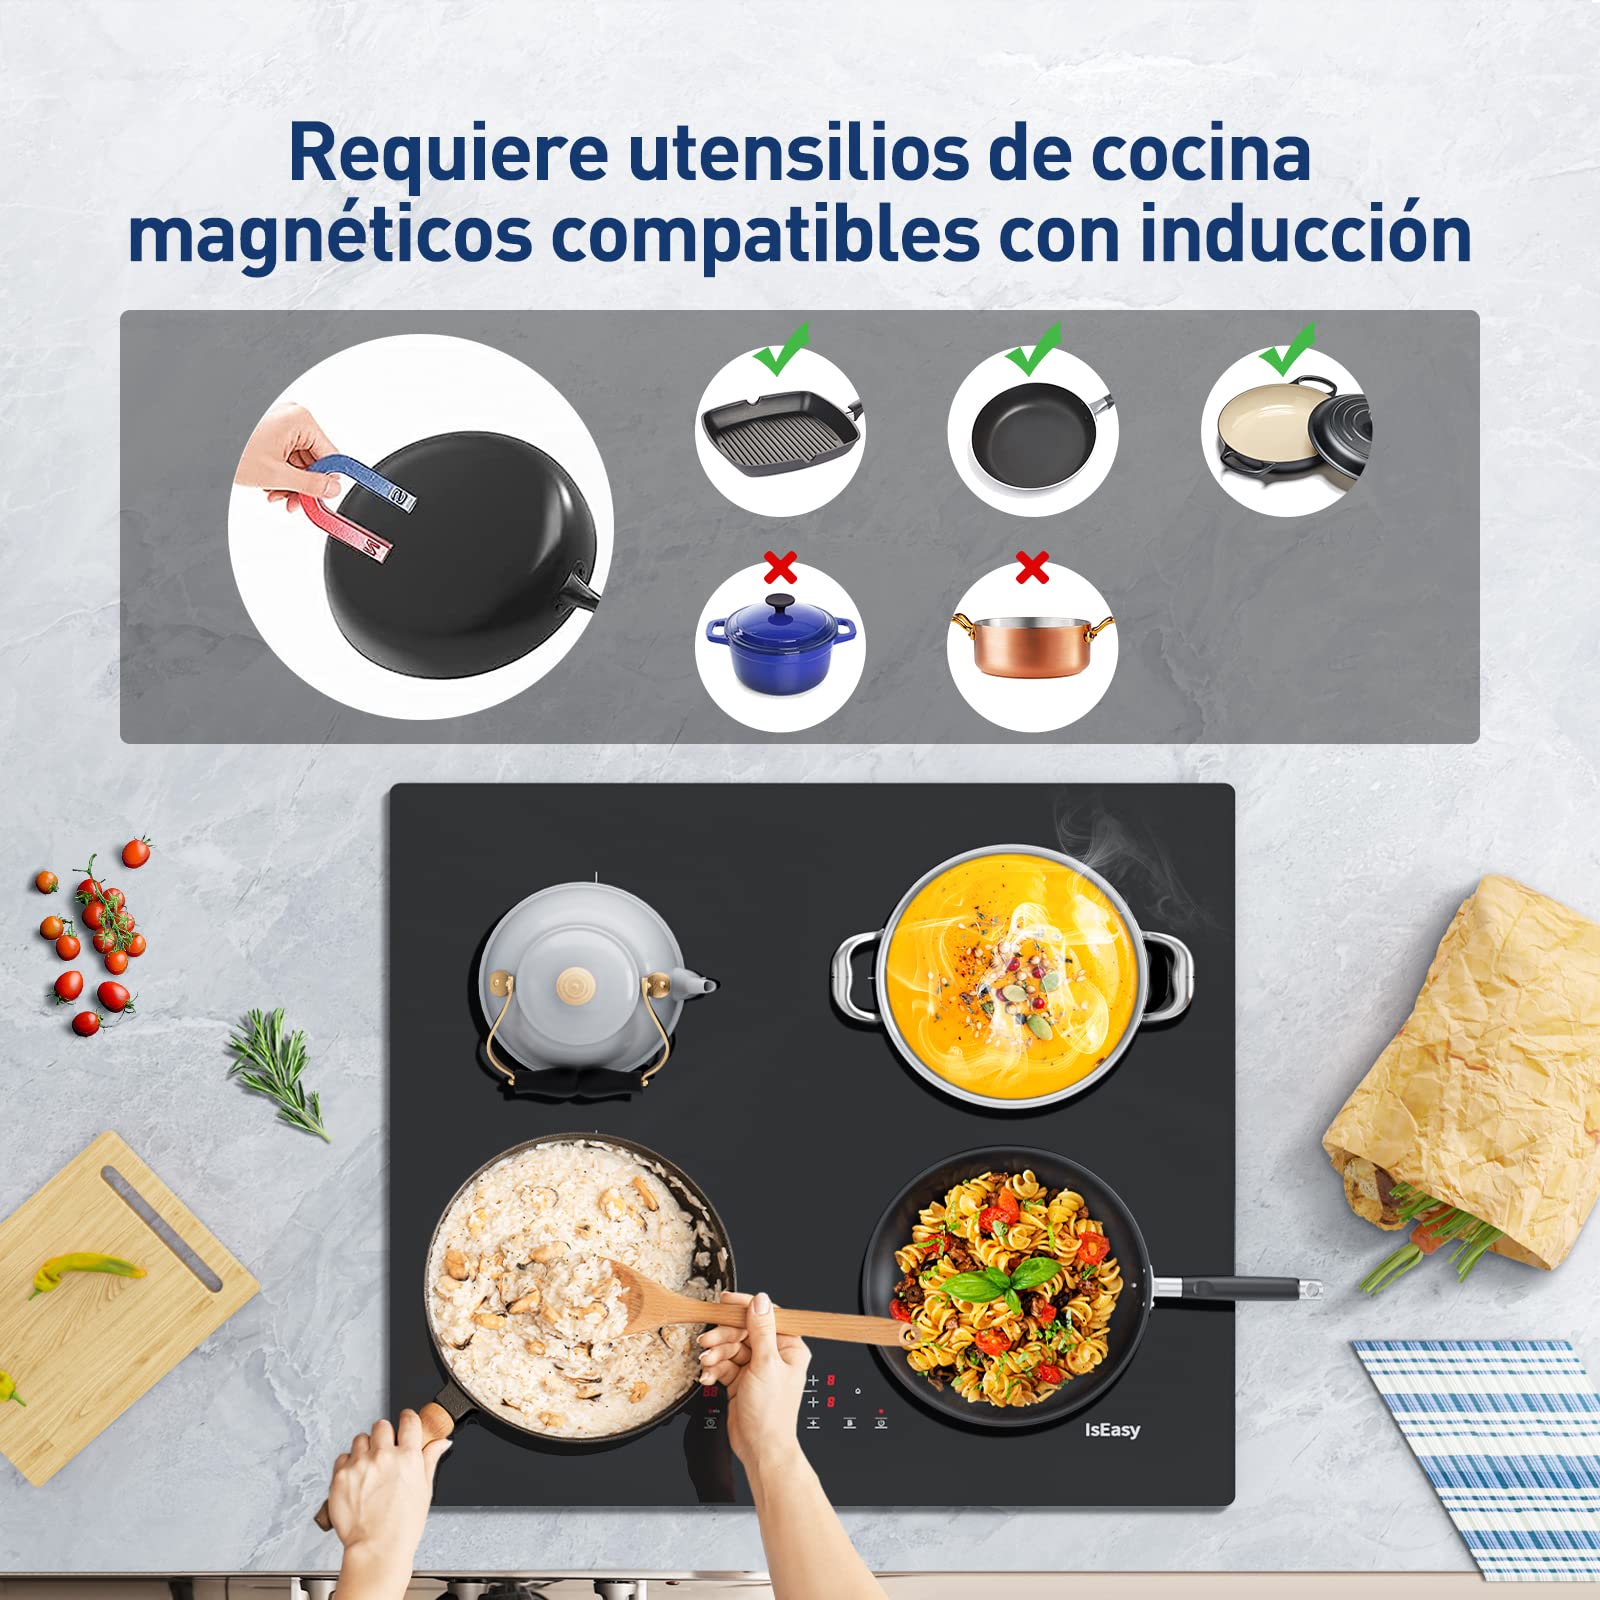
Image: A visual guide demonstrating cookware compatibility for induction hobs. It shows a magnet test on a pan and examples of compatible (iron, stainless steel) and incompatible (ceramic, copper) pots and pans.
4.5 Timer Function
The timer can be set from 1 to 99 minutes. Select the desired cooking zone, then press the timer button and use '+' or '-' to set the duration. The hob will automatically turn off the zone when the timer expires. A chime will sound, which can be silenced.
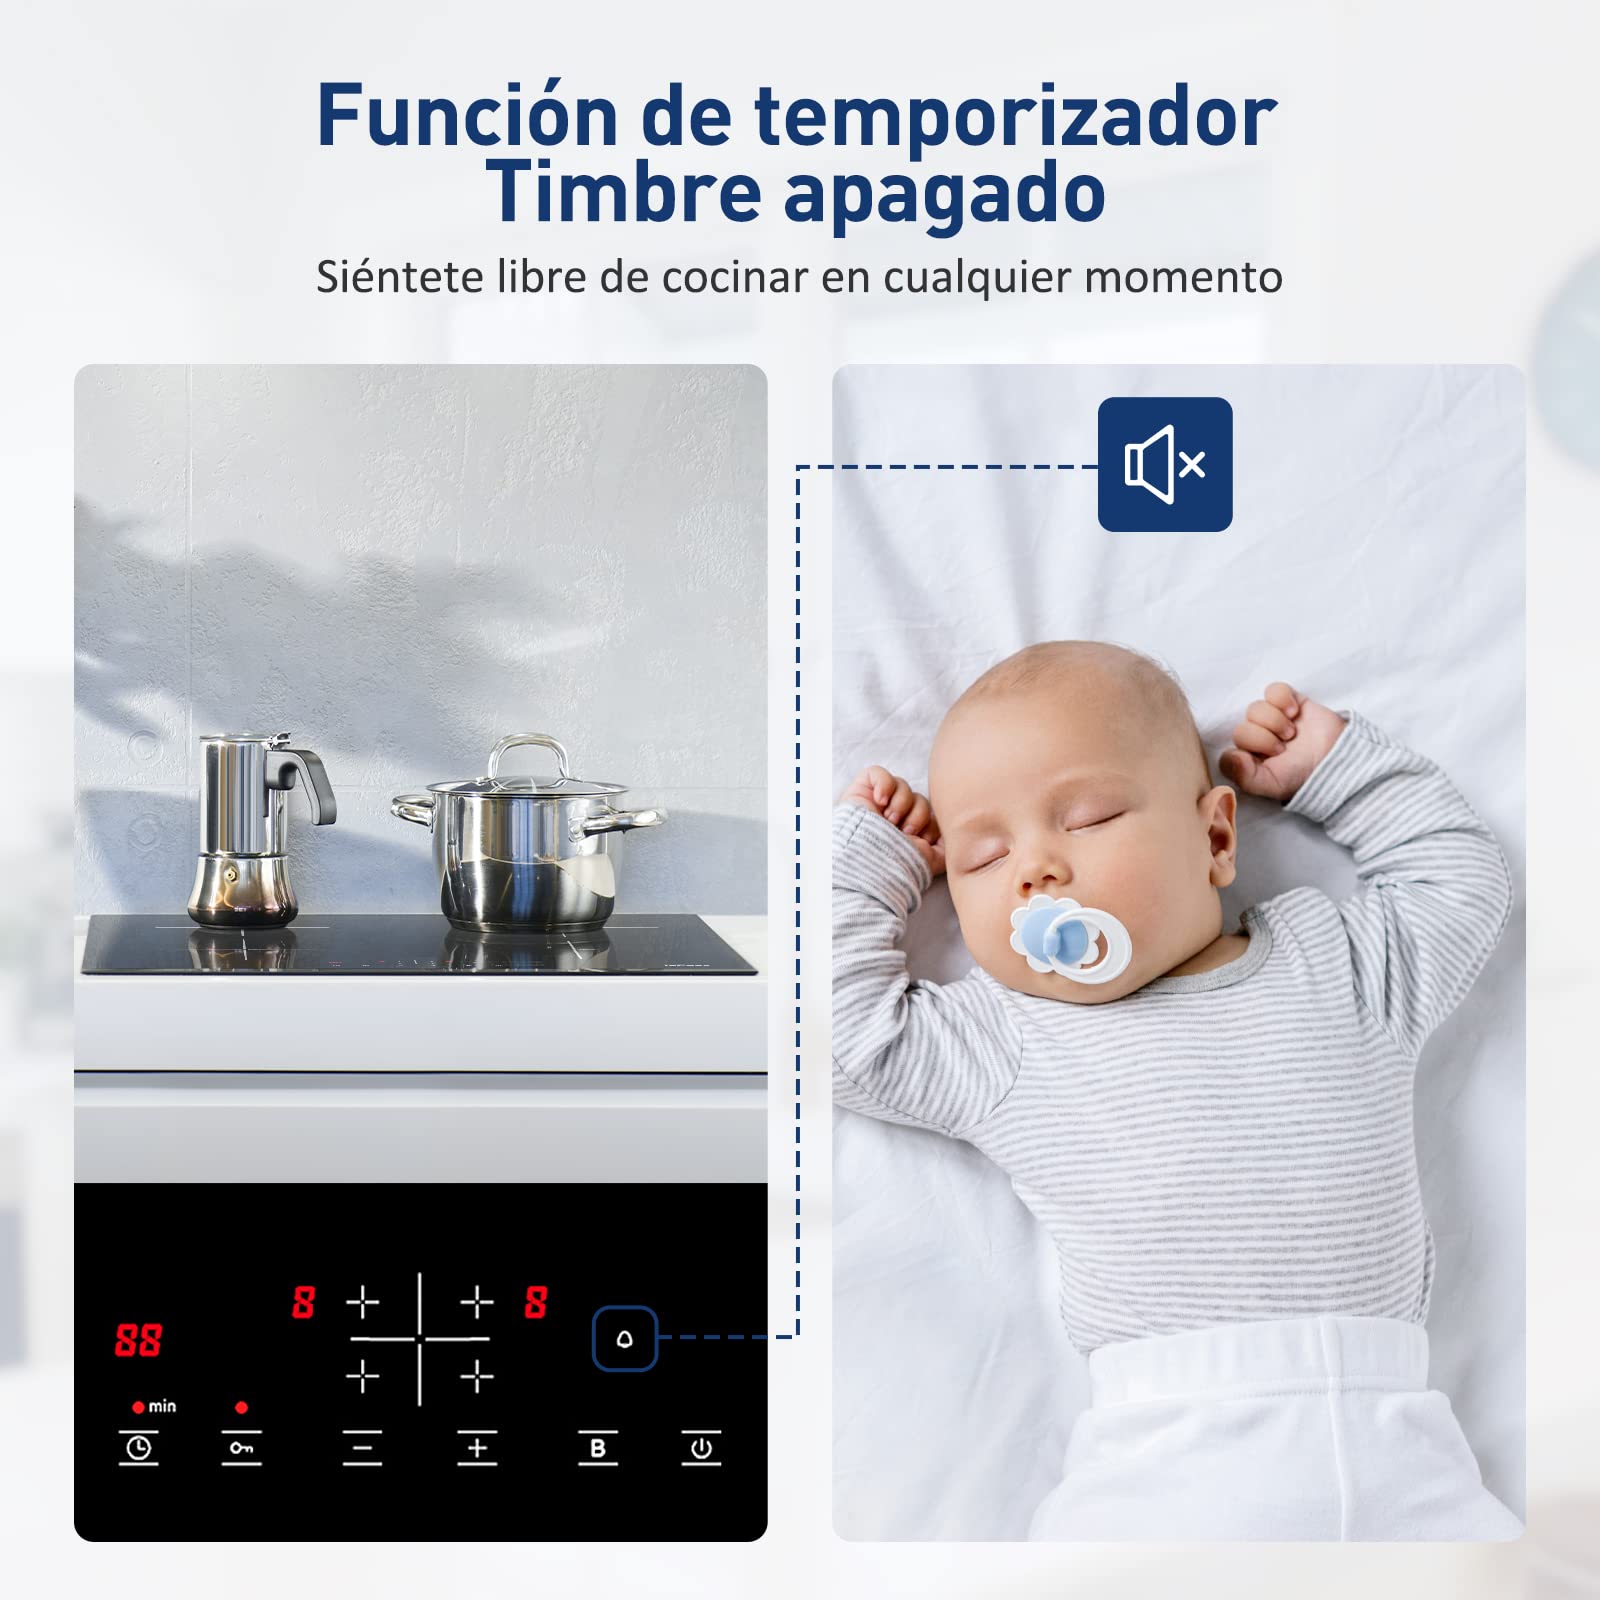
Image: The induction hob's control panel displaying the timer function (88 minutes) and an icon indicating the chime can be turned off, allowing for quiet operation, such as when a baby is sleeping.
4.6 Child Safety Lock
Activate the child safety lock to prevent accidental operation. Press and hold the lock button until the indicator lights up. To deactivate, press and hold the lock button again.

Image: A mother and child in a kitchen setting, with the IsEasy induction hob visible and a lock icon indicating the child safety lock feature is active, preventing unintended use by children.
4.7 Booster Function
The booster function provides a temporary increase in power to a cooking zone for rapid heating. Activate it by pressing the 'B' button for the desired zone. The booster will automatically reduce power after a set period to prevent overheating.
4.8 Residual Heat Indicator
After a cooking zone is turned off, an 'H' will appear on the display if the surface is still hot. This indicates a burn hazard. Do not touch the zone until the 'H' disappears.
4.9 Overheat Protection
The hob is equipped with an overheat protection system that automatically shuts down a cooking zone if its temperature exceeds a safe limit. This prevents damage to the hob and ensures safety.
5. Maintenance and Cleaning
Regular cleaning and maintenance will ensure the longevity and optimal performance of your induction hob.
- Daily Cleaning: Wipe the ceramic glass surface with a soft cloth and mild detergent after each use.
- Stubborn Stains: For burnt-on food or stubborn stains, use a specialized ceramic hob cleaner and a scraper designed for glass surfaces.
- Avoid Abrasives: Do not use abrasive sponges, scouring pads, or harsh chemical cleaners, as these can scratch or damage the surface.
- Power Off: Always ensure the hob is turned off and cooled down before cleaning.
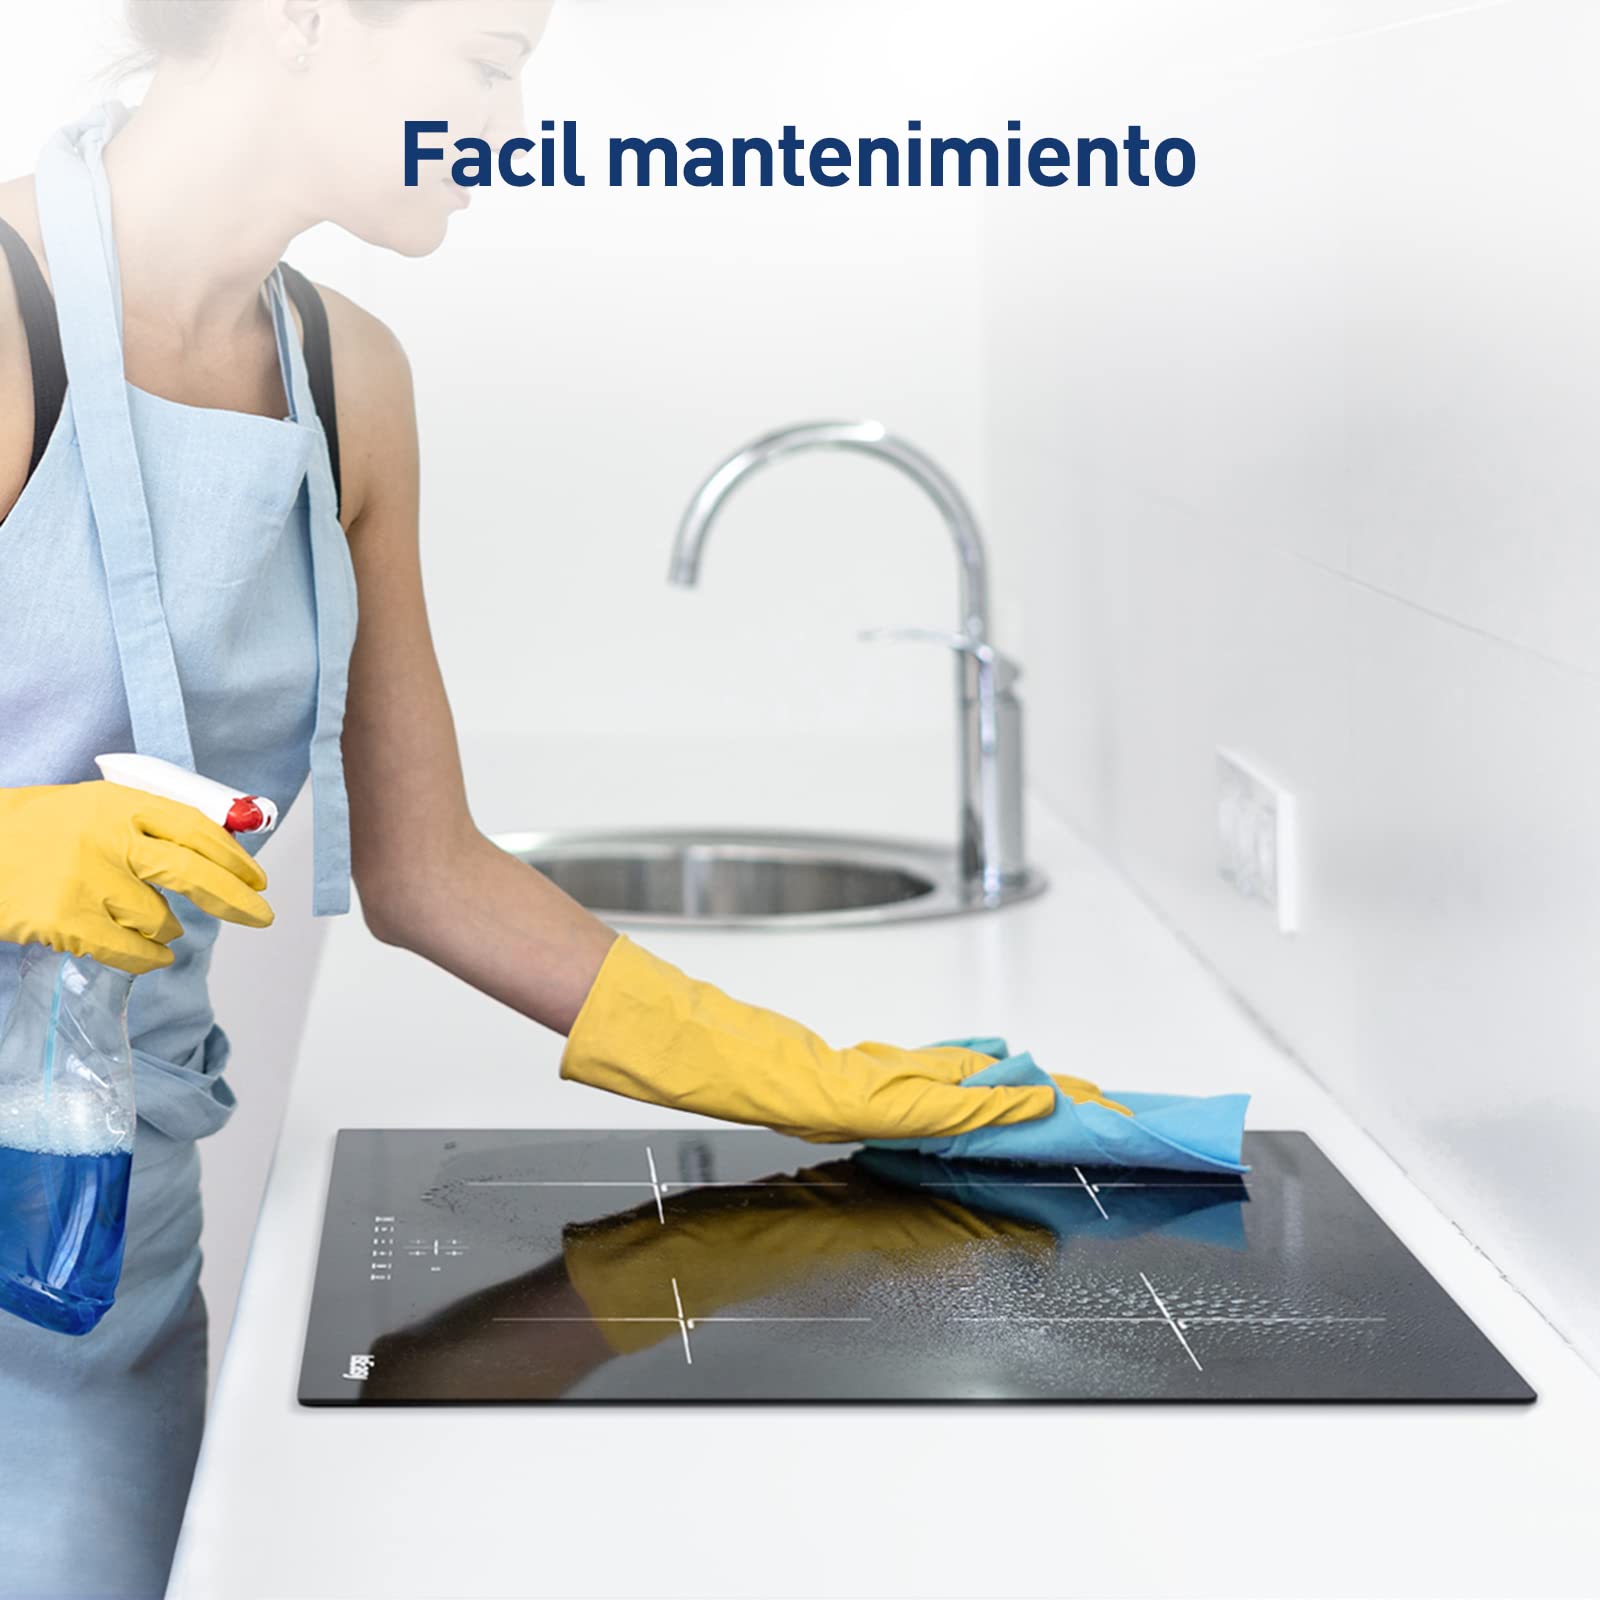
Image: A person wearing gloves cleaning the smooth ceramic glass surface of an IsEasy induction hob with a spray cleaner and a cloth, demonstrating easy maintenance.
6. Troubleshooting
If you encounter issues with your induction hob, refer to the following common problems and solutions:
| Problem | Possible Cause | Solution |
|---|---|---|
| Hob does not turn on. | No power supply; child lock activated. | Check power connection; deactivate child lock. |
| Cooking zone not heating. | Incompatible cookware; no cookware detected. | Use induction-compatible cookware; ensure cookware is centered on the zone. |
| Display shows 'H'. | Residual heat. | This is normal. Wait for the zone to cool down. |
| Hob shuts down during use. | Overheat protection activated. | Reduce power level or allow to cool. Ensure proper ventilation. |
| Controls are unresponsive. | Spillage on control panel; child lock activated. | Clean control panel; deactivate child lock. |
If the problem persists, please contact customer support.
7. Technical Specifications
| Model Number | IsEasy-1822004ES |
| Brand | IsEasy |
| Dimensions (L x W x H) | 59 cm x 52 cm x 5.8 cm |
| Power Output | 6800 Watts |
| Number of Cooking Zones | 4 |
| Control Type | Touch |
| Installation Type | Integrated / Built-in |
| Surface Material | Ceramic Glass |
| Frame Material | Stainless Steel |
| Power Source | Electric (Induction) |
8. Warranty and Customer Support
Your IsEasy induction hob comes with a standard manufacturer's warranty. Please refer to the warranty card included in the packaging for specific terms and conditions.
For technical assistance, spare parts, or any questions regarding your product, please contact IsEasy customer support through the retailer where you purchased the product or visit the official IsEasy website for contact information.