1. Safety Information
Read all instructions carefully before operating the ELEMARA 12V Electric Bumper Car. Failure to follow these safety guidelines may result in serious injury.
General Safety Warnings
- Adult Supervision Required: This product must be assembled and operated under direct adult supervision.
- Age and Weight Limit: Suitable for children aged 3-8 years. Do not exceed the maximum weight capacity (not explicitly stated in input, but implied by "toddlers" and "kids").
- Use Safety Belt: Always ensure the child is securely fastened with the safety belt before operation.
- Safe Operating Environment: Use on flat, dry surfaces. Avoid slopes, stairs, public roads, or areas with water, pools, or other hazards.
- Protective Gear: Encourage the use of a helmet and other protective gear.
- Avoid Collisions: While designed as a bumper car, avoid intentional high-impact collisions to prevent damage to the product or injury.
- Keep Hands and Feet Clear: Ensure hands, feet, hair, and clothing are kept away from moving parts.
Battery Safety
- Charging Time: Do not charge the battery for more than 20 hours. Overcharging can damage the battery and pose a fire hazard.
- Charger Use: Only use the charger provided with the product.
- Battery Inspection: Regularly inspect the battery and charger for any signs of damage. Do not use if damaged.
- Storage: Store the battery in a cool, dry place away from direct sunlight and heat sources.
2. Product Overview
The ELEMARA 12V Electric Bumper Car is designed for interactive play, featuring two driving modes, LED lights, and a safety belt for secure operation.

Image: The ELEMARA 12V Electric Bumper Car in blue, shown with its red remote control. The car features a black bumper, a blue body, and a black backrest with "D18" printed on it. Control joysticks are visible on either side of the seat.
Package Contents
- Bumper Car Unit
- Remote Control
- Charger
- DIY Stickers
- User Manual
Key Features
- Safety First: Equipped with a safety belt and soft anti-flat tires for enhanced child safety. Maximum speed is 1.9 MPH.
- Dual Driving Modes: Children can drive independently using the joysticks, or parents can control the car via the remote control.
- 360-Degree Spin: Allows for full rotational movement, adding to the play experience.
- LED Lights: Features colorful LED lights for visual appeal.
- Rechargeable 12V Battery: Provides 1-2 hours of continuous riding fun per charge.
- DIY Stickers: Includes stickers for personalization, encouraging creativity and parent-child interaction.
- Durable Construction: Made from robust materials for long-lasting use.
3. Assembly and Setup
Assembly is minimal and typically involves attaching a few components. Ensure all parts are present and undamaged before beginning.
Unpacking
- Carefully remove all components from the packaging.
- Inspect all parts for any damage that may have occurred during shipping. Contact customer support if any parts are damaged or missing.
- Keep packaging materials until assembly is complete and the product is confirmed to be working correctly.
Component Identification

Image: A diagram illustrating various replaceable parts of the bumper car, such as the high/low speed switch, charger, power button, steering column, left and right motors, 12V battery, LED light strip, main circuit board, and wiring harness. This image helps in identifying key components.
Familiarize yourself with the main components as shown in the diagram above. This includes the main bumper car body, joysticks, power button, charging port, and the remote control.
Assembly Steps
- Connect Battery: Locate the battery compartment (usually under the seat) and connect the battery terminals as instructed in the detailed manual (refer to the PDF manual for specific wiring).
- Attach Backrest/Handle: Secure the backrest or handle to the main body if it is not pre-attached.
- Apply Stickers: Personalize the bumper car with the provided DIY stickers according to your preference.
- Initial Charge: Before first use, fully charge the battery for the recommended duration (typically 8-12 hours, but not exceeding 20 hours).
4. Operating Instructions
Charging the Battery

Image: A close-up view showing a hand plugging the charger into the charging port located on the bumper car's control panel.
- Locate the charging port on the bumper car (typically near the control panel).
- Plug the charger into a standard wall outlet, then connect the charger's output plug to the car's charging port.
- Allow the battery to charge for the recommended time. Do not exceed 20 hours of charging.
- Unplug the charger once charging is complete.
Driving Modes

Image: An adult operating a red remote control while a child sits in a blue bumper car, and another child sits in a green bumper car. This illustrates the two driving modes: manual control by the child and remote control by an adult.
- Manual Mode: The child operates the bumper car using the two joysticks located on either side of the seat.
- Remote Control Mode: An adult can override manual control and operate the car using the provided remote control for safety and guidance.
Remote Control Operation

Image: A detailed diagram showing the bumper car's internal control panel (with Power, Music, and Lights buttons) and the red remote control. The remote control buttons are labeled: 'M' for Connect, up arrow for Forward, left arrow for Left, right arrow for Right, down arrow for Backward, and 'P' for Emergency Brake.
- Pairing: Refer to the detailed manual for specific pairing instructions for the remote control. Typically involves holding a "Connect" button on the remote while turning on the car.
- Forward/Backward: Use the directional buttons to move the car forward or backward.
- Turning: Use the left/right directional buttons to steer the car.
- Emergency Brake: Press the 'P' button on the remote to stop the car immediately.
Using the Controls (Manual Mode)

Image: A blue bumper car shown with arrows indicating 360-degree rotation and forward/backward movement. The car's LED lights are illuminated, highlighting its ability to spin and move in all directions.
- Power Button: Press the power button (usually red) to turn the car on or off.
- Joysticks: Push both joysticks forward to move forward, pull both backward to move backward. Push one forward and one backward to spin.
- Music Button: Press the music button to cycle through pre-loaded tunes.
- Lights Button: Press the lights button to turn the LED lights on or off.

Image: A child seated in a bumper car with the safety belt fastened. An inset shows a close-up of the safety belt buckle, emphasizing its importance for child safety.

Image: An adult and a child applying decorative stickers to the bumper car, highlighting the DIY customization feature and promoting parent-child interaction.
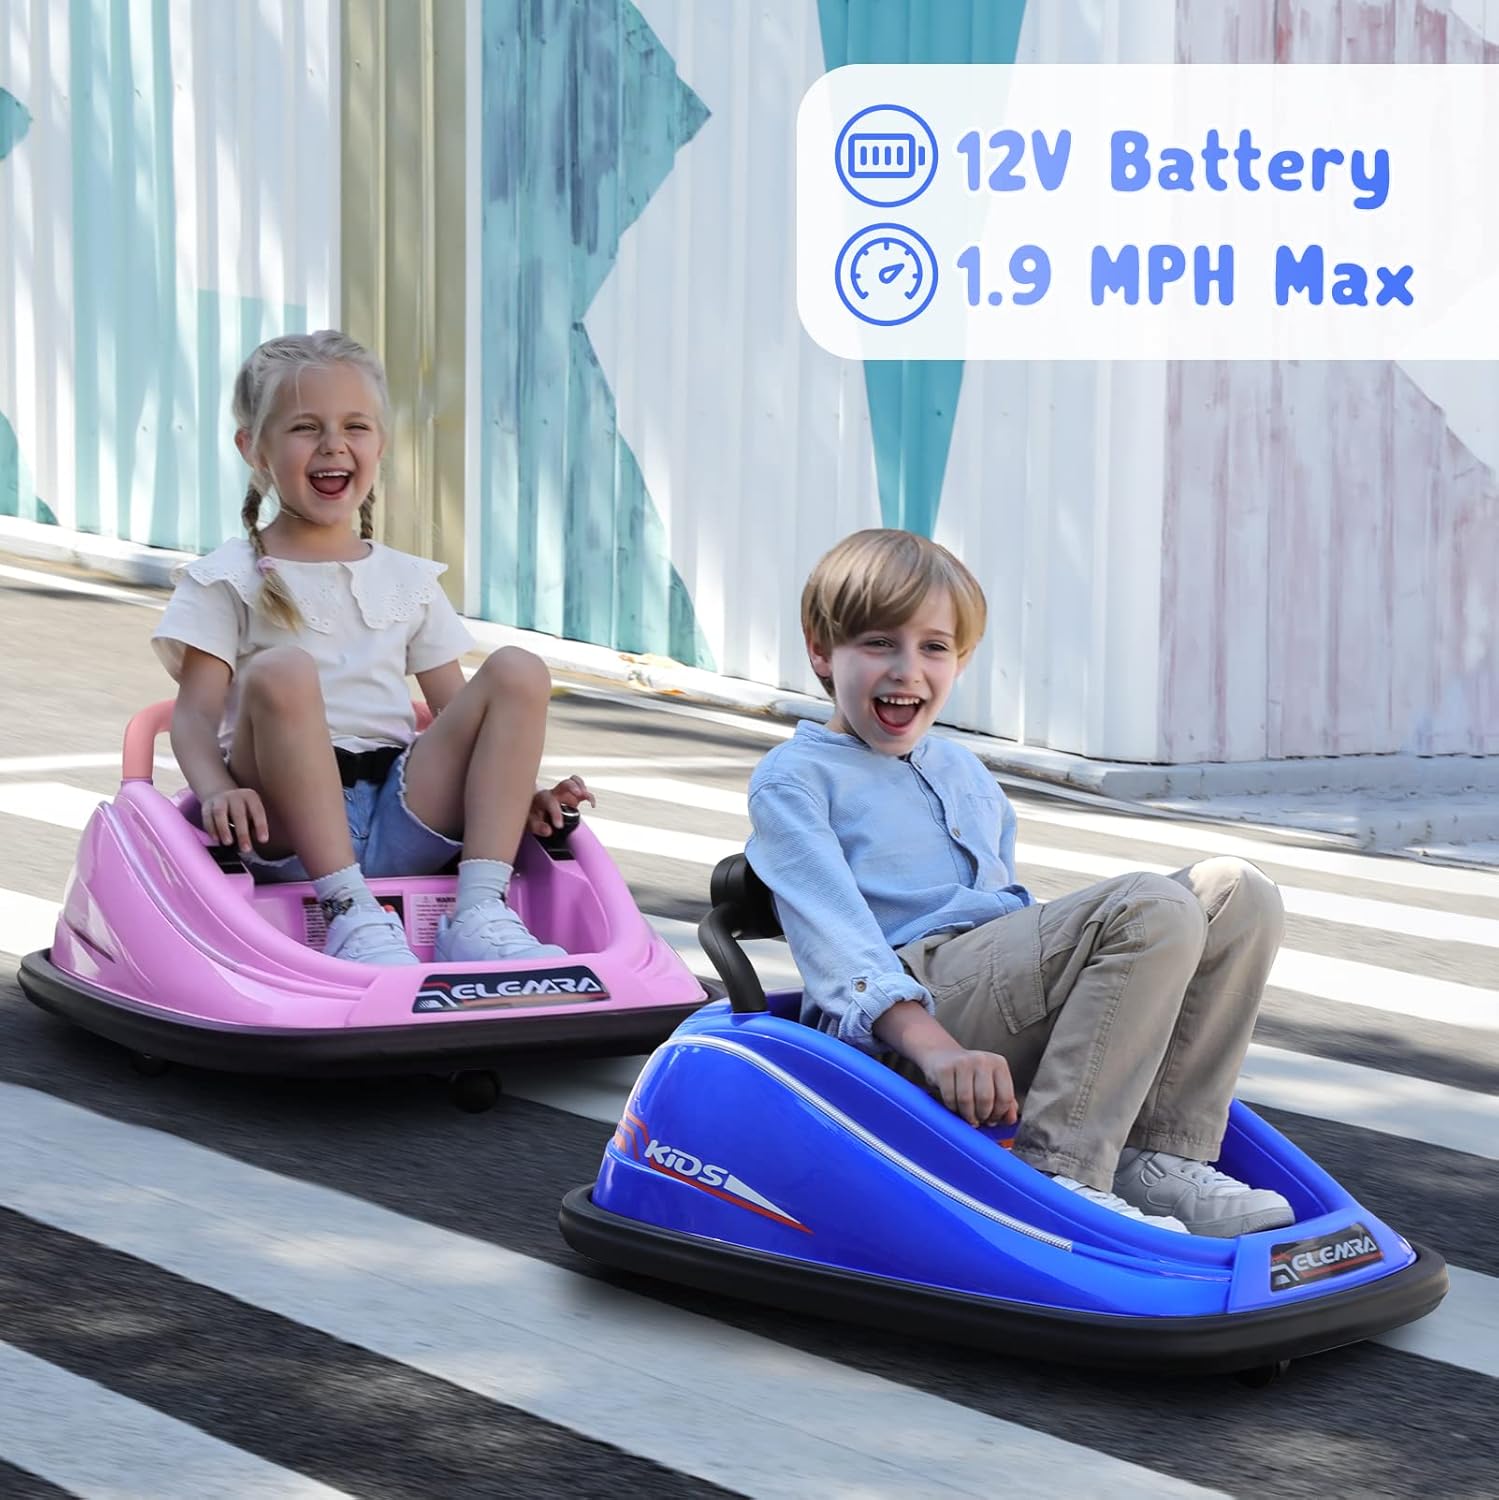
Image: Two children happily riding bumper cars outdoors. Icons indicate the car is powered by a 12V battery and has a maximum speed of 1.9 MPH.
5. Maintenance
Regular maintenance ensures the longevity and safe operation of your ELEMARA Bumper Car.
Cleaning
- Wipe the car with a soft, damp cloth. Do not use abrasive cleaners or solvents.
- Avoid spraying water directly onto electrical components.
Storage
- Store the bumper car in a dry, covered area when not in use.
- If storing for extended periods, charge the battery fully before storage and recharge every 30 days to maintain battery health.
Battery Care
- Always follow charging instructions carefully.
- Do not allow the battery to completely drain before recharging.
- If the battery shows signs of damage or leakage, discontinue use immediately and dispose of it properly.
6. Troubleshooting
This section addresses common issues you might encounter with your bumper car.
| Problem | Possible Cause | Solution |
|---|---|---|
| Car does not move. | Battery is low or not connected. Power switch is off. Remote control is active. | Charge the battery. Check battery connections. Ensure power switch is ON. Deactivate remote control if child is driving manually. |
| Car moves slowly. | Low battery. Overloaded. Operating on an unsuitable surface. | Recharge battery. Ensure child's weight is within limits. Use on flat, hard surfaces. |
| Remote control not working. | Remote batteries are dead. Not paired correctly. Interference. | Replace remote batteries. Re-pair the remote control with the car (refer to manual). Move away from sources of interference. |
| Lights or music not working. | Battery low. Loose connection. | Charge the battery. Check wiring connections (adult supervision required). |
7. Specifications
| Feature | Detail |
|---|---|
| Product Dimensions | 29.9 x 25.2 x 17.3 inches |
| Item Weight | 23.6 pounds |
| Model Number | JQ6688 |
| Recommended Age | 3 - 8 years |
| Battery | 12V Rechargeable |
| Max Speed | 1.9 MPH |
| Manufacturer | ELEMARA |
| Release Date | October 13, 2022 |
8. Warranty and Support
For warranty information, product support, or to inquire about replacement parts, please contact ELEMARA customer service.
Please retain your proof of purchase for any warranty claims.
You can often find contact details on the manufacturer's official website or through the retailer where the product was purchased.
9. Product Videos
No official product videos from the seller were provided in the available data to embed in this manual.
For visual demonstrations or additional information, please check the product page on the retailer's website or the manufacturer's official channels.