
Preciva CP20221130
Preciva Wire Terminals Crimping Tool Kit Instruction Manual
Model: CP20221130 | Brand: Preciva
1. Product Overview
The Preciva Wire Terminals Crimping Tool Kit is designed for efficient and secure electrical connections. This kit includes a ratcheting crimper tool and a comprehensive assortment of 350 insulated wire connectors, suitable for various applications in household electrical circuit maintenance, workshops, auto repair, machinery, and vehicles.
The crimping tool features color-coded jaws that correspond to the included insulated connectors, ensuring correct usage for different wire gauges. Its ratcheting mechanism is engineered for labor-saving operation, allowing for precise and firm crimps with minimal effort.
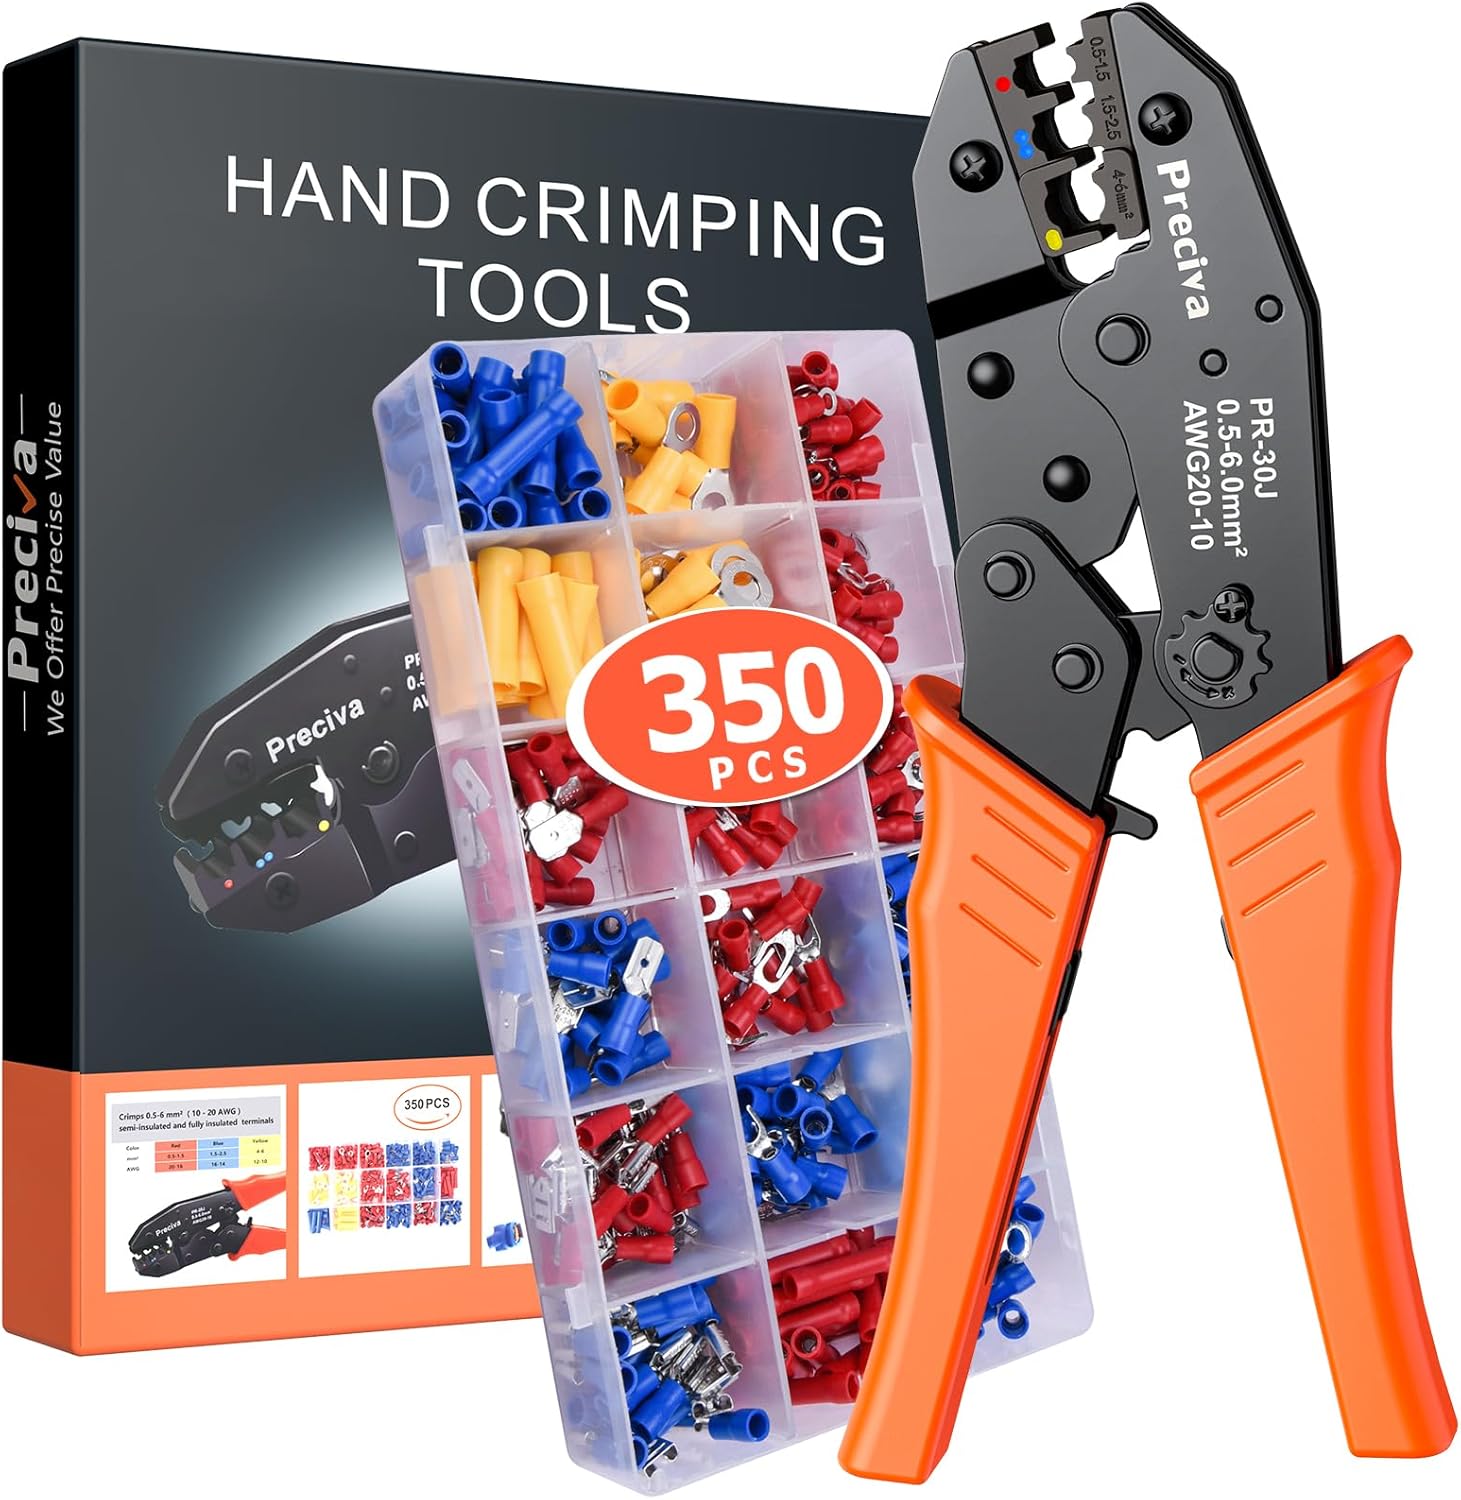
Figure 1: Preciva Wire Terminals Crimping Tool Kit, including the crimper and a box of 350 insulated wire connectors.
2. Kit Contents
The kit includes the following components:
- 1x Insulated Ratcheting Crimper Tool
- 1x Box of 350PCS Insulated Wire Connectors, categorized by color and size:
- RED Terminals: 170 PCS (0.5-1.5mm² / AWG 20-16)
- BLUE Terminals: 150 PCS (1.5-2.5mm² / AWG 16-14)
- YELLOW Terminals: 30 PCS (4-6mm² / AWG 12-10)

Figure 2: Assortment of 350 insulated wire connectors included in the kit, showing different types and sizes.
3. Setup and Preparation
Before crimping, ensure you have the correct wire gauge and connector type for your application. The crimper tool's jaws are color-coded (red, blue, yellow) to match the corresponding insulated connectors for easy identification and proper crimping.
- Select the Correct Connector: Choose an insulated wire connector that matches the wire gauge (AWG or mm²) you are working with. Refer to the color coding on the crimper jaws and the connector box.
- Strip the Wire: Carefully strip the insulation from the end of the wire, exposing enough bare wire to fully insert into the metal barrel of the chosen connector. Avoid cutting any wire strands.

Figure 3: The crimper tool features color-coded crimping jaws (red, blue, yellow) for different wire sizes.
4. Operating Instructions
Follow these steps to achieve a secure and reliable crimp:
- Insert Connector: Place the selected insulated connector into the appropriate color-coded crimping jaw of the tool. Ensure the connector is seated firmly.
- Insert Wire: Insert the stripped end of the wire completely into the metal barrel of the connector. Ensure no stray wire strands are outside the barrel.
- Crimp: Squeeze the handles of the crimping tool firmly and steadily until the ratcheting mechanism releases. This ensures a complete crimp. The ratcheting design prevents the tool from opening until a full crimp cycle is completed, guaranteeing consistent results.
- Inspect Crimp: After the tool releases, remove the crimped connector. Visually inspect the crimp to ensure it is tight and secure. Gently tug on the wire to confirm it is firmly held within the connector. A proper crimp should be uniform and hold the wire securely without damaging the insulation.

Figure 4: Demonstrates the process of inserting a stripped wire into a terminal and then crimping it using the tool.

Figure 5: Example of the crimping tool in use for electrical wiring applications.
5. Maintenance
To ensure the longevity and optimal performance of your crimping tool:
- Keep the tool clean and free from dirt, dust, and debris. Wipe it down with a clean, dry cloth after each use.
- Store the tool in a dry environment to prevent rust.
- Periodically apply a light coat of machine oil to the pivot points and moving parts to ensure smooth operation.
- Inspect the crimping jaws regularly for wear or damage. Damaged jaws can lead to improper crimps.
6. Troubleshooting
If you encounter issues while using the crimping tool, consider the following:
- Poor Crimp Quality:
- Ensure you are using the correct size and color-coded jaw for the connector and wire gauge.
- Verify that the wire is fully inserted into the connector's barrel before crimping.
- Confirm that the tool's ratcheting mechanism completes its full cycle.
- Tool Not Releasing:
- The ratcheting mechanism is designed to release only after a full crimp. Ensure you are applying sufficient pressure to complete the cycle.
- Check for any obstructions in the jaws or mechanism.
- Wire Pulling Out of Connector:
- This indicates an insufficient crimp. Re-evaluate the connector and wire size compatibility.
- Ensure the wire insulation is stripped to the correct length, allowing the bare wire to be fully crimped within the metal barrel.
7. Specifications
| Feature | Detail |
|---|---|
| Brand | Preciva |
| Model Number | CP20221130 |
| Crimping Range | AWG 20-10 (0.5-6mm²) |
| Connector Types | Insulated Ring, Spade, Butt Splice, Bullet (350 PCS total) |
| Handle Material | Alloy Steel, Polyvinyl Chloride (PVC) |
| Item Weight | 1.87 pounds |
| Package Dimensions | 9.25 x 7.68 x 1.5 inches |
8. Warranty Information
Preciva products are manufactured to high-quality standards. For specific warranty details, please refer to the product packaging or contact Preciva customer support. Keep your purchase receipt as proof of purchase.
9. Customer Support
For technical assistance, product inquiries, or support, please visit the official Preciva website or contact their customer service department. Contact information can typically be found on the product packaging or the brand's official online presence.
You can also visit the Preciva Store on Amazon for more information and product updates.
Ask a question about this manual
Ask about setup, troubleshooting, compatibility, parts, safety, or missing instructions. Manuals+ will review the question and use this page’s manual context to help answer it.