NOKLEAD NK5233B
NOKLEAD Digital Alarm Clock NK5233B User Manual
Your guide to setting up, operating, and maintaining your NOKLEAD Digital Alarm Clock.
1. Introduction
The NOKLEAD Digital Alarm Clock NK5233B is a versatile and user-friendly battery-powered clock designed for various environments such as bedrooms, offices, and travel. It features a clear LCD display, adjustable alarm volume, snooze function, and a convenient weekend mode.
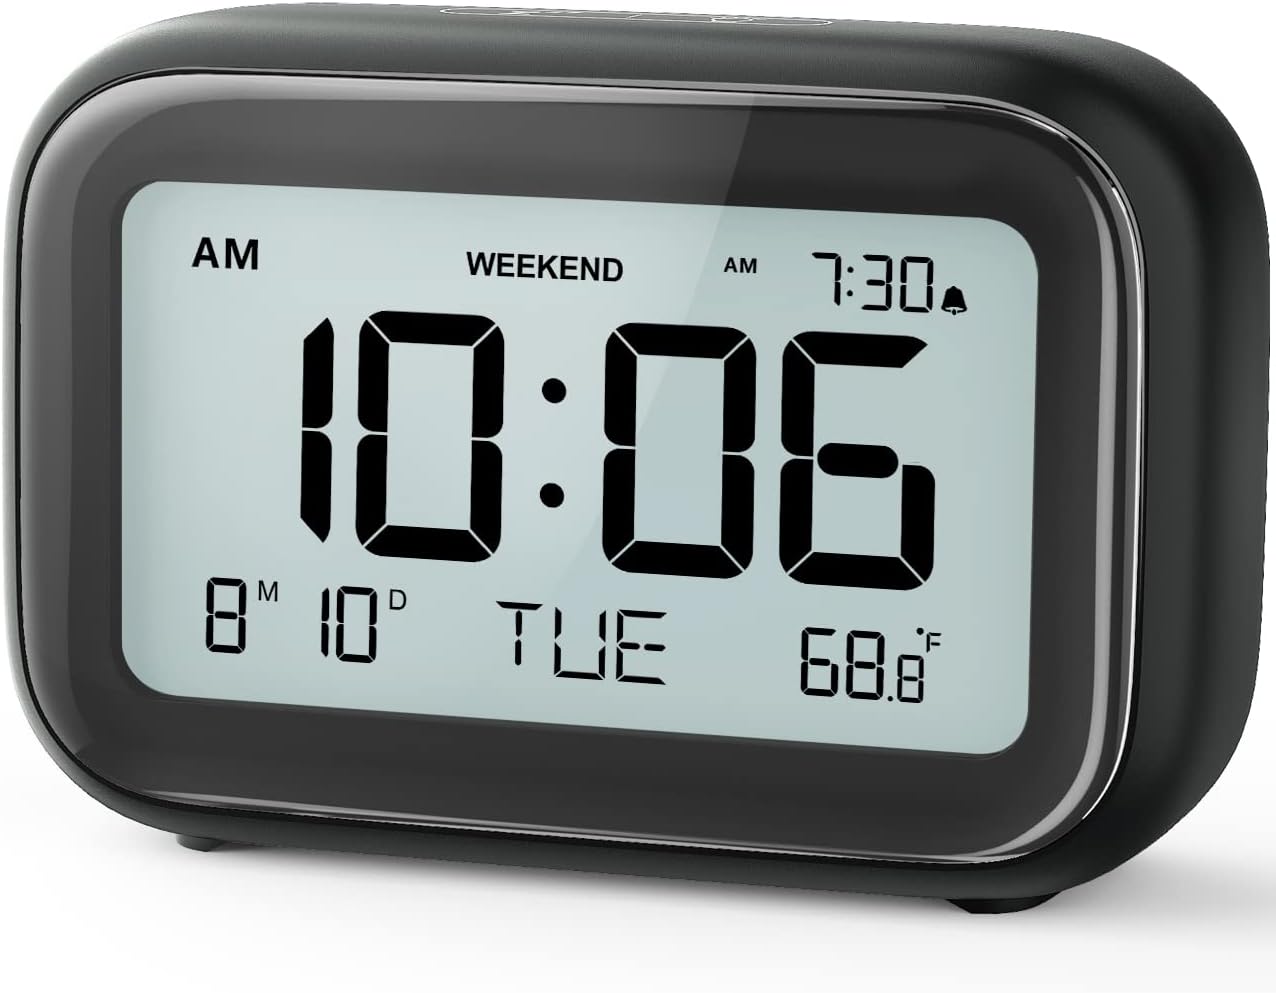
Image 1.1: Front view of the NOKLEAD Digital Alarm Clock NK5233B, displaying time, date, and temperature.
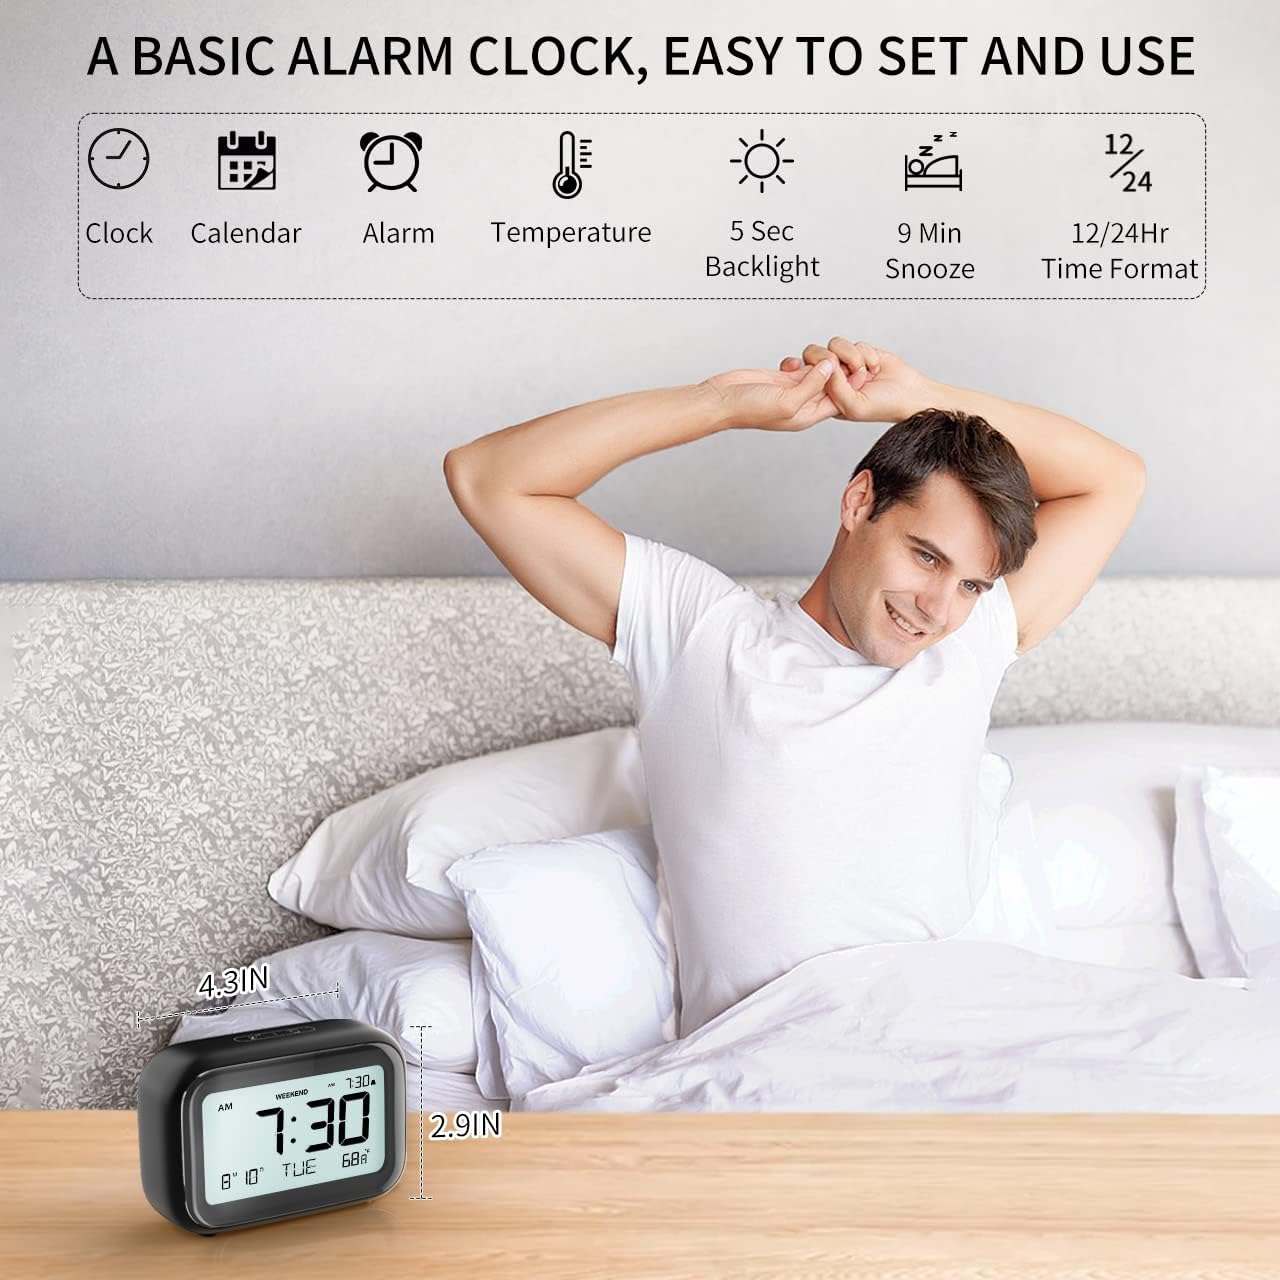
Image 1.2: Overview of the clock's basic functions including clock, calendar, alarm, temperature, 5-second backlight, 9-minute snooze, and 12/24-hour time format.
2. Setup
2.1 Battery Installation
The clock is powered by 2 x AAA batteries (not included). For optimal performance, use new alkaline batteries.
- Locate the battery compartment cover on the back of the clock.
- Slide the cover open.
- Insert two AAA batteries, ensuring the correct polarity (+ and -) as indicated inside the compartment.
- Replace the battery compartment cover securely.
Note: When the display flashes '8888' and the clock beeps, it indicates that the batteries need to be replaced.
2.2 Initial Time and Date Setting
After installing batteries, the clock will power on. You may need to set the current time and date.
- Press the MODE button on the back of the clock to cycle through display modes (Time, Date, Alarm).
- When in Time display mode, press and hold the SET button to enter time setting mode.
- Use the UP and DOWN buttons to adjust the hour, then press SET to confirm and move to minutes. Repeat for minutes.
- Continue pressing SET to cycle through year, month, and day settings, adjusting each with UP and DOWN buttons.
- Press SET one last time to exit setting mode.
3. Operation
3.1 Setting the Alarm
The clock allows you to set one alarm time.
- Press the MODE button until the alarm time is displayed (indicated by an alarm icon).
- Press and hold the SET button to enter alarm setting mode.
- Use the UP and DOWN buttons to adjust the alarm hour, then press SET to confirm and move to minutes. Repeat for minutes.
- Press SET to exit alarm setting mode.
- To activate or deactivate the alarm, press the ALARM ON/OFF button. An alarm icon will appear on the display when activated.
3.2 Adjusting Alarm Volume
The alarm offers two volume levels: LOW (70dB) and HIGH (85dB).
- While in alarm setting mode (after pressing and holding SET when alarm time is displayed), after setting minutes, press SET again to access volume adjustment.
- Use the UP or DOWN button to toggle between L01 (85dB) and L02 (70dB).
- Press SET to confirm your selection and exit.

Image 3.1: Illustration of the two adjustable alarm volume levels: L01 (85dB) and L02 (70dB).
3.3 Snooze Function
When the alarm sounds, you can activate the snooze function for an additional 9 minutes of sleep.
- When the alarm is ringing, gently touch the top of the clock.
- The alarm will pause for 9 minutes. The snooze icon will flash on the display.
- To turn off the alarm completely, press any button on the back of the clock.

Image 3.2: A simple touch on the top of the clock activates the 9-minute snooze function.
3.4 Weekend Mode
The weekend mode prevents the alarm from sounding on Saturdays and Sundays.
- Press the WEEKEND button on the back of the clock to toggle weekend mode on or off.
- When activated, the 'WEEKEND' indicator will appear on the display. The alarm will only sound from Monday to Friday.

Image 3.3: The clock's display showing the 'WEEKEND' indicator, signifying that the alarm will only activate on weekdays.
3.5 Backlight Activation
The clock features a convenient 5-second on-demand backlight for viewing the time in low-light conditions.
- Gently touch the top of the clock to activate the backlight.
- The backlight will illuminate for approximately 5 seconds and then automatically turn off.

Image 3.4: A hand touching the top of the clock to activate the eye-protecting backlight for 5 seconds.
3.6 Time Format (12/24 Hour)
You can switch between 12-hour and 24-hour time formats.
- While in Time display mode, press the 12/24HR button on the back of the clock to toggle between 12-hour (with AM/PM indicator) and 24-hour formats.
4. Maintenance
4.1 Cleaning
- To clean the clock, use a soft, dry cloth.
- Do not use abrasive cleaners, solvents, or chemical sprays, as these may damage the clock's surface or internal components.
4.2 Battery Replacement
Replace batteries when the display flashes '8888' and the clock beeps. Refer to section 2.1 for battery installation instructions.
5. Troubleshooting
| Problem | Possible Cause | Solution |
|---|---|---|
| Display is blank or dim. | Batteries are low or incorrectly installed. | Replace batteries with new AAA batteries, ensuring correct polarity. |
| Alarm does not sound. | Alarm is not activated or Weekend Mode is on. | Ensure the alarm is turned ON (alarm icon visible). Check if Weekend Mode is active and deactivate if necessary. |
| Alarm volume is too low/high. | Volume setting is not preferred. | Adjust the alarm volume setting as described in section 3.2. |
| Time is incorrect. | Time was not set correctly or batteries were removed. | Reset the time and date as described in section 2.2. |
6. Specifications
| Feature | Detail |
|---|---|
| Brand | NOKLEAD |
| Model Number | NK5233B |
| Display Type | Digital LCD |
| Power Source | 2 x AAA Batteries (Not Included) |
| Product Dimensions | 1.6"W x 2.9"H |
| Item Weight | 6.7 ounces |
| Material | Acrylonitrile Butadiene Styrene (ABS) |
| Special Features | Temperature Display, Snooze, Alarm, Calendar Display, Adjustable Volume, Weekend Mode, Backlight |
| Mounting Type | Tabletop |
7. Warranty and Support
For information regarding warranty coverage or technical support, please refer to the product packaging or contact NOKLEAD customer service directly. Contact details can typically be found on the manufacturer's official website or on the product's retail page.
Ask a question about this manual
Ask about setup, troubleshooting, compatibility, parts, safety, or missing instructions. Manuals+ will review the question and use this page’s manual context to help answer it.