COSTWAY Model 3 (PV10035CFFR)
COSTWAY Cat Litter Box Enclosure User Manual
Model: Model 3 (PV10035CFFR)
1. Introduction
Thank you for choosing the COSTWAY Cat Litter Box Enclosure. This versatile piece of furniture is designed to provide a private and hygienic space for your cat's litter box, while also serving as a stylish side table or resting spot for your feline friend. Its industrial design with louvered doors and paw-shaped cut-outs seamlessly blends with various home decors. This manual provides detailed instructions for assembly, operation, maintenance, and troubleshooting to ensure optimal use and longevity of your product.
2. Safety Information
- Always follow assembly instructions carefully to prevent injury or damage.
- Do not overload the top surface (maximum 50 kg) or the interior shelf (maximum 20 kg).
- Keep small parts away from children and pets during assembly.
- Ensure all screws and fasteners are tightened securely before use. Periodically check and re-tighten if necessary.
- Place the enclosure on a flat, stable surface.
- This product is intended for indoor use only.
3. Package Contents
Please verify that all parts are present before beginning assembly. If any parts are missing or damaged, please contact COSTWAY customer service.
| Part | Description | Quantity |
|---|---|---|
| A | Top Panel | 1 |
| B | Bottom Panel | 1 |
| C | Side Panel (with cat entrance) | 1 |
| D | Side Panel (plain) | 1 |
| E | Back Panel | 1 |
| F | Front Doors (Louvered) | 2 |
| G | Hardware Pack (screws, hinges, door knobs, etc.) | 1 |
4. Setup and Assembly
Assembly is required. Please follow these steps carefully. It is recommended to have two people for assembly.
- Unpack and Identify Parts: Lay out all components on a clean, soft surface to prevent scratches. Identify each part using the list above.
- Attach Side Panels to Bottom Panel: Secure Side Panel C (with cat entrance) and Side Panel D (plain) to the Bottom Panel B using the designated screws from Hardware Pack G. Ensure the cat entrance faces the desired direction (left or right).
- Install Back Panel: Slide the Back Panel E into the grooves of the assembled side and bottom panels, or secure with screws as indicated in the diagram.
- Attach Top Panel: Place the Top Panel A onto the assembled structure and secure it with screws.
- Install Front Doors: Attach the hinges to the Front Doors F and then to the main cabinet frame. Ensure the doors open and close smoothly.
- Attach Door Knobs: Secure the door knobs to the Front Doors F.
- Final Check: Verify that all connections are secure and the cabinet is stable.


5. Operating Instructions
5.1. As a Cat Litter Box Enclosure
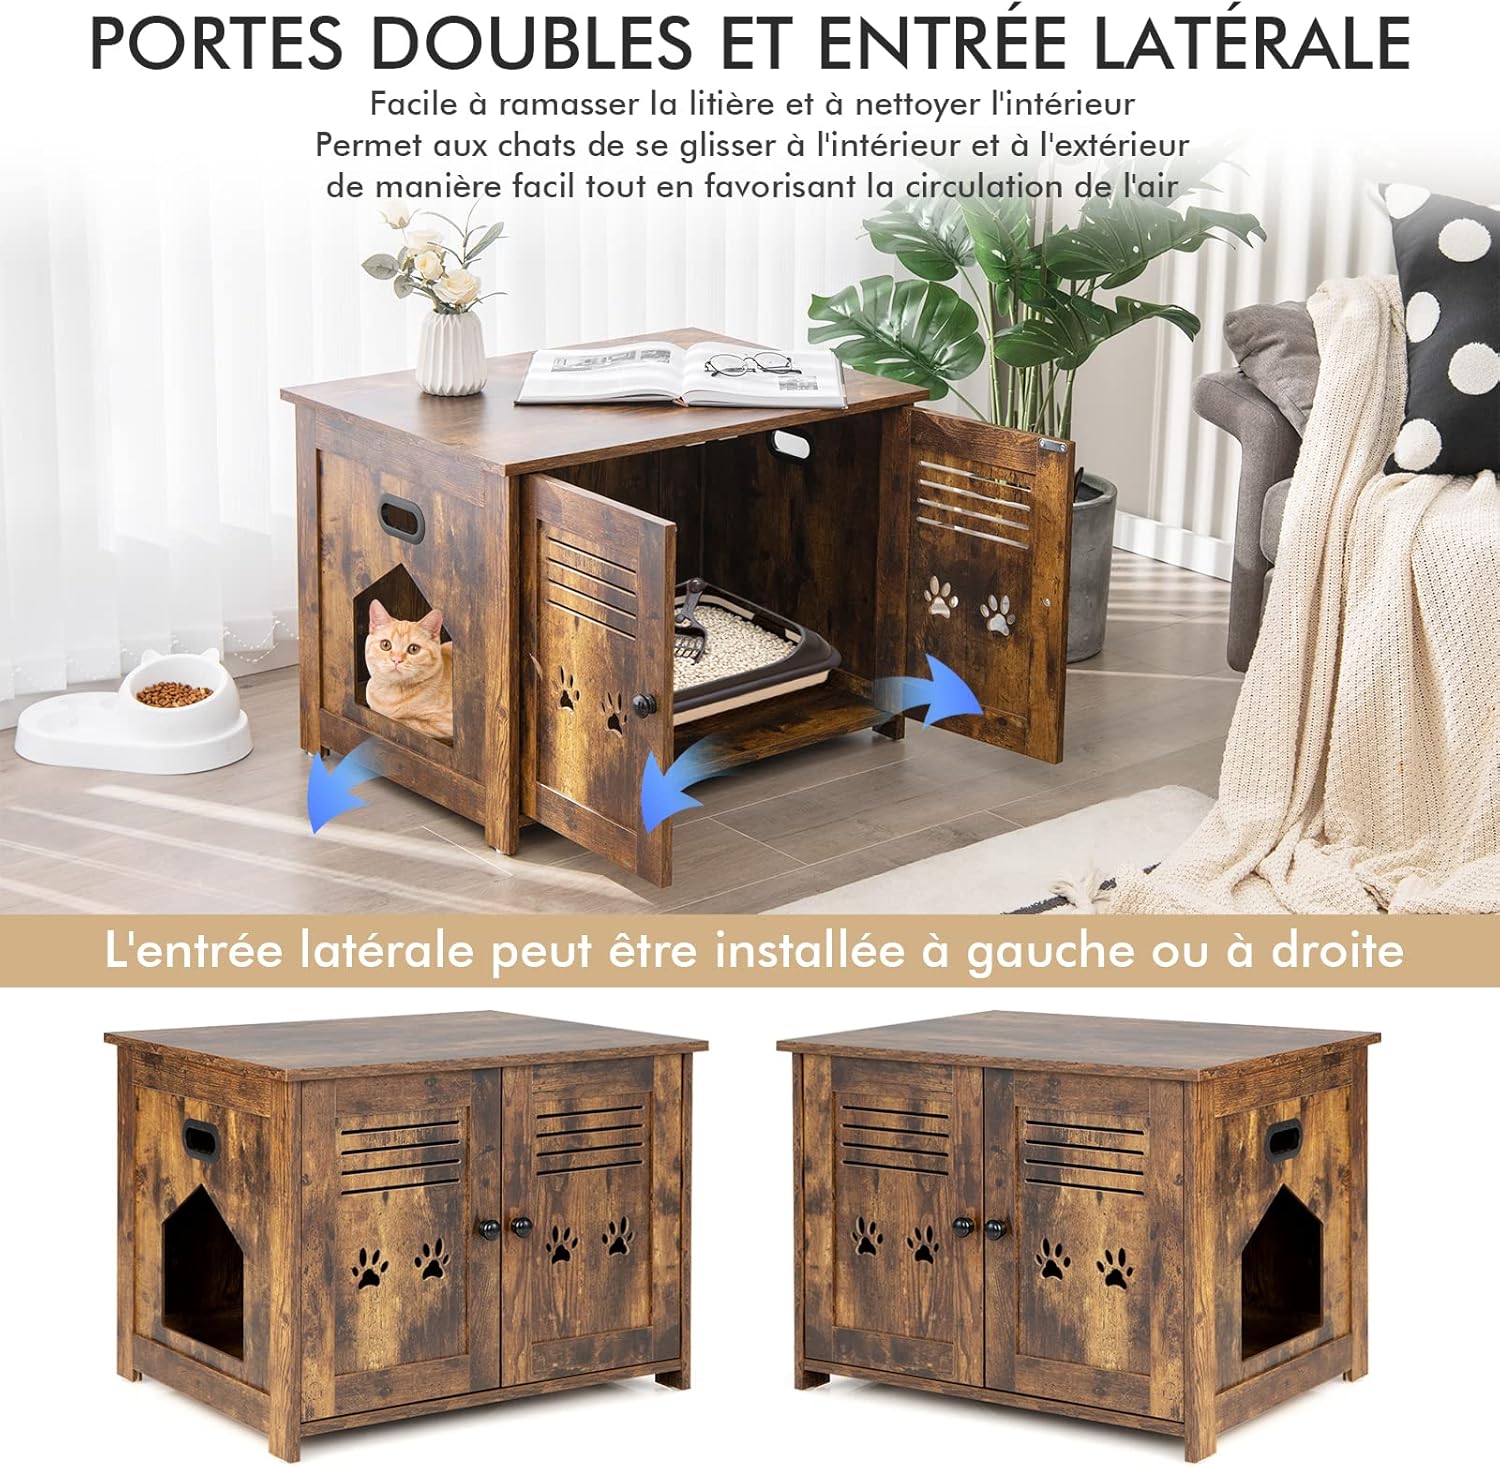
- Open the front louvered doors.
- Place your cat's litter box inside the enclosure. Ensure the litter box dimensions do not exceed 63.5 x 47 x 44 cm (L x W x H).
- The side entrance allows your cat easy access to their private space. The entrance can be installed on either the left or right side during assembly.
- The louvered doors and paw-shaped cut-outs provide ventilation, helping to reduce odors and maintain a fresh environment.
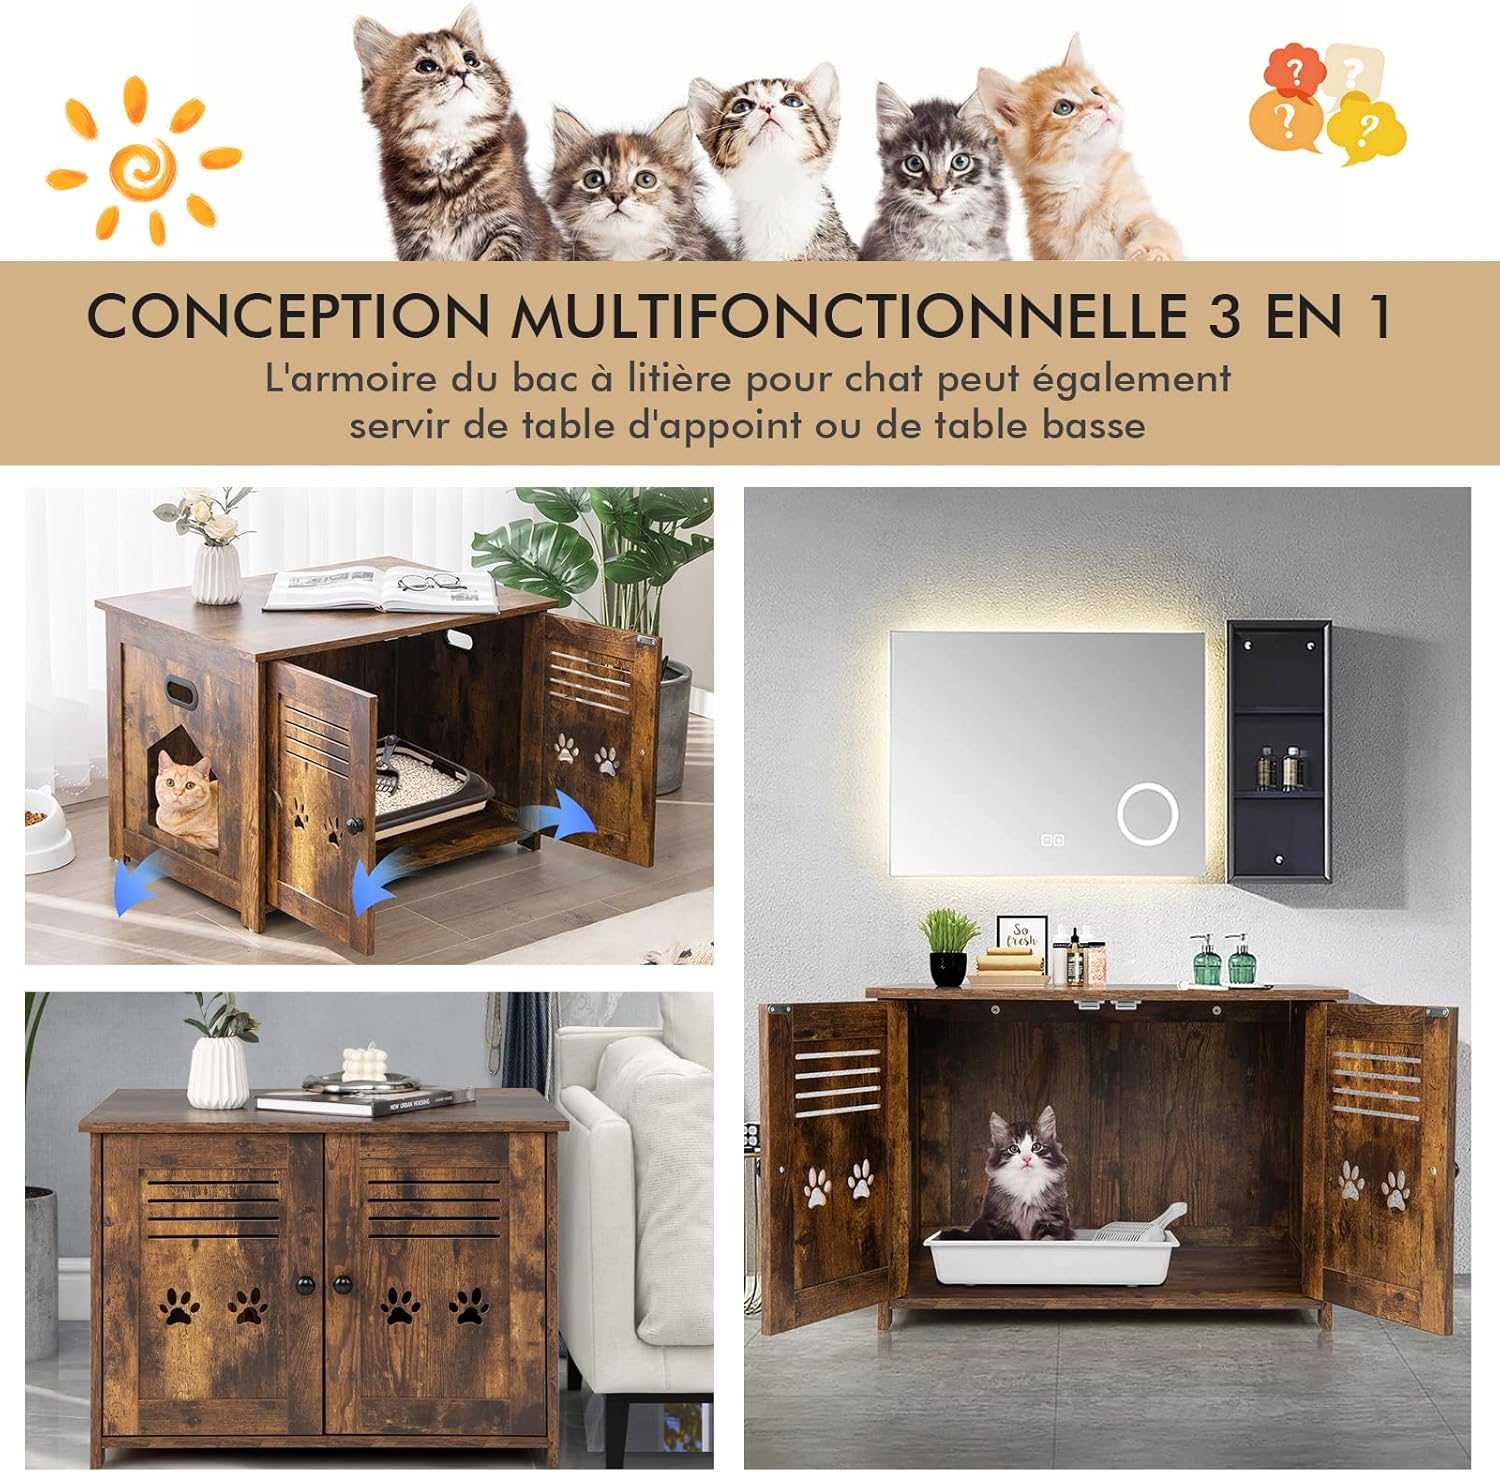
5.2. As a Multifunctional Furniture Piece
- Side Table: The sturdy top surface can be used to place decorations, books, or other household items. Maximum load capacity for the top is 50 kg.
- Cat Bed/Resting Spot: You can place a thick cushion inside the enclosure for your cat to rest, or place a cat bed on top of the enclosure.
6. Maintenance
- Cleaning: The waterproof veneered panel makes cleaning easy. Wipe surfaces with a damp cloth and mild detergent. Avoid abrasive cleaners or harsh chemicals that could damage the finish.
- Odor Control: Regularly clean the litter box inside the enclosure. The ventilation features help, but consistent litter box maintenance is key to odor control.
- Inspection: Periodically check all screws and connections to ensure they remain tight. Re-tighten if necessary to maintain stability.
- Placement: Avoid placing the enclosure in direct sunlight or near heat sources, as this can cause warping or fading of the wood finish.
7. Troubleshooting
| Problem | Possible Cause | Solution |
|---|---|---|
| Cabinet is wobbly/unstable. | Screws are loose; uneven floor. | Tighten all assembly screws. Move to a flat, level surface. |
| Doors do not close properly. | Hinges are misaligned or loose; magnet is weak. | Adjust hinge alignment. Ensure all hinge screws are tight. (Note: Some users report weak magnets, consider adding stronger magnets if needed). |
| Strong odor from inside. | Infrequent litter box cleaning; poor ventilation. | Clean the litter box more frequently. Ensure the enclosure is not placed in a completely sealed area. The louvered doors provide ventilation. |
| Cat not using the enclosure. | New environment; litter box type/litter preference. | Allow your cat time to adjust. Ensure the litter box is clean. Try different litter types or litter box styles if necessary. |
8. Specifications
- Model: Model 3
- Model Number: PV10035CFFR
- Brand: COSTWAY
- Material: High-quality MDF (Medium-Density Fiberboard) with waterproof veneer
- Color: Antique Brown
- Overall Dimensions (L x W x H): 70 x 51.5 x 50.5 cm (27.6 x 20.3 x 19.9 inches)
- Cat Entrance Dimensions (W x H): 22 x 23 cm (8.7 x 9.1 inches)
- Max. Litter Box Dimensions (L x W x H): 63.5 x 47 x 44 cm (25 x 18.5 x 17.3 inches) - Litter box not included
- Net Weight: Approximately 13.95 kg (30.75 lbs)
- Weight Capacity (Top Panel): 50 kg (110 lbs)
- Weight Capacity (Interior Shelf): 20 kg (44 lbs)
- Assembly Required: Yes
9. Warranty and Support
COSTWAY is committed to providing high-quality products. This product comes with a standard manufacturer's warranty. For specific warranty details, please refer to the warranty card included in your package or visit the official COSTWAY website.
If you encounter any issues during assembly or use, or if you have questions about your product, please do not hesitate to contact COSTWAY customer support. Our team is ready to assist you.
- Website: www.costway.com
- Customer Service Email: (Please check your product packaging or website for the most current contact information)
Ask a question about this manual
Ask about setup, troubleshooting, compatibility, parts, safety, or missing instructions. Manuals+ will review the question and use this page’s manual context to help answer it.