
1. Introduction
Thank you for choosing the Orzorz Galaxy Lite Star Projector. This device is designed to transform your space into a captivating celestial environment, projecting realistic images of stars and planets. Please read this manual carefully before use to ensure proper operation and to maximize your enjoyment of the product.
What's in the Box:
- Orzorz Galaxy Lite Star Projector
- Power Cord
- User Manual (this document)
- Projection Disc (e.g., Saturn)
2. Safety Information
- Do not look directly into the projector lens when the light is on.
- Keep the device away from water or other liquids.
- Do not disassemble or attempt to repair the device yourself. Contact customer support for assistance.
- Use only the provided power cord.
- Ensure the device is placed on a stable, flat surface.
- This product is not a toy. Keep out of reach of small children.
3. Product Overview
The Orzorz Galaxy Lite is a portable, battery-powered star projector designed for tabletop use. It features button controls for easy operation and utilizes LED light sources to project various celestial images using interchangeable discs.
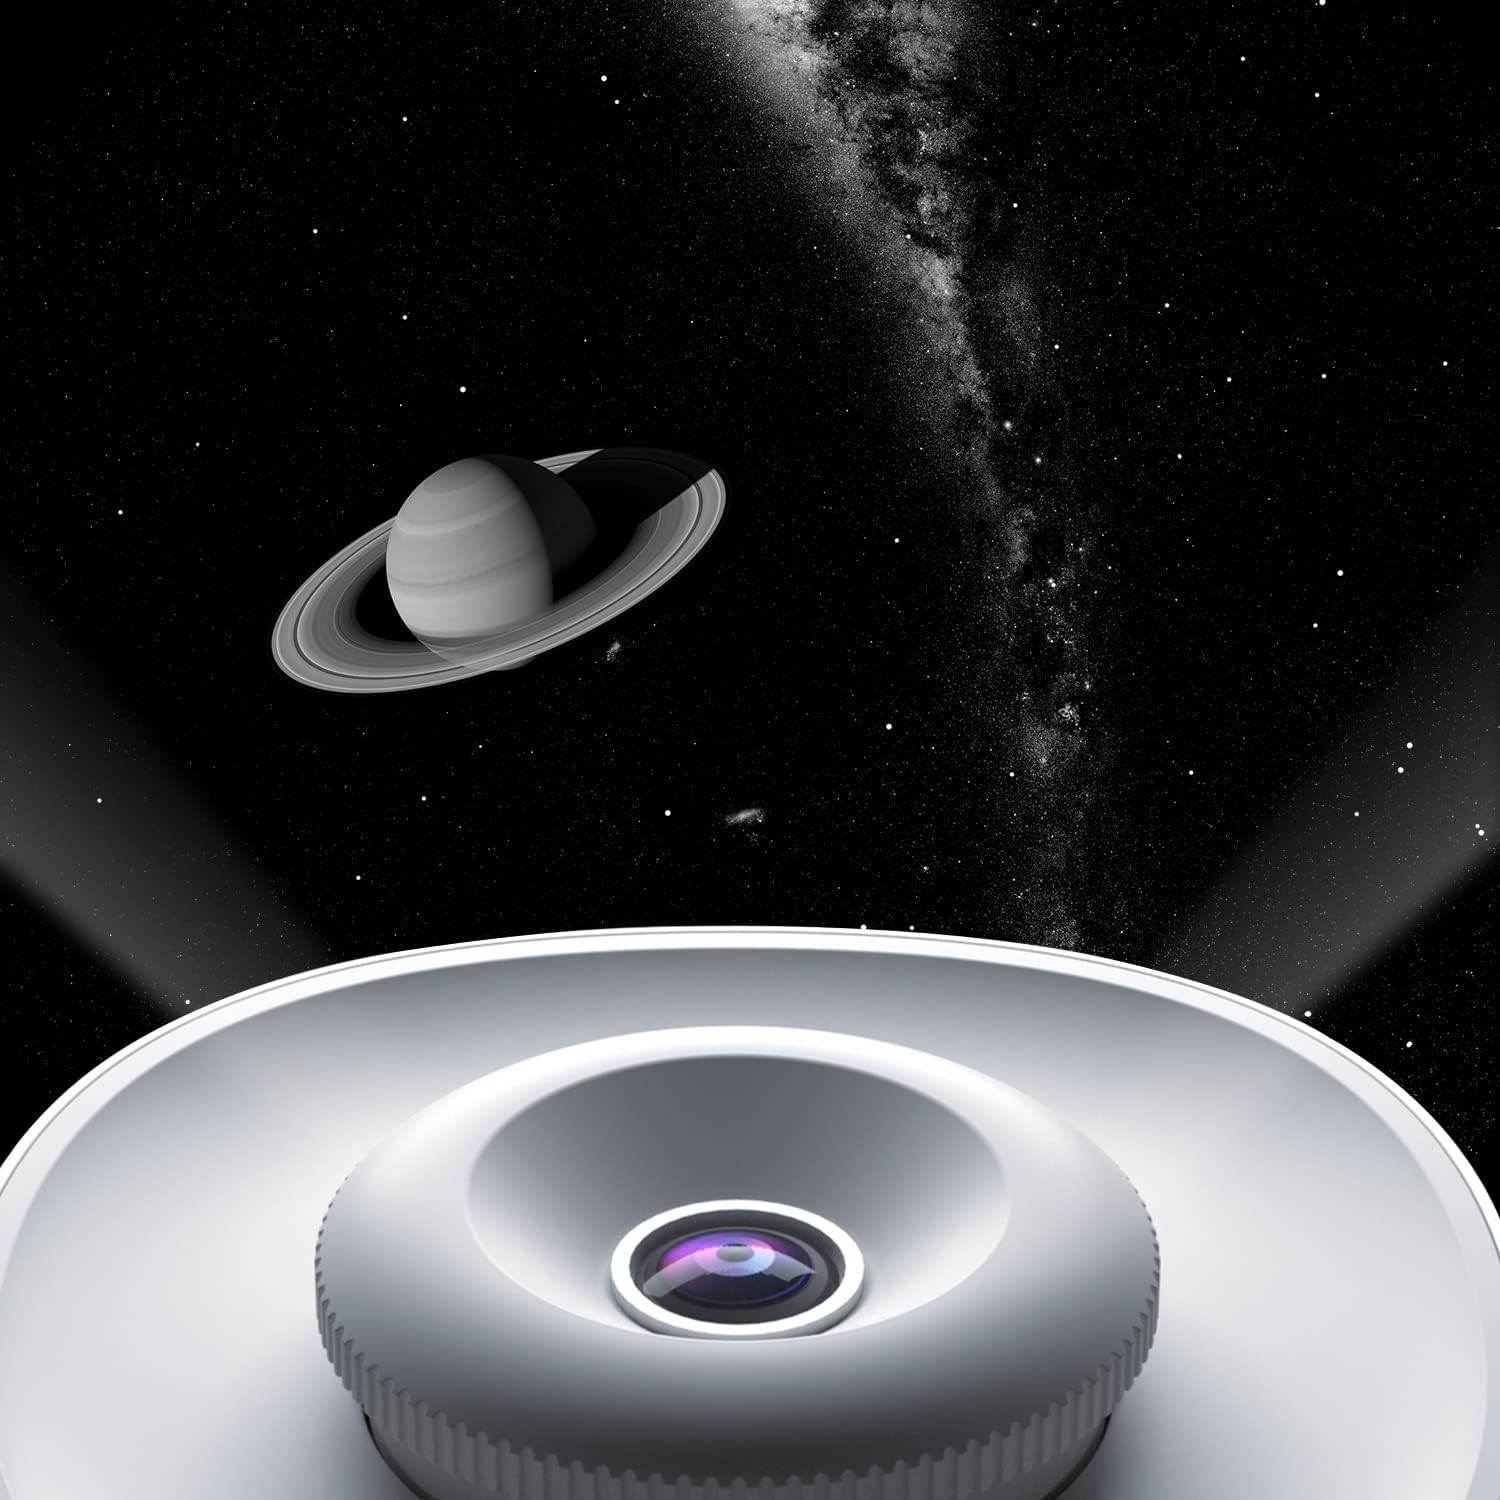
Image: The Orzorz Galaxy Lite Star Projector in operation, projecting a detailed image of Saturn and surrounding stars.
4. Setup
4.1 Charging the Projector
Before first use, fully charge the projector using the provided power cord. Connect the power cord to the charging port on the device and plug the other end into a suitable power adapter. The charging indicator light will show the charging status. A full charge typically takes a few hours.
4.2 Inserting Projection Discs
- Gently open the disc tray on the projector.
- Carefully hold the desired projection disc by its edges to avoid fingerprints.
- Insert the disc into the designated slot within the tray, ensuring it is seated correctly.
- Close the disc tray securely.

Image: A hand holding a projection disc, ready for insertion into the projector.

Image: A projection disc properly inserted into the projector's disc slot.
4.3 Placement
Place the projector on a stable, flat surface. For optimal projection, ensure the room is dark. The distance from the projector to the projection surface (ceiling or wall) will affect the size and clarity of the image. Experiment with different distances to achieve your desired effect.
5. Operation
5.1 Powering On/Off
Press the power button located on the device to turn the projector on. Press it again to turn the projector off.
5.2 Adjusting Focus
Rotate the focus ring around the lens to sharpen the projected image. Adjust until the image appears clear on your chosen surface.
5.3 Rotation Function
The projector features a rotation function to create a dynamic celestial experience. Press the rotation button to activate or deactivate the rotation. Note that there is typically only one rotation mode.
5.4 Timer Function
Utilize the built-in timer function to set the projector to automatically turn off after a specified period. Refer to the device's button controls for specific timer settings.
6. Maintenance
6.1 Cleaning the Lens and Discs
- To clean the projector lens, use a soft, dry, lint-free cloth. Do not use abrasive cleaners or solvents.
- For projection discs, handle them by the edges. If cleaning is necessary, gently wipe with a microfiber cloth.
6.2 Storage
When not in use, store the projector and discs in a cool, dry place, away from direct sunlight and extreme temperatures. Keep discs in their protective cases to prevent scratches and dust accumulation.
7. Troubleshooting
- Image is blurry: Adjust the focus ring on the projector lens. Ensure the projection surface is flat and the distance is appropriate.
- Projector not turning on: Ensure the device is fully charged. Connect it to the power cord and try again.
- Rotation function not working or freezing: Check for any obstructions in the disc tray. If the issue persists, contact customer support.
- Discs getting warm: It is normal for the projection discs to experience some warmth during extended use. However, if they become excessively hot or show signs of melting, discontinue use and contact support.
- Projector not working wirelessly: Ensure the battery is fully charged. If it only works when plugged in, there may be an issue with the internal battery; contact support.
8. Specifications
| Feature | Specification |
|---|---|
| Brand | Orzorz |
| Model Number | Galaxy Lite |
| Color | Saturn (variant) |
| Material | Plastic |
| Light Source Type | LED |
| Power Source | Battery Powered |
| Light Output Maximum | 150 lumens |
| Mounting Type | Table Mount |
| Wattage | 15 watts |
| Controller Type | Button Control |
| Form Factor | Portable |
9. Warranty and Support
Orzorz products are manufactured with quality and care. For warranty information or technical support, please refer to the contact details provided with your purchase documentation or visit the official Orzorz website. Please have your model number (Galaxy Lite) and purchase date ready when contacting support.