Introduction
This manual provides detailed instructions for the installation, operation, and troubleshooting of your MHCOZY ZigBee 2-Channel 5V Smart Relay Switch (Model ZG02220). Please read this manual thoroughly before using the device to ensure proper functionality and safety.
The MHCOZY ZigBee Smart Switch allows you to control your home appliances or electrical devices remotely and integrate them into your smart home ecosystem. It offers absolute privacy and direct pairing with compatible ZigBee hubs without requiring third-party applications.
Product Overview
The MHCOZY ZigBee 2-Channel Smart Relay Switch is designed for DIY smart home projects, offering versatile control over two independent electrical circuits.

Image Description: A comprehensive view of the MHCOZY ZigBee 2-Channel Smart Relay Switch. The image displays the circuit board with two blue relays and terminal blocks, along with the enclosed module. Surrounding the product are logos for ZigBee, Tuya, "Works with Amazon Alexa," and "Works with the Google Assistant," indicating broad compatibility. Also shown are Amazon Echo and Google Home smart speakers, and a 433MHz RF remote control, illustrating various control methods.
Key Features:
- Dual Operating Voltage: Supports DC 5V (via Micro USB) or AC 85-250V.
- ZigBee 3.0 Protocol: Ensures wide compatibility and secure communication.
- Voice Control: Seamless integration with Amazon Alexa and Google Home.
- Multiple Operating Modes: Self-locking, Interlock, and Jog (Momentary) modes.
- Timing and Scheduling: Set countdowns, single-event timers, or recurring schedules.
- Integrated RF Receiver: Supports 433 MHz fixed and self-learning RF remotes (remote not included).
- Dry Contact Output: Provides isolated dry contact output for versatile applications.
Specifications
| Parameter | Value |
|---|---|
| Model | ZG02220 |
| Operating Voltage | DC 5V (Micro USB) or AC 85-250V |
| Rated Current | 10 Amperes (per relay) |
| Max Switching Voltage | 250V |
| Power Consumption | <1W |
| Quiescent Current | 80 mA |
| Connectivity Protocol | ZigBee 3.0 |
| RF Frequency | 433 MHz (receiver built-in) |
| Operating Temperature | -20 to +70 °C |
| Operating Humidity | 40% to 80% RH |
| Contact Type | Normally Open (NO), Normally Closed (NC), Common (COM) |
| Material | ABS Housing, Copper Contacts |
| Dimensions (LxWxH) | 11.7 x 3.8 x 2.3 cm |
| IP Rating | IP54 |
Setup and Installation
1. Component Identification
Familiarize yourself with the components and connection points on the relay module.

Image Description: A detailed view of the MHCOZY ZigBee 2-Channel Smart Relay Switch's circuit board. Key components are labeled, including 'Input DC 7-32V' and 'Input USB 5V' for power, 'Model Switch button' and 'Manual switch' for physical control, 'Network indicator (Red light)' and 'RF Pairing indicator (Blue light)' for status, and the 'Relay' components with their output terminals labeled 'NC', 'COM', and 'NO' for both channels.
2. Power Supply Connection
The device can be powered by either DC 5V via the Micro USB port or AC 85-250V via the standard input terminals. Choose the appropriate power source for your application.
- Micro USB 5V: Connect a standard 5V USB power adapter to the Micro USB port.
- AC 85-250V: Connect the AC power supply to the designated input terminals.
Warning: Ensure power is disconnected before making any wiring connections to prevent electric shock.
3. Device Wiring
The relay switch provides dry contact outputs (Normally Open, Normally Closed, and Common) for each of its two channels. This allows it to control various types of loads without passing the input power through the relay circuit itself.

Image Description: Three wiring diagrams illustrating different connection scenarios for the MHCOZY ZigBee 2-Channel Smart Relay Switch. The top diagram shows 'Interlock Mode' for controlling a motor, with input power and USB 5V options. The middle diagram, 'Three-Wire Motor Connection Picture,' details wiring for a motor with a 220V power source. The bottom diagram, 'Appliance Connection Picture,' demonstrates 'Self-lock Mode' for controlling two light bulbs with an AC 220V power source. All diagrams show connections to the NC, COM, and NO terminals.
- Common (COM): Connect the common wire of your appliance or circuit to this terminal.
- Normally Open (NO): When the relay is activated, the circuit between COM and NO is closed. Use this for devices that turn on when the relay is active.
- Normally Closed (NC): When the relay is activated, the circuit between COM and NC is opened. Use this for devices that turn off when the relay is active.
Refer to the wiring diagrams above for specific application examples, such as motor control or appliance switching.
4. Pairing with a ZigBee Hub
The MHCOZY ZigBee Smart Relay Switch requires a ZigBee hub (e.g., Amazon Echo Plus, SmartThings Hub, Tuya ZigBee Hub, Hubitat) for smart control.
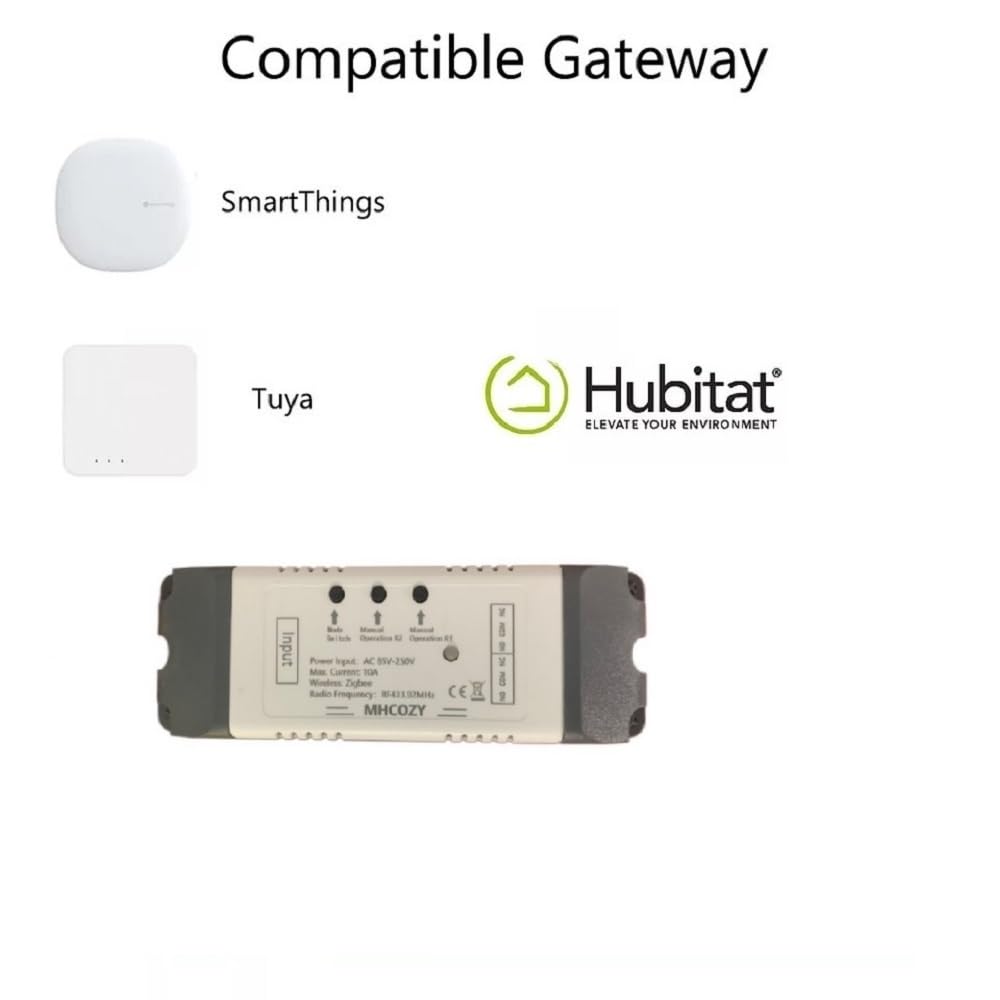
Image Description: An image displaying three compatible ZigBee gateways: SmartThings, Tuya, and Hubitat. Below them is the MHCOZY ZigBee 2-Channel Smart Relay Switch module, indicating its compatibility with these smart home hubs.
- Ensure your ZigBee hub is powered on and in pairing mode.
- Power on the MHCOZY ZigBee Smart Relay Switch.
- For Amazon Echo Plus/Studio/Show 2nd Gen: Simply say, "Alexa, discover devices." The device should be found and added automatically.
- For other ZigBee hubs (SmartThings, Tuya, Hubitat): Follow the specific pairing instructions for your hub. Typically, this involves putting the hub into discovery mode and then pressing the pairing button on the MHCOZY module (refer to "Component Identification" image for button location).
- Once paired, the network indicator light on the module will confirm connection, and the device will appear in your hub's application.
Operating Modes
The MHCOZY ZigBee Smart Relay Switch supports three distinct operating modes, which can typically be configured via your ZigBee hub's application or by pressing the "Model Switch button" on the device itself (consult your hub's documentation for software configuration).

Image Description: An illustration detailing the three operating modes of the smart relay switch: Self-locking, Interlock, and Jog. "Self-locking mode" shows four devices individually controlled. "Interlock mode" depicts that when one device is turned on, others automatically turn off. "Jog mode" explains that the device turns on and automatically keeps for a customizable duration (0.5 to 3600 seconds) before turning off. A smartphone screen with channel controls is also shown.
- Self-locking Mode (Toggle): In this mode, each relay operates independently. Pressing the control button (physical or app) for a channel will toggle its state (ON to OFF, or OFF to ON). This is suitable for controlling individual lights or appliances.
- Interlock Mode: This mode ensures that only one channel can be active at a time. If Channel 1 is ON and you activate Channel 2, Channel 1 will automatically turn OFF. This is ideal for applications like controlling a garage door opener (open/close) or motor direction, where only one action should occur at a time.
- Jog Mode (Momentary): In Jog mode, activating a channel will turn it ON for a preset duration (default 1 second, customizable from 0.5 to 3600 seconds) and then automatically turn it OFF. This is useful for momentary actions, such as triggering a gate opener or a PC power button.
Voice Control
Once paired with a compatible ZigBee hub that supports voice assistants (like Amazon Alexa or Google Home), you can control your connected devices using simple voice commands.
Examples of Voice Commands:
- "Alexa, turn on the lights."
- "Alexa, turn on the garage door."
- "Hey Google, turn off the bedroom light."
- "Alexa, turn off Channel 1."
Ensure your devices are named appropriately in your smart home app for easier voice control.
Timing and Scheduling
Leverage the timing and scheduling features available through your ZigBee hub's application to automate your devices.
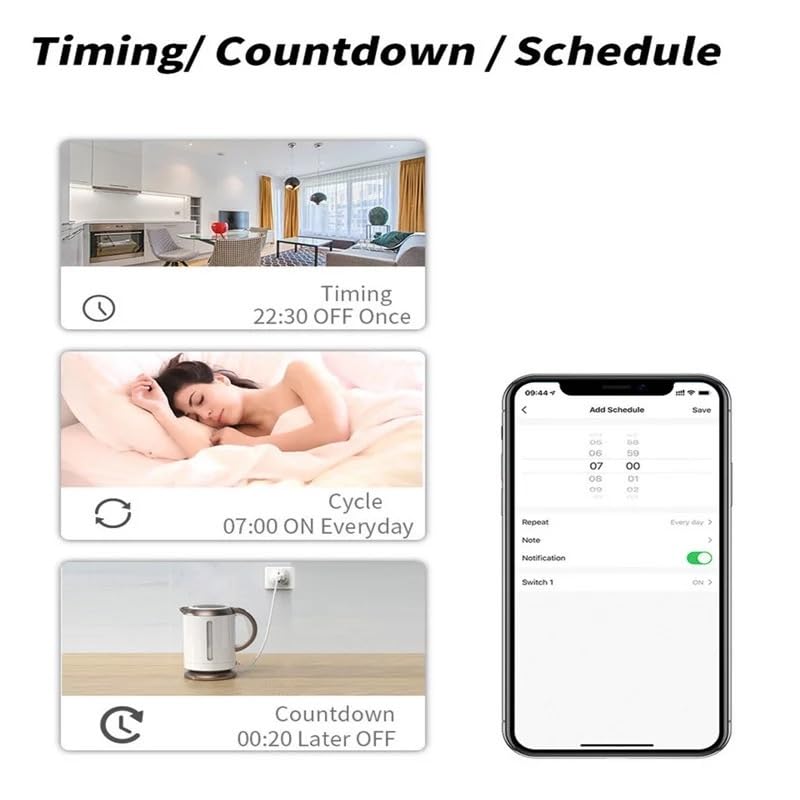
Image Description: An illustration showcasing the timing, countdown, and scheduling functionalities. It displays examples such as 'Timing: 22:30 OFF Once,' 'Cycle: 07:00 ON Everyday,' and 'Countdown: 00:20 Later OFF.' A smartphone interface for adding schedules is also depicted.
- Countdown Timer: Set a device to turn ON or OFF after a specified duration.
- Schedule: Program devices to turn ON or OFF at specific times on specific days.
- Cycle Timer: Automate repetitive ON/OFF cycles for devices.
Consult your specific ZigBee hub's application guide for detailed instructions on setting up these automation features.
Troubleshooting
- Device not pairing:
- Ensure your ZigBee hub is in pairing mode and within range.
- Check the power supply to the MHCOZY module.
- Try resetting the module (refer to your hub's instructions or the module's manual switch for reset procedure).
- Verify that your hub is compatible with ZigBee 3.0 devices.
- Voice control not working:
- Confirm the device is successfully paired and visible in your smart home app.
- Check the device name in your app; ensure it's easy for the voice assistant to recognize.
- Verify your voice assistant (Alexa/Google Home) is linked to your ZigBee hub.
- Relay not switching:
- Check the wiring connections to the COM, NO, and NC terminals.
- Ensure the connected appliance or circuit is receiving power.
- Verify the operating mode (Self-locking, Interlock, Jog) is correctly configured for your application.
- Ensure the load current does not exceed 10 Amperes.
- Intermittent connection:
- The MHCOZY module acts as a ZigBee router/extender. Ensure there are other ZigBee devices or the hub itself within reasonable range to create a robust mesh network.
- Avoid placing the module near large metal objects or other sources of wireless interference.
- USB power input issue (physical fit):
- Some users have reported that the plastic casing might obstruct the USB port. If experiencing this, carefully trim the plastic around the USB port or consider using the AC input terminals.
Maintenance
The MHCOZY ZigBee Smart Relay Switch is designed for low maintenance.
- Keep the device clean and free from dust. Use a dry, soft cloth for cleaning.
- Avoid exposing the device to extreme temperatures or humidity outside of the specified operating conditions.
- Do not attempt to open or repair the device yourself, as this will void the warranty and may pose a safety risk.
Warranty and Support
For warranty information and technical support, please refer to the documentation provided with your purchase or contact MHCOZY customer service directly.
If you encounter issues that cannot be resolved using the troubleshooting guide, especially if pairing with Tuya/Lidl Zigbee Hubs and remote control functionality is affected, please provide your device number to MHCOZY for potential firmware updates.