Important Safety Instructions
Please read this manual carefully before using the appliance and keep it for future reference. Failure to follow these instructions may result in electric shock, fire, or serious injury.
- Ensure the voltage indicated on the rating label corresponds to your mains voltage.
- Do not cover the heater. Overheating may occur.
- Keep flammable materials at least 1 meter away from the heater.
- Do not use this heater in the immediate vicinity of a bath, shower, or swimming pool.
- This appliance is splash-proof (IP24 rated) and suitable for bathroom use, but avoid direct water spray.
- Always unplug the heater when not in use or before cleaning.
- Do not operate the heater with a damaged cord or plug.
- Children should be supervised to ensure they do not play with the appliance.
- The heater features double overheat protection and a child lock function.
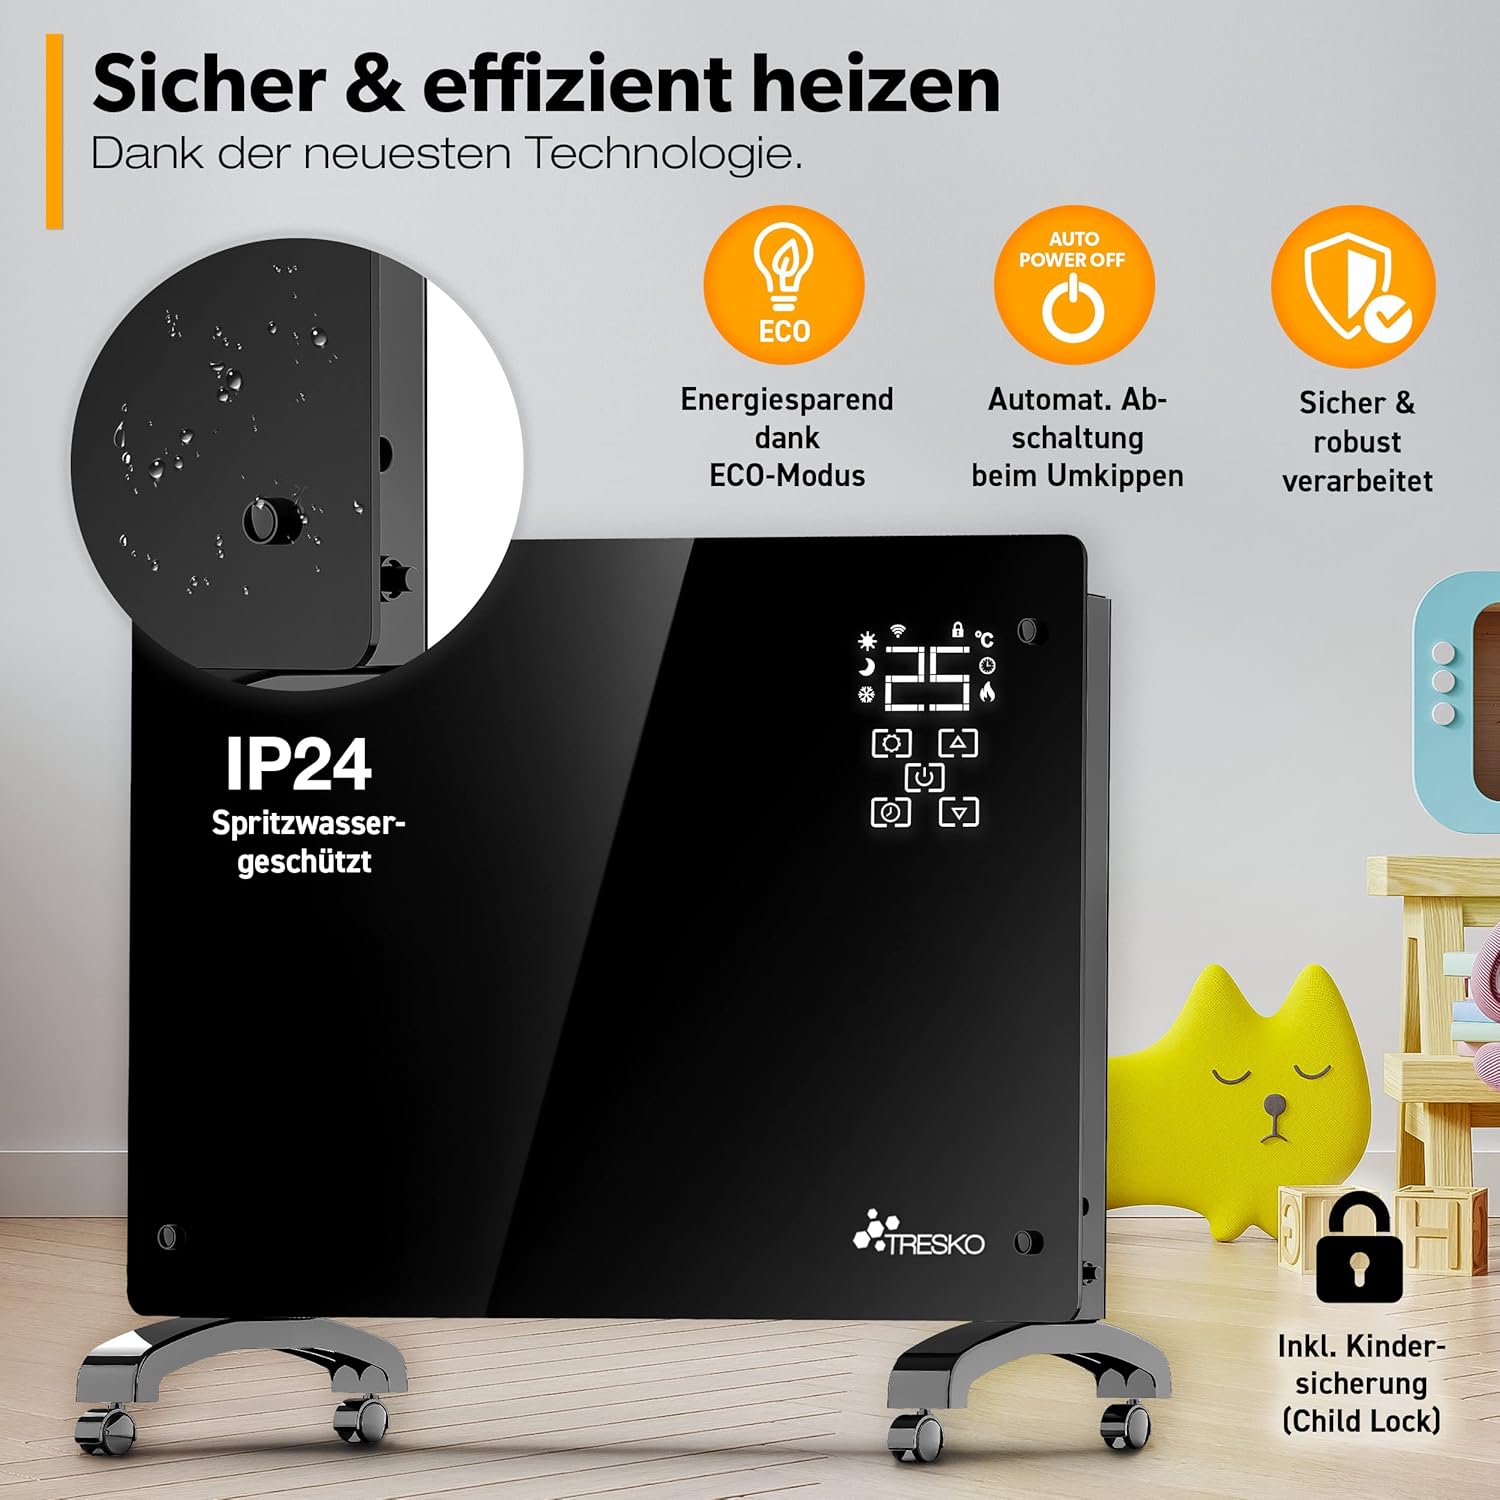
Image: Safety features including IP24 splash protection, ECO mode, automatic power-off, and child lock.
Product Overview
The TRESKO Glass Convector Heater provides efficient and comfortable heating for your home. It features a sleek design, LED display, touch controls, and WiFi connectivity for smart operation.

Image: Product features including 2000W power, double overheat protection, fast heating, and digital thermostat.
Components and Controls
- Glass Panel: Front heating surface.
- LED Display: Shows temperature, mode, and timer settings.
- Touch Controls: For manual adjustment of settings.
- Power Button: To turn the unit on or off.
- Temperature Adjustment Buttons: To increase or decrease the desired temperature.
- Mode Button: To cycle through heating modes (e.g., ECO, Comfort).
- Timer Button: To set the operating timer.
- WiFi Indicator: Shows WiFi connection status.
Setup
Freestanding Installation
- Carefully unpack the heater and all accessories.
- Attach the provided feet with castors to the base of the heater using the screws. Ensure they are securely fastened.
- Place the heater on a stable, level surface, away from curtains or other flammable materials.
Wall-Mounted Installation
- Remove the wall mounting bracket from the back of the heater.
- Choose a suitable wall location, ensuring there is sufficient clearance around the heater (at least 10 cm from ceiling and sides, 20 cm from floor).
- Mark the drilling points on the wall using the bracket as a template.
- Drill holes and insert wall plugs (if necessary for your wall type).
- Securely attach the mounting bracket to the wall using screws.
- Carefully hang the heater onto the wall mounting bracket, ensuring it clicks into place securely.

Image: Wall-mounted installation example, showing the heater in a home environment.
Initial Power-Up
- Plug the power cord into a suitable electrical outlet.
- The heater will enter standby mode.
- Press the power button on the control panel or via the app to turn on the heater.
Operating Instructions
Basic Operation (Manual Control)
- Power On/Off: Press the power symbol on the touch panel.
- Temperature Adjustment: Use the up/down arrows on the touch panel to set the desired temperature (range typically 5°C to 40°C).
- Mode Selection: Press the mode button to cycle through available heating modes (e.g., Comfort, ECO).
WiFi and App Control Setup
- Download the 'Smart Life' app from your smartphone's app store.
- Register or log in to your Smart Life account.
- Ensure your heater is in pairing mode (refer to the heater's display for a flashing WiFi icon). If not, press and hold the WiFi button on the heater for a few seconds.
- In the app, tap '+' to add a device, then select 'Heater' or 'Convector Heater'.
- Follow the on-screen instructions in the app to connect the heater to your home WiFi network.
- Once connected, you can control the heater remotely via the app.

Image: Demonstrates controlling the heater via its touch display and the Smart Life app on a smartphone.

Image: The Smart Life app interface for individual temperature settings and weekly mode scheduling.
Timer Function
The heater features a 1 to 24-hour timer. Press the timer button on the control panel or use the app to set the desired operating duration. The heater will automatically turn off after the set time.
Weekly Mode
Utilize the weekly mode via the Smart Life app to create a customized heating schedule for each day of the week. This allows for targeted daily planning and energy efficiency.
ECO Mode
Activate ECO mode to reduce energy consumption to a minimum while maintaining a comfortable temperature. This mode optimizes heating for energy savings.
Child Lock
To prevent accidental changes to settings, activate the child lock function. This can typically be done by pressing and holding a specific button combination on the control panel or through the app.
Anti-Freeze Function
The integrated sensor thermostat includes an anti-freeze function. If the ambient temperature drops below a certain threshold (e.g., 5-7°C), the heater will automatically activate to prevent freezing.
Maintenance
Cleaning
- Always unplug the heater and allow it to cool completely before cleaning.
- Wipe the exterior surfaces with a soft, damp cloth. Do not use abrasive cleaners or solvents.
- Ensure no water enters the internal components.
- Regularly remove dust from the air inlets and outlets using a soft brush or vacuum cleaner.
Storage
If storing the heater for an extended period, unplug it, clean it thoroughly, and store it in a cool, dry place, preferably in its original packaging.
Troubleshooting
| Problem | Possible Cause | Solution |
|---|---|---|
| Heater does not turn on. | No power supply; Power button not pressed; Overheat protection activated. | Check power cord and outlet; Press power button; Unplug, let cool, then restart. |
| No heat output. | Temperature setting too low; ECO mode active; Timer expired. | Increase temperature setting; Adjust mode; Check timer settings. |
| WiFi connection fails. | Incorrect WiFi password; Router too far; Heater not in pairing mode. | Verify WiFi password; Move heater closer to router; Re-enter pairing mode. |
| Heater makes unusual noise. | Dust accumulation; Loose part. | Clean air inlets/outlets; Contact customer support if noise persists. |
Specifications
| Feature | Detail |
|---|---|
| Brand | TRESKO |
| Model Number | 1395-004 |
| Heat Output | 2000 Watts |
| Heating Method | Convection |
| Power Source | Electric Cable |
| Features | Wi-Fi Compatible, LED Display, Touch Controls, Timer (1-24h), Weekly Mode, ECO Mode, Child Lock, Anti-Freeze Function, Overheat Protection |
| Mounting Type | Freestanding (with castors) or Wall Mount |
| IP Rating | IP24 (Splash-proof) |
| Item Weight | 8 Kilograms |
| Product Dimensions (Approx.) | 81.5 cm (Width) x 12 cm (Depth) x 54.5 cm (Height) |
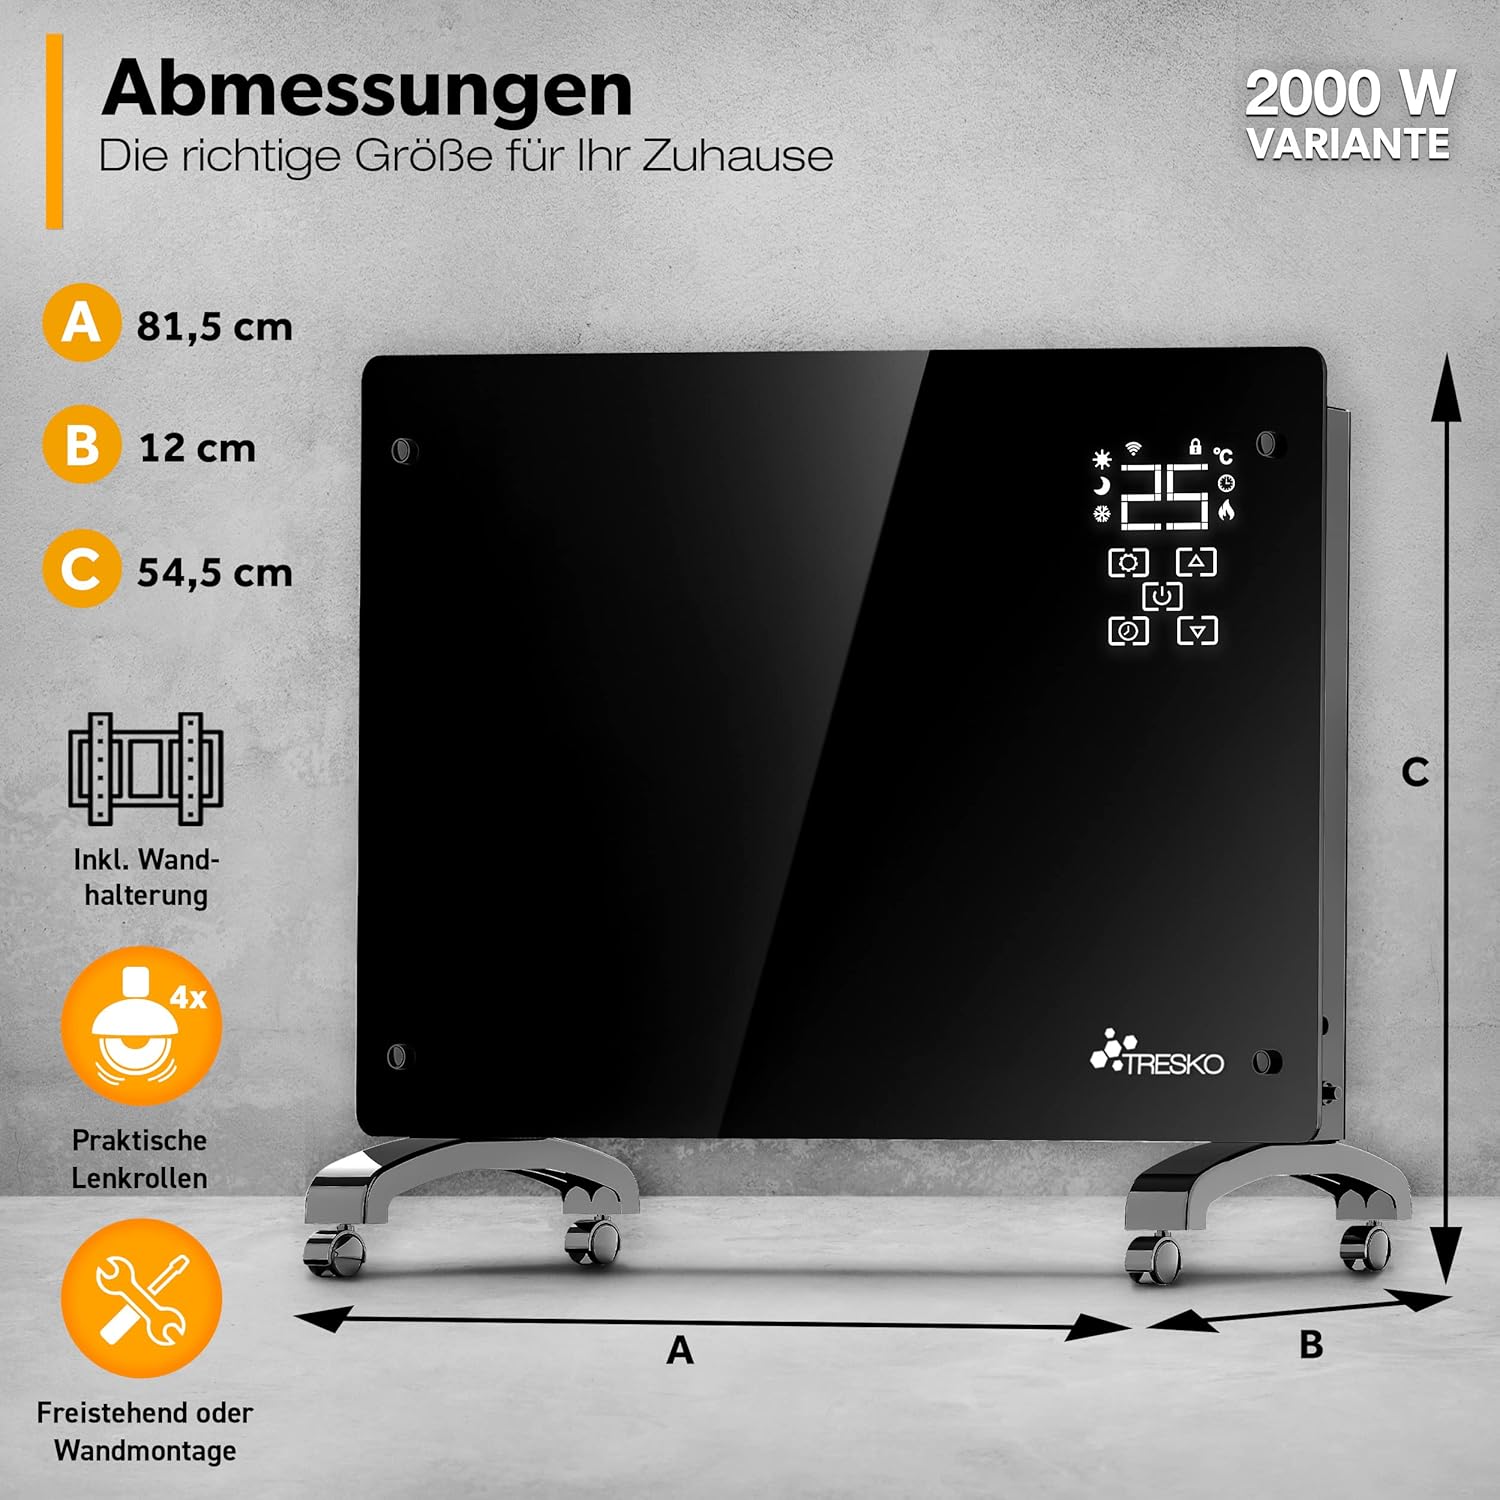
Image: Product dimensions for the 2000W variant.
Warranty and Support
This TRESKO product comes with a standard manufacturer's warranty. Please refer to the warranty card included in your package for specific terms and conditions.
For technical support, troubleshooting assistance, or warranty claims, please contact TRESKO customer service. Contact information can typically be found on the product packaging or the official TRESKO website.
When contacting support, please have your model number (1395-004) and proof of purchase ready.


