GAZHOME B0BBQNW97T
GAZHOME 10 Gallon Tilt Out Trash Cabinet User Manual
Model: B0BBQNW97T
1. Introduction
This manual provides essential information for the assembly, operation, and maintenance of your GAZHOME 10 Gallon Tilt Out Trash Cabinet. Please read these instructions carefully before assembly and use to ensure proper function and longevity of the product.

Figure 1.1: The GAZHOME 10 Gallon Tilt Out Trash Cabinet in white, featuring a single door and a top drawer, with the tilt-out door open to reveal an interior trash bin.
2. Important Safety Information
- Assembly Required: This product requires assembly. Follow all instructions carefully to ensure safe and correct installation.
- Use Caution: Exercise caution during assembly to prevent injury. It is recommended to have a second person assist with certain steps.
- Tool Requirements: A Phillips head screwdriver is required for assembly. An electric screwdriver may expedite the process.
- Weight Limits: Do not exceed the specified weight limits for the countertop (150 lbs) and storage drawer (35 lbs).
- Placement: Ensure the cabinet is placed on a stable, level surface to prevent tipping.
- Children and Pets: Keep children and pets away from small parts during assembly. The tilt-out design helps prevent pets from accessing the trash bin.
3. Package Contents
Before beginning assembly, verify that all parts and hardware are present. A detailed list of components is typically included in the packaging. If any parts are missing or damaged, please contact customer support.

Figure 3.1: Overview of product dimensions and material. The cabinet measures 20.5"W x 13"D x 35.6"H. The drawer measures 18.1"W x 11.2"D x 6.2"H. Material is MDF Board. Countertop capacity is 150 lbs, storage drawer capacity is 35 lbs.
4. Assembly Instructions
Assembly of the GAZHOME Tilt Out Trash Cabinet requires careful attention to detail. Refer to the pictorial instructions provided in your product packaging for specific step-by-step guidance. The following are general steps:
- Unpack and Identify Parts: Lay out all components and hardware. Match them against the parts list in your package. Hardware is typically labeled (e.g., A-S).
- Assemble the Frame: Begin by connecting the side panels to the base and back panel using the provided screws and wooden pegs. Ensure correct orientation of all pieces, paying close attention to pre-drilled holes.
- Install Drawer Slides: Attach the drawer slides to the cabinet frame according to the instructions.
- Assemble the Drawer: Construct the drawer box and attach the drawer face. Install the drawer handle.
- Install the Tilt-Out Mechanism: Attach the tilt-out door to the cabinet frame using the specified hinges and hardware. Ensure the door opens and closes smoothly.
- Attach the Countertop: Secure the wooden countertop to the top of the assembled cabinet frame.
- Final Checks: Verify that all screws are tightened, and the cabinet is stable. Test the drawer and tilt-out door for smooth operation.
Note: Some users have reported that pre-drilled holes for wooden pegs may not always be deep enough, or that the orientation of pieces in pictorial instructions can be unclear. Double-check all orientations before fastening and use wood glue if minor repairs are needed for chipped or splitting wood.
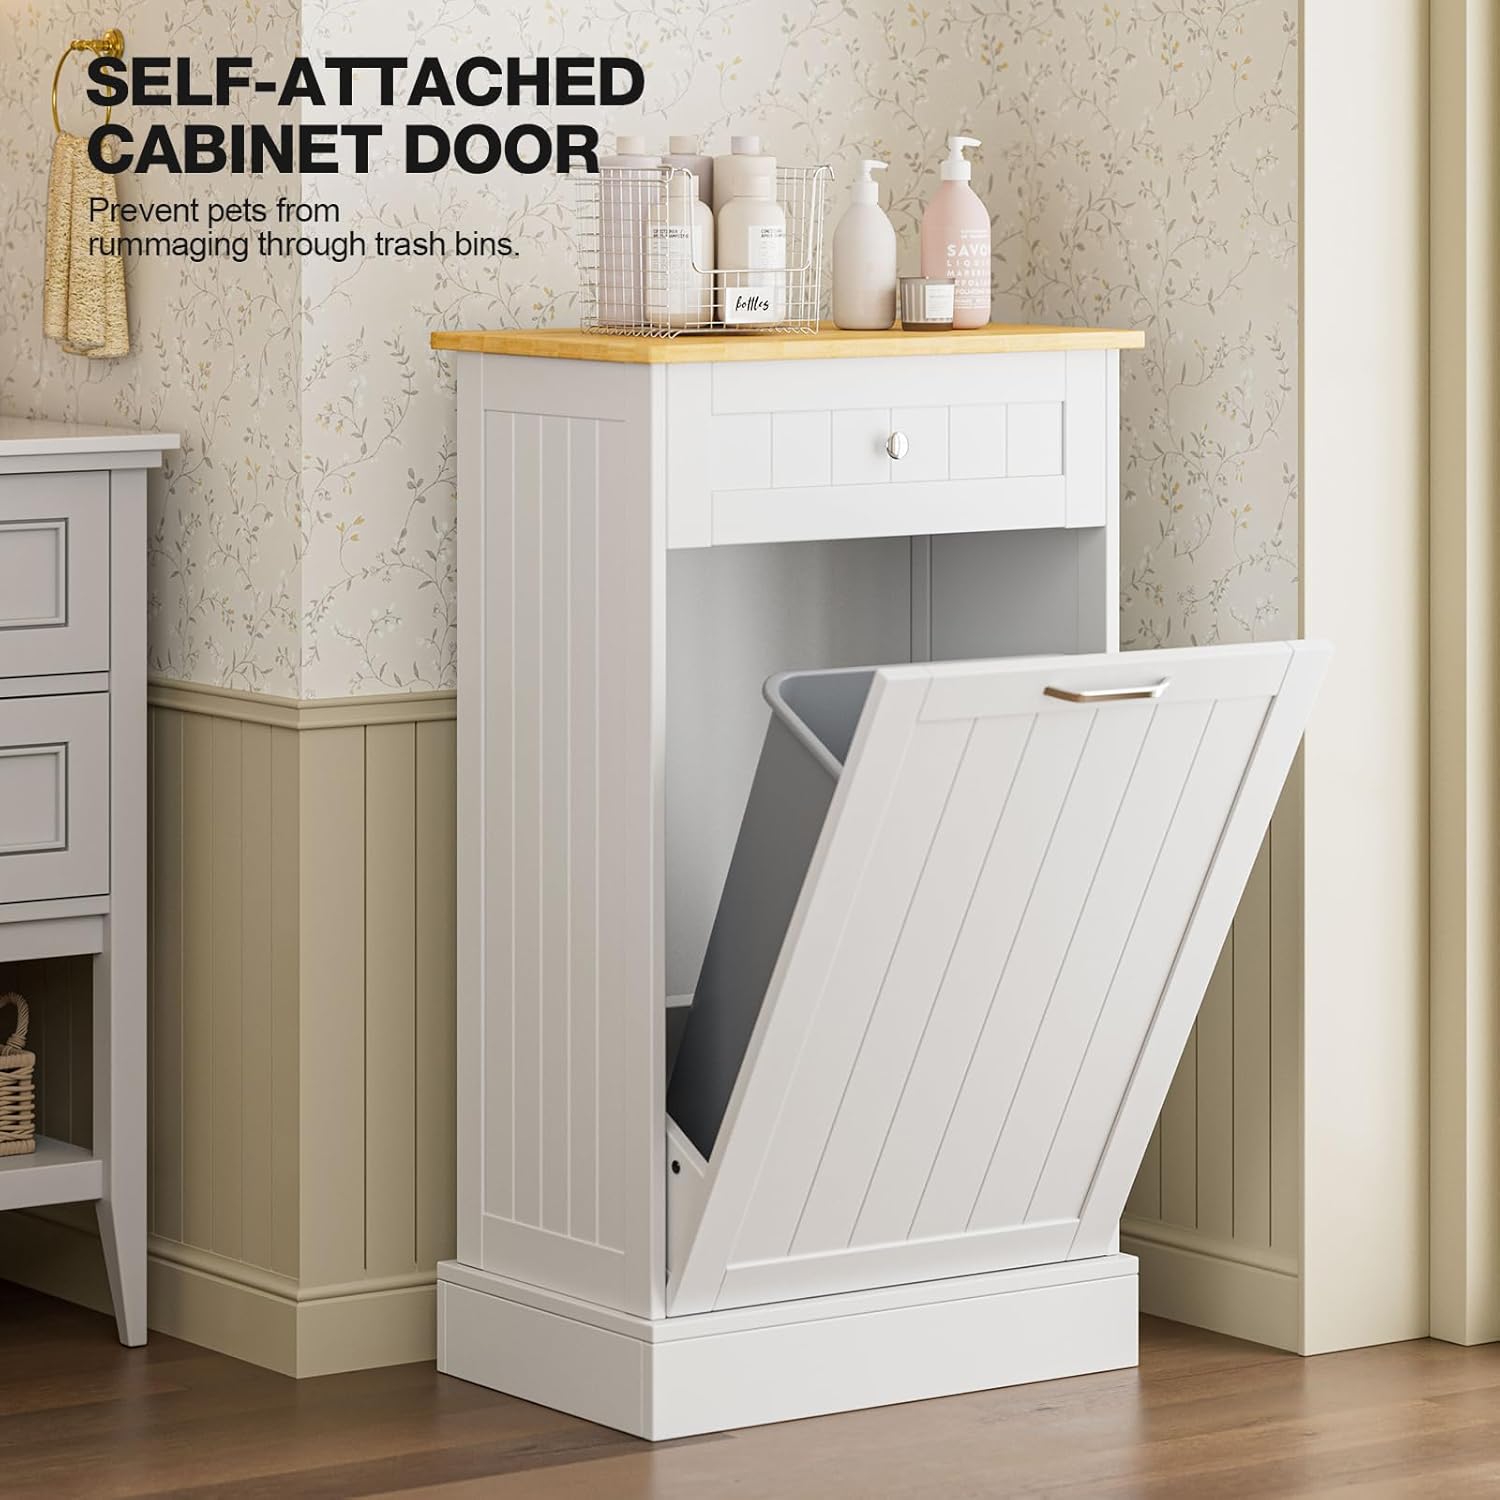
Figure 4.1: The self-attached cabinet door design helps to prevent pets from accessing the trash bin, maintaining a tidy environment.
5. Operating Instructions
5.1 Using the Tilt-Out Trash Bin
- Opening: Gently pull the handle on the front of the cabinet door. The door will tilt forward and down, revealing the interior space for your trash bin.
- Inserting/Removing Trash Bin: Place a standard 10-gallon trash can (maximum height 24 inches) into the designated compartment. Ensure it fits securely. To remove, simply tilt the door open and lift the bin out.
- Closing: Push the door back into the upright position until it is flush with the cabinet frame. The self-attached mechanism will hold it in place.
5.2 Using the Hideaway Drawer
- Opening: Pull the knob on the front of the drawer to slide it open.
- Storage: The drawer provides additional storage for items such as trash bags, cleaning supplies, or other kitchen essentials. The drawer has a weight capacity of 35 lbs.
- Closing: Gently push the drawer back until it is fully closed.

Figure 5.1: The cabinet features a rotating drawer lid for effortless disposal of trash without fully opening the cabinet door, and the main cabinet door opens to a maximum angle of 90 degrees.
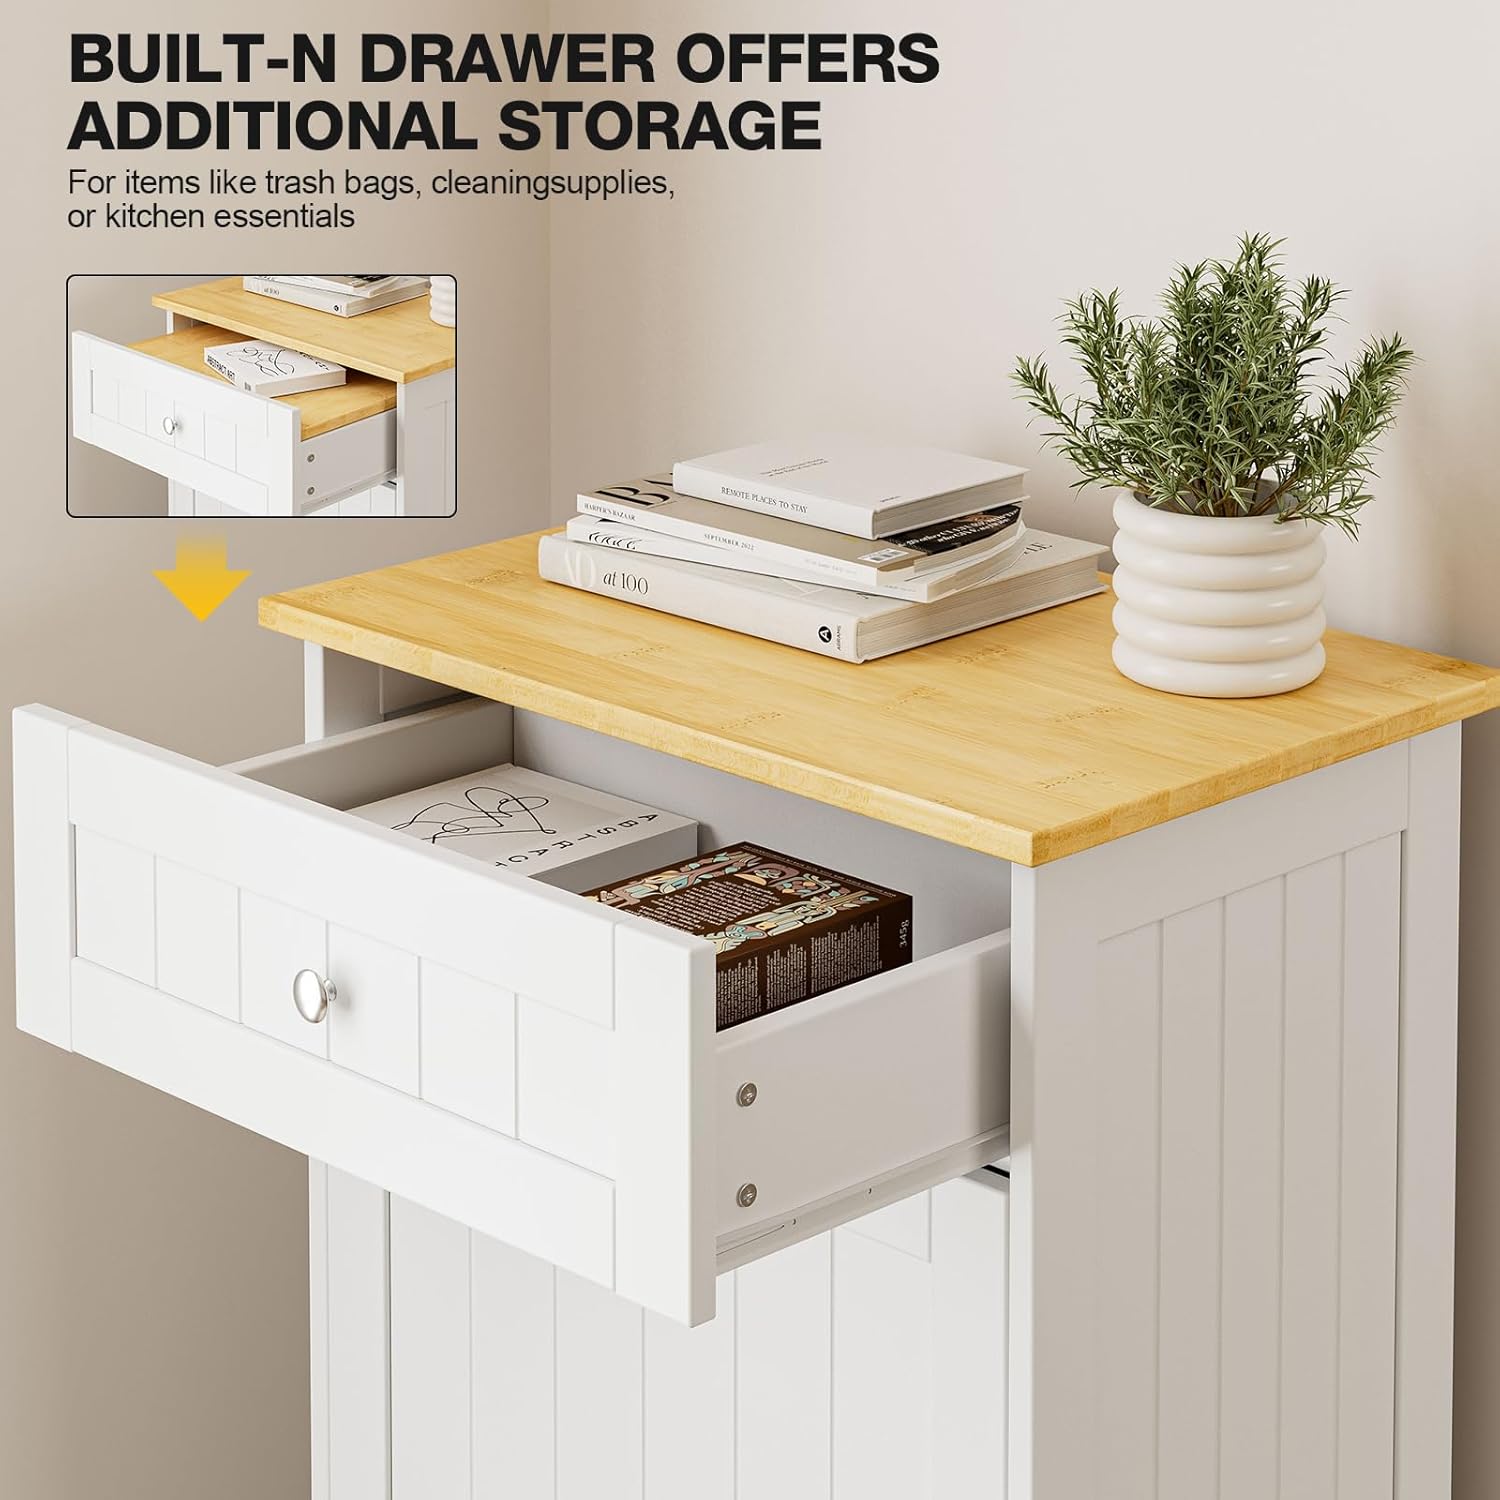
Figure 5.2: The built-in drawer provides additional storage space for items such as trash bags, cleaning supplies, or other kitchen essentials, helping to keep your space organized.
6. Maintenance and Care
- Cleaning: The cabinet features an easy-to-care, smooth surface. Wipe with a damp cloth daily to remove dust and spills. Stains are not easy to penetrate.
- Avoid Harsh Chemicals: Do not use abrasive cleaners or harsh chemicals, as these can damage the finish.
- Spill Management: Promptly clean any spills, especially inside the trash bin compartment, to prevent odors and damage to the wood.
- Hardware Check: Periodically check all screws and connections to ensure they remain tight. Retighten if necessary.
- Drawer Slides: The drawer slides are designed for smooth and silent operation. Keep them free of debris.
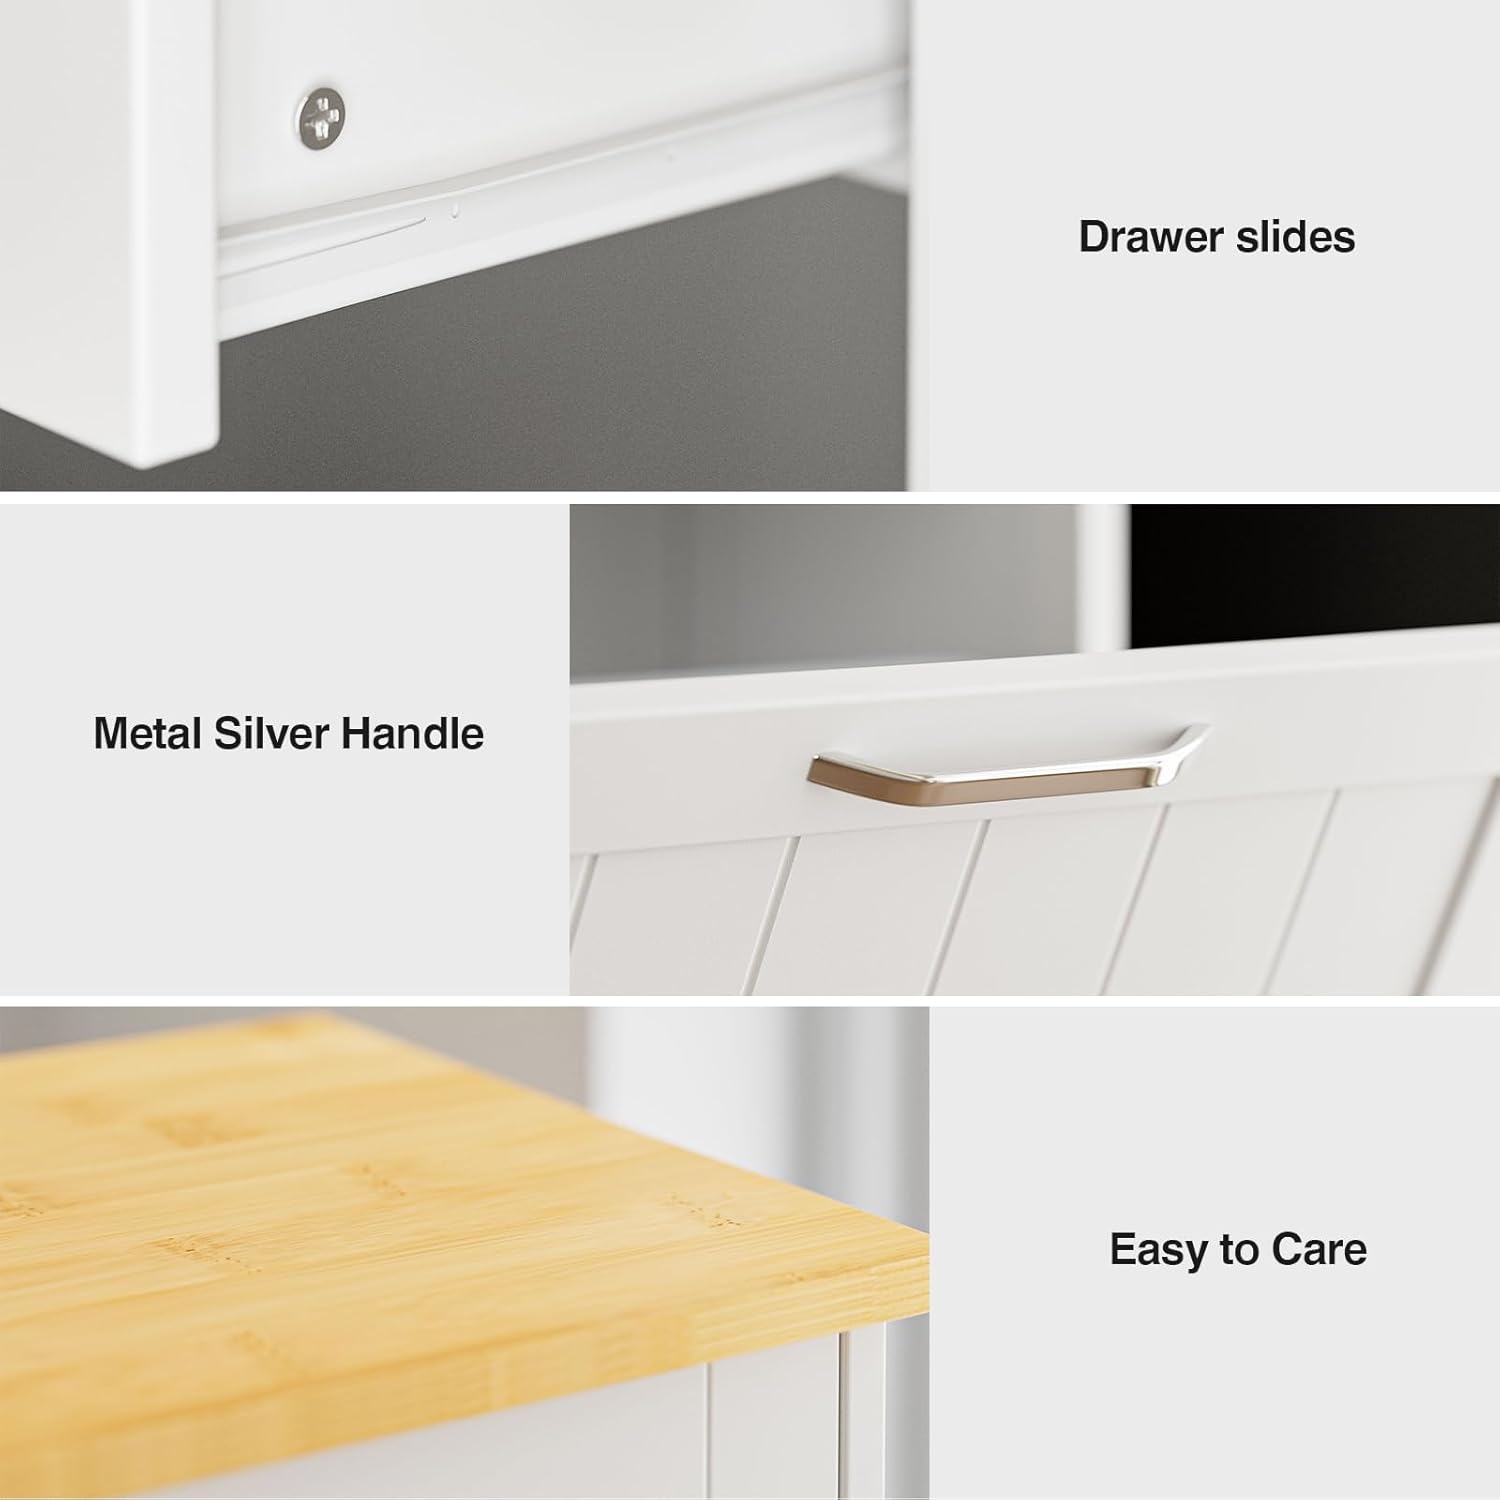
Figure 6.1: Detailed view of the drawer slides for smooth operation, the sturdy metal silver handle, and the easy-to-care countertop surface.
7. Troubleshooting
| Problem | Possible Cause | Solution |
|---|---|---|
| Cabinet is wobbly or unstable. | Loose screws or uneven placement. | Ensure all screws are tightened. Place the cabinet on a level surface. |
| Drawer does not slide smoothly. | Debris in slides or misaligned drawer. | Clean drawer slides. Recheck drawer assembly and alignment. |
| Tilt-out door does not close flush. | Misaligned hinges or obstruction. | Check hinge installation. Ensure no items are obstructing the door's path. |
| Trash can does not fit inside. | Trash can is too large. | Ensure your trash can is a standard 10-gallon size and does not exceed 24 inches in height. |
| Parts are chipped or splitting during assembly. | Over-tightening screws or manufacturing defect. | Avoid over-tightening. If parts are defective, contact customer support for replacements. Minor chips can sometimes be repaired with wood glue. |
8. Product Specifications
| Feature | Detail |
|---|---|
| Brand | GAZHOME |
| Model Number | B0BBQNW97T |
| Color | White |
| Product Dimensions | 13"D x 20.5"W x 35.6"H |
| Storage Volume | 10 Gallons |
| Material | Wood (MDF Board), Engineered Wood (Back) |
| Handle Material | Stainless Steel |
| Item Weight | 30 Pounds |
| Mounting Type | Floor Mount |
| Assembly Required | Yes |
| Number of Compartments | 2 (Trash bin, Drawer) |
| Countertop Capacity | 150 lbs |
| Storage Drawer Capacity | 35 lbs |
9. Warranty and Support
For warranty information or customer support regarding your GAZHOME Tilt Out Trash Cabinet, please refer to the documentation included with your purchase or contact GAZHOME directly through their official channels. Keep your purchase receipt for warranty claims.
Ask a question about this manual
Ask about setup, troubleshooting, compatibility, parts, safety, or missing instructions. Manuals+ will review the question and use this page’s manual context to help answer it.