
VICTAGEN VTG-B3
VICTAGEN VTG-B3 12000lm Rechargeable Bike Light Instruction Manual
Model: VTG-B3
Introduction
Thank you for choosing the VICTAGEN VTG-B3 12000lm Rechargeable Bike Light. This manual provides detailed instructions for the safe and efficient use of your new bike light system. Please read this manual thoroughly before operation and retain it for future reference.
What's in the Box
- 12000lm Bike Headlight (Main Unit)
- Rechargeable Taillight
- Handlebar Mount
- USB Charging Cable (USB-A to USB-C)
- External Battery Pack (10000mAh)
- Elastic Velcro Strap (for battery pack mounting)
- Gopro Mount Adapter
- User Manual

Image: All components included in the Victagen VTG-B3 bike light package.
Product Overview
The VICTAGEN VTG-B3 features a durable aluminum shell, 4 LED split-type design for high and low beams, and a powerful 10000mAh external battery pack. The system includes a smart taillight with multiple modes and a brake warning function. An integrated battery indicator on the headlight provides real-time power status.

Image: Detailed view of the Victagen VTG-B3 headlight, external battery, and taillight with key features labeled.
Setup and Installation
Headlight Installation:
- Handlebar Mount: Attach the handlebar mount to your bicycle's handlebar (compatible with 22-33mm diameter). Secure it firmly using the provided thumb screw.
- Attach Headlight: Slide the headlight unit onto the mount until it clicks into place.
- Gopro Mount (Optional): If using a Gopro mount, attach the Gopro adapter to your existing Gopro accessories, then slide the bike light onto the adapter.
- Connect Battery Pack: Connect the headlight's power cable to the external 10000mAh battery pack.
- Secure Battery Pack: Use the elastic Velcro strap to secure the battery pack to your bike frame. Recommended positions include the top tube, bottom tube, or down tube, avoiding areas prone to water submersion.

Image: Step-by-step guide for installing the headlight and securing the battery pack.
Taillight Installation:
- Fix Bracket: Fix the seat tube bracket to the bike's seat tube using a tie or strap.
- Attach Taillight: Put the taillight into the seat tube bracket and rotate it 90 degrees to secure.

Image: Guide for installing the smart brake warning taillight.
Charging Instructions
Headlight and Battery Pack:
- The external 10000mAh battery pack charges via USB-C. Use the provided USB charging cable to connect it to a USB power source (e.g., wall adapter, computer, car charger).
- The battery indicator lights on the headlight will show charging progress. Green lights indicate charging, and lights turn off when fully charged.
- The battery pack can also function as a power bank to charge your phone or other devices while riding.
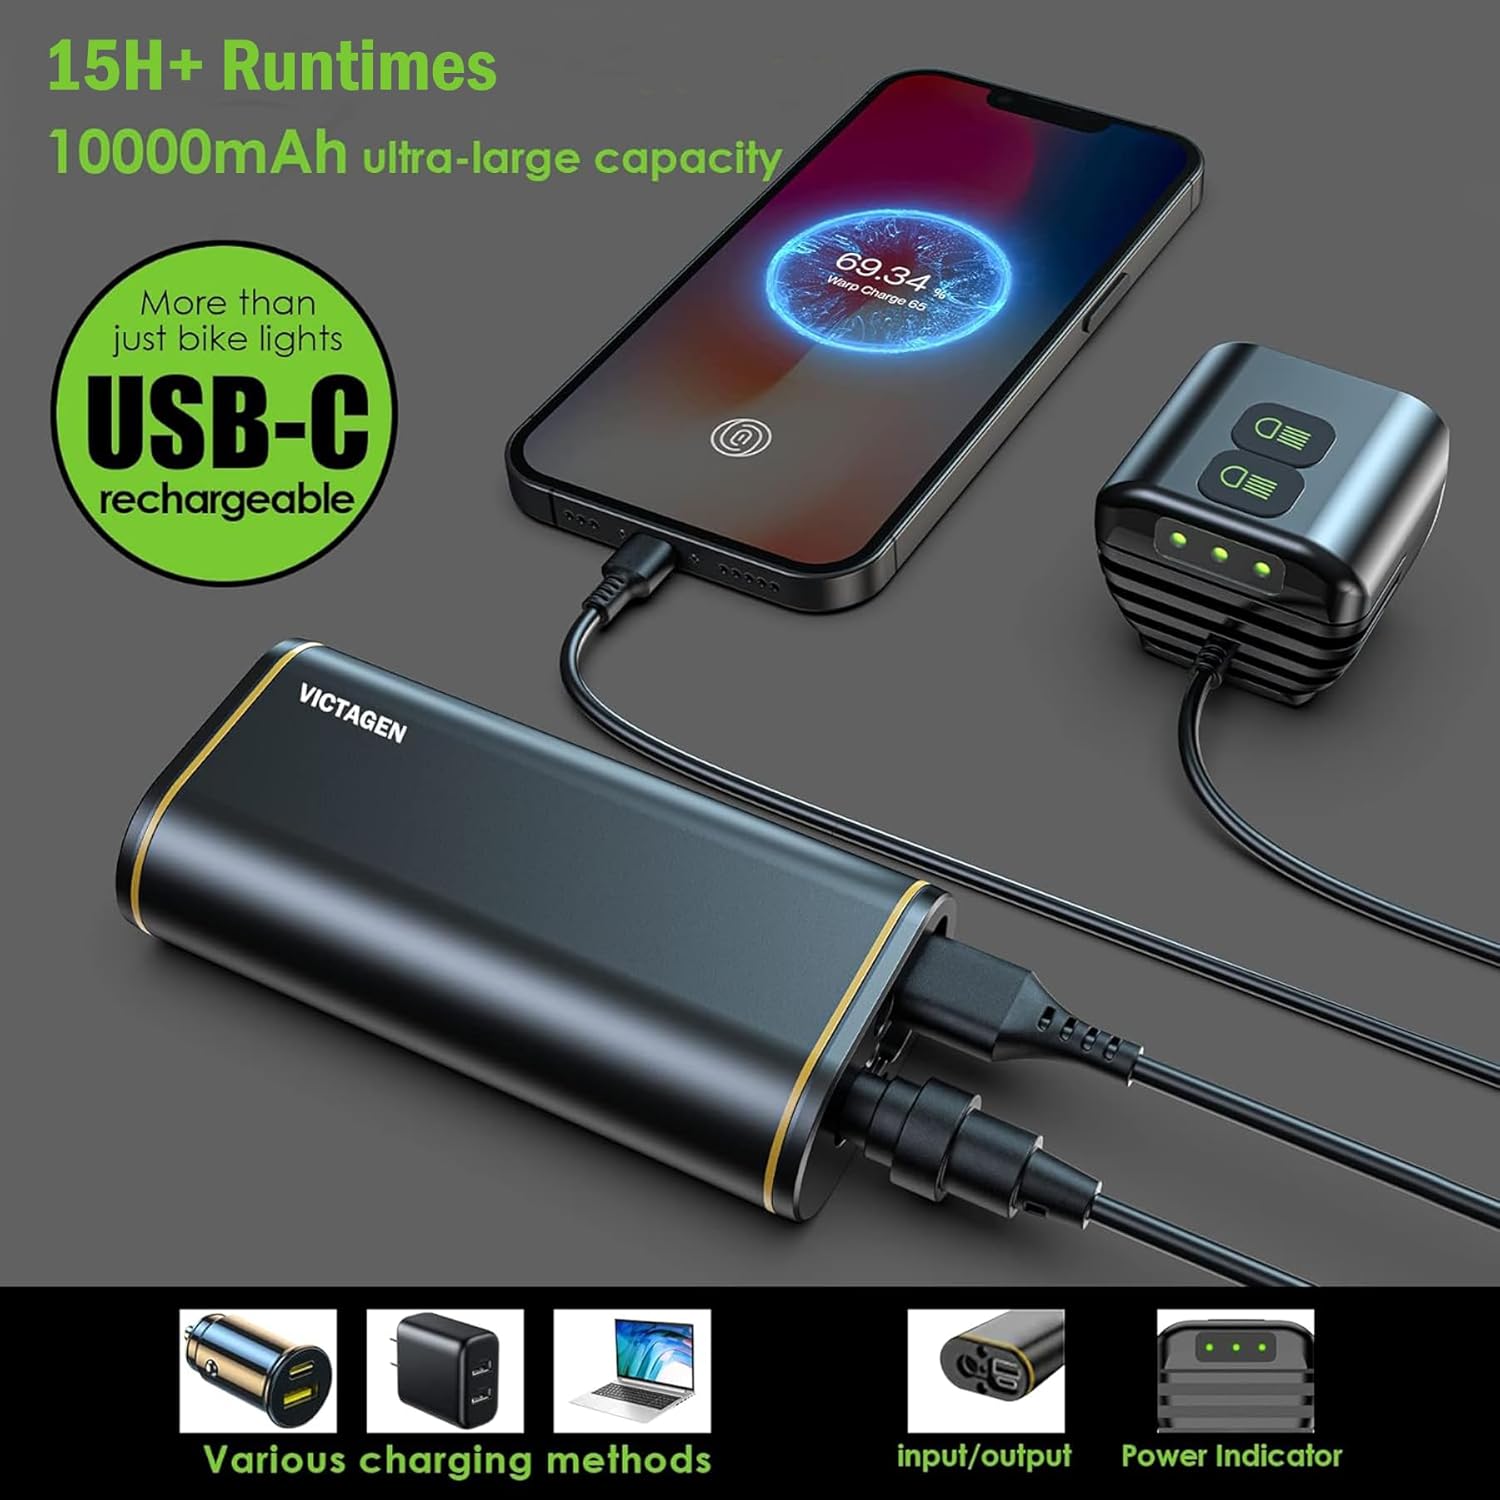
Image: The 10000mAh battery pack charging and acting as a power bank.
Taillight:
- The taillight is USB rechargeable. Connect it to a USB power source using a suitable cable (not explicitly mentioned if included, but implied by "USB charging").
Operating Instructions
Headlight (Main Unit):
The headlight features two separate buttons for High Beam and Low Beam control, offering 13 light modes and 3 brightness levels.
- Power On/Off: Press and hold either the High Beam or Low Beam button for 2-3 seconds to turn the light on or off.
- Switch Modes:
- High Beam Button: Cycles through High Light, Medium Light, Low Light, Slow Flash, and SOS modes for the high beam LEDs.
- Low Beam Button: Cycles through High Light, Medium Light, Low Light, Slow Flash, and SOS modes for the low beam LEDs.
- Combined Mode: Press both buttons simultaneously to activate combined High + Low Beam modes (High Light, Medium Light, Low Light).
- Battery Indicator: The LED indicators on the light unit display the remaining battery level.

Image: Overview of the 13 available lighting modes and estimated runtimes.
Taillight:
- Mode Selection: The taillight can switch between 5 modes with a single button.
- Brake Warning Function: The taillight includes a brake warning function, increasing visibility when decelerating.
- Sleep Power Saving: Features a sleep power saving function, automatically adjusting based on activity.

Image: Smart taillight features, including brake warning and sleep mode.
Maintenance
- Cleaning: Wipe the light unit and battery pack with a soft, damp cloth. Do not use abrasive cleaners or solvents.
- Water Resistance: The headlight is rated IPX6 waterproof, and the taillight is IPX5 waterproof. While resistant to splashes and rain, avoid submerging the units in water. The battery pack has good water resistance but should avoid soaking in water.
- Storage: Store the light system in a cool, dry place when not in use. Charge the battery periodically if stored for extended periods to maintain battery health.
Troubleshooting
- Light not turning on: Ensure the battery pack is fully charged and properly connected to the headlight. Check if the power buttons are pressed and held for the required duration.
- Short battery life: Ensure the battery pack is fully charged before use. Operating in high brightness modes will consume battery faster. Cold weather can also reduce battery performance.
- Taillight not responding: Check if the taillight is charged. Ensure the button is pressed correctly to cycle modes.
- Mounting issues: Ensure the handlebar mount is securely tightened. If the light feels loose, verify the headlight is fully clicked into the mount.
Specifications
| Feature | Detail |
|---|---|
| Model Name | VTG-B3 |
| Lumen Output | 12000lm (Max) |
| Light Source | 4 LED Split Type (High & Low Beam) |
| Battery Capacity | 10000mAh (External Battery Pack) |
| Material | Aluminum |
| Water Resistance (Headlight) | IPX6 |
| Water Resistance (Taillight) | IPX5 |
| Mounting Type | Handlebar Mount (22-33mm compatible), Gopro Mount Adapter |
| Charging Port | USB-C (for battery pack), USB (for taillight) |
| Power Output Function | Yes (Power Bank for charging devices) |
| Item Weight | 68 Grams (Headlight unit only, excluding battery pack) |
| Product Dimensions | 3.97"L x 1.81"W x 1.1"H (Headlight unit) |
Warranty and Support
VICTAGEN offers a 1-year warranty for this product, including free replacement of the mount within this period. For any questions, technical support, or warranty claims, please contact VICTAGEN customer service through the retailer where the product was purchased or visit the official VICTAGEN store online.
VICTAGEN Store: Visit the VICTAGEN Store on Amazon
Ask a question about this manual
Ask about setup, troubleshooting, compatibility, parts, safety, or missing instructions. Manuals+ will review the question and use this page’s manual context to help answer it.