Dainolite Preston Pendant Light User Manual
Model: PST-264LP-MB-BK
1. Product Overview
The Dainolite PST-264LP-MB-BK Preston Pendant is a 4-light fixture designed to provide ambient lighting. This modern ceiling light features a matte black finish and glass shade, suitable for various indoor settings such as home offices and lobbies. It is a hardwired fixture with incandescent light source compatibility and is dimmable.
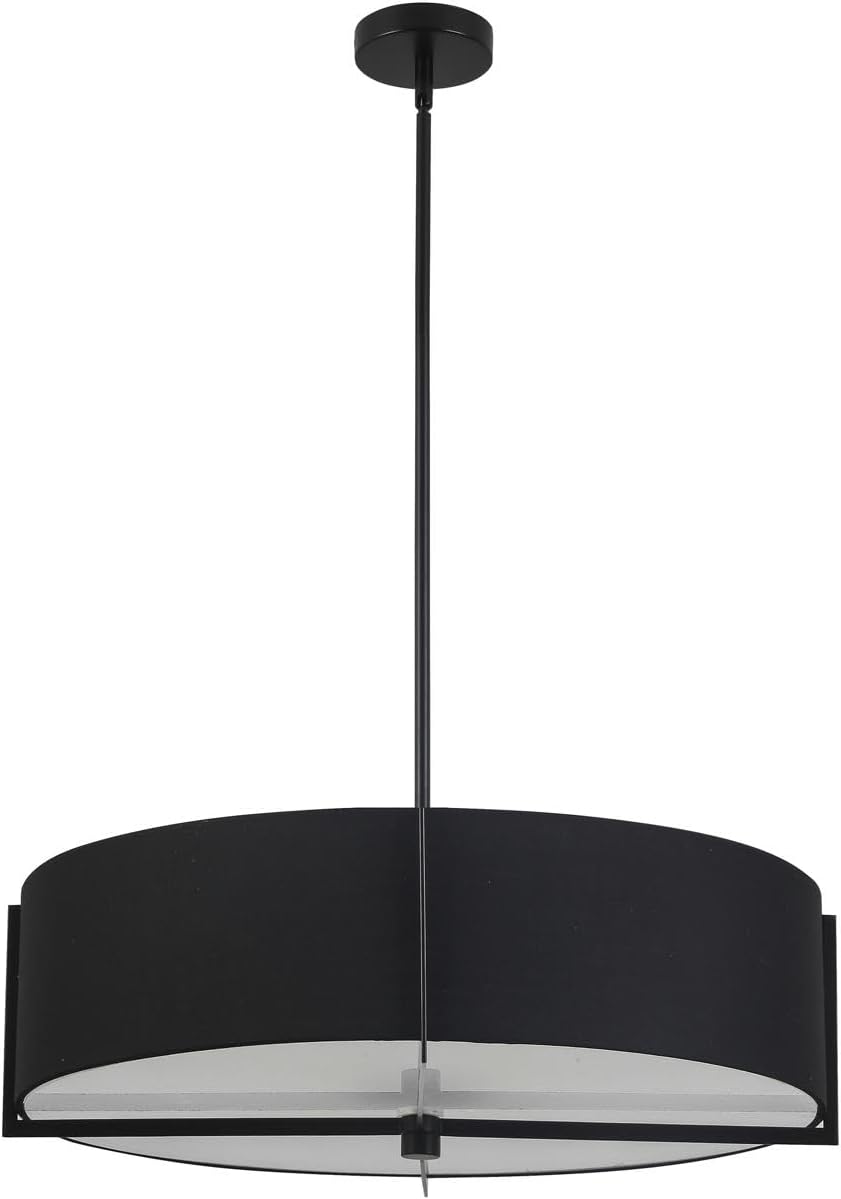
Image: Front view of the Dainolite Preston Pendant Light, showcasing its matte black finish and cylindrical design.

Image: The Dainolite Preston Pendant Light installed in a room, demonstrating its aesthetic appeal and how it complements interior decor.
2. Safety Information
Please read and understand all instructions before beginning installation. Failure to do so may result in electric shock, fire, or other injuries that could be hazardous or even fatal. All wiring connections must be in accordance with local and national electrical codes (NEC). If you are unfamiliar with electrical wiring, consult a qualified electrician.
- Always disconnect power at the main circuit breaker before installation or maintenance.
- Do not install this fixture in wet locations.
- Ensure all connections are secure and properly insulated.
- Use only the specified bulb type and wattage.
- This product is designed for general purpose use in home offices and lobbies.
3. Package Contents
Verify that all parts are present before discarding packaging materials. If any parts are missing or damaged, contact Dainolite customer service.
- Pendant Light Fixture (1)
- Mounting Hardware Kit (1)
- Fractional Rods (various lengths)
- Instruction Manual (this document)
4. Setup and Installation
Follow these steps carefully for proper installation of your Dainolite Preston Pendant Light.
4.1 Choose Mounting Option
The PST-264LP fixture offers two mounting options: Pendant (hanging) or Semi-Flush (closer to the ceiling).

Image: Technical diagram illustrating the dimensions and appearance of the PST-264LP in both Pendant (Option A) and Semi-Flush (Option B) configurations. Note the maximum drop of 48 inches for pendant and minimum drop of 12 inches for semi-flush.
4.2 Determine Hanging Height
When hanging a chandelier or pendant in any room, including entrances, hallways, and living spaces, the minimum distance from the floor should be 7 feet (84 inches). The height of the fixture should also clear any swinging doors. For rooms with higher than average ceilings, multi-tier fixtures are suggested, or adjust the fractional rods accordingly.

Image: Diagram showing a light fixture positioned above a doorway, emphasizing the recommended minimum height of 7 feet from the floor to ensure clearance and proper illumination.
4.3 Assemble with Fractional Rods
The fixture comes with fractional rods (20", 11", 8") allowing for adjustable drop length, with a total length of 39 inches when combined. Select the appropriate rods to achieve your desired hanging height.

Image: Illustration of the fractional rods (20", 11", 8") provided with the pendant light, which can be combined to achieve a total drop length of 39 inches, allowing for customizable installation height.
4.4 Electrical Connection (Hardwired)
This fixture requires a hardwired electrical connection. Ensure power is OFF at the circuit breaker before proceeding. Connect the fixture's wires to your household wiring according to standard electrical practices (black to black, white to white, ground to ground). Secure all connections with wire nuts and ensure they are properly insulated.

Image: An icon representing a hardwired connection, indicating that the fixture must be directly connected to the electrical system of the building.
4.5 Final Assembly
Once electrical connections are made and secured, attach the fixture to the mounting bracket in the ceiling. Install the appropriate incandescent bulbs (not included) into the sockets. Ensure the glass shade is securely in place.
5. Operating Instructions
5.1 Powering On/Off
The fixture is controlled by a standard wall switch connected to your household electrical system. Flip the switch to turn the light on or off.
5.2 Dimmable Feature
This fixture is dimmable. To utilize the dimming function, ensure you are using dimmable incandescent bulbs and have a compatible dimmer switch installed (sold separately). Adjust the dimmer switch to achieve your desired light intensity.

Image: An illustration depicting a wall-mounted dimmer switch alongside a gradient of light intensity, indicating the fixture's dimmable capability when paired with compatible bulbs and a dimmer.
6. Maintenance
- Cleaning: To clean the fixture, ensure power is off. Wipe with a soft, dry cloth. Do not use abrasive cleaners or solvents as they may damage the finish or glass.
- Bulb Replacement: Always turn off power before replacing bulbs. Allow bulbs to cool before touching. Replace with incandescent bulbs of the specified wattage.
- Inspection: Periodically check all connections and mounting hardware to ensure they remain secure.
7. Troubleshooting
| Problem | Possible Cause | Solution |
|---|---|---|
| Light does not turn on. | No power to the fixture; loose wiring; faulty bulb; tripped circuit breaker. | Check circuit breaker; ensure all wiring connections are secure; replace bulb; verify power supply. |
| Light flickers. | Loose bulb; incompatible dimmer switch; unstable power supply. | Tighten bulb; ensure dimmer is compatible with incandescent bulbs; consult electrician for power issues. |
| Fixture is unstable after installation. | Mounting hardware not securely fastened. | Ensure all mounting screws and connections are tightened properly. |
8. Specifications
- Brand: Dainolite
- Model Number: PST-264LP-MB-BK
- Color: Matte Black
- Style: Modern
- Light Fixture Form: Ceiling (Pendant/Semi-Flush)
- Room Type: Home Office, Lobby
- Power Source: Corded Electric
- Control Method: App (Note: This may refer to smart dimmer compatibility, not direct app control of the fixture itself)
- Light Source Type: Incandescent
- Finish Type: Finished
- Shade Material: Glass
- Number of Light Sources: 4
- Voltage: 120 Volts
- Embellishment: Crystal (Note: While listed, the primary images do not clearly show crystal embellishments. This may refer to internal components or a subtle design element.)
- Mounting Type: Protruding
- Product Dimensions: 26 x 26 x 7 inches (Length x Width x Height)
- UPC: 065214074254
- Commercial Use: Yes

Image: An icon featuring a lightbulb, signifying that this product is suitable for commercial applications in addition to residential use.
9. Warranty and Support
This Dainolite product comes with a manufacturer's warranty. For specific warranty details, claims, or technical support, please contact Dainolite directly. Keep your purchase receipt as proof of purchase.
Manufacturer: Dainolite


