Introduction
This manual provides detailed instructions for the proper setup, operation, and maintenance of your OmniCore Designs Venture 6 Person Cabin Tent with Canopy. Please read all instructions carefully before attempting to set up or use the tent to ensure safety and optimal performance.
The OmniCore Designs Venture tent is designed for comfortable outdoor living, featuring a spacious sleeping area for up to six people and an integrated canopy for additional sheltered space.

Image: An overall view of the OmniCore Designs Venture 6 Person Cabin Tent with its attached canopy, set up in an outdoor environment.
Safety Information
- Fire Safety: Keep all flame and heat sources away from this tent fabric. The tent is made of flame-resistant fabric, but it is not fireproof.
- Ventilation: Ensure adequate ventilation to prevent suffocation and carbon monoxide poisoning. Do not use fuel-burning devices inside the tent.
- Weather Conditions: Avoid setting up the tent under trees with dead branches. In strong winds or heavy rain, ensure all guy lines are securely staked and adjusted.
- Site Selection: Choose a level campsite free of sharp objects. Clear the area of debris before pitching the tent.
- Children: Keep children away from the tent during setup and takedown.
Package Contents
Before beginning assembly, verify that all components are present:
| Component | Quantity |
|---|---|
| Tent Bag | 1 |
| Pole Bag | 1 |
| Peg Bag | 1 |
| Outer Tent (Rainfly) | 1 |
| Inner Tent | 1 |
| Poles (Fiberglass) | 8 |
| Steel Poles | 8 |
| Guy Ropes | 14 |
| Metal Pegs | 24 |
Setup Instructions
Setting up the OmniCore Designs Venture tent typically requires two people and takes approximately 20-30 minutes. Follow these steps for proper assembly:

Image: A detailed diagram illustrating the step-by-step assembly process for the OmniCore Designs Venture 6P Canopy Tent, including visual aids for each stage.
- Step 1: Lay out the Inner Tent. Spread the inner tent on the ground. After assembling the eight iron poles, insert them into the sleeve pipe at the top. The curved and long pole is the bottom end, and the short one is the top end. Put the top insert to the cross joint, and the bottom insert into the corresponding position of the aluminum ring.
- Step 2: Hook around the Tent Body. Hook the tent body to the corresponding fiberglass poles.
- Step 3: Insert Fiberglass Poles. Insert the three fiberglass poles respectively into the tube strips on the left and right windows, and insert both ends into PP loops on both sides.
- Step 4: Secure the Inner Tent. Insert the nails into the PP loops at the bottom of the four edges, flatten the tent outwards, and nail it into the ground to fix the inner tent.
- Step 5: Attach the Outer Tent (Rainfly). Cover the front and back outer tent, and connect the four buckles from the fly corners to the ones from the inner tent. Wrap the velcro fasteners under the fly around the steel poles.
- Step 6: Tie up Guy Lines. Tie up white guy lines to all pull strips on the fly, and secure the other end to the ground with iron nails. The adjuster on the guy rope is for tension drawstring and for stability.

Image: Two individuals working together to set up the tent, illustrating the collaborative effort required for assembly.

Image: A close-up view of a person's hand attaching a tent pole, demonstrating a key step in the tent assembly process.
Operating Instructions
Ventilation
The Venture tent features huge windows on each wall and all sides of the attached shelter can be rolled up to provide excellent ventilation. This design helps regulate internal temperature and reduces condensation, especially in warm weather.

Image: A collage of images demonstrating the tent's ventilation and temperature control features, including rolled-up windows and mesh panels for airflow.
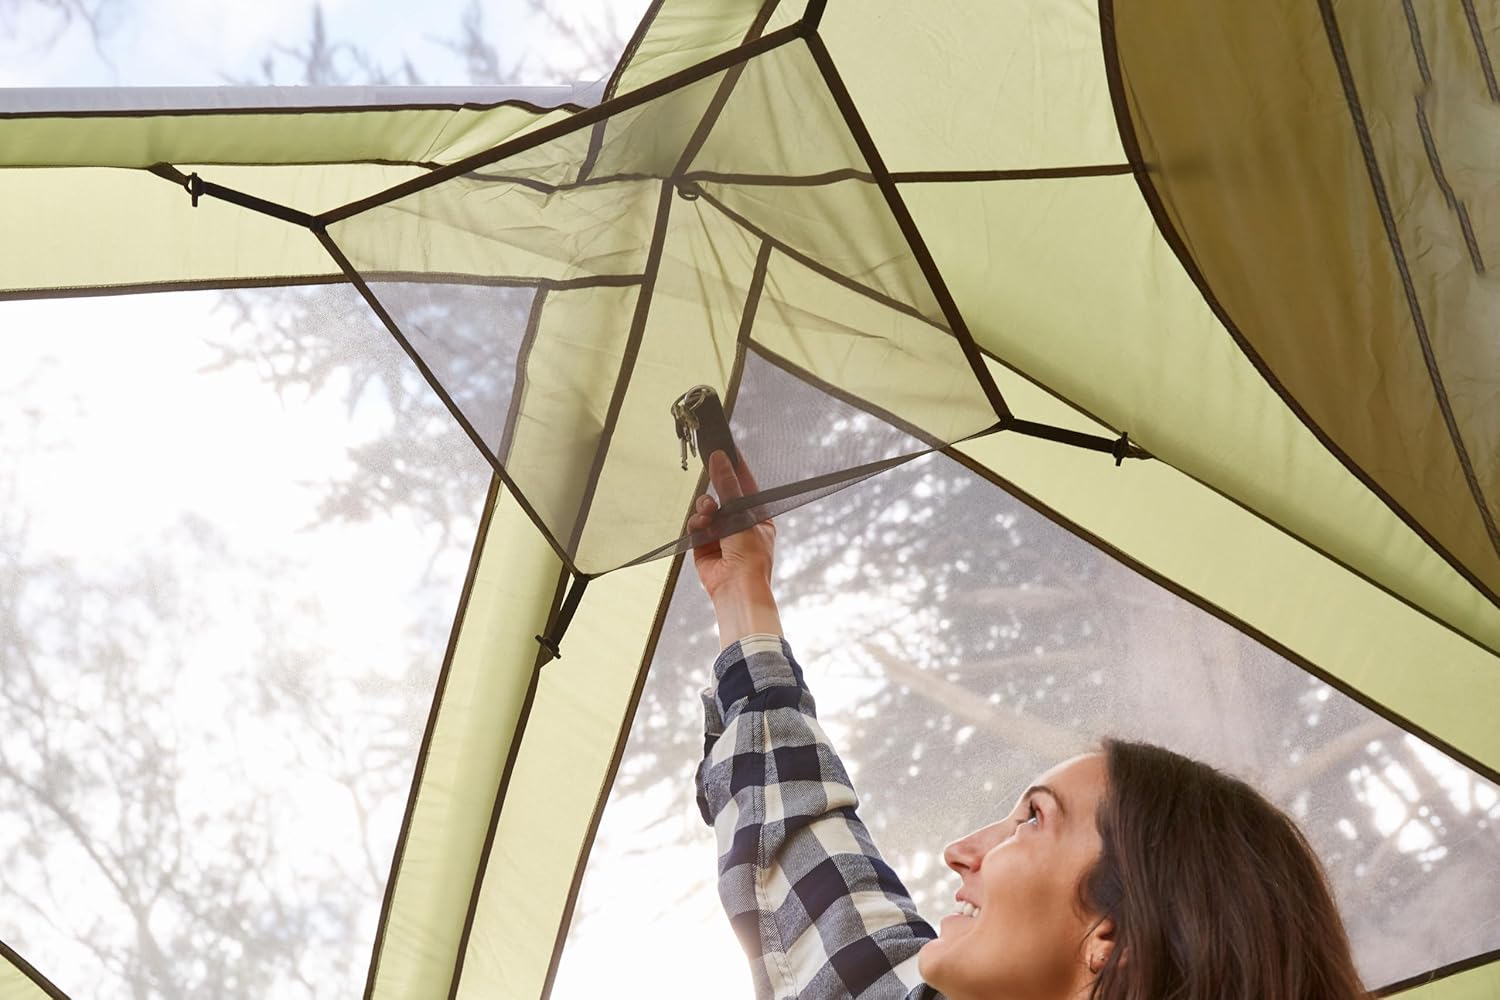
Image: A close-up of a hand adjusting a tent vent, highlighting the ease of controlling airflow within the tent.
Canopy Usage
The attached 10'x7' canopy shelter provides a versatile outdoor living space. It can be used as a dining area, storage space, or an additional sleeping area in warm conditions. The canopy helps keep the main sleeping area clean and offers protection from sun and light rain.

Image: Two people relaxing comfortably under the tent's integrated canopy, demonstrating its use as a shaded outdoor living space.

Image: An interior view of the tent, showcasing the large windows and overall spaciousness of the sleeping area.

Image: Two people inside the tent's sleeping area, illustrating the comfortable and spacious interior suitable for sleeping bags.
Maintenance and Care
- Cleaning: The tent fabric should be hand washed. Use mild soap and cold water. Do not use harsh detergents, bleach, or machine wash, as this can damage the waterproof coating.
- Drying: Always ensure the tent is completely dry before packing it away. Packing a wet tent can lead to mildew growth and fabric degradation.
- Storage: Store the tent in a cool, dry place, away from direct sunlight and extreme temperatures.
- Repairs: Inspect the tent regularly for any tears, punctures, or damage to poles and zippers. Repair minor damage promptly to prevent it from worsening.
- Waterproofing: Over time, the tent's waterproof coating may degrade. Reapply a suitable waterproofing spray as needed to maintain water resistance.
Troubleshooting
- Tent Not Standing Firmly: Ensure all poles are fully extended and correctly inserted into their sleeves and pins. Check that all guy lines are taut and securely staked into the ground. Adjust tension as needed.
- Water Leakage: Verify that the rainfly is correctly positioned and fully covers the inner tent. Ensure all zippers are closed. Check for any tears or punctures in the fabric and apply seam sealer or repair patches if necessary.
- Condensation Inside Tent: Increase ventilation by opening windows and vents. Ensure there is adequate airflow through the tent. Avoid cooking or bringing wet items inside the tent.
- Difficulty Packing Tent: Fold the tent neatly and roll it tightly to remove air. Ensure all poles and stakes are bundled separately. It may require practice to fit all components back into the carry bag efficiently.
Specifications
| Feature | Detail |
|---|---|
| Brand | OmniCore Designs |
| Model | Venture 6 Person Cabin Tent with Canopy |
| Product Dimensions | 118.1"L x 82.7"W x 71"H (Tent) |
| Canopy Dimensions | 10' x 7' |
| Sleeping Area | 10' x 7' (70 sq ft) |
| Occupancy | 6 Person |
| Item Weight | 39 Pounds |
| Seasons | 3 Season |
| Material | Polyester (Tent & Rainfly), PVC (Tent Floor) |
| Pole Material Type | Alloy Steel, Fiberglass |
| Water Resistance Technology | 2000 MM F/R (Waterproof) |
| Special Feature | Water Resistant, Ultraviolet Light Protection |
| Installation Type | Free Standing |
| Number of Rooms | 2 (Sleeping area + Canopy) |
| Number of Vestibules | 3 |
| UPC | 850008244506 |
Warranty and Support
For warranty information, product support, or to inquire about replacement parts, please contact OmniCore Designs directly. Refer to the product packaging or the official OmniCore Designs website for the most current contact details.
You can visit the OmniCore Designs Store on Amazon for more information: OmniCore Designs Store