1. Introduction and Overview
Welcome to the NANROBOT C1 Electric Scooter user manual. This guide provides essential information for the safe and effective operation, maintenance, and troubleshooting of your new electric scooter. The NANROBOT C1 is designed for urban commuting and recreational riding, offering a powerful motor, long-lasting battery, and enhanced safety features.
Please read this manual thoroughly before your first ride to ensure proper assembly, understanding of controls, and adherence to safety guidelines. Keep this manual for future reference.
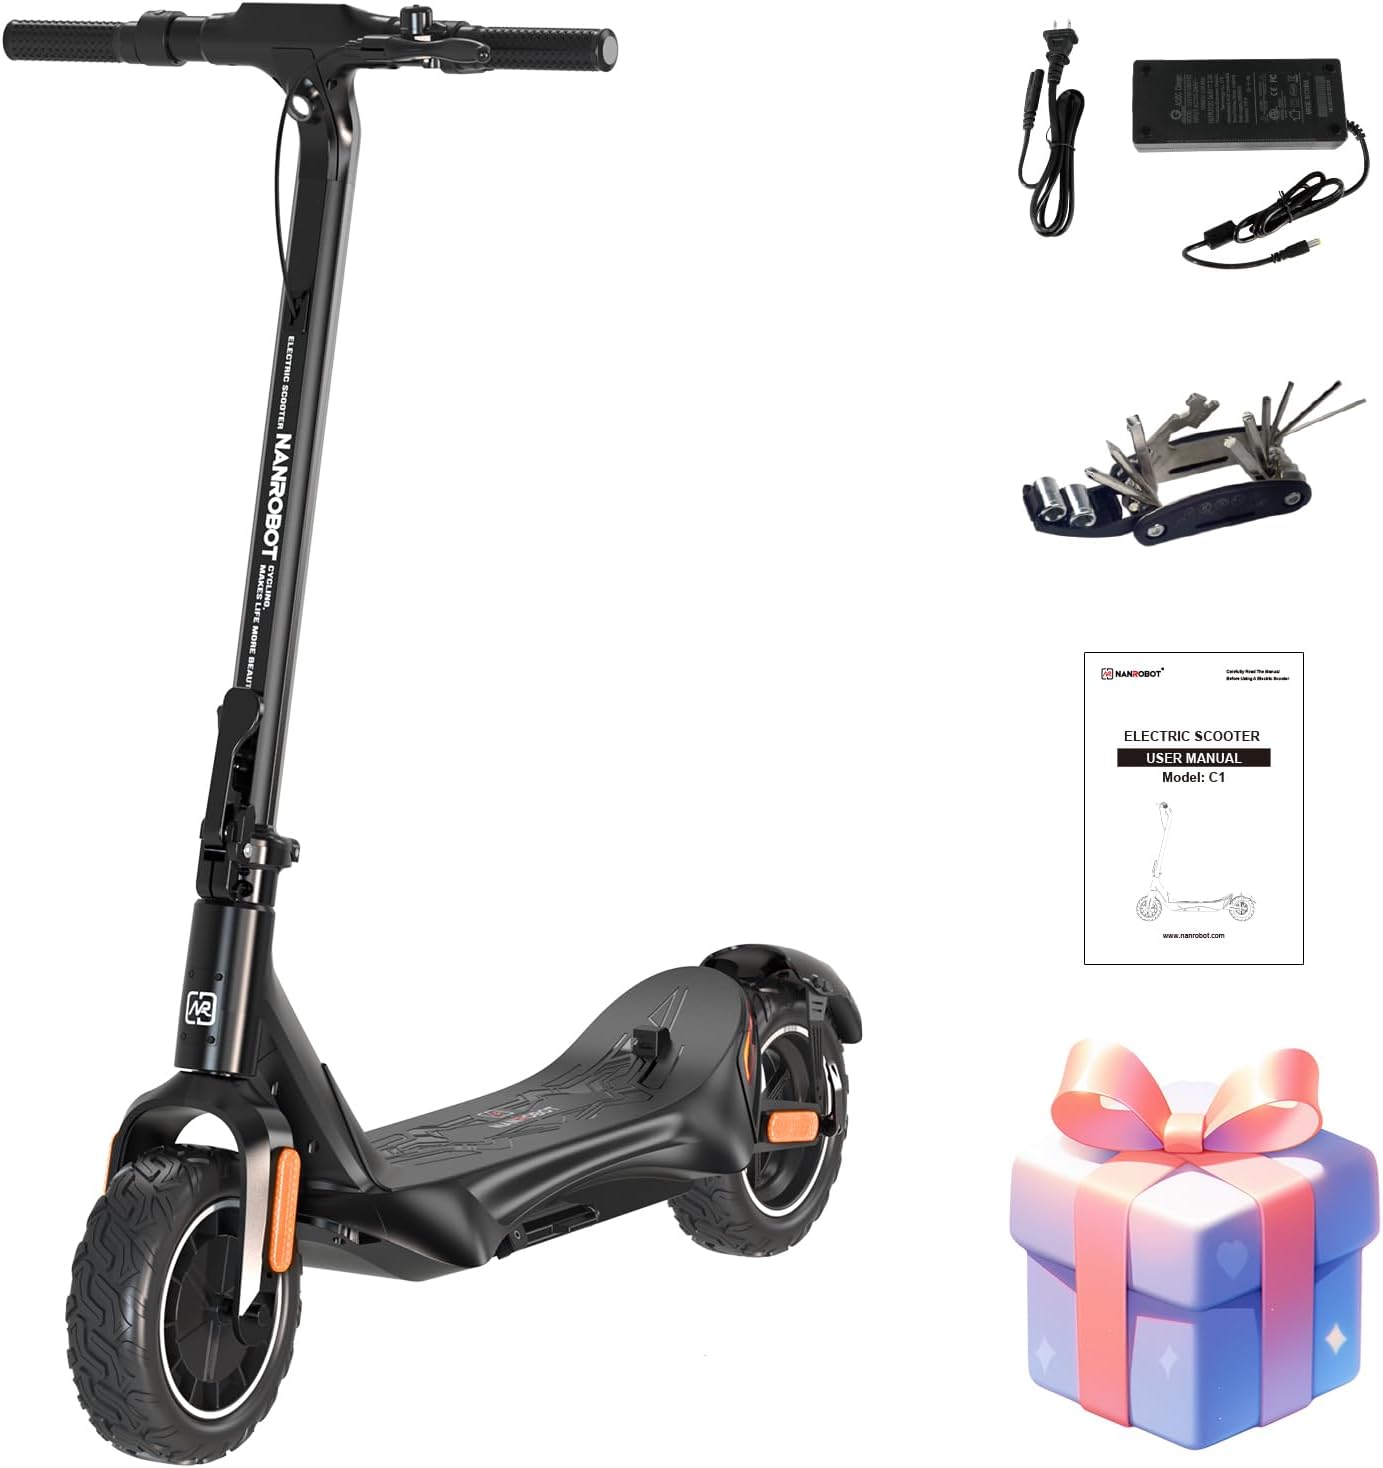
Figure 1.1: NANROBOT C1 Electric Scooter and included accessories.
2. Product Features
- Powerful Motor: Equipped with a 500W motor, providing a maximum speed of 25 mph.
- Extended Range: Offers a range of up to 25-28 miles (40-45 kilometers) on a single charge.
- Upgraded Self-Sealing/Tubeless Tires: 10-inch tires automatically seal punctures, enhancing ride safety and convenience.
- Long-Lasting Battery: Features a large-capacity, high-quality lithium battery with a full charge time of 6-8 hours.
- Durable Construction: Made from high-strength aluminum alloy for a sturdy and safe riding experience.
- Advanced Lighting System: Includes a complete lighting system for visibility and safety, especially at night.
- IP64 Protection: Excellent waterproof and dustproof performance, suitable for riding in various weather conditions.
- Portable Folding Design: Weighs only 46 pounds and can be easily folded for transport and storage.
- UL2272 Certified: Complies with UL2272 certification for electrical safety.
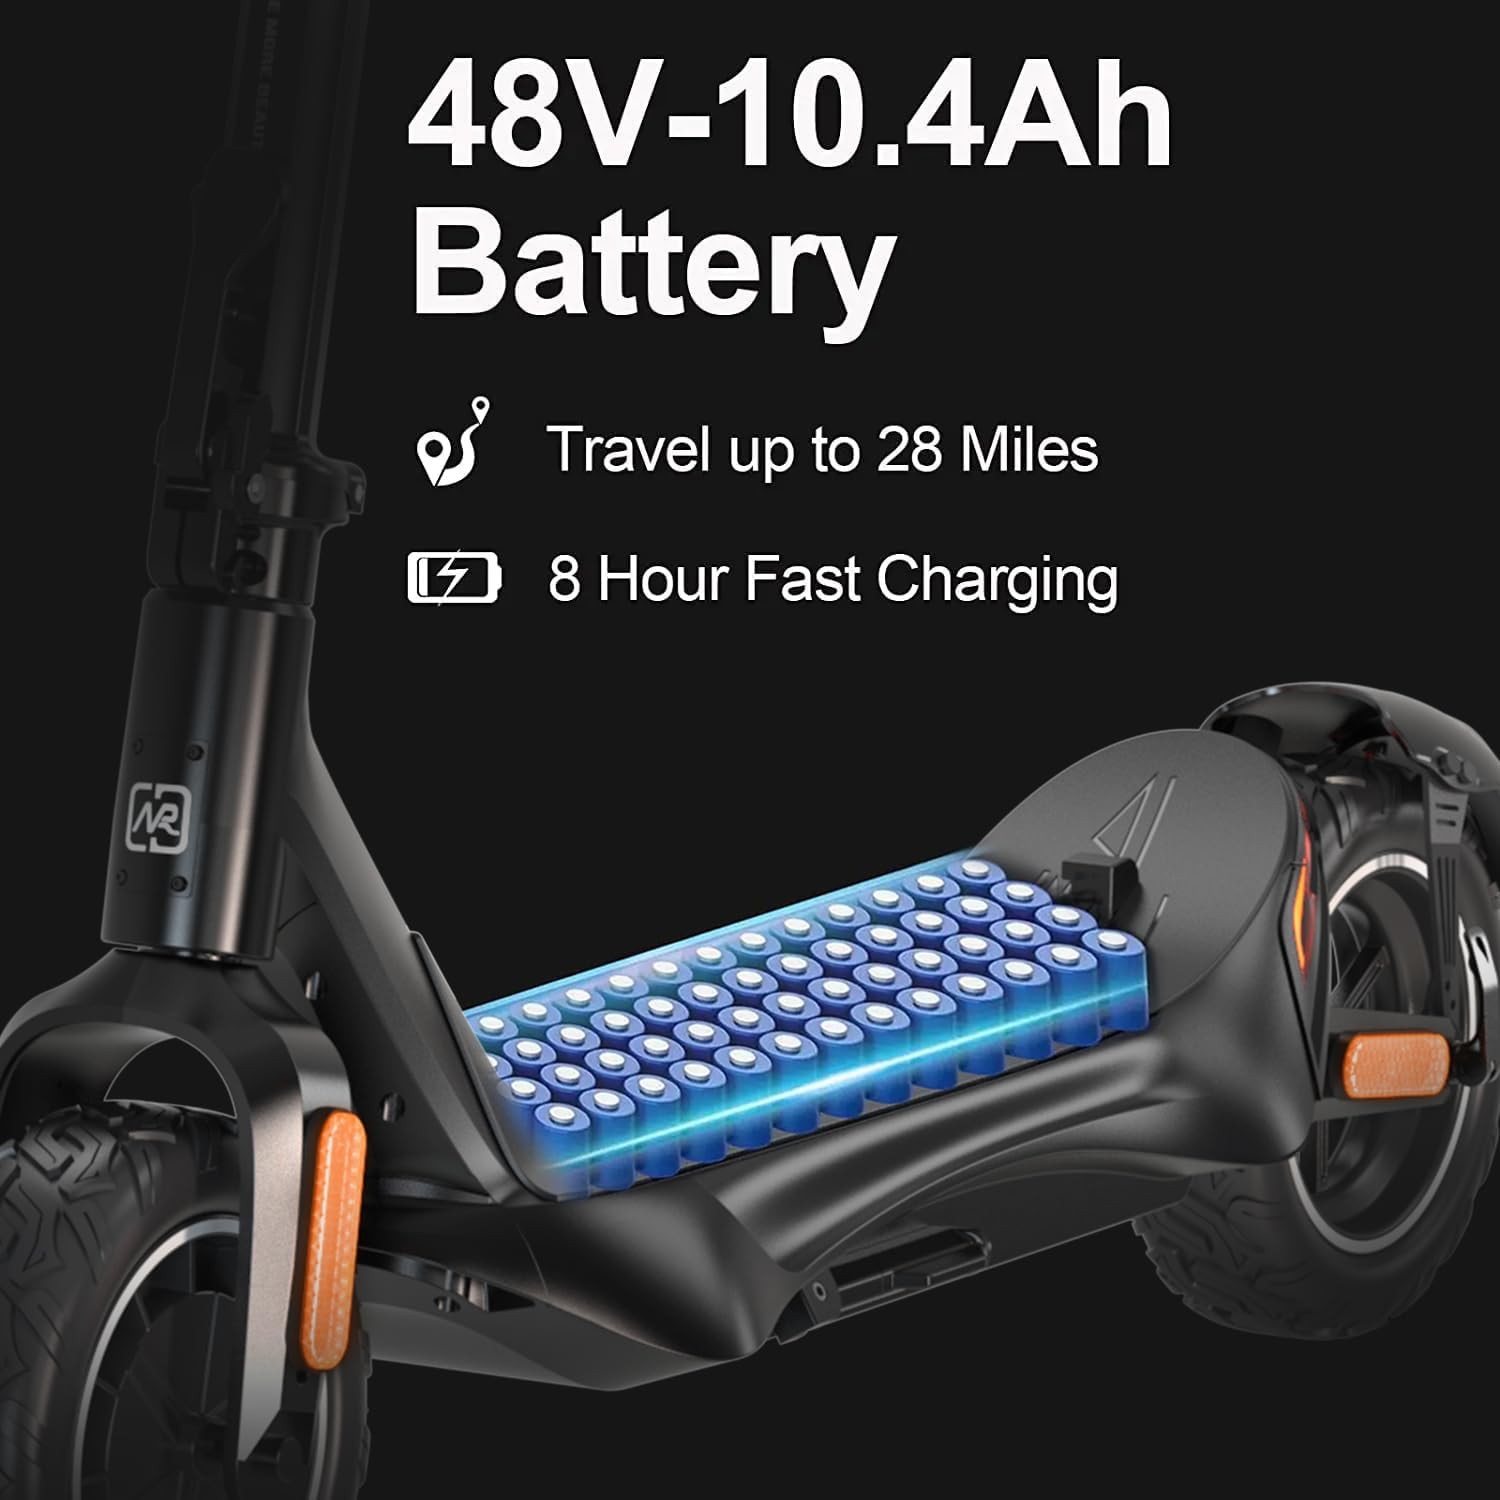
Figure 2.1: The 48V-10.4Ah battery provides up to 28 miles of travel and charges in 8 hours.
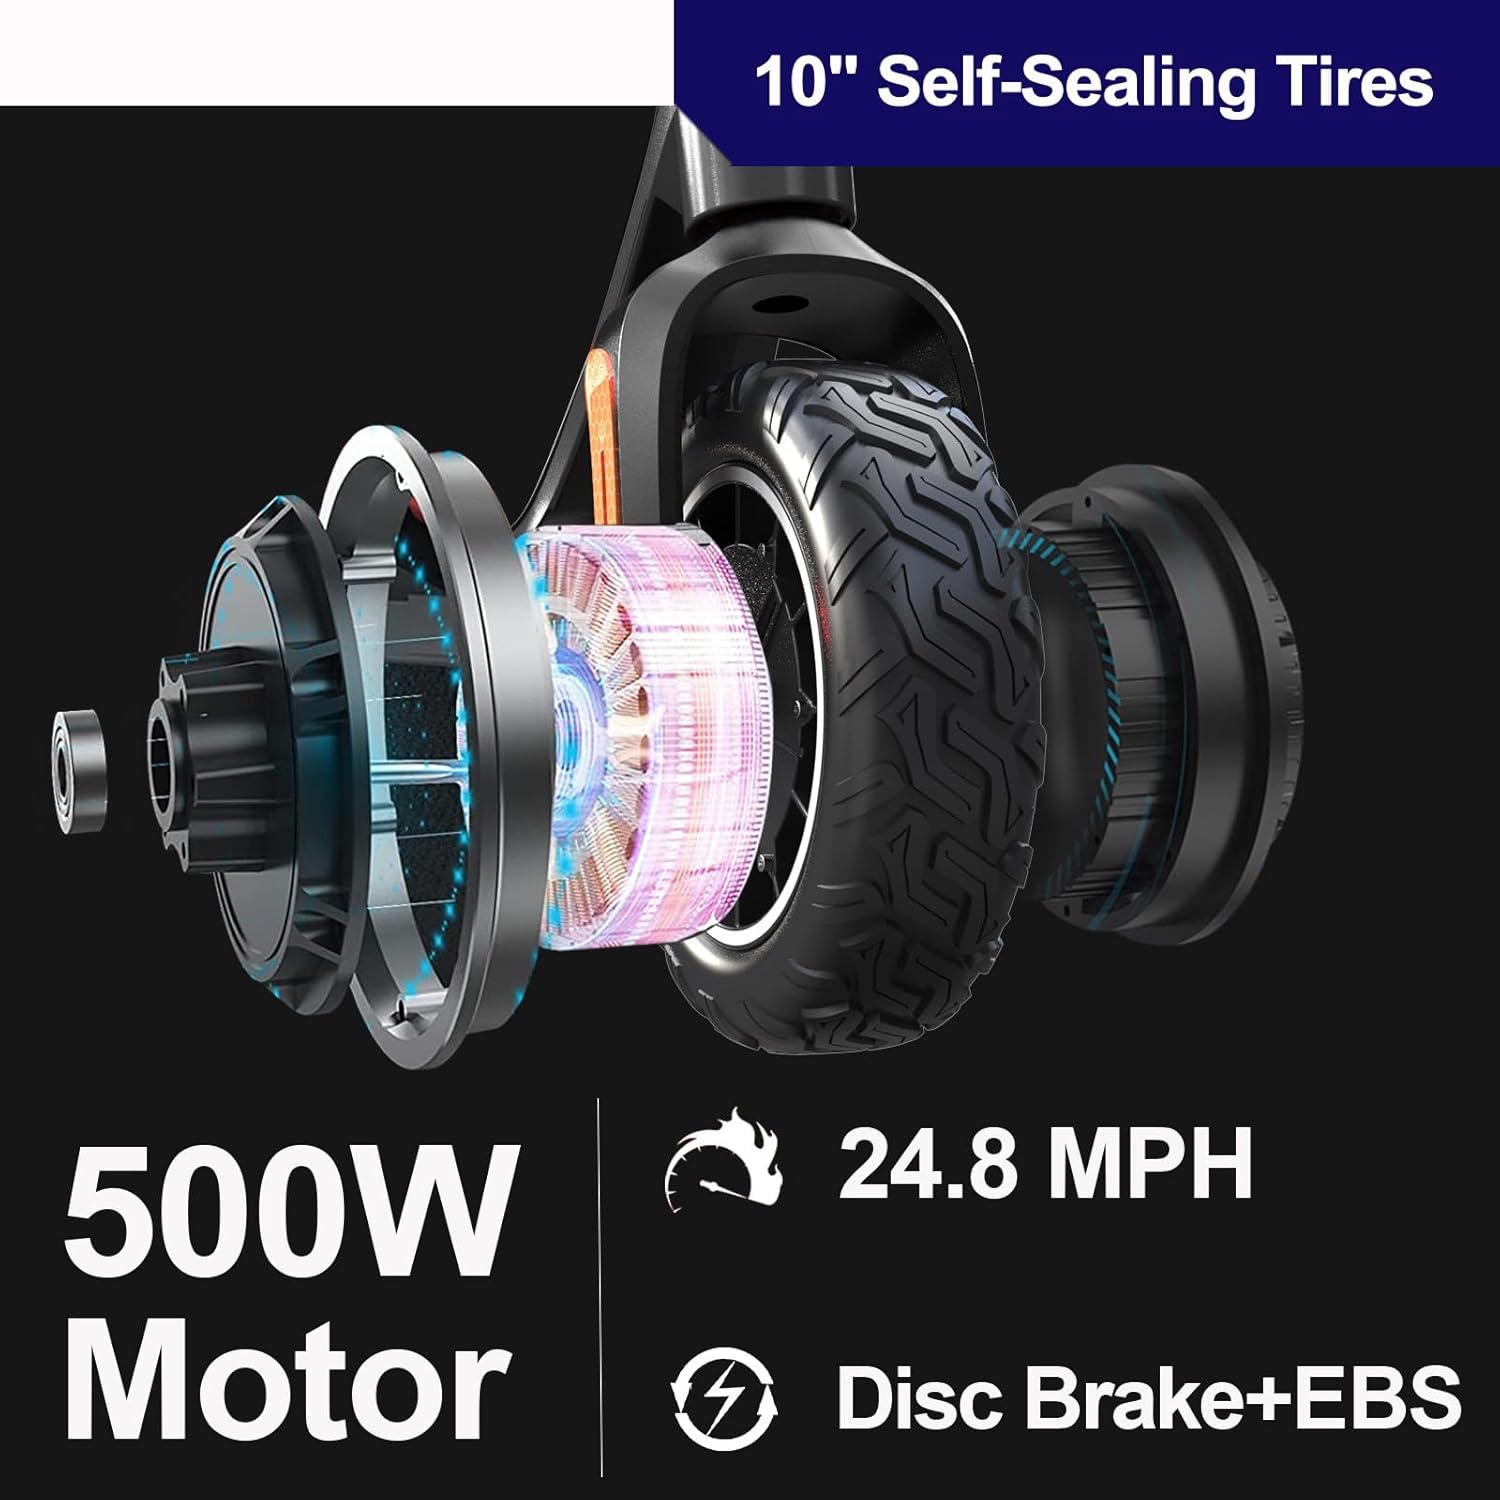
Figure 2.2: Powerful 500W motor and durable 10-inch self-sealing tires.
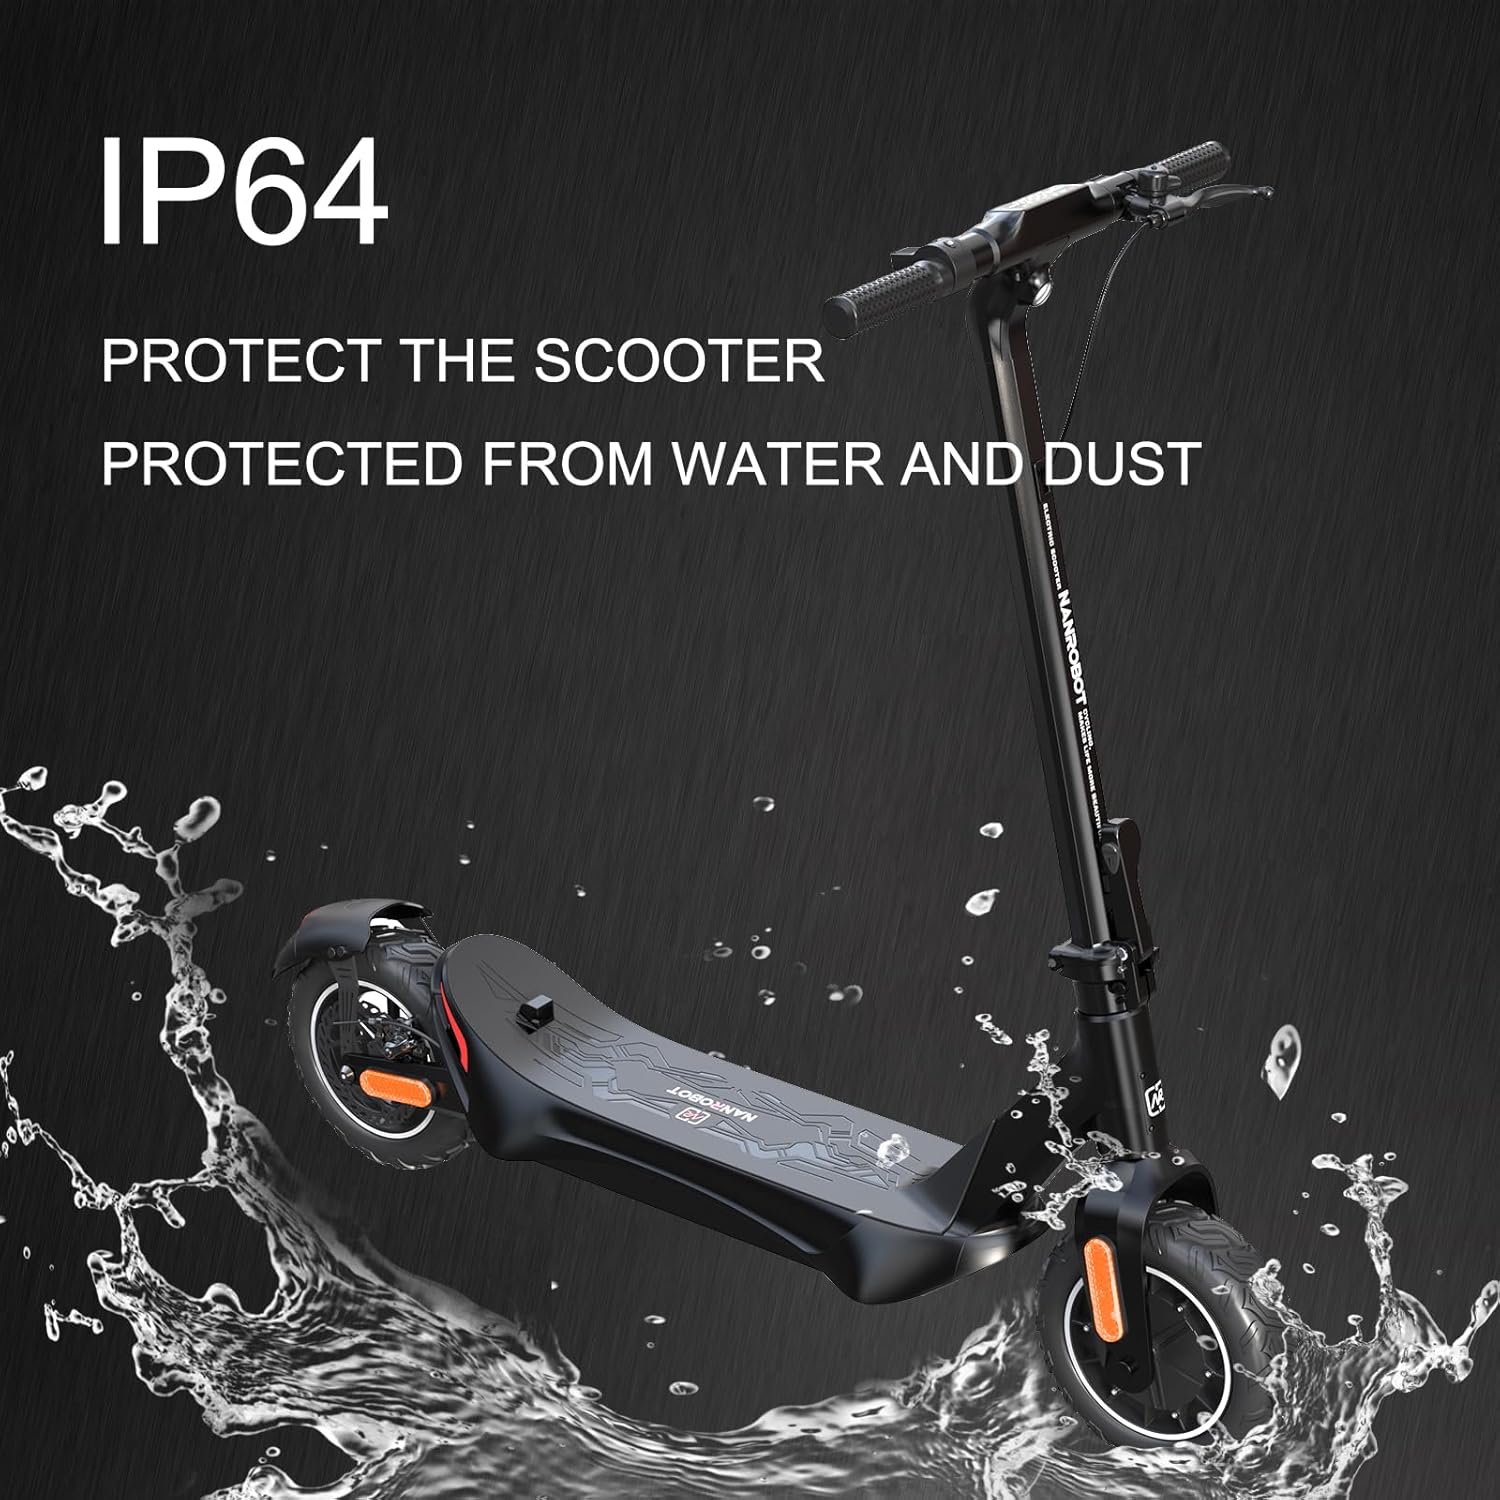
Figure 2.3: IP64 rating ensures protection from water and dust.

Figure 2.4: High-brightness LED headlights and tail turn lights for enhanced visibility.
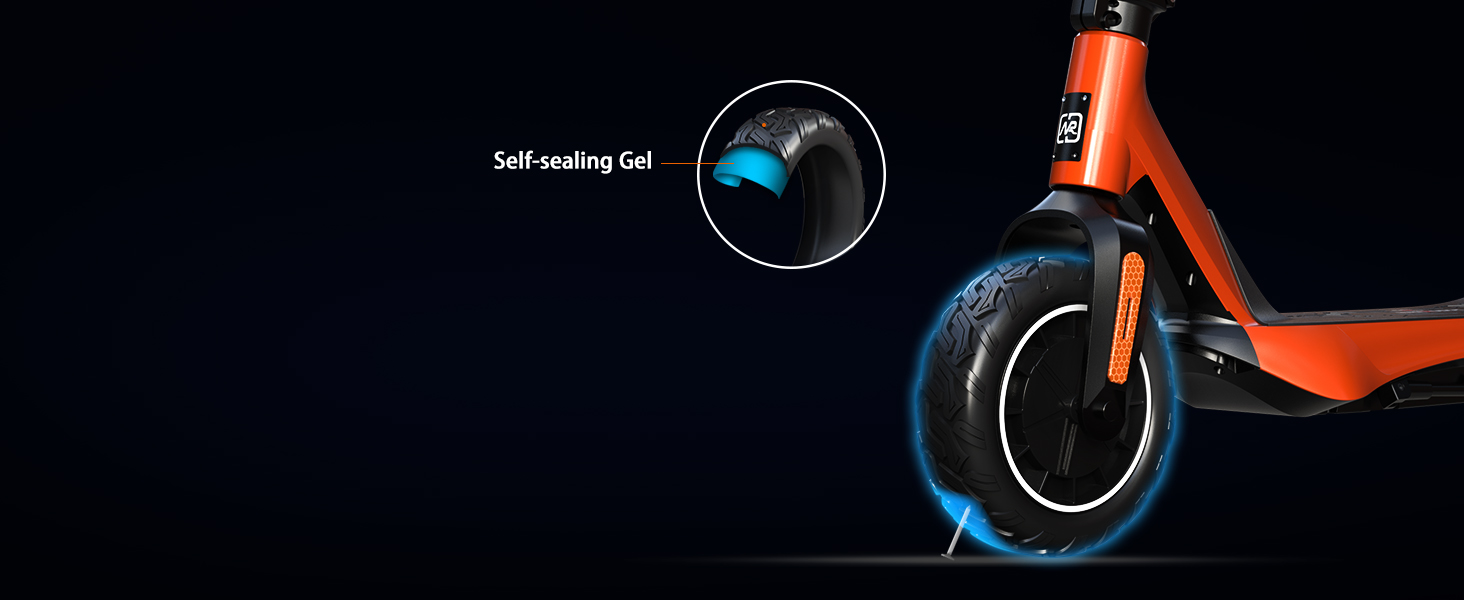
Figure 2.5: Key components of the NANROBOT C1, including accelerator, brake, headlight, charging port, folding mechanism, rubber pedal, tail light, fender, reflector, and 10-inch pneumatic tire, all built on a magnesium alloy frame.
Video 2.1: Official NANROBOT video showcasing the folding mechanism, self-sealing tires, dual brake system, and lighting features of the electric scooter.
3. Setup
3.1 Unfolding the Scooter
- Carefully remove the scooter from its packaging.
- Locate the folding mechanism near the base of the handlebar stem.
- Release the latch and gently pull the handlebar stem upwards until it locks into place. Ensure it is securely latched.
- Adjust the handlebar height if applicable and secure the quick-release clamp.
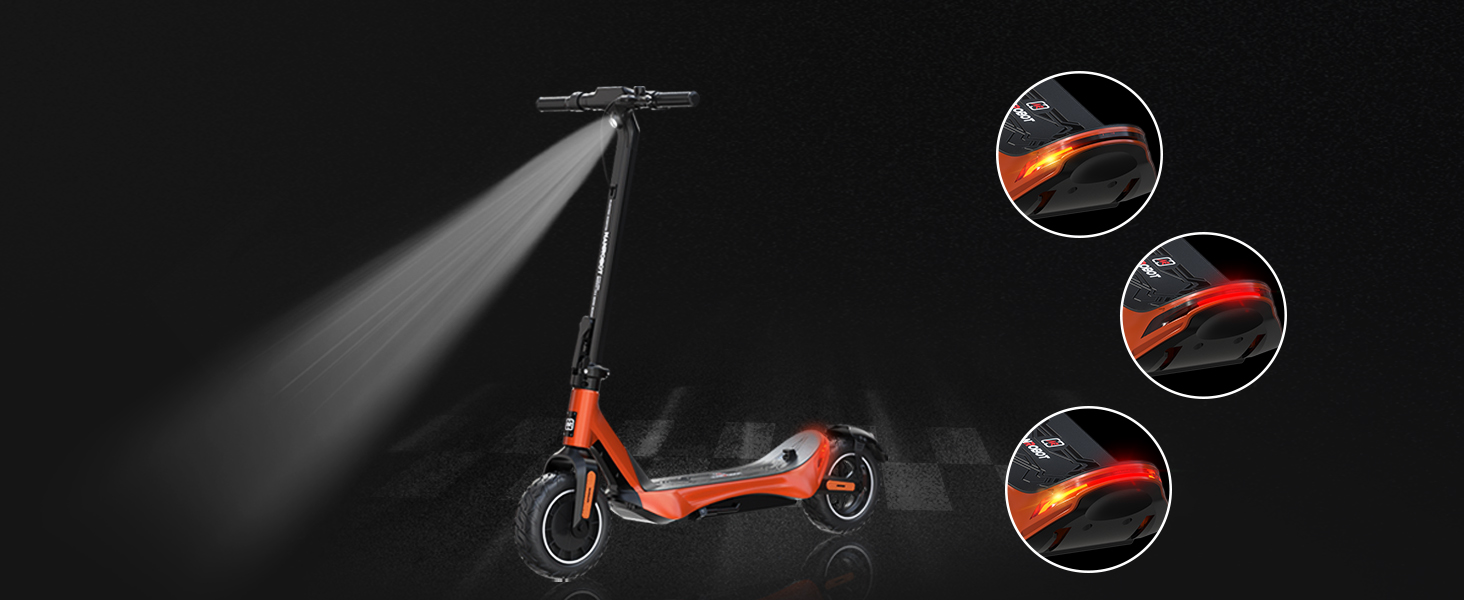
Figure 3.1: The scooter features a convenient folding mechanism for easy portability and storage.
3.2 Initial Charging
Before your first ride, fully charge the scooter's battery. This helps to condition the battery for optimal performance and longevity.
- Locate the charging port on the scooter (refer to Figure 2.5).
- Connect the charger to the charging port, then plug the charger into a standard electrical outlet.
- The charging indicator light on the charger will typically show red during charging and turn green when fully charged.
- Charging takes approximately 6-8 hours for a full charge. Do not overcharge.
3.3 Tire Pressure Check
Although the C1 features self-sealing tires, it is recommended to check tire pressure periodically to ensure optimal ride quality and efficiency. Refer to the tire sidewall for recommended PSI.
4. Operating Instructions
4.1 Powering On/Off
- To power on, press and hold the power button on the display unit.
- To power off, press and hold the power button again until the display turns off.
4.2 Display and Controls
The handlebar features a digital display that shows speed, ODO (odometer), gear, and battery level. Controls include the thumb throttle, rear brake lever, and buttons for headlight and turning signals.

Figure 4.1: Close-up of the digital display and handlebar controls, including bell, rear brake, turning signal, ODO, speed, battery indicator, and thumb throttle.
4.3 Riding the Scooter
- Place one foot firmly on the deck and push off with the other foot to gain initial momentum.
- Once moving, place your second foot on the deck.
- Gently press the thumb throttle to accelerate. Increase pressure for more speed.
- To slow down or stop, release the throttle and apply the brake lever. The scooter features a rear braking system.
- Use the headlight for night riding and turning signals to indicate your direction.

Figure 4.2: The scooter is equipped with a reliable rear braking system for effective stopping power.
4.4 Safety Guidelines
- Always wear a helmet and appropriate safety gear (knee pads, elbow pads) when riding.
- Obey all local traffic laws and regulations.
- Do not ride in heavy rain or through deep puddles, despite the IP64 rating.
- Avoid riding on uneven surfaces, steep inclines, or slippery conditions.
- Maintain a safe distance from pedestrians and other vehicles.
- Do not perform stunts or reckless maneuvers.
5. Maintenance
5.1 Battery Care
- Charge the battery regularly, even if the scooter is not in use for extended periods (at least once a month).
- Avoid completely draining the battery before recharging.
- Store the scooter in a cool, dry place away from direct sunlight and extreme temperatures.
Figure 5.1: The scooter's battery management system (BMS) provides multiple protections including short circuit, over discharge, overcharge, overcurrent, over temperature, and overvoltage protection.
5.2 Tire Maintenance
- While the tires are self-sealing, regularly inspect them for excessive wear or damage.
- Ensure tire pressure is maintained at the recommended level for optimal performance and safety.

Figure 5.2: The self-sealing gel inside the tires helps prevent flats from punctures.
5.3 General Cleaning and Storage
- Clean the scooter with a damp cloth. Do not use high-pressure water jets or harsh chemicals.
- Store the scooter indoors in a dry environment when not in use.
- Periodically check all screws and fasteners to ensure they are tight.
6. Troubleshooting
- Scooter not turning on: Check battery charge level. Ensure all connections are secure.
- Reduced range or power: Battery may need full charge. Check tire pressure. Riding conditions (hills, heavy load) can affect performance.
- Unusual noises: Inspect wheels, brakes, and folding mechanism for loose parts or obstructions.
- Brakes not effective: Check brake lever tension and brake pad wear.
For issues not covered here, please contact NANROBOT customer support.
7. Specifications
| Feature | Specification |
|---|---|
| Brand | NANROBOT |
| Model Name | C1 |
| Motor Power | 500W |
| Max Speed | 25 mph |
| Max Distance Range | 25-28 Miles (40-45 Kilometers) |
| Battery Capacity | 48V-10.4Ah Lithium Battery |
| Charging Time | 6-8 Hours |
| Tire Size | 10 Inches (Self-Sealing/Tubeless) |
| Frame Material | Aluminum Alloy |
| Item Weight | 46 Pounds |
| Weight Limit | 264 Pounds |
| Product Dimensions (LxWxH) | 47"L x 23"W x 45"H |
| Waterproof Rating | IP64 |
| Brake Style | Rear Braking |
| Certification | UL2272 |
8. Warranty and Support
NANROBOT stands by the quality of its products. The NANROBOT C1 electric scooter has passed UL2272 certification, ensuring high safety standards.
Different parts of the scooter are covered by a limited warranty ranging from 3 to 12 months. Please refer to your purchase documentation for specific warranty terms and conditions.
For any technical assistance, warranty claims, or inquiries, NANROBOT has established a dedicated maintenance point in the United States. Please visit the official NANROBOT website or contact their customer service for support.
Contact Information:
Please refer to the contact details provided on the NANROBOT official website or your purchase invoice.