Whistler WBU-800
Whistler WBU-800 Wireless Backup Camera System User Manual
4.3" LCD Monitor, IP65 Weather Resistant, Solar Charging
Product Overview
The Whistler WBU-800 Wireless Backup Camera System provides enhanced rear visibility for safer vehicle operation. This system features a solar-charging, weather-resistant camera and a 4.3-inch LCD monitor, designed for easy, wire-free installation.

Image: The Whistler WBU-800 Wireless Backup Camera System, showing the 4.3-inch LCD monitor displaying a view with backup assist grid lines, and the solar-powered camera mounted on a license plate frame.
Key Features
- Wireless Operation: Eliminates the need for complex wiring, simplifying installation.
- Solar Charging: Built-in solar panels on the camera help maintain battery charge.
- 4.3" LCD Monitor: Provides a clear display of the rear view.
- IP65 Weather Resistant Camera: Designed to withstand various weather conditions.
- 110° Wide Rear View: Offers a broad perspective to reduce blind spots.
- Backup Assist Grid Lines: Adjustable guidelines on the monitor aid in parking and maneuvering.

Image: An illustration highlighting the key features of the Whistler WBU-800: 110° Viewing Angle, Backup Assist Guides, 4.3 Inch LCD Monitor, Easy Installation, and Solar Rechargeable capability.
Package Contents
Verify that all items are present in the package before proceeding with installation.
- Wireless Digital Camera
- 4.3" LCD Monitor
- 12V Power Cord (for monitor)
- Suction Cup Mount (for monitor)
- Dash Disk
- USB Cable (for camera charging)
- Mounting Hardware (screws, wrench)
- User Guide

Image: All components of the Whistler WBU-800 system, including the camera, monitor, cables, mounts, and user manual, neatly arranged on a surface.
Setup and Installation
The Whistler WBU-800 is designed for easy, wireless installation, requiring minimal tools.
Camera Installation
- Charge the Camera: Before first use, fully charge the camera battery using the provided USB cable. Connect the USB cable to the camera's charging port and a standard USB power adapter (not included).
- Mount the Camera: The camera is designed to mount over your vehicle's rear license plate. Align the camera's mounting bracket with the existing license plate screw holes. Secure the camera using the provided mounting hardware and a screwdriver. Ensure the solar panels face upwards to receive sunlight.
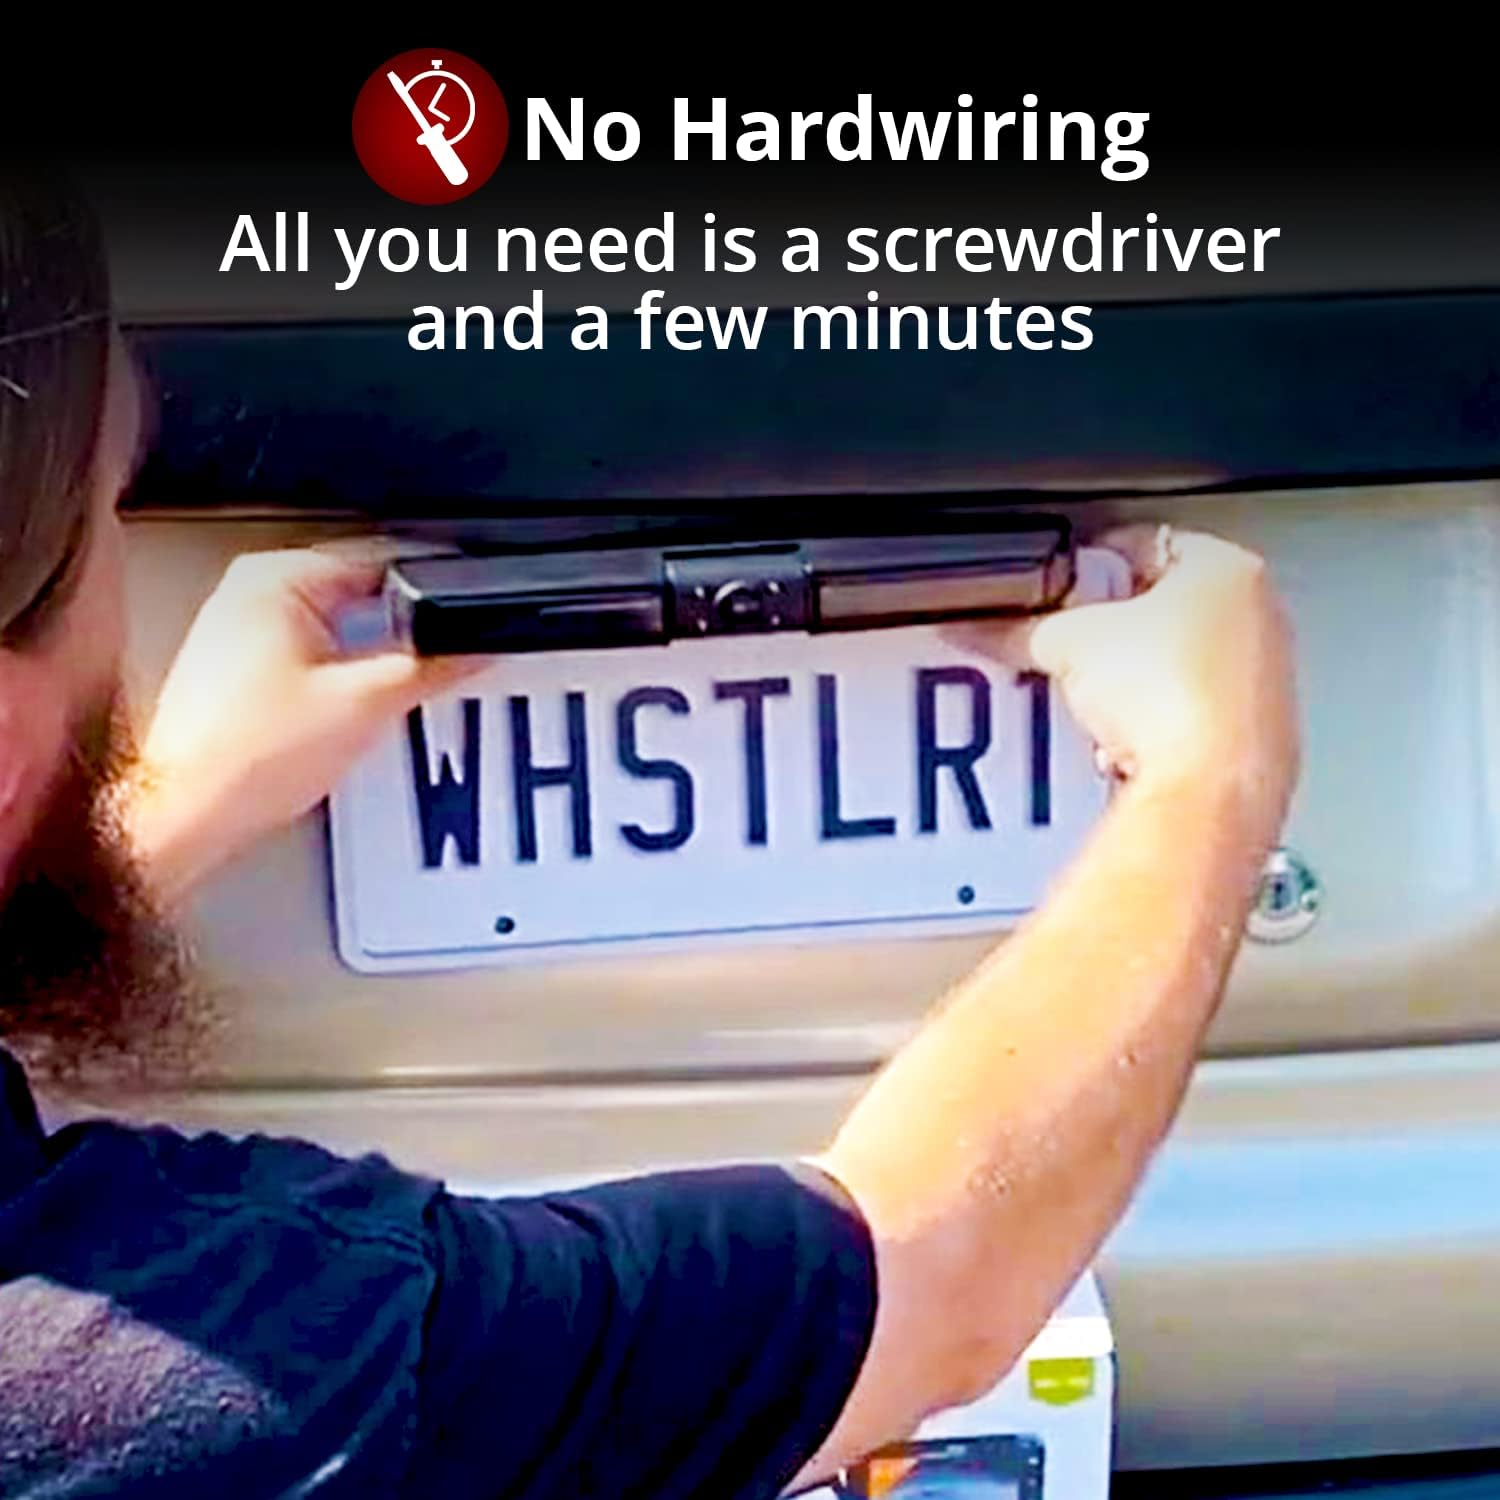
Image: A person demonstrating the installation of the Whistler WBU-800 camera by aligning it over a vehicle's rear license plate, emphasizing the "No Hardwiring" aspect.
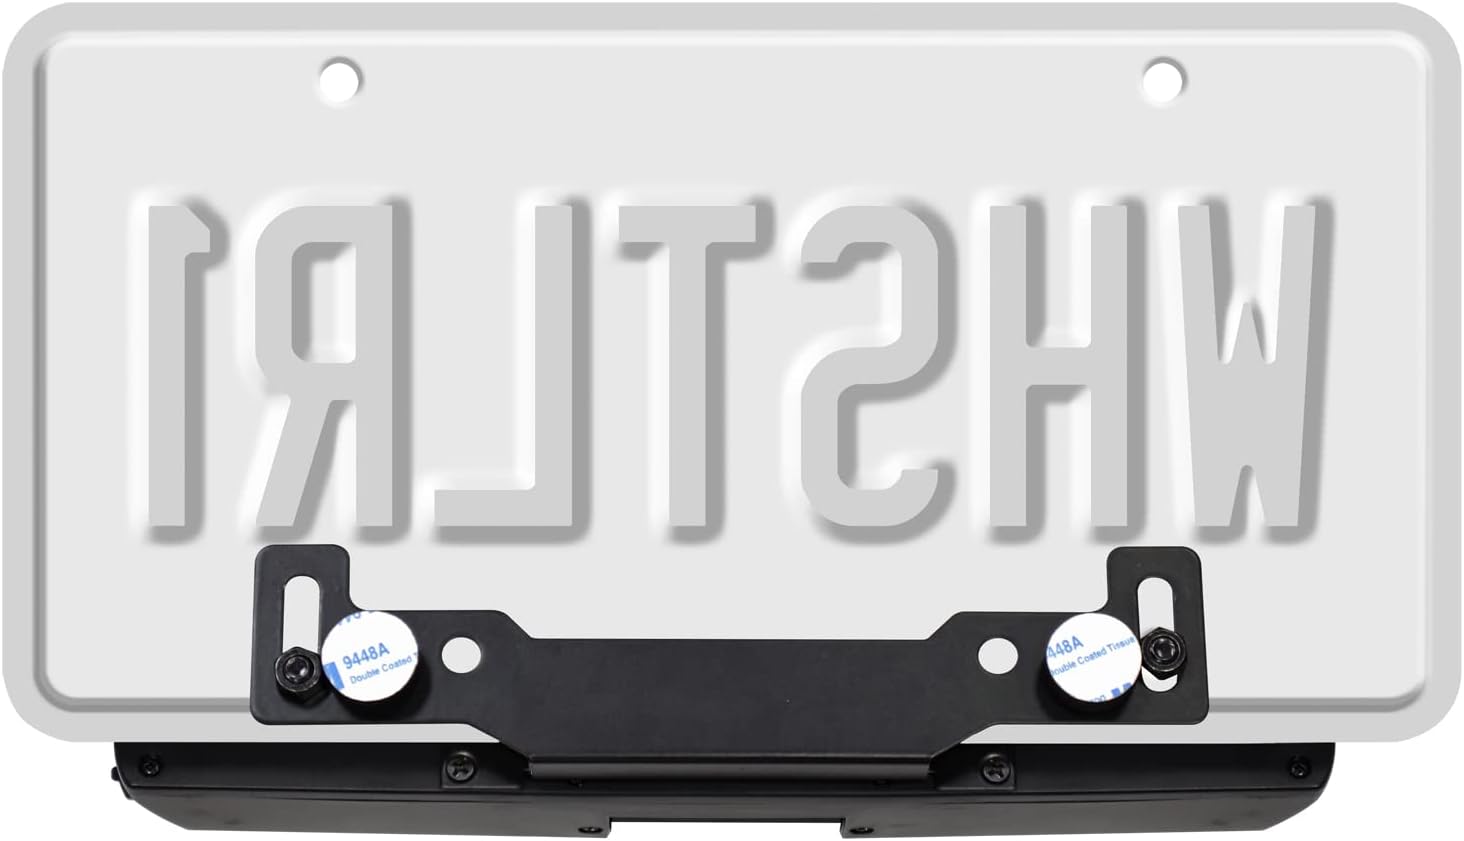
Image: A close-up view of the back of the Whistler WBU-800 camera, showing the integrated mounting bracket and screw holes for license plate attachment.
Monitor Installation
- Choose Mounting Location: Select a location on your dashboard or windshield that does not obstruct your view of the road or interfere with airbags.
- Attach Suction Cup Mount: Secure the suction cup mount to the chosen surface. If mounting on the dashboard, use the provided dash disk for better adhesion.
- Connect Power: Plug the 12V power cord into the monitor and then into your vehicle's 12V accessory outlet (cigarette lighter).

Image: The Whistler WBU-800 4.3-inch LCD monitor shown with its suction cup mount attached, ready for dashboard or windshield placement.

Image: The Whistler WBU-800 monitor positioned on a vehicle's dashboard, illustrating its wireless connection to the camera and providing a clear view of the rear.
Operating Instructions
Powering On/Off
- The monitor will automatically power on when the vehicle's 12V accessory outlet receives power (e.g., when the ignition is turned on).
- The camera will automatically activate when the vehicle is put into reverse, or when the monitor is powered on.
- To manually power off the monitor, press and hold the power button on the side of the monitor.
Using the Backup Camera
- When the camera is active, the monitor will display the rear view of your vehicle.
- Backup Assist Grid Lines: The monitor displays colored grid lines (red, yellow, green) to assist with judging distance. These lines are fixed and provide a general guide for obstacles behind the vehicle.
- 110° Wide View: The camera provides a wide viewing angle to help reduce blind spots.

Image: The Whistler WBU-800 monitor showing a wide 110° view of a bicycle behind a vehicle, with red and yellow backup assist grid lines overlaid on the image.

Image: A simulated view from the Whistler WBU-800 camera, demonstrating the 110° wide angle and the overlay of red and yellow backup assist grid lines in a driveway setting.
Monitor Settings
The monitor may have buttons for adjusting brightness, contrast, or flipping the image. Refer to the on-screen menu or the physical buttons on the monitor for specific adjustments.
Maintenance
- Solar Charging: Ensure the camera's solar panels are kept clean and free from obstructions (dirt, snow, ice) to maximize charging efficiency. Regular exposure to sunlight is crucial for maintaining battery life.
- Battery Life: While solar charging helps, occasional direct USB charging of the camera may be necessary, especially during periods of low sunlight or frequent use.
- Cleaning: Use a soft, damp cloth to clean the camera lens and monitor screen. Avoid abrasive cleaners or solvents.
- Weather Resistance: The camera is IP65 weather resistant, meaning it is protected against dust ingress and low-pressure water jets. However, avoid submerging the camera in water.
Troubleshooting
| Problem | Possible Cause | Solution |
|---|---|---|
| Monitor does not power on. | 12V power cord not properly connected or vehicle's accessory outlet is off. | Ensure the 12V power cord is securely plugged into both the monitor and the vehicle's accessory outlet. Check if the vehicle's ignition is on. |
| No image on monitor / "No Signal" message. | Camera battery is low or dead; camera is out of range; interference; camera not activated. | Fully charge the camera via USB. Ensure the camera is within wireless range of the monitor. Minimize other wireless devices nearby. Confirm the vehicle is in reverse or the monitor is manually activated. |
| Image lag or delay. | Wireless interference; low camera battery. | Reduce wireless interference from other devices. Ensure camera battery is adequately charged. |
| Camera battery not holding charge in cold weather. | Extreme cold affects battery performance; insufficient solar charging. | Charge the camera via USB more frequently during cold periods. Ensure solar panels are clear of snow/ice. Consider bringing the camera indoors for charging in extreme cold. |
| Backup lines are not accurate. | Camera angle or mounting position. | Ensure the camera is mounted level and centered on the license plate. The grid lines are general guides and may vary slightly based on vehicle height and camera angle. |
Specifications
| Feature | Detail |
|---|---|
| Product Dimensions | 2 x 10.13 x 2 inches (Camera) |
| Item Weight | 1.5 pounds (Total package) |
| Monitor Screen Size | 4.3 Inches |
| Display Technology | LCD |
| Camera Viewing Angle | 110° Wide Angle |
| Camera Weather Resistance | IP65 |
| Power Source | Solar (Camera), 12V DC (Monitor) |
| Video Capture Resolution | 1080p (Output resolution, not necessarily sensor resolution) |
| Installation Type | Dashboard Mount, Surface Mount (Monitor) |
| Optical Sensor Technology | CMOS |
Warranty and Support
For warranty information and technical support, please refer to the official Whistler website or contact their customer service directly. Specific warranty terms may vary.
Note: This manual does not contain specific warranty details or direct support contact information.