1. Introduction
Thank you for choosing the Rubbermaid FG409400GRAY Utility Cart. This manual provides essential information for the safe assembly, operation, and maintenance of your new utility cart. Please read these instructions thoroughly before use and retain them for future reference.
This utility cart is designed for indoor use, featuring smooth, easy-to-clean shelves, lockable doors for secure storage, a sliding top drawer, and large non-marking casters for mobility.
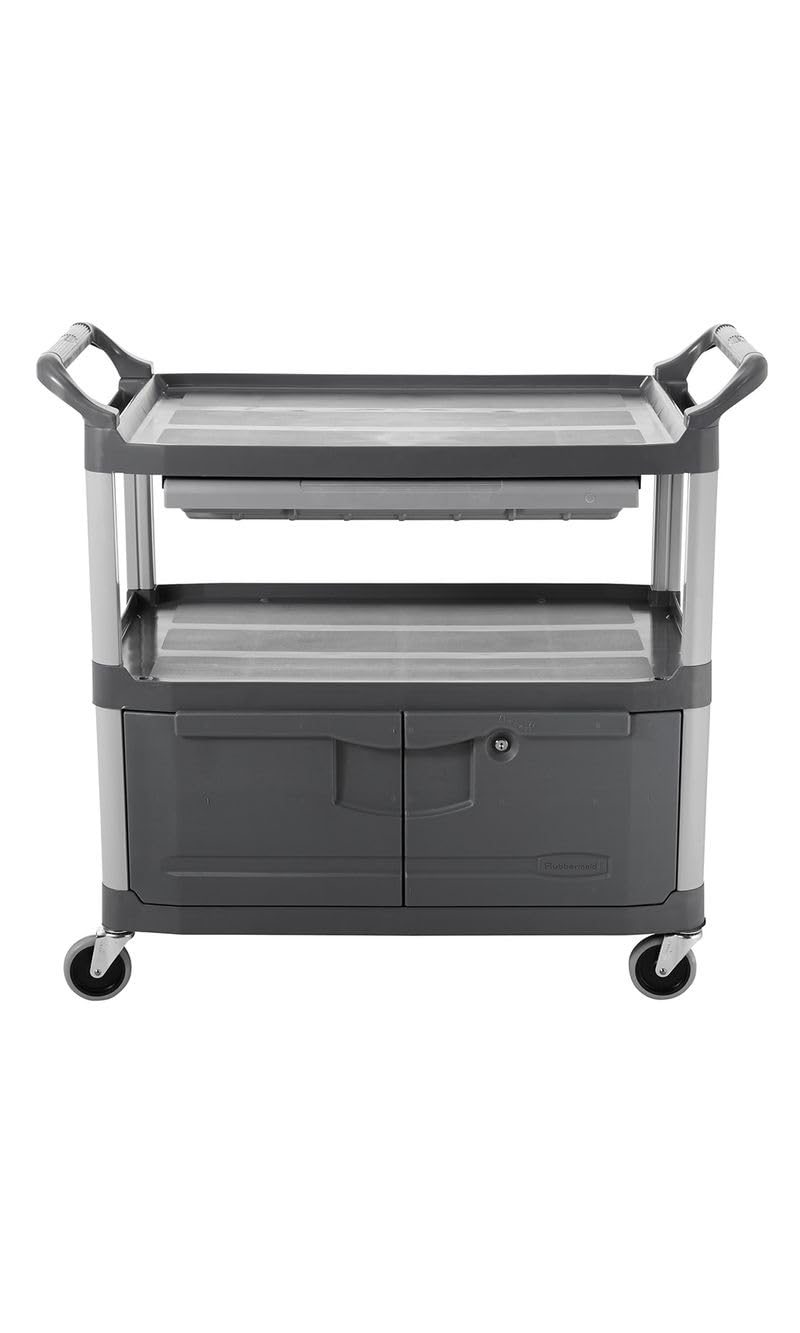
Image 1.1: The Rubbermaid FG409400GRAY Utility Cart, showcasing its gray finish, two shelves, lockable lower compartment, and top sliding drawer.
2. Safety Instructions
Always follow basic safety precautions when using this product to reduce the risk of injury or damage.
- Read all instructions: Before assembly and operation, ensure you have read and understood all instructions in this manual.
- Weight Capacity: Do not exceed the maximum weight capacity of the cart. Refer to the 'Specifications' section for details. Overloading can cause instability and damage.
- Evenly Distribute Load: Distribute items evenly across the shelves to maintain balance and prevent tipping.
- Secure Items: Ensure all items are stable and secure on the shelves before moving the cart.
- Lock Casters: Always lock the casters when the cart is stationary to prevent unintended movement.
- Clear Path: Ensure your path is clear of obstacles when moving the cart.
- Assembly: Assemble the cart on a flat, stable surface. Ensure all components are securely connected before use.
- Maintenance: Regularly inspect the cart for any signs of wear or damage. Do not use if damaged.
3. Assembly Instructions
The Rubbermaid FG409400GRAY Utility Cart features an easy 'pound-together' assembly process. No special tools are typically required, but a rubber mallet may be helpful for securing connections.
Components Checklist:
- Top Shelf (1)
- Middle Shelf (1)
- Bottom Shelf (1)
- Vertical Posts (4)
- Lockable Doors (2)
- Sliding Drawer (1)
- Casters (4, 2 locking)
- Hardware for doors/drawer (if applicable)
Assembly Steps:
- Attach Casters: Insert the stem casters into the designated holes on the underside of the bottom shelf. Ensure they are fully seated. Two casters should have locking mechanisms.
- Install Vertical Posts (Bottom): Place the bottom shelf on a flat surface with the casters facing down. Insert the four vertical posts into the corner sockets of the bottom shelf. Apply firm, even pressure or use a rubber mallet to ensure a secure fit.
- Attach Middle Shelf: Slide the middle shelf down onto the vertical posts, aligning the corner sockets with the posts. Press down firmly until it clicks into place.
- Install Lockable Doors: Before attaching the top shelf, install the lockable doors into the designated slots on the middle and bottom shelves. Follow any specific instructions for hinge and latch installation.
- Attach Top Shelf: Place the top shelf onto the vertical posts, aligning the corner sockets. Press down firmly until it is securely seated.
- Install Sliding Drawer: Insert the sliding drawer into its designated slot on the top shelf or under the top shelf, ensuring it slides smoothly.
- Final Check: Verify that all components are securely connected and the cart is stable.
Visual aid: An illustration showing the step-by-step 'pound-together' assembly process, from attaching casters to securing the top shelf and installing the doors and drawer.
4. Setup
Once assembled, prepare your utility cart for use:
- Placement: Position the cart on a flat, level surface in its intended indoor location.
- Caster Locks: Engage the locks on the two locking casters to prevent the cart from moving unintentionally.
- Clean Surfaces: Wipe down all shelves and surfaces with a damp cloth to remove any dust or manufacturing residue before placing items on the cart.
- Key Management: Keep the keys for the lockable doors in a secure and accessible location.
5. Operating Instructions
Moving the Cart:
- Unlock Casters: Disengage the locks on the two locking casters.
- Pushing: Use the molded handles on the top shelf to push the cart. Avoid pulling the cart, especially when heavily loaded, to maintain better control.
- Navigate: Guide the cart carefully, being mindful of obstacles and uneven surfaces.
- Secure: Once at the desired location, engage the caster locks to secure the cart.
Using Lockable Doors:
The lower compartment features two lockable doors to secure valuable items or supplies.
- To Open: Insert the key into the lock and turn to unlock. Pull the doors open.
- To Close and Lock: Push the doors shut until they latch. Insert the key and turn to lock. Remove the key.
Visual aid: A close-up image demonstrating the operation of the lockable doors, showing the key insertion and turning mechanism.
Using Sliding Drawer:
The top sliding drawer provides convenient access to smaller tools or frequently used items.
- To Open: Gently pull the drawer handle outwards.
- To Close: Push the drawer inwards until it is fully closed.
Visual aid: An image showing the sliding drawer in both open and closed positions, highlighting its smooth operation.
6. Maintenance
Regular maintenance ensures the longevity and optimal performance of your utility cart.
- Cleaning: Clean the cart regularly with a mild soap and water solution. Wipe dry with a soft cloth. Avoid abrasive cleaners or solvents that may damage the plastic material.
- Caster Inspection: Periodically check the casters for debris (e.g., hair, string) that may hinder movement. Clean as necessary. Ensure casters rotate freely and locks engage properly.
- Structural Integrity: Inspect all connections, especially where posts meet shelves, to ensure they remain secure. Re-seat any loose connections by applying firm pressure or using a rubber mallet.
- Door and Drawer Functionality: Check that the lockable doors open, close, and lock smoothly. Ensure the sliding drawer operates without obstruction. Lubricate hinges or drawer slides with a silicone-based lubricant if movement becomes stiff.
- Storage: Store the cart in a dry, indoor environment when not in use.
7. Troubleshooting
This section addresses common issues you might encounter with your utility cart.
| Problem | Possible Cause | Solution |
|---|---|---|
| Cart is unstable or wobbly. | Loose connections between shelves and posts. Uneven load distribution. | Ensure all posts are fully seated into the shelves. Re-seat connections with a rubber mallet if necessary. Redistribute items evenly on shelves. |
| Casters do not roll smoothly or lock. | Debris caught in casters. Caster mechanism damaged. | Remove any debris from caster wheels. If damaged, contact customer support for replacement casters. |
| Lockable doors do not close or lock properly. | Misalignment. Obstruction. Damaged latch/lock mechanism. | Check for any items obstructing the doors. Ensure doors are properly aligned in their hinges. Inspect latch and lock for damage. |
| Sliding drawer is stiff or stuck. | Obstruction in drawer slides. Accumulation of dirt. | Remove drawer and check for obstructions. Clean drawer slides. Apply a silicone-based lubricant to the slides. |
8. Specifications
| Feature | Detail |
|---|---|
| Model Number | FG409400GRAY |
| Brand | Rubbermaid |
| Material | Plastic (Frame, Material Type) |
| Color | Gray |
| Dimensions (Approx.) | 40-5/8" L x 20" W x 37-13/16" H |
| Number of Shelves | 2 (plus top surface and drawer) |
| Caster Type | Swivel, Solid Rubber (non-marking) |
| Special Features | Lockable Doors, Sliding Drawer, Easy Assembly |
| Recommended Use | Indoor |
| UPC | 086876145069 |
9. Warranty and Support
For information regarding warranty coverage, product support, or to order replacement parts, please contact Rubbermaid customer service directly. Refer to the official Rubbermaid website or your purchase documentation for the most current contact information.
Online Support: www.rubbermaid.com
When contacting support, please have your model number (FG409400GRAY) and proof of purchase readily available.


