Introduction
This manual provides detailed instructions for installing and operating your Brick Shine Light Kit for the LEGO® Ferrari Daytona SP3 42143 model. Please read all instructions carefully before beginning installation to ensure proper function and to avoid damage to the components or your LEGO® model. This light kit is designed to enhance the visual appeal of your LEGO® set; the LEGO® set itself is not included.
Product Features
- High-Quality Materials: Constructed with durable ABS plastic for light bricks, copper wire for connecting cables, and high-efficiency LEDs for reliable and long-lasting illumination.
- Customized Design: Engineered for seamless integration with the LEGO® Ferrari Daytona SP3 42143, ensuring the lighting complements the model's original design without detracting from it.
- Easy Installation: Features a plug-and-play design with clear, step-by-step digital instructions, making installation accessible even for beginners without electronic knowledge.
- Eco-Friendly: In line with environmental sustainability, Brick Shine provides digital instructions online, reducing paper waste.
- Power Source Options: Can be powered by AAA or AA batteries (not included) via a battery pack, or by connecting the built-in USB cable to a USB power bank or USB wall adapter (not included).
Package Contents
Your Brick Shine Light Kit package includes all necessary LED lights, connecting cables, and a battery box/USB power cable. Please verify all components are present upon opening the package. For a detailed list of parts, refer to the digital instructions.
Setup and Installation
The installation process involves carefully integrating the light components into your pre-assembled LEGO® Ferrari Daytona SP3 42143 model. It is recommended to have your LEGO® model fully assembled before starting the light kit installation.
- Access Digital Instructions: Scan the QR code on the packaging or visit the official Brick Shine website to access the comprehensive digital installation guide.
- Prepare Your Workspace: Ensure a clean, well-lit area. Gather any small tools that might be helpful, such as tweezers for handling small components.
- Follow Step-by-Step Guide: The digital instructions provide detailed diagrams and photographs for each step. Carefully follow the sequence to connect the LED lights and route the cables.
- Connect Power Source: Once all lights are installed, connect the battery pack (with AAA/AA batteries) or the USB cable to a compatible power source.
- Test Functionality: Turn on the lights to ensure all connections are secure and all LEDs are functioning correctly.
Note: Avoid excessive force when connecting components or routing wires to prevent damage.
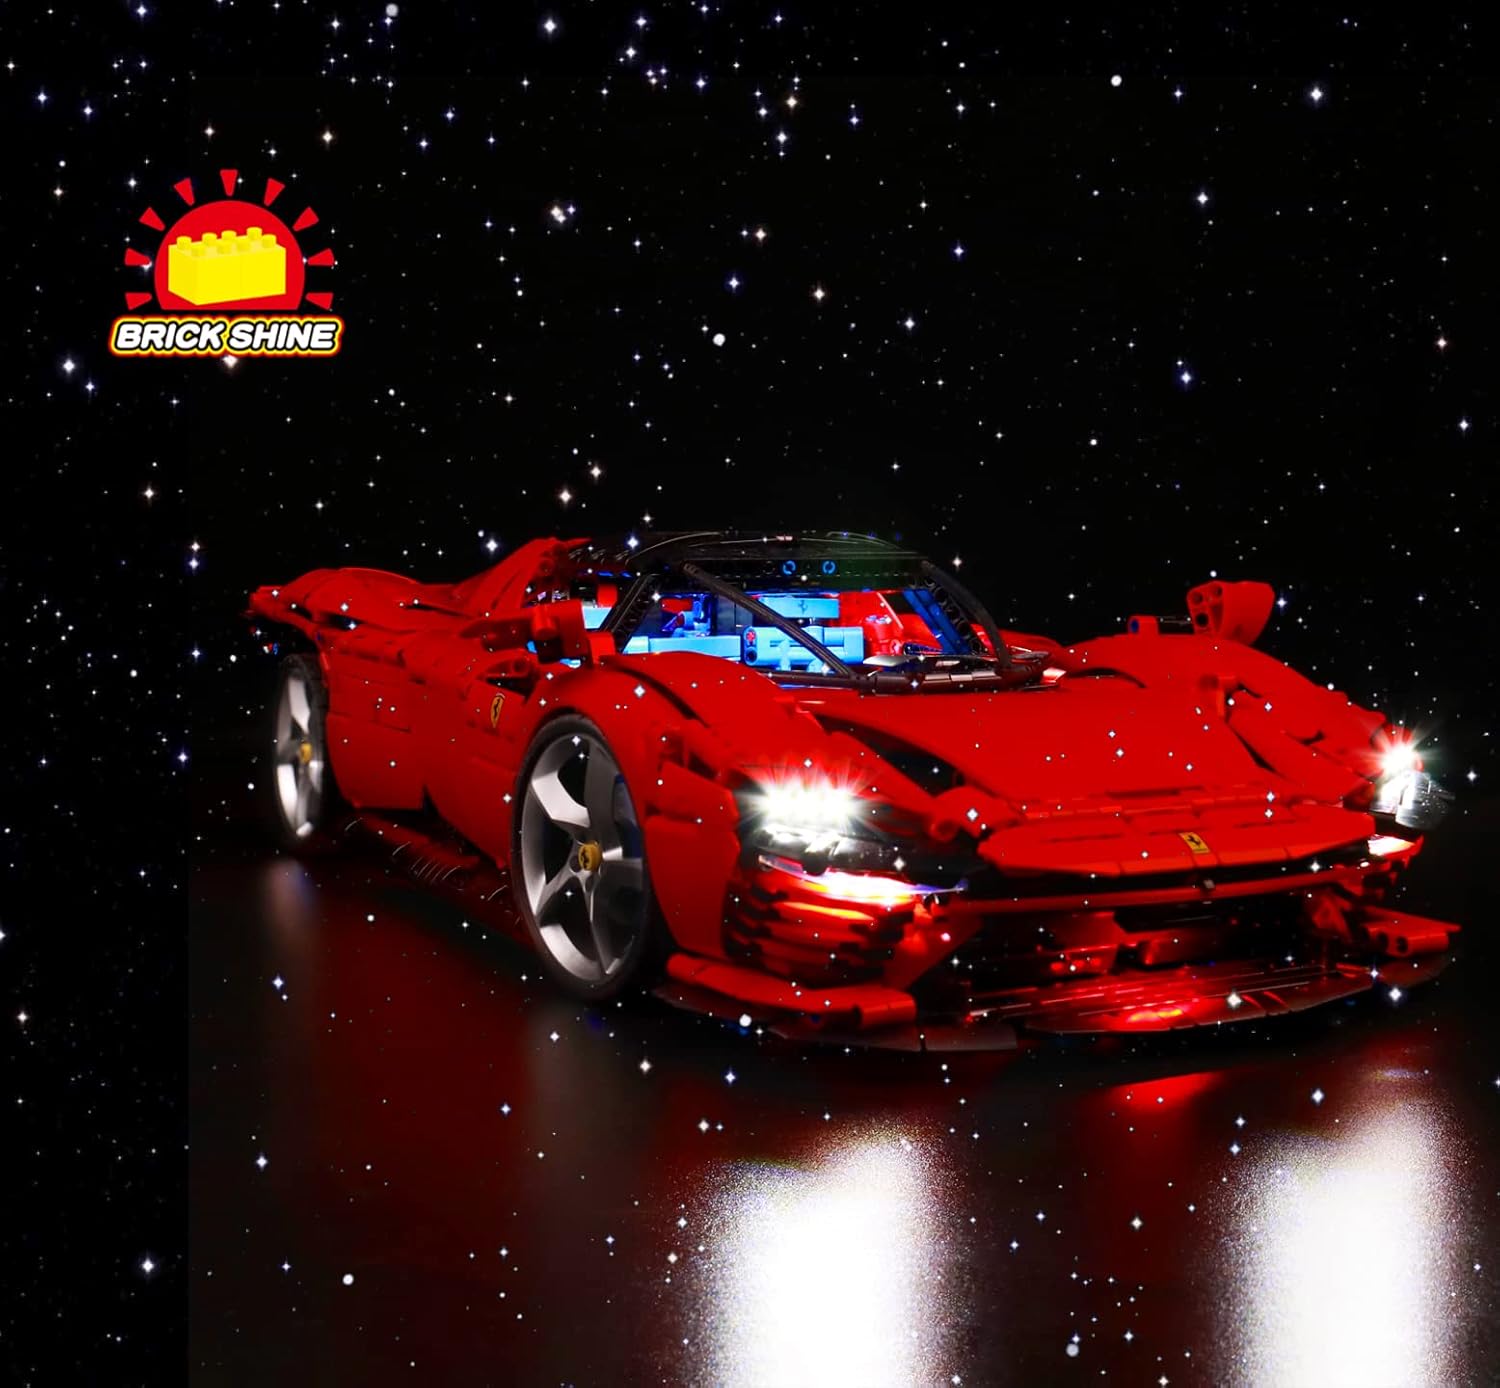
Image: Front view of the LEGO Ferrari Daytona SP3 with the Brick Shine Light Kit installed, showcasing bright headlights and interior lighting.

Image: The LEGO Ferrari Daytona SP3 model with its doors open, highlighting the interior lighting provided by the Brick Shine Light Kit.
Operating Instructions
Once installed, operating your Brick Shine Light Kit is straightforward:
- Power On/Off: Use the switch on the battery pack or disconnect the USB cable to turn the lights on or off.
- Remote Control (if applicable): If your kit includes a remote control, refer to the digital instructions for specific functions such as brightness adjustment, lighting effects, or color changes.
Video: Demonstration of the Brick Shine Light Kit for LEGO Ferrari Daytona SP3 42143, showcasing various lighting effects and remote control operation.
Maintenance
To ensure the longevity and optimal performance of your light kit:
- Cleaning: Gently dust the lights and wires with a soft, dry cloth. Avoid using liquid cleaners directly on the electrical components.
- Storage: When not in use for extended periods, disconnect the power source. Store the LEGO® model with the light kit in a cool, dry place away from direct sunlight.
- Battery Replacement: If using batteries, replace them when lights dim or cease to function. Ensure correct polarity when inserting new batteries.
Troubleshooting
| Problem | Possible Cause | Solution |
|---|---|---|
| Lights do not turn on. | No power, loose connection, faulty component. | Check power source (batteries or USB), ensure all connectors are firmly seated. Refer to digital instructions for specific component checks. |
| Some lights are dim or flickering. | Low battery power, loose connection, damaged wire. | Replace batteries or try a different USB power source. Re-check connections. Inspect wires for any visible damage. |
| Remote control not working. | Remote battery dead, obstruction, out of range. | Replace remote control battery. Ensure no obstructions between remote and receiver. Operate within recommended range. |
Specifications
- Brand: Brick Shine
- Model Number: 93f12835-a47a-4dce-84db-a73036224802
- Material: Plastic (ABS)
- Light Source Type: LED
- Power Source: Battery Powered (AAA/AA, not included) or USB
- Voltage: 1.5 Volts (for battery operation)
- Recommended Age: 8 years and up
Warranty and Support
Brick Shine products are manufactured to high-quality standards. For any issues, questions, or support needs, please refer to the contact information provided on the official Brick Shine website or your purchase documentation. Please retain your proof of purchase for warranty claims.