1. Introduction
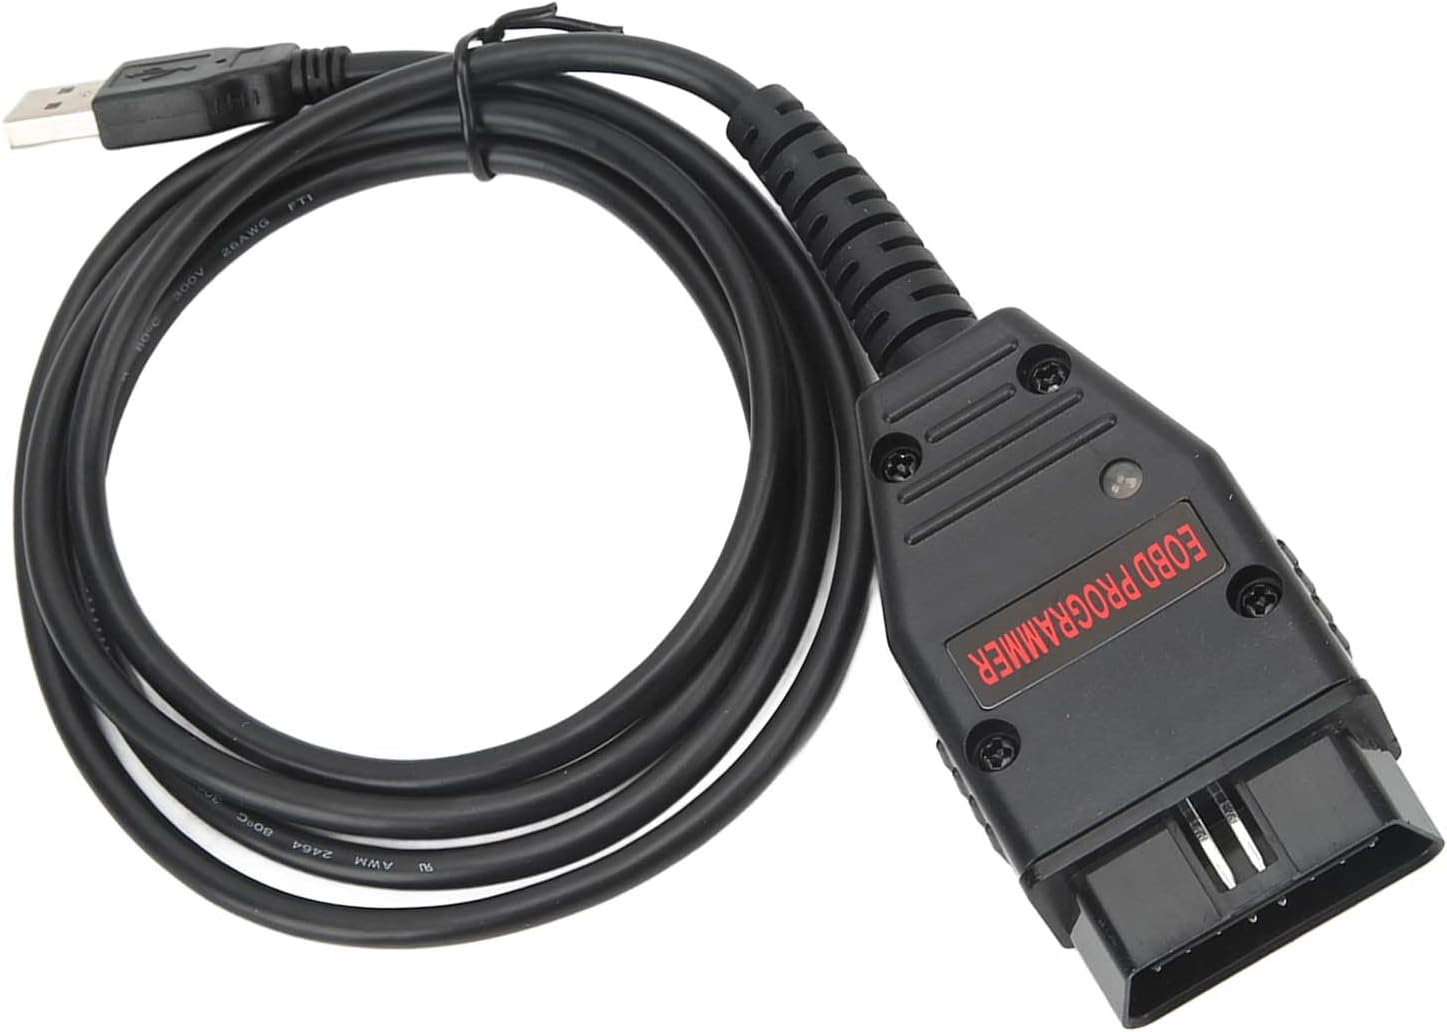
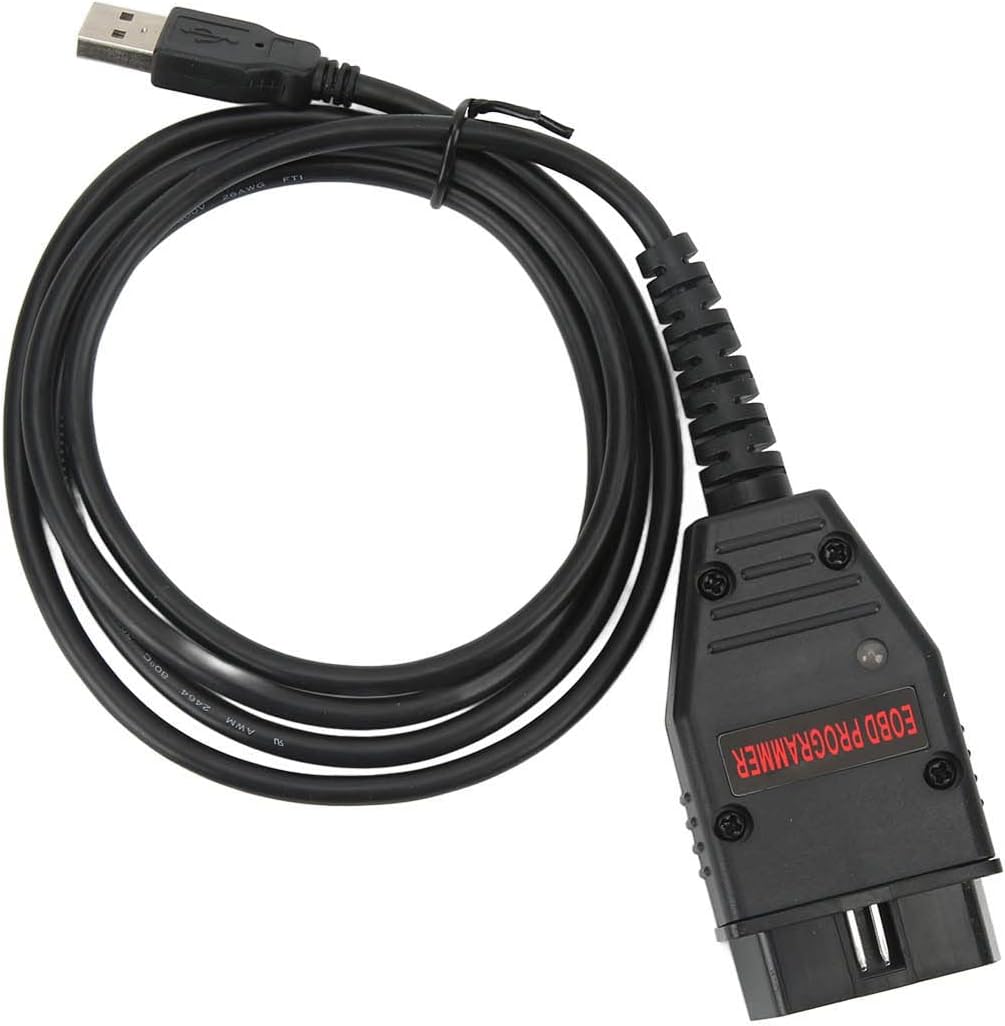
The Kadimendium EOBD ECU Flashing Cable is a versatile OBD2 diagnostic adapter designed to interface with your vehicle's Engine Control Unit (ECU). This cable allows for reading and writing data to the ECU, enabling performance enhancements such as improved acceleration, faster response times, increased brake horsepower (BHP), enhanced torsion, and overall power. It is an essential tool for automotive repair professionals, performance enthusiasts, and DIY users looking to optimize vehicle performance.

2. Product Features
- Multifunctionality: Enables reading and writing data to the vehicle's ECU for performance tuning.
- Performance Improvement: Contributes to better initial acceleration, faster response time, improved brake horsepower (BHP), torsion, and overall power.
- Enhanced Driving Experience: Makes your car more powerful, responsive, and fuel-efficient across its operating range.
- Ease of Use: Simple plug-and-play connection between computer USB and car OBD port.
- Essential Tool: An indispensable tool for automotive repairmen, speed enthusiasts, and DIY mechanics.
- Multi-Language Support: Supports various languages including English, Spanish, French, German, Italian, and Portuguese.
- Broad Vehicle Compatibility: Designed to support more cars than many other OBD2/EOBD programmer tools.

3. Setup
Setting up the Kadimendium EOBD ECU Flashing Cable is straightforward. Follow these steps to prepare for use:
- Software Installation: Before connecting the cable, ensure you have the appropriate ECU programming or diagnostic software installed on your computer. This software is typically provided by the manufacturer or obtained separately. Refer to the software's documentation for installation instructions.
- Connect to Computer: Plug the USB end of the EOBD ECU Flashing Cable into an available USB port on your computer.
- Connect to Vehicle: Locate your vehicle's OBD2 diagnostic port, typically found under the dashboard on the driver's side. Plug the OBD2 connector end of the cable firmly into this port.
- Driver Installation (if necessary): Your operating system may automatically install necessary drivers. If not, you may need to manually install drivers, usually found on the software's installation media or the manufacturer's website.

4. Operating Instructions
Once the cable is connected and software is installed, you can begin using the EOBD ECU Flashing Cable to interact with your vehicle's ECU:
- Launch Software: Open the ECU programming or diagnostic software on your computer.
- Establish Connection: Within the software, select the option to connect to the vehicle or the diagnostic interface. The software should detect the connected cable and establish communication with the vehicle's ECU.
- Read Data: Use the software's functions to read existing data from the ECU. This may include current performance parameters, error codes, or existing maps.
- Modify/Write Data: If you intend to modify the ECU's programming (e.g., for performance tuning), carefully follow the software's instructions for writing new data or maps to the ECU. Always ensure you have a backup of the original ECU data before writing new data.
- Monitor Progress: During data writing, monitor the software's progress indicators and ensure a stable connection. Do not disconnect the cable or power off the computer/vehicle during this process.
- Disconnect Safely: Once operations are complete, follow the software's procedure for safely disconnecting from the vehicle. Then, unplug the cable from the OBD2 port and your computer.

5. Maintenance
Proper care and maintenance will extend the lifespan of your EOBD ECU Flashing Cable:
- Cleaning: Keep the cable and connectors clean and free of dust, dirt, and moisture. Use a soft, dry cloth for cleaning. Do not use liquid cleaners directly on the connectors.
- Storage: Store the cable in a cool, dry place away from direct sunlight and extreme temperatures. Avoid tightly coiling or bending the cable, which can damage internal wires.
- Handling: Always grasp the connectors when plugging or unplugging the cable, rather than pulling on the cable itself. This prevents strain on the wire connections.
- Inspection: Periodically inspect the cable for any signs of wear, fraying, or damage to the connectors. If damage is observed, discontinue use to prevent potential issues.
6. Troubleshooting
If you encounter issues while using the EOBD ECU Flashing Cable, consider the following troubleshooting steps:
- No Connection Detected:
- Ensure both the USB and OBD2 connectors are fully and securely plugged in.
- Try a different USB port on your computer.
- Verify that the vehicle's ignition is on (if required by your software/vehicle).
- Check if the necessary drivers are correctly installed. Reinstall them if unsure.
- Software Not Recognizing Device:
- Restart your computer and the diagnostic software.
- Ensure you are using the correct version of the software for your operating system and cable.
- Temporarily disable any antivirus or firewall software that might be blocking communication (remember to re-enable after troubleshooting).
- Intermittent Connection:
- Check the cable for any visible damage or kinks.
- Ensure the OBD2 port on your vehicle is clean and free of debris.
- Avoid placing the cable near strong electromagnetic interference sources.
- Data Write Errors:
- Ensure the vehicle's battery is fully charged and stable during programming. Low voltage can cause errors.
- Do not interrupt the process once a data write has begun.
- Consult the specific software's documentation for error codes and solutions.

7. Specifications
| Attribute | Value |
|---|---|
| Brand | Kadimendium |
| Item Weight | 0.493 ounces |
| Package Dimensions | 4 x 3 x 1 inches |
| ASIN | B0B8XV2627 |
| Date First Available | October 12, 2024 |
8. Warranty and Support
For information regarding product warranty, technical support, or service, please refer to the official documentation provided with your purchase or visit the Kadimendium official website. Contact details for customer support are typically available on the manufacturer's product page or within the software application.