Babysense HDS2
Babysense HDS2 Video Baby Monitor User Manual
Model: HDS2
Introduction
Thank you for choosing the Babysense HDS2 Video Baby Monitor. This manual provides essential information for the safe operation, installation, and maintenance of your device. Please read it thoroughly before use and retain it for future reference.
Important Safety Instructions
- Strangulation Hazard: Keep all cables out of reach of children (at least 1 meter / 3 feet away). Never place the camera or cords within a crib or playpen.
- Choking Hazard: This product contains small parts. Keep them away from children.
- Electric Shock Hazard: Do not expose the product to water or moisture. Do not open the casing of the camera or parent unit.
- Overheating: Do not cover the monitor or camera with clothing, blankets, or any other material. Ensure proper ventilation.
- Power Source: Use only the AC power adapters provided. Do not use other adapters as this may damage the device.
- Interference: Keep the monitor away from other electronic devices (e.g., microwaves, Wi-Fi routers) that may cause interference.
- Temperature: Operate the device within the recommended temperature range (0°C - 40°C / 32°F - 104°F).
Package Contents
The Babysense HDS2 Video Baby Monitor package includes the following items:
- Parent Unit (Monitor)
- Baby Unit (Camera)
- Built-In Battery (in Parent Unit)
- Power Adapters (x2)
- Wall Mounting Screw Set
- User Guide
Product Overview
Parent Unit (Monitor)
The Parent Unit features a 5-inch HD 720p LCD screen for clear viewing of your baby. It includes controls for camera functions, audio, and system settings.

Image: The Babysense HDS2 Parent Unit, showing its 5-inch HD LCD screen with a clear view of a baby in a crib. A white rabbit night light is visible in the background.
- 5-inch HD 720p LCD Screen: Provides a clear, high-resolution video feed.
- Control Buttons: Navigate menus, adjust settings, and control camera functions.
- Microphone & Speaker: For two-way audio communication.
- Antenna: For stable wireless connection.
- Built-in 4000mAh Battery: Offers extended portable use.
Baby Unit (Camera)
The Baby Unit is equipped with a camera that offers pan, tilt, and zoom capabilities, along with automatic night vision and an adjustable night light.

Image: The Babysense HDS2 Baby Unit camera, illustrating its 360-degree horizontal rotation and 90-degree vertical tilt capabilities.
- HD Camera: Captures clear video of your baby.
- Pan & Tilt: Remotely adjust the camera's view (350° horizontal, 90° vertical).
- Infrared Night Vision: Automatically activates in low light conditions.
- Adjustable Night Light: Integrated light with multiple intensity levels.
- Temperature Sensor: Monitors the room temperature.
- Microphone & Speaker: For two-way audio and lullaby playback.
Setup Guide
1. Charging the Parent Unit
Before first use, fully charge the Parent Unit for approximately 8 hours. Connect the provided power adapter to the Parent Unit and a power outlet. The battery indicator on the screen will show charging status.

Image: The Babysense HDS2 Parent Unit displaying battery life and indicating ECO mode, highlighting its 4000mAh battery capacity.
2. Placing the Baby Unit (Camera)
Position the Baby Unit in a location that provides a clear view of your baby. Ensure it is at least 1 meter (3 feet) away from the crib or playpen to prevent strangulation hazards from the power cord. The camera can be placed on a flat surface or wall-mounted using the provided screw set.
- For optimal temperature readings, avoid placing the camera directly next to windows or air vents.
- Ensure the camera is within range of the Parent Unit for a stable connection.
3. Powering On
Connect the Baby Unit to a power outlet using its dedicated power adapter. The Parent Unit can be powered on by pressing and holding the power button. The units are pre-paired from the factory. If connection issues occur, refer to the "Troubleshooting" section for re-pairing instructions.
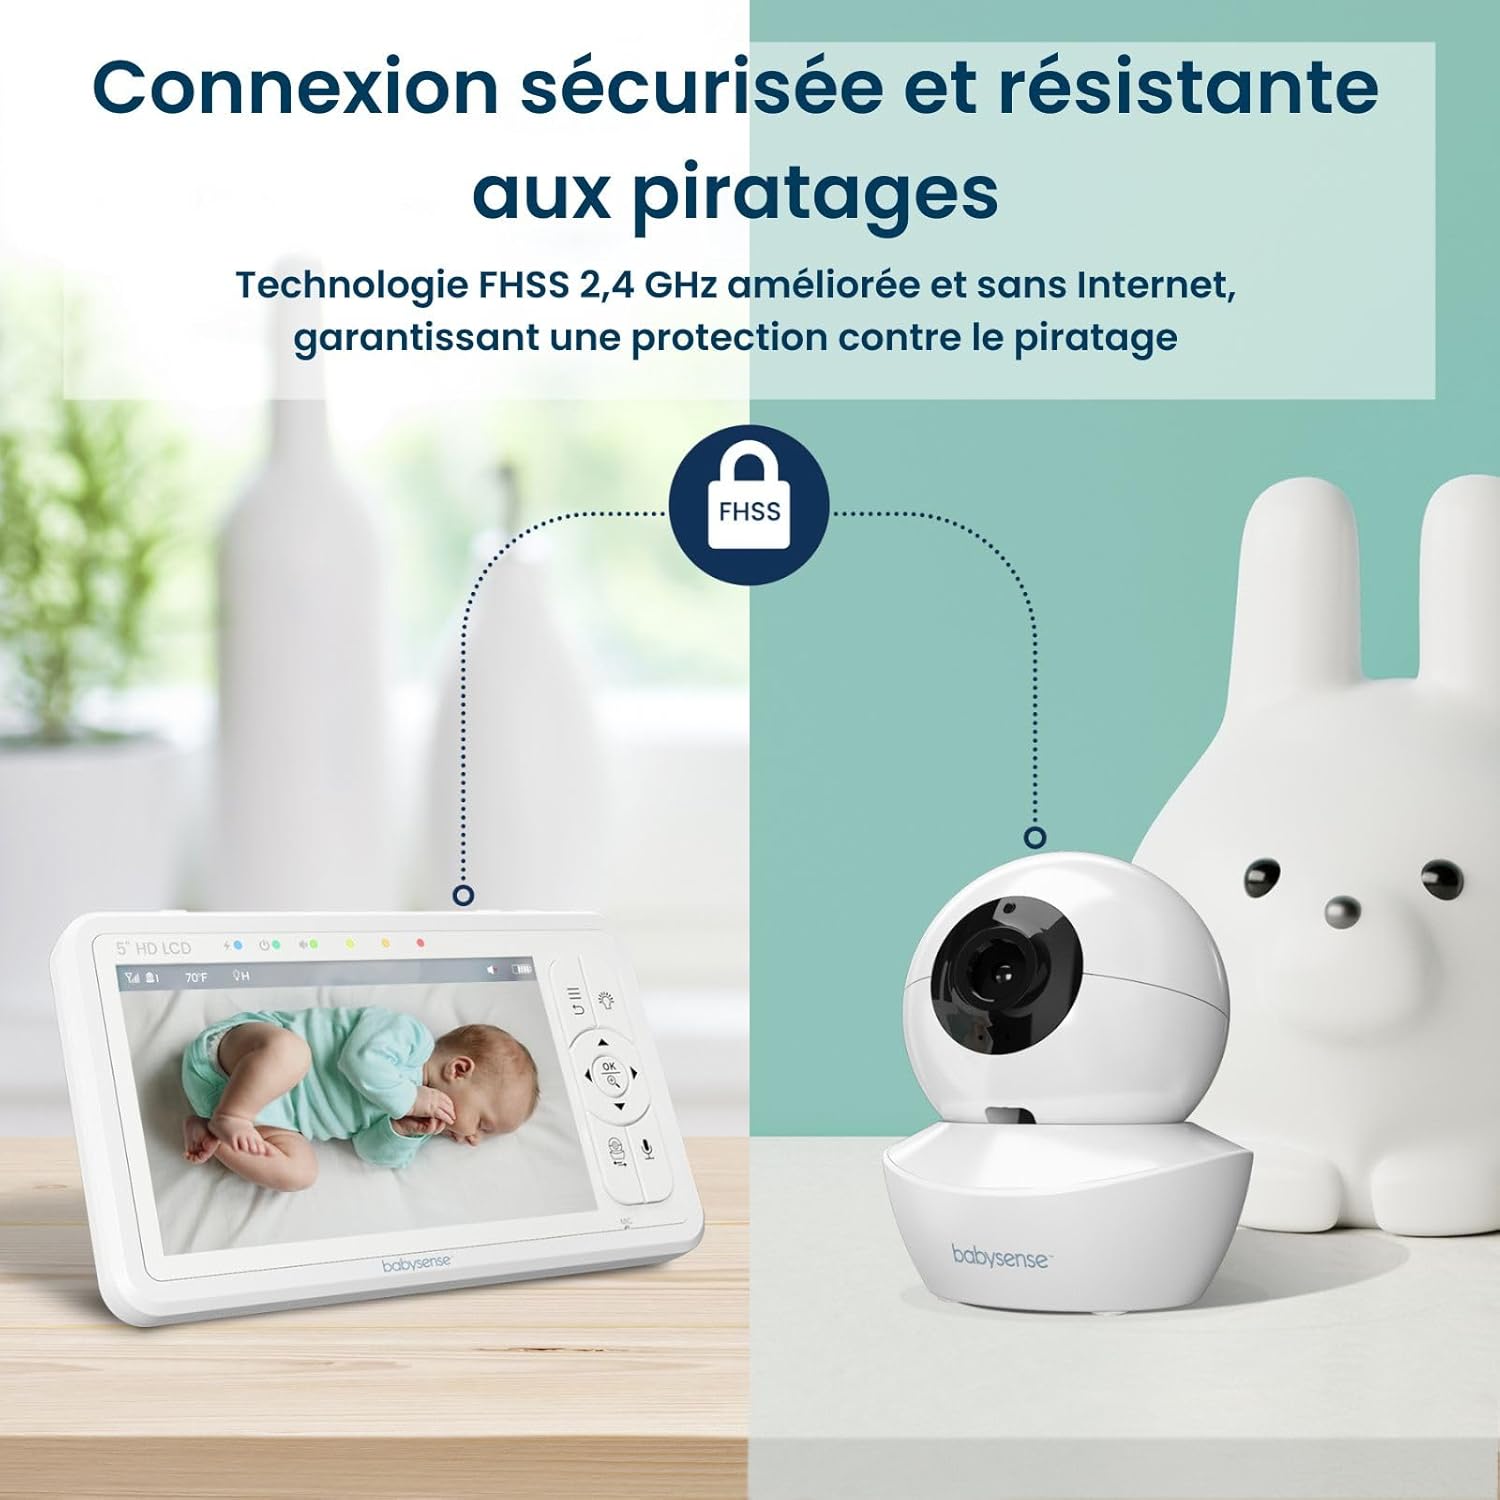
Image: Diagram illustrating the secure and hack-proof FHSS 2.4 GHz wireless connection between the Babysense HDS2 Parent Unit and Baby Unit, without requiring internet.
4. Adding Multiple Cameras (Optional)
The Babysense HDS2 system supports up to four cameras. To add additional cameras, navigate to the camera settings menu on the Parent Unit and follow the on-screen instructions for pairing a new camera.

Image: The Babysense HDS2 Parent Unit showing how it can connect to and display feeds from up to four cameras in different rooms, ensuring comprehensive monitoring.
Operating Instructions
Viewing Modes
- Single Camera View: Displays the feed from one camera. Use the navigation buttons to switch between paired cameras.
- Split-Screen View: If two or more cameras are connected, you can activate split-screen mode to view multiple feeds simultaneously. (Note: Audio will only be active for one camera at a time, or cycle through cameras in scan mode).

Image: The Babysense HDS2 Parent Unit displaying a split-screen view, showing two different camera feeds simultaneously, one of a sleeping infant and another of a child playing.
Pan, Tilt, and Zoom
Use the navigation buttons on the Parent Unit to remotely adjust the camera's viewing angle (pan and tilt). Press the zoom button to activate 2X or 4X digital zoom for a closer look.

Image: The Babysense HDS2 Parent Unit demonstrating the 2X and 4X digital zoom functions, providing a closer view of a baby in a crib.
Two-Way Audio
Press and hold the microphone button on the Parent Unit to speak to your baby through the camera's speaker. Release the button to hear your baby again.

Image: The Babysense HDS2 Parent Unit held by hands, displaying a happy baby on screen with a speech bubble indicating the two-way audio feature, saying "Hello Baby!".
Night Vision
The camera automatically switches to infrared night vision mode in low light conditions, providing a clear black and white image of your baby.

Image: The Babysense HDS2 Parent Unit demonstrating the automatic day and night vision capabilities, showing a clear color image during the day and a clear black and white infrared image at night.
Adjustable Night Light
The Baby Unit features an integrated night light with three intensity levels. Access this feature through the Parent Unit's menu to adjust or turn off the light.

Image: The Babysense HDS2 Baby Unit with its base illuminated by the adjustable ambient night light, positioned next to a teddy bear.
ECO Mode
Activate ECO mode to conserve battery life. In this mode, the screen and audio on the Parent Unit will turn off when no sound is detected from the baby's room. The monitor will automatically reactivate when sound is detected.

Image: Comparison of battery life for the Babysense HDS2 Parent Unit, showing up to 20 hours in ECO mode and 12 hours in normal mode, powered by its 4000mAh battery.
Lullabies
The Baby Unit can play pre-programmed lullabies to soothe your baby. Access the lullaby menu on the Parent Unit to select and play melodies. Note that the volume of lullabies may not be adjustable independently and may affect VOX mode sensitivity.
Temperature Monitoring
The Parent Unit displays the temperature detected by the Baby Unit's sensor. Ensure the camera is not placed in direct sunlight or near heat sources for accurate readings.
Maintenance
- Cleaning: Use a soft, dry cloth to clean the surfaces of the Parent Unit and Baby Unit. Do not use cleaning sprays or liquid cleaners.
- Battery Care: To prolong battery life, avoid fully discharging the Parent Unit frequently. Charge it regularly. If storing for an extended period, charge the battery every few months.
- Storage: Store the device in a cool, dry place away from direct sunlight and extreme temperatures.
Troubleshooting
| Problem | Possible Cause | Solution |
|---|---|---|
| No image/sound on Parent Unit |
|
|
| Poor image quality / Grainy video |
|
|
| Short battery life on Parent Unit |
|
|
| Inaccurate temperature reading |
|
|
| Clock gains time |
|
|
Specifications
| Feature | Detail |
|---|---|
| Model Name | HDS2-1CAM-EU |
| Connectivity Technology | 2.4 GHz FHSS Technology |
| Screen Resolution | 720p HD |
| Screen Size | 5 inches |
| Night Vision | Infrared (Automatic) |
| Camera Pan Angle | 350 Degrees |
| Camera Tilt Angle | 90 Degrees |
| Digital Zoom | 2x, 4x |
| Parent Unit Battery Capacity | 4000 mAh |
| Power Source | Electric Cable |
| Indoor/Outdoor Use | Indoor |
| Mounting Type | Wall Mount |
| Alert Type | Audio and Movement |
| Operating Temperature | 0°C - 40°C (32°F - 104°F) |
| Dimensions (Item) | 10 x 10 x 10 centimeters (approx.) |
Warranty and Support
The Babysense HDS2 Video Baby Monitor comes with a 1-year limited manufacturer's warranty. Please retain your proof of purchase for warranty claims.
For technical support, troubleshooting assistance, or warranty inquiries, please contact Babysense customer service. Contact information can typically be found on the Babysense official website or through your retailer.
Manufacturer: Hisense Ltd.
Ask a question about this manual
Ask about setup, troubleshooting, compatibility, parts, safety, or missing instructions. Manuals+ will review the question and use this page’s manual context to help answer it.