1. Important Safety Instructions
Please read all instructions carefully before using the appliance. Retain this manual for future reference.
- Electrical Safety: Ensure the voltage rating on the appliance matches your local power supply. Do not immerse the cord, plug, or appliance in water or other liquids.
- Placement: Place the oven on a stable, heat-resistant surface. Ensure adequate ventilation around the appliance. Do not place near flammable materials.
- Hot Surfaces: The oven's exterior and interior surfaces become very hot during operation. Always use oven mitts when handling hot items or parts.
- Supervision: Close supervision is necessary when any appliance is used by or near children.
- Maintenance: Unplug the oven from the outlet when not in use and before cleaning. Allow it to cool completely before cleaning or adding/removing parts.
- Damage: Do not operate any appliance with a damaged cord or plug, or after the appliance malfunctions or has been damaged in any manner.
2. Product Overview
The Continental Edison CEMF28B2 is a compact 28-liter electric mini oven designed for versatile cooking. It features an adjustable thermostat, multiple cooking modes, and a rotisserie function.

Figure 2.1: Front view of the Continental Edison CEMF28B2 Electric Mini Oven. It shows the main oven compartment with a glass door, and a control panel on the right side featuring three rotary knobs for temperature, mode, and timer settings.
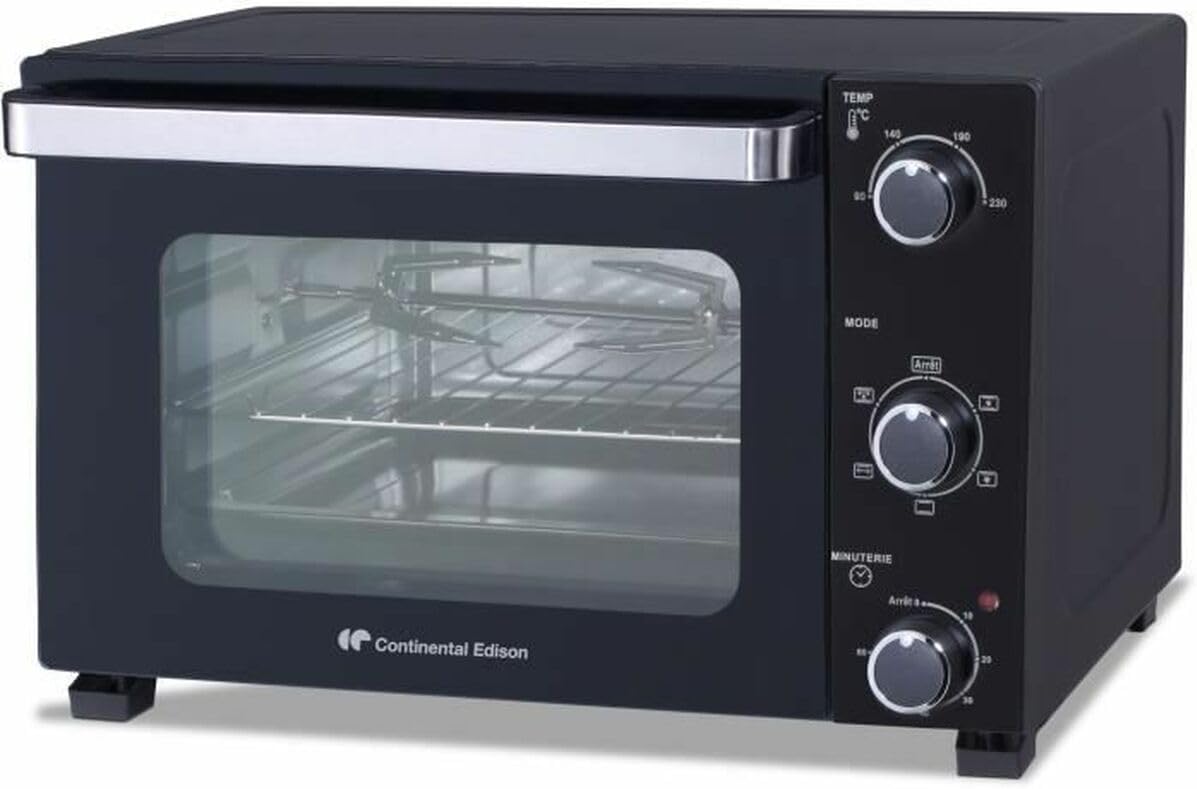
Figure 2.2: Angled view of the Continental Edison CEMF28B2 Electric Mini Oven, highlighting its compact design and the control panel with its three distinct dials.
Components:
- Temperature Control Knob: Adjusts temperature up to 230°C.
- Mode Selector Knob: Selects various cooking functions.
- Timer Knob: Sets cooking time up to 60 minutes.
- Glass Door: Heat-resistant door for viewing cooking progress.
- Baking Rack: For general baking and roasting.
- Baking Tray: For collecting drips or baking items.
- Rotisserie Spit: For roasting poultry or larger cuts of meat.

Figure 2.3: Interior view of the oven with the door open, showing the baking rack and the rotisserie spit assembly inside the main compartment.

Figure 2.4: Interior view of the oven with the door open, displaying the baking rack, rotisserie spit, and a baking tray positioned at the bottom.
3. Setup
- Unpacking: Carefully remove the oven and all accessories from the packaging. Dispose of packaging materials responsibly.
- Initial Cleaning: Before first use, wipe the interior and accessories with a damp cloth. Ensure all parts are dry before plugging in.
- Placement: Place the oven on a flat, stable, heat-resistant surface. Ensure there is at least 10-15 cm of clear space on all sides and above the oven for proper ventilation.
- Power Connection: Plug the power cord into a grounded electrical outlet.
- First Use Burn-in: It is recommended to run the oven empty for approximately 15 minutes at the maximum temperature setting (230°C) to burn off any manufacturing residues. Some smoke or odor may be present during this process; ensure the area is well-ventilated.
4. Operating Instructions
Operating the CEMF28B2 oven involves setting the desired temperature, selecting a cooking mode, and setting the timer.
4.1. Temperature Control
- Turn the Temperature Control Knob to select the desired cooking temperature, ranging from 90°C to 230°C.
4.2. Mode Selection
- Turn the Mode Selector Knob to choose the appropriate cooking function for your recipe. Refer to the 'Cooking Modes' section for details.
4.3. Timer Setting
- Turn the Timer Knob clockwise to set the desired cooking time, up to 60 minutes. The oven will automatically turn off and chime when the set time has elapsed.
- To cook continuously, turn the timer knob counter-clockwise past the '0' mark to the 'Stay On' position (if available, otherwise set to maximum and monitor).
5. Cooking Modes
The CEMF28B2 offers various cooking modes to suit different culinary needs:
- Natural Convection (Chaleur Tournante): This mode utilizes heating elements for even heat distribution, ideal for baking cakes, cookies, and roasting vegetables.
- Rotisserie: Engages the rotisserie spit for slow, even roasting of poultry or meat, ensuring a crispy exterior and juicy interior.
- Other Modes: The oven typically includes combinations of top heating, bottom heating, or both, which are suitable for grilling, toasting, or general baking. Consult the symbols on your oven's mode selector for specific functions.
6. Maintenance and Cleaning
Regular cleaning ensures optimal performance and extends the life of your oven.
- Before Cleaning: Always unplug the oven from the power outlet and allow it to cool completely before cleaning.
- Exterior: Wipe the exterior surfaces with a soft, damp cloth. Do not use abrasive cleaners or scouring pads.
- Interior: For the interior, wipe with a damp cloth and mild detergent. For stubborn stains, a non-abrasive oven cleaner designed for mini ovens can be used, following the product instructions. Ensure to rinse thoroughly.
- Accessories: The baking rack, baking tray, and rotisserie spit can be washed in warm, soapy water. Rinse and dry thoroughly.
- Glass Door: Clean the glass door with a glass cleaner or a damp cloth. Avoid harsh chemicals that could damage the seal.
- Storage: When not in use, store the oven in a clean, dry place.
7. Troubleshooting
If you encounter issues with your oven, refer to the following common problems and solutions:
| Problem | Possible Cause | Solution |
|---|---|---|
| Oven does not turn on | Not plugged in; power outage; timer not set | Ensure plug is securely in outlet; check household circuit breaker; set timer to desired cooking duration. |
| Food not cooking evenly | Incorrect temperature/mode; overcrowding; improper rack position | Verify temperature and mode settings; avoid overcrowding the oven; adjust rack position for optimal heat distribution. |
| Excessive smoke/odor during cooking | Food spills; residues from previous cooking; initial burn-in | Clean the oven interior and accessories thoroughly; ensure initial burn-in was performed in a well-ventilated area. |
| Rotisserie not turning | Improper assembly; food too heavy/unbalanced; rotisserie mode not selected | Ensure rotisserie spit is correctly assembled and seated; balance food evenly; select the rotisserie cooking mode. |
If the problem persists after attempting these solutions, please contact customer support.
8. Specifications
Detailed technical specifications for the Continental Edison CEMF28B2 Electric Mini Oven:
- Brand: Continental Edison
- Model Number: CEMF28B2
- Color: Black
- Capacity: 28 Liters
- Power: 1500 Watts
- Product Dimensions (L x W x H): 39.2 x 48.55 x 31.07 cm
- Item Weight: 10.48 Kilograms
- Control Type: Rotary Knobs
- Door Style: Drop-down Door

Figure 8.1: Diagram illustrating the dimensions of the Continental Edison CEMF28B2 Electric Mini Oven, showing overall length, width, and height, as well as internal cavity measurements.
9. Warranty and Support
For warranty information and customer support, please refer to the warranty card included with your purchase or contact the retailer where the product was purchased. Information regarding spare parts availability is not provided in this manual. Please retain your proof of purchase for any warranty claims.