
Introduction
The Performance Tool W9005 External Deburr Bit is designed for quickly repairing damaged ends on wheel studs, bolts, and threaded rods. It effectively removes burrs and damaged threads, restoring functionality to hardware without the need for replacement. This manual provides essential information for the proper setup, operation, and maintenance of your deburr bit.
Product Features
- Quickly repairs ends on wheel studs, bolts, and threaded rods by removing burred and damaged ends.
- Repairs threads in place, reducing time and cost associated with replacing hard-to-find or expensive hardware.
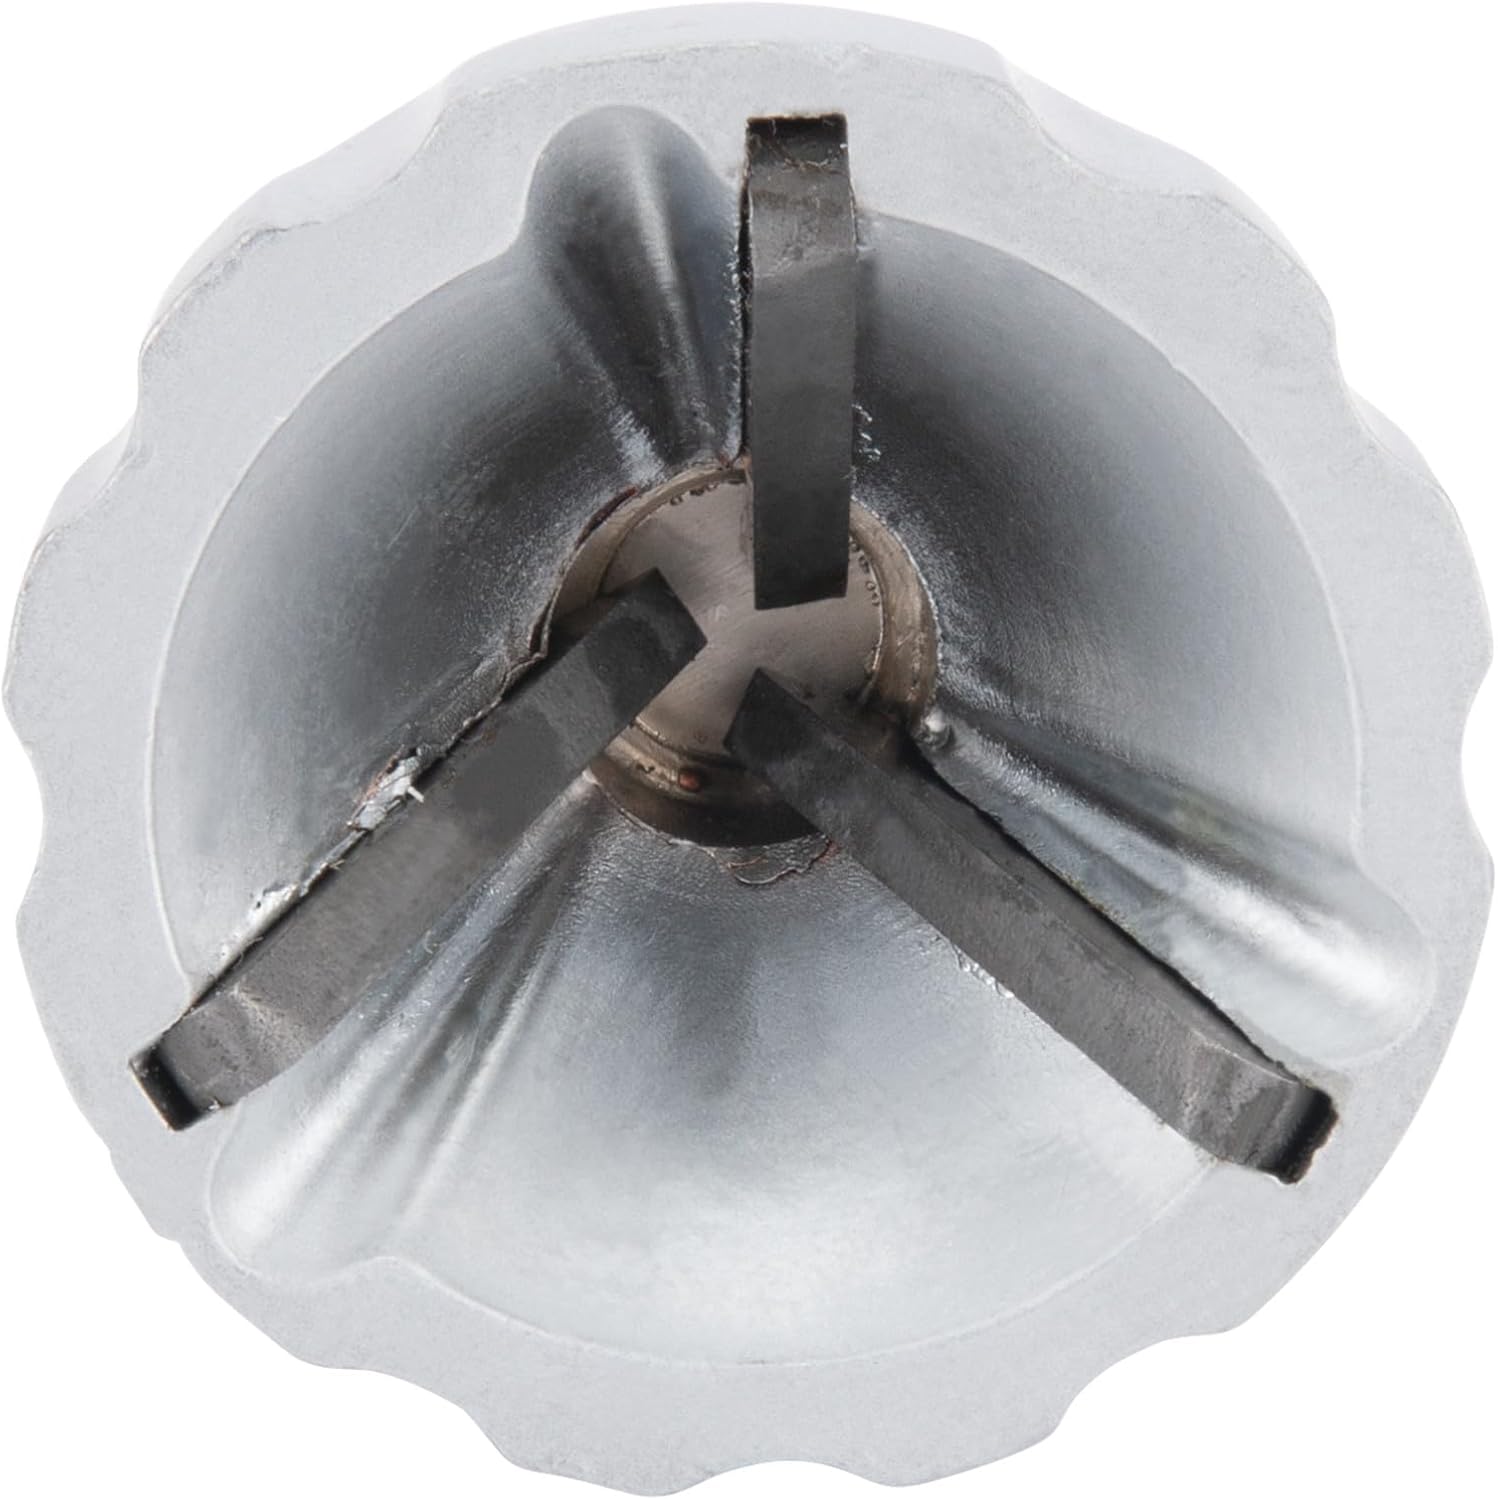
- Features 3 long-lasting tungsten carbide cutting blades with a hardness rating between 88-90 HRC.
- Durable enough for use on most metals, leaving a clean thread end if used as directed.
- Bit capacity: 1/8 - 3/4 inches (3 - 19mm).
- Compatible with various materials including stainless steel, aluminum, plastic, or wood.

An illustrative diagram highlighting key features of the deburr bit, including its 1/4 inch hex shank, three tungsten carbide blades, and 1/8 to 3/4 inch capacity. It also indicates compatible materials like wood, plastic, metal, and stainless steel.
Specifications
| Manufacturer | Performance Tool |
| Part Number | W9005 |
| Style | 1/8 - 3/4" External Deburr Bit |
| Material | Stainless Steel, Tungsten Carbide |
| Power Source Type | Hand Powered (for use with drills) |
| Item Package Quantity | 1 |
| Included Components | 1 x External Deburr Bit |
| Weight | 0.15 Pounds (approx. 68.04 g) |
| Product Dimensions | 3.6 x 1.25 x 5.4 inches (approx. 9.14 x 3.18 x 13.72 cm) |
Setup
The W9005 External Deburr Bit features a 1/4 inch hex shank. To set up, insert the hex shank securely into the chuck of a power drill. Ensure the drill is set to its lowest gear setting for optimal control and performance.
The deburr bit attached to a power drill, positioned above a bolt secured in a vise, ready for the deburring process.
Operating Instructions
- Secure the Workpiece: Firmly secure the bolt or threaded rod in place, such as in a vise, to prevent movement during the deburring process.
- Attach to Drill: Insert the 1/4 inch hex shank of the deburr bit into the chuck of a power drill and tighten securely.
- Set Drill Speed: Set the drill to its lowest gear. Rotate the bit between 0 - 400 RPM. Do not exceed 400 RPM.
- Apply Pressure: Apply consistent, even forward pressure to the deburr bit against the damaged threads.
- Deburr: Rotate the bit slowly until all damaged threads have been removed and a clean thread end is achieved.
- Use Cutting Oil (Optional): For harder materials, applying a small amount of cutting oil can assist in the deburring process and extend tool life.

A three-panel image demonstrating the operation of the deburr bit: a damaged bolt, the bit engaging the bolt, and the bolt after deburring, showing repaired threads.

The deburr bit actively deburring a metal stud that is part of a larger structure, demonstrating its application in situ.
Maintenance
After each use, clean the deburr bit thoroughly to remove any metal shavings or debris. Store the bit in a dry place to prevent corrosion. Periodically inspect the tungsten carbide cutting blades for signs of wear, dullness, or chipping. Replace the bit if the blades become dull or damaged to ensure optimal performance and safety.

A close-up top-down view of the deburr bit, clearly showing the three tungsten carbide cutting blades within its conical opening.
Troubleshooting
Issue: Bit not effectively removing burrs or threads.
Solution: Ensure the drill is operating at the lowest RPM (0-400 RPM). Verify consistent forward pressure is applied. Check if the material being deburred is excessively hard; consider using cutting oil. Inspect the cutting blades for dullness or damage.
Issue: Damage to the deburr bit cutting edge.
Solution: Avoid using the bit above the recommended RPM (over 400 RPM). Do not use with hammer drills or impact drills, as this will destroy the cutting edge and void any potential warranty.
Warranty and Support
For warranty information or product support, please refer to the manufacturer's official website or contact Performance Tool customer service directly. It is recommended to keep your purchase receipt for any warranty claims.