1. Introduction
This manual provides detailed instructions for the installation, operation, and maintenance of your EPIC ES-303G Smart Door Lock. Please read this manual thoroughly before installation and use to ensure proper function and safety. Keep this manual for future reference.
The EPIC ES-303G is a smart door lock designed for glass doors, offering multiple access methods including PIN number and RFID cards. It features automatic recognition for left and right-opening doors, random number input, and multi-touch security functions.
2. Product Overview
The EPIC ES-303G Smart Door Lock consists of a front body with a keypad and an RFID card reader, and a back body with a battery compartment and manual override. It is specifically designed for glass door installations.
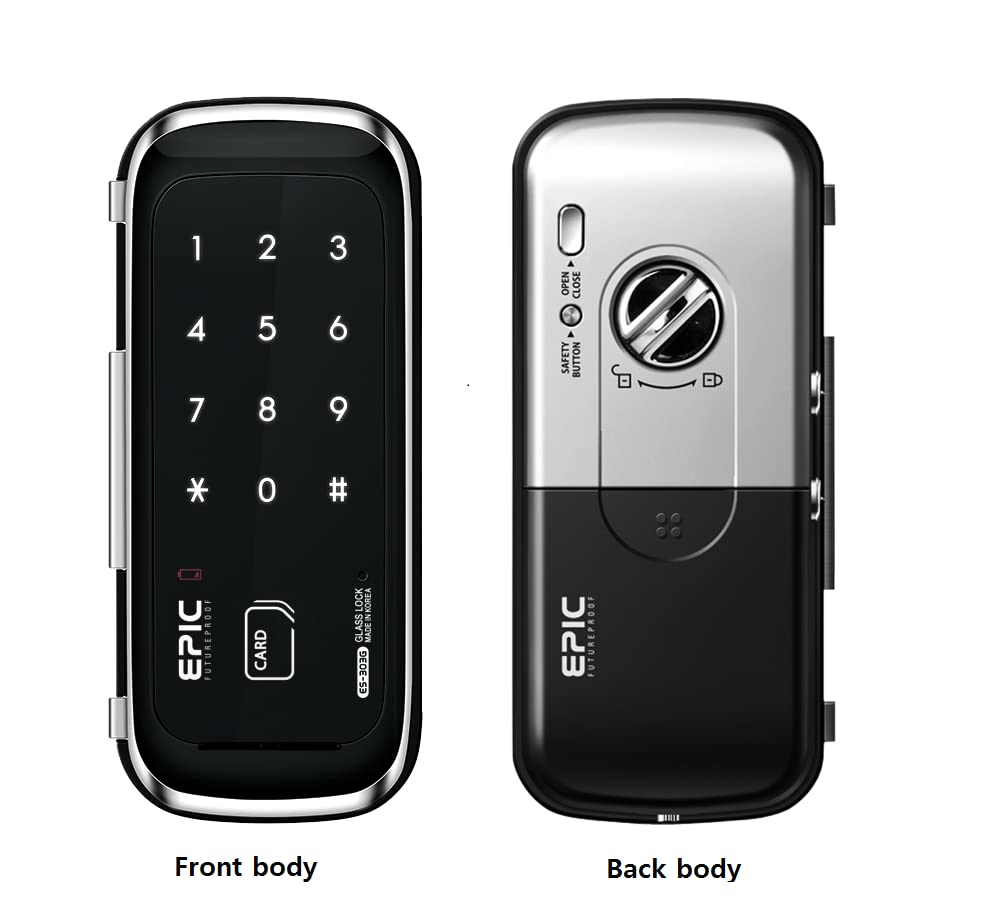
Image: Front and Back Body of the ES-303G Smart Door Lock. The image displays the front body with its numeric keypad and RFID card slot, and the back body showing the battery cover and manual lock mechanism.
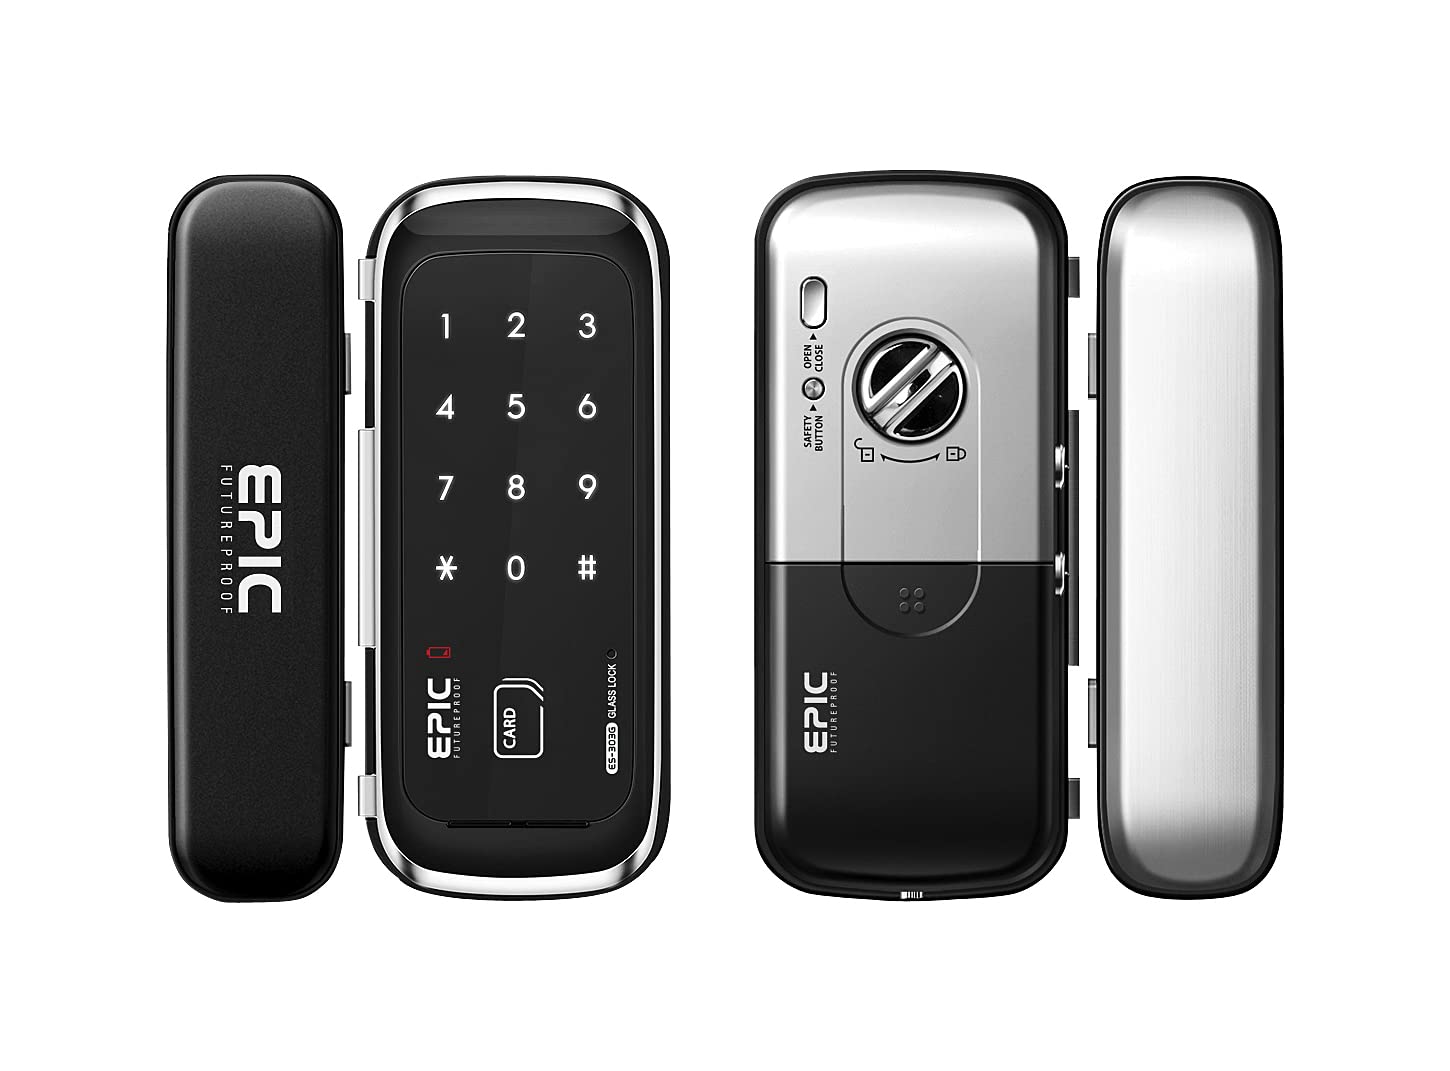
Image: ES-303G Smart Door Lock on a Glass Door. This image illustrates the lock installed on a glass door, highlighting its compatibility with glass door types and showing the two primary access methods: PIN number and RFID card.
3. Features
- PIN Number Access: Secure entry using a user-defined PIN.
- RFID Card Registration: Supports registration of up to 100 RFID cards for convenient access.
- Guest PIN Number: Allows for one-time guest PIN registration.
- Automatic Recognition: Automatically detects left or right-opening glass doors for simplified installation.
- Random Number Feature: Enhances security by adding random numbers before or after the actual PIN.
- Multi-touch Features: Additional security measures requiring multiple touches on the keypad.
- Administrator Setting Menu: Provides advanced configuration options.
- Optional Home Network Module & Remote Control: Expand functionality with optional accessories.
4. Setup and Installation
The EPIC ES-303G is designed for easy installation on glass doors. It features automatic recognition for door orientation.
4.1. Package Contents
Before installation, ensure all components are present:
- Front Body
- Back Body
- Mounting Plate
- Screws (as per specifications)
- RFID Cards (initial set)
- User Manual (this document)
4.2. Installation Steps (Summary)
Detailed installation instructions are typically provided in a separate installation guide or template. This section provides a general overview.
- Prepare the glass door according to the provided template for drilling holes (if necessary).
- Attach the mounting plate to the glass door.
- Connect the cable from the front body to the back body.
- Secure the front and back bodies to the mounting plate using the provided screws.
- Install batteries into the back body.
- Test the lock's basic functionality.
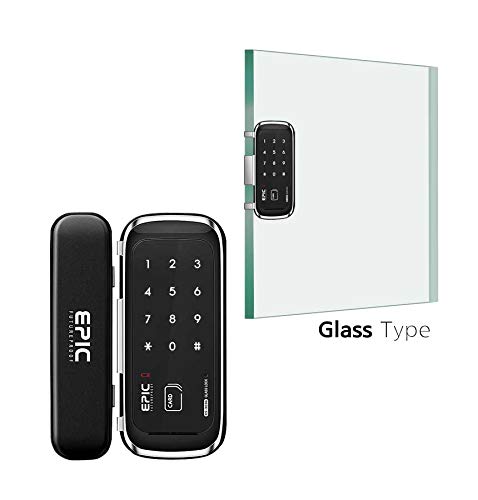
Image: ES-303G Components and Glass Door. This image shows the separate components of the lock (front and back units) alongside a representation of a glass door, indicating how the lock is mounted onto it.
5. Operating Instructions
5.1. Initial Setup and Master PIN Registration
Upon first power-up, you will need to register a Master PIN. This PIN is essential for accessing the administrator menu and registering other users.
- Open the battery cover on the back body.
- Press the [Registration] button.
- Enter your desired Master PIN (4-12 digits) on the front keypad, then press [#].
- Re-enter the Master PIN, then press [#] to confirm.
- Close the battery cover.
5.2. Unlocking with PIN Number
- Touch the keypad to activate it.
- Enter your registered PIN number.
- Press the [#] button. The door will unlock.
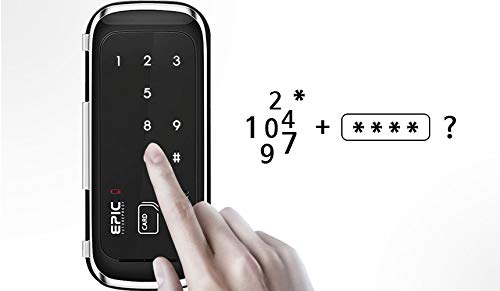
Image: Entering PIN on Keypad. A hand is shown interacting with the numeric keypad of the ES-303G, demonstrating the process of entering a PIN for access.
5.3. Unlocking with RFID Card
- Place your registered RFID card on the card reader area of the front body.
- The door will unlock.
5.4. Locking the Door
The ES-303G typically locks automatically after a few seconds when the door is closed. You can also manually lock it from the inside by using the manual lock switch or from the outside by touching the keypad.
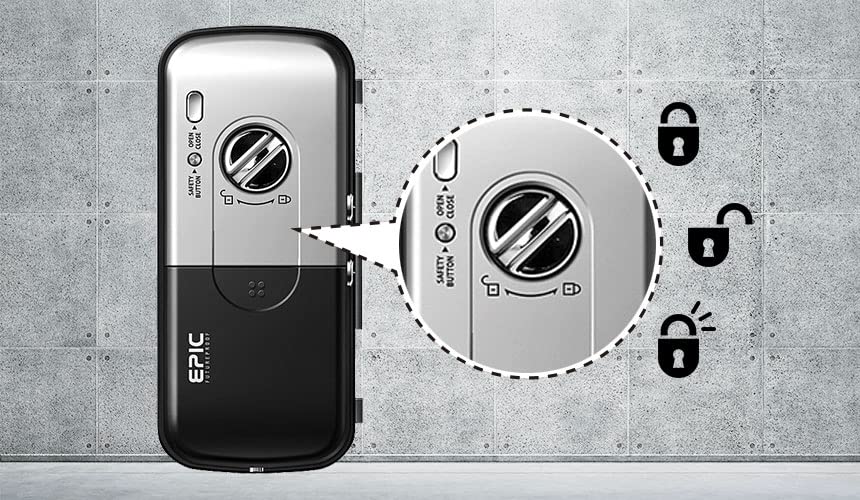
Image: Back Body Lock Mechanism. This image focuses on the back body of the lock, showing the manual safety button and the visual indicators for locked and unlocked states.
6. User Management
6.1. Registering RFID Cards (Up to 100)
- Open the battery cover on the back body.
- Press the [Registration] button.
- Enter your Master PIN, then press [#].
- Place each RFID card you wish to register on the card reader. A confirmation sound will indicate successful registration.
- To finish, press the [Registration] button again or wait 10 seconds.
6.2. Registering Guest PIN Number (One-Time Use)
A guest PIN can be created for single-use access.
- Open the battery cover on the back body.
- Press the [Registration] button.
- Enter your Master PIN, then press [#].
- Enter the desired Guest PIN (4-12 digits), then press [#].
- Re-enter the Guest PIN, then press [#] to confirm.
- To finish, press the [Registration] button again or wait 10 seconds.
Note: A guest PIN is typically valid for one entry only and will be automatically deleted after use.
7. Security Features
7.1. Random Number Feature
To prevent PIN exposure from fingerprint traces, the lock allows you to enter random numbers before or after your actual PIN.
- Touch the keypad to activate it.
- Enter any random numbers (e.g., 123).
- Enter your actual PIN number (e.g., 4567).
- Enter any additional random numbers (e.g., 890).
- Press the [#] button. The door will unlock.
Example: If your PIN is 1234, you could enter 987 + 1234 + 56 + #.
7.2. Multi-touch Security
This feature requires multiple touches on the keypad to activate, further deterring unauthorized access attempts.
Refer to the Administrator Setting Menu for details on enabling and configuring multi-touch security.
8. Maintenance
8.1. Battery Replacement
The lock will provide a low battery warning (audible alarm or indicator light) when batteries need replacement. Promptly replace all batteries when this warning appears.
- Open the battery cover on the back body.
- Remove all old batteries.
- Insert new, high-quality alkaline batteries, ensuring correct polarity.
- Close the battery cover.
Important: Do not mix old and new batteries, or different types of batteries. Use only recommended battery types.
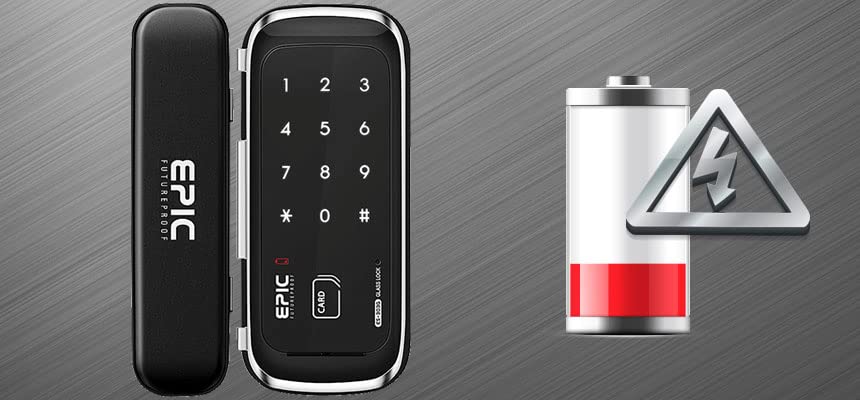
Image: Low Battery Warning. This image depicts the ES-303G lock alongside a visual representation of a low battery icon, indicating the need for battery replacement.
8.2. Cleaning
Clean the lock's surface with a soft, dry cloth. Avoid using abrasive cleaners, solvents, or chemical sprays, as these can damage the finish and internal components.
9. Troubleshooting
| Problem | Possible Cause | Solution |
|---|---|---|
| Lock does not respond. | Dead batteries. | Replace all batteries with new ones. |
| PIN not recognized. | Incorrect PIN entered; PIN not registered. | Ensure correct PIN is entered. Re-register PIN if necessary. |
| RFID card not recognized. | Card not registered; card damaged. | Register the RFID card. Try a different registered card. |
| Lock makes continuous alarm sound. | Low battery; tampering attempt. | Replace batteries. Check for obstructions or forced entry attempts. |
| Lock is difficult to operate. | Misalignment; physical obstruction. | Check door and lock alignment. Ensure no foreign objects are obstructing the mechanism. |
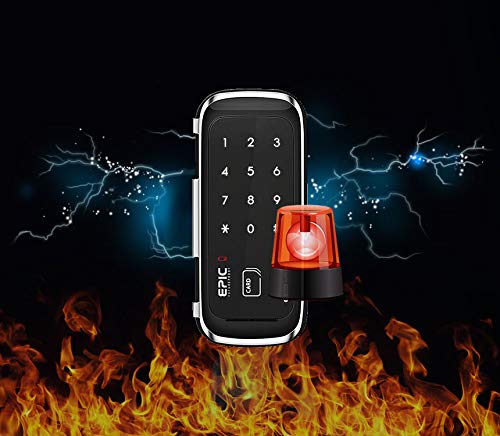
Image: Alarm Feature. This image depicts the lock with an alarm siren icon and a background suggesting fire or tampering, indicating its security alert capabilities.
10. Specifications
| Feature | Detail |
|---|---|
| Model Number | EPIC ES-303G |
| Front Body Dimensions (W x H x D) | 75mm x 175mm x 20mm |
| Back Body Dimensions (W x H x D) | 65mm x 165mm x 35mm |
| RFID Card Capacity | Up to 100 cards |
| PIN Number Length | 4-12 digits |
| Power Source | Alkaline Batteries (e.g., AA x 4, not specified in input, assuming common type) |
| Country of Origin | Republic of Korea |
| Included Components | Screws |
11. Warranty and Support
For warranty information and technical support, please refer to the official EPIC FUTUREPROOF website or contact your local distributor. Keep your purchase receipt as proof of purchase for warranty claims.
Manufacturer: EPIC
Customer Support: Please visit the manufacturer's website or contact your retailer for support.