
Introduction
Thank you for choosing Geevon Water Leak Detectors. This manual provides essential information for the proper setup, operation, and maintenance of your new water leak detection system. These battery-operated detectors are designed to alert you to water leaks and potential flooding in various areas of your home, helping to prevent costly water damage.
The Geevon Water Leak Detectors feature a loud 100dB alarm and highly sensitive sensors, making them ideal for basements, bathrooms, laundry rooms, kitchens, garages, and attics. Please read this manual thoroughly before use to ensure optimal performance and longevity of your devices.
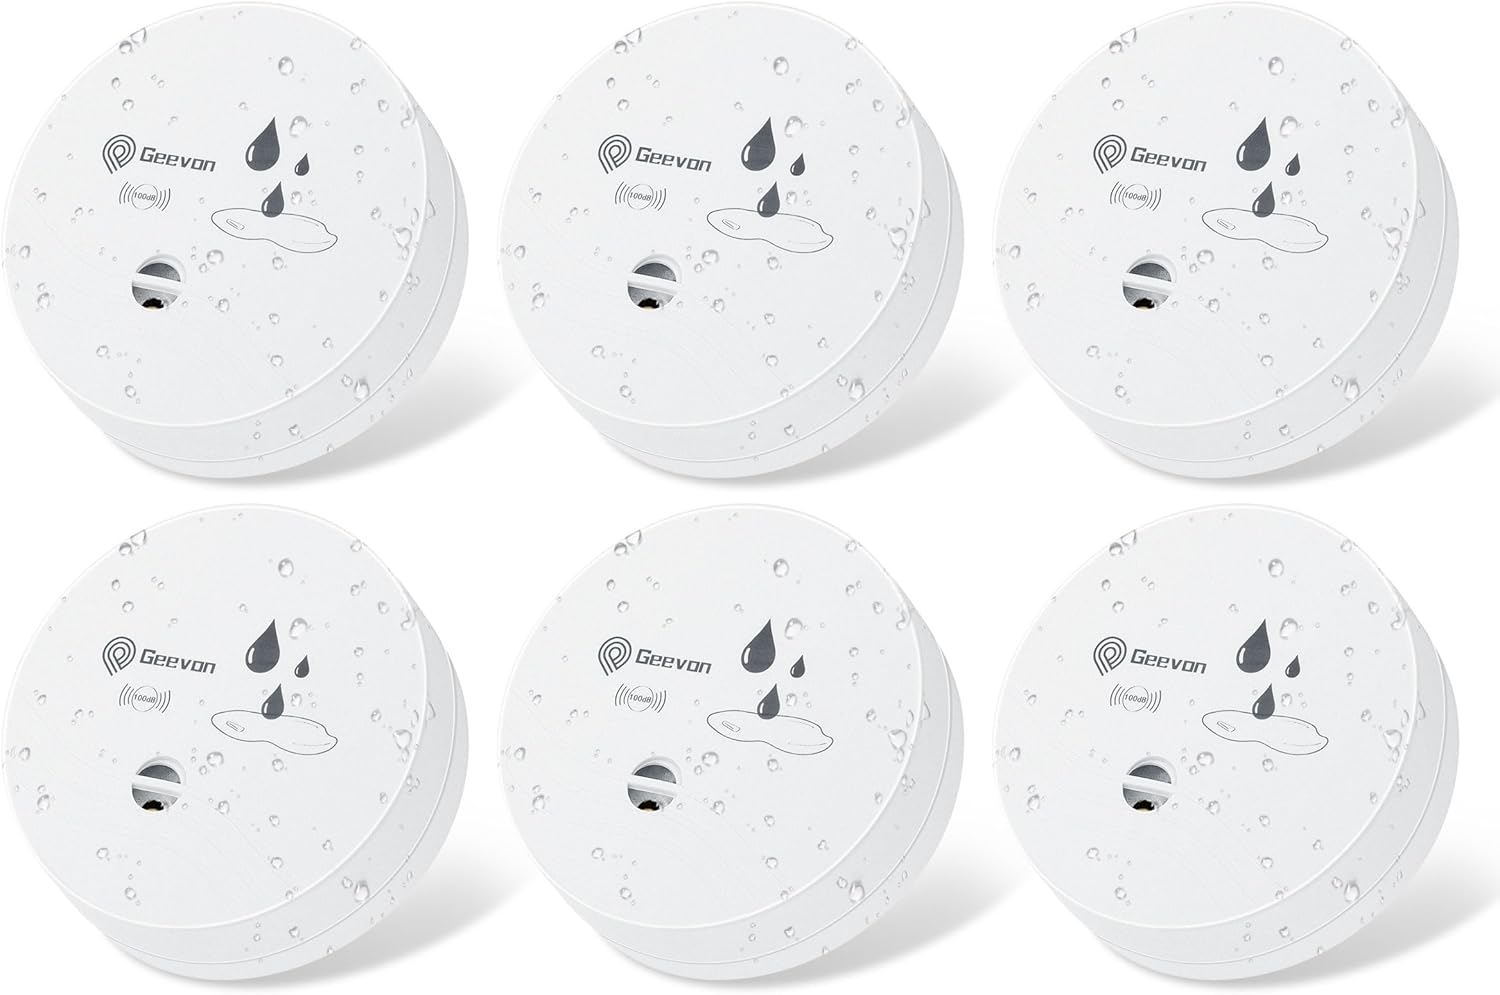
Image: A pack of six Geevon water leak detectors, showcasing their compact, circular design and readiness for use.
Product Features
- Loud 100dB Alarm: Each detector emits an ultra-loud 100dB alarm when water is detected, ensuring the alert is heard throughout your home, even from distant rooms or basements.
- Highly Sensitive Water Detection: Equipped with three metal prongs on the bottom, the sensor quickly detects the presence of water, triggering an immediate alarm.
- Battery-Operated: Powered by a single 9V battery (included), offering wireless placement and easy installation without the need for complex wiring.
- Compact and Versatile Placement: With a diameter of 3.15 inches and a height of 1.18 inches, these detectors can be easily placed in various locations prone to leaks.
- Durable Construction: Made from high-quality ABS materials and electronic components with a waterproof design, allowing the device to float and continue detecting leaks.

Image: Visual representation of the 100dB alarm sound coverage within a typical home layout.
Setup and Installation
The Geevon Water Leak Detectors are designed for easy, tool-free installation. Follow these steps to get your detectors ready for use:
- Open the Cover: Gently twist the top cover of the detector counter-clockwise to open it.
- Confirm Battery Poles: Identify the positive (+) and negative (-) poles inside the battery compartment and on the 9V battery.
- Install Battery: Insert the included 9V battery into the compartment, ensuring the poles align correctly.
- Close the Cover: Place the top cover back onto the detector and twist it clockwise until it is securely closed.
- Placement: Position the detector in areas where water leaks are likely to occur. Ensure the three metal prongs on the bottom are in direct contact with the surface where water might accumulate.
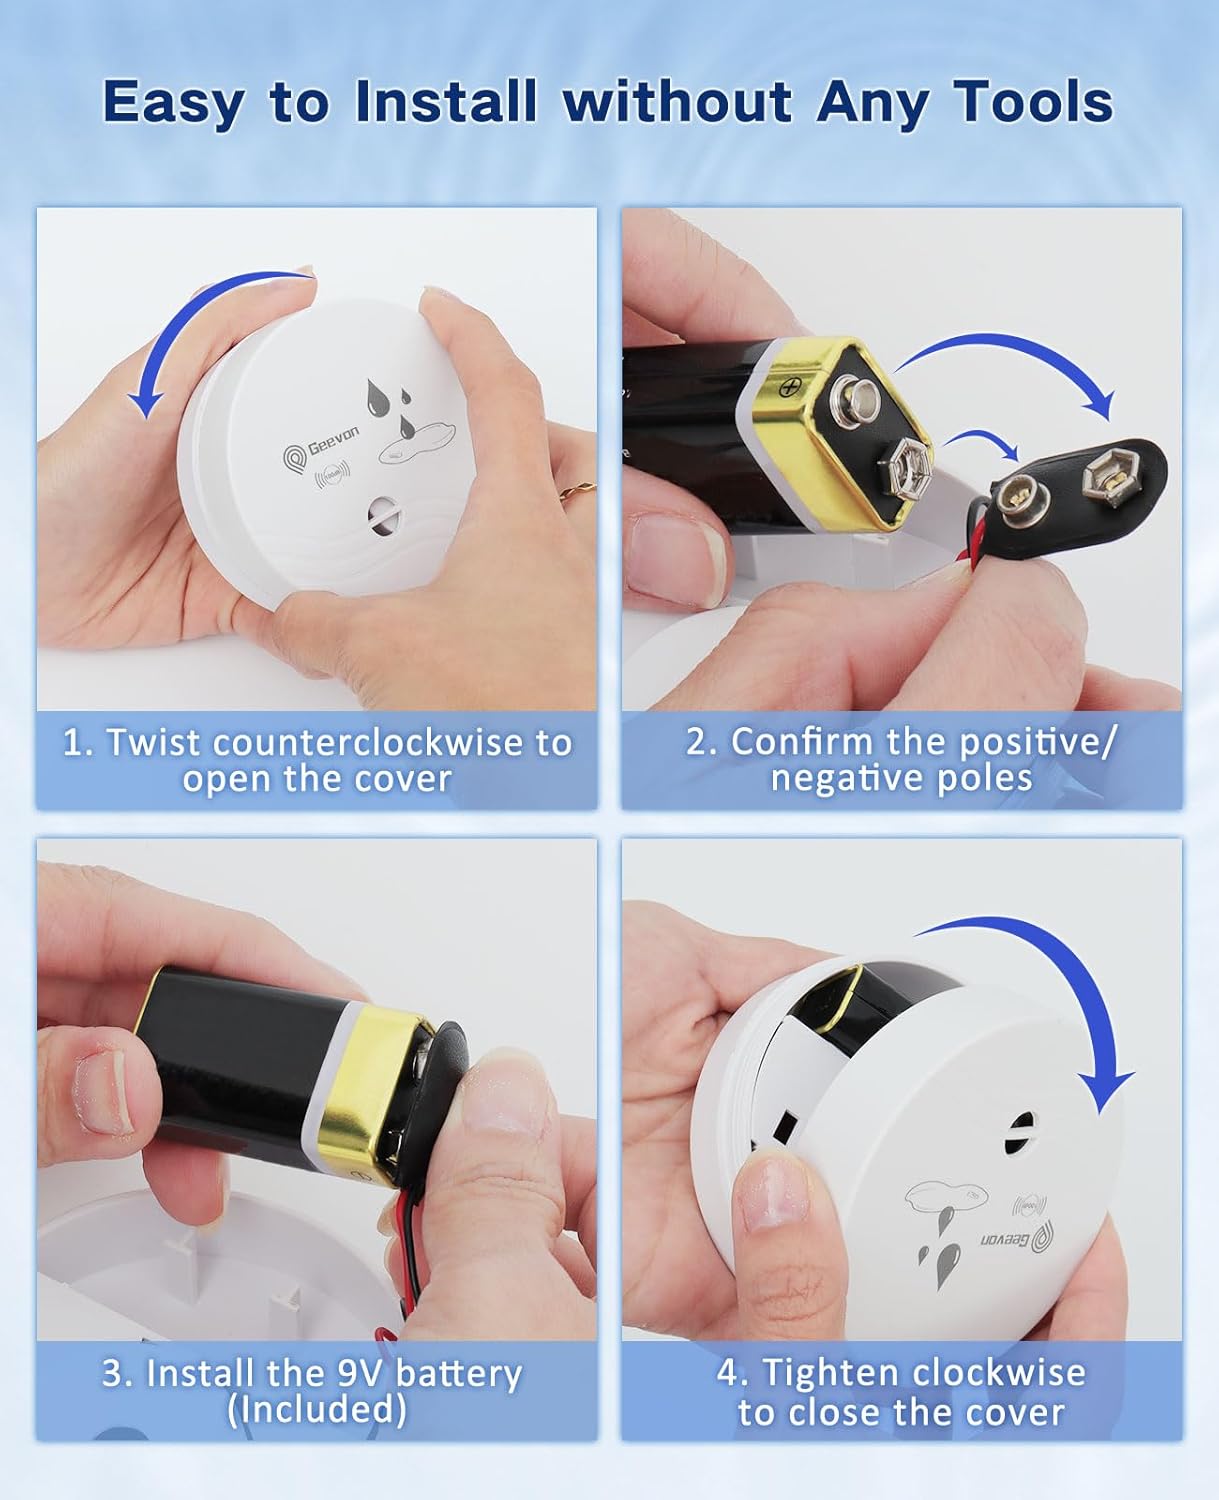
Image: Step-by-step guide for battery installation, showing how to open, insert the battery, and close the detector.
Recommended Placement Areas:
- Basements (near water heaters, sump pumps)
- Laundry Rooms (near washing machines, utility sinks)
- Bathrooms (under sinks, near toilets, bathtubs, showers)
- Kitchens (under sinks, near dishwashers, refrigerators with ice makers)
- Garages (near water softeners, utility connections)
- Attics (near HVAC units, pipes)
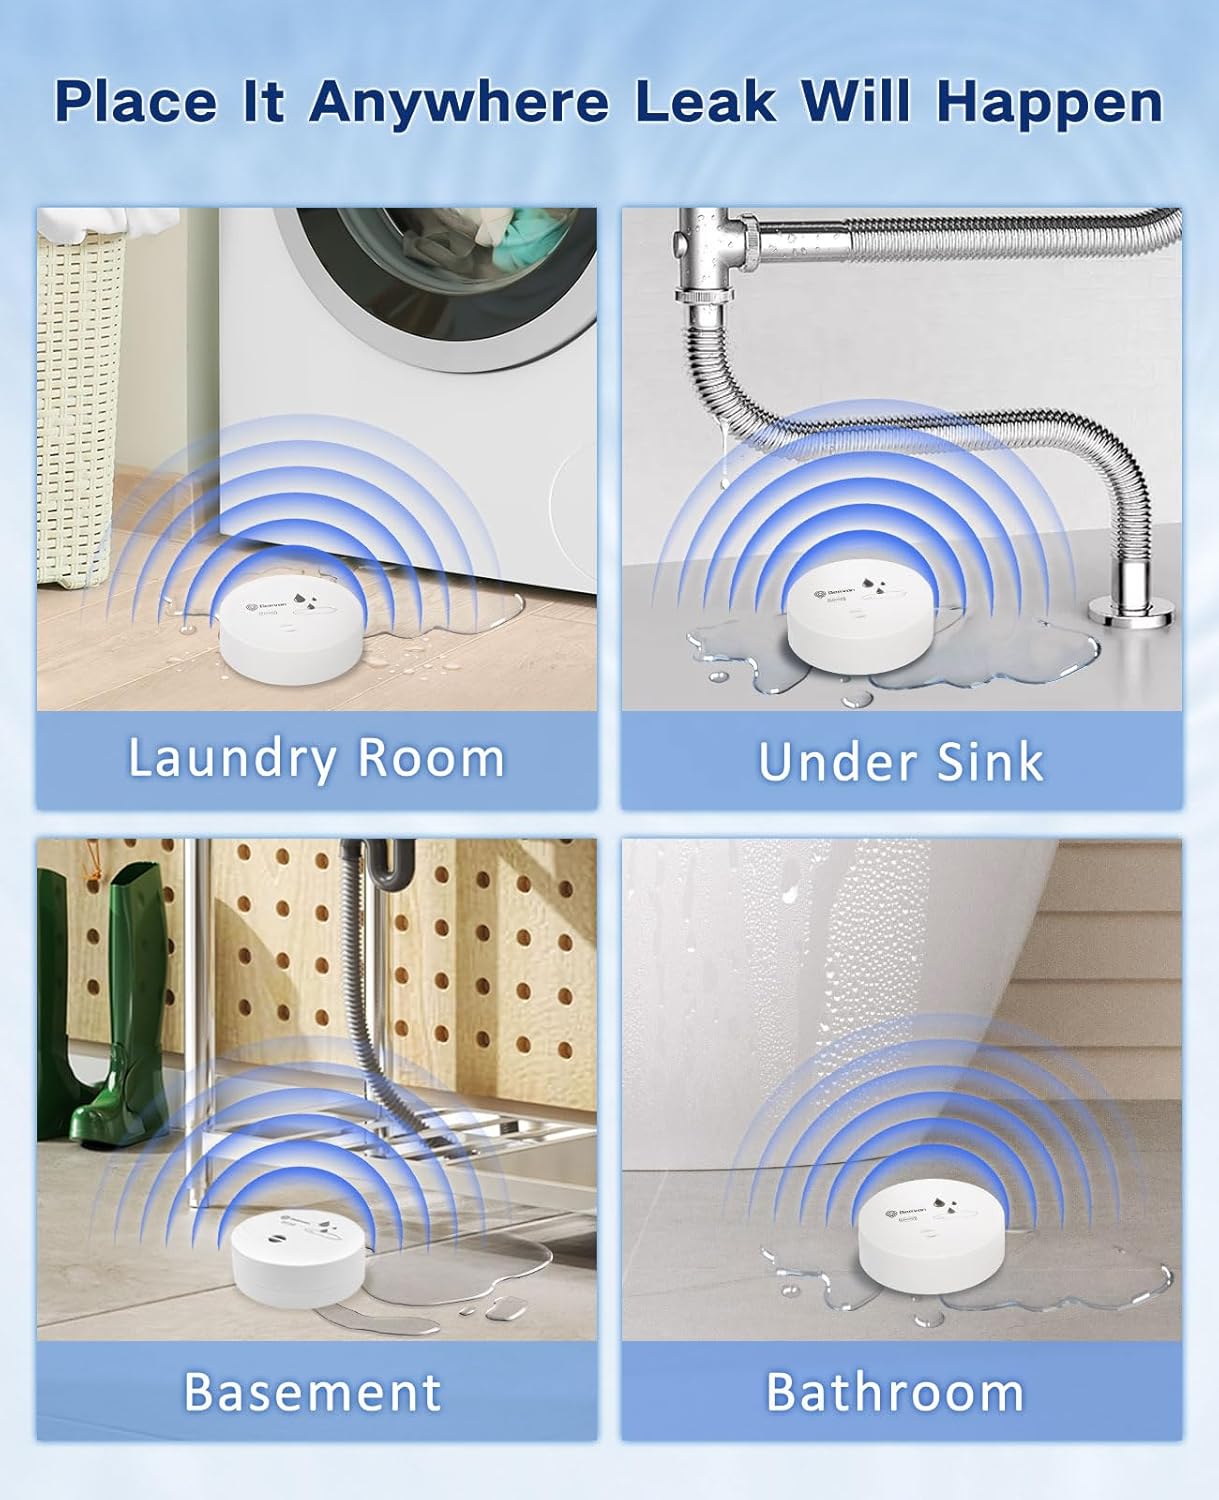
Image: Examples of strategic placement for the water leak detectors in common household areas.
Operating Instructions
Once the battery is installed and the detector is placed, it is ready to operate. The device functions automatically:
- Detection: When water comes into contact with the three metal prongs on the bottom of the detector, the sensor is activated.
- Alarm Activation: Upon detection, the detector will immediately emit a loud 100dB alarm sound.
- Alarm Deactivation: To stop the alarm, remove the detector from the water and dry the metal prongs thoroughly. The alarm will cease once the prongs are dry.

Image: Demonstrates how to stop the alarm by removing the detector from water and drying its sensors.
Maintenance
Regular maintenance ensures the continued reliability of your Geevon Water Leak Detectors:
- Battery Replacement: The 9V battery typically lasts for 10-12 months under normal use. If the alarm sounds weakly or not at all during a test, replace the battery immediately.
- Sensor Cleaning: Periodically inspect the metal prongs on the bottom of the detector. Clean them with a soft, dry cloth to remove any dust or debris that might interfere with detection.
- Testing: It is recommended to test your detectors monthly. To test, place the detector on a damp cloth or a small amount of water to ensure the alarm sounds. Immediately remove and dry the detector after testing.
- Storage: If storing the detectors for an extended period, remove the batteries to prevent leakage and damage to the device. Store in a cool, dry place.

Image: The detector's IPX4 waterproof design, emphasizing that while it can detect water, it should not be fully submerged.
Troubleshooting
| Problem | Possible Cause | Solution |
|---|---|---|
| Alarm does not sound when water is detected. |
|
|
| Alarm sounds continuously without water. |
|
|
| Alarm is too quiet. |
|
|
Specifications
| Feature | Detail |
|---|---|
| Model Number | 21601 |
| Alarm Volume | 100 dB |
| Power Source | 1 x 9V Battery (included) |
| Battery Life | Approx. 10-12 months (normal use) |
| Product Dimensions | 3.15 x 3.15 x 1.18 inches (8 x 8 x 3 cm) |
| Item Weight | Approx. 1 pound (per 6-pack) |
| Material | ABS, Metal, Plastic |
| Sensor Type | Contact Sensor |
| Mounting Type | Floor Mount |
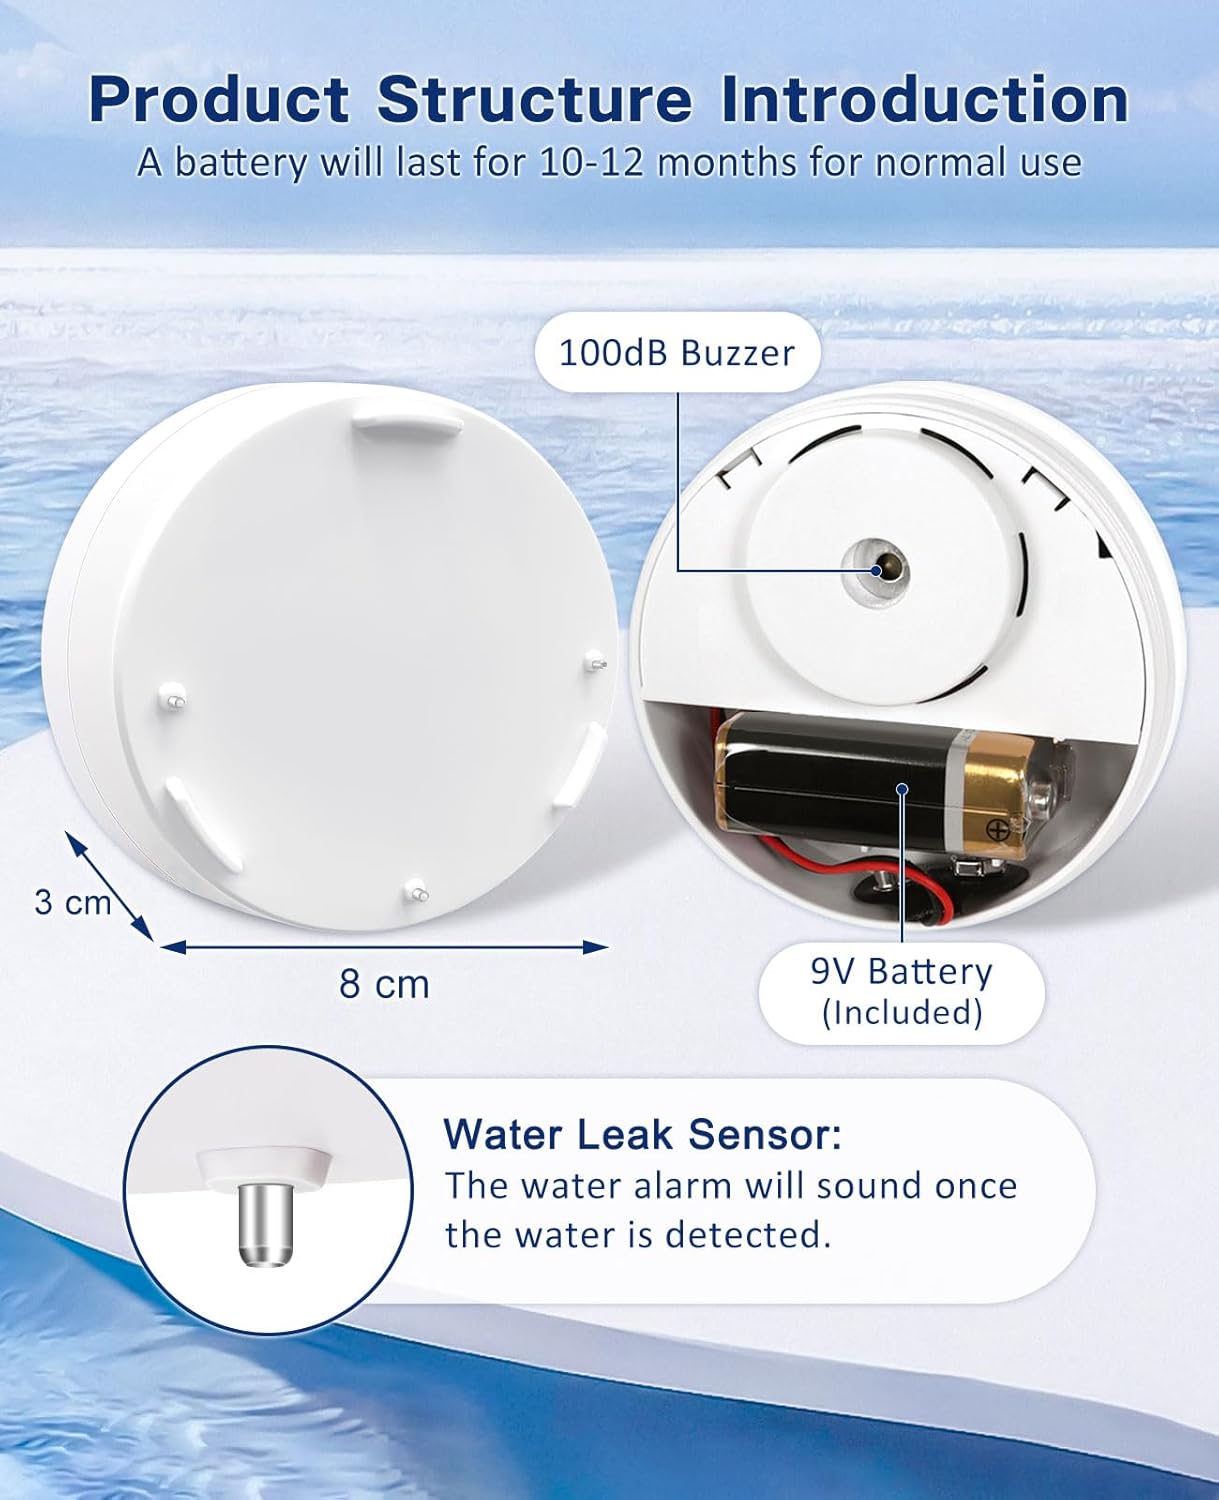
Image: Detailed view of the product's internal structure and dimensions, highlighting the buzzer and battery compartment.
Warranty and Support
Geevon Water Leak Detectors come with a 1-Year Warranty from the date of purchase, covering defects in materials and workmanship under normal use. Additionally, Geevon offers a 30-Day Money Back Guarantee and lifetime consulting service.
For warranty claims, technical support, or any questions regarding your product, please contact Geevon customer service:
- Refer to the contact information provided in your product packaging.
- Visit the official Geevon website for support resources and contact details.
- If purchased through Amazon, you may contact the seller "GEEVON Electronics" directly via your order history.
Please retain your purchase receipt as proof of purchase for warranty purposes.

