Longer RAY5 10W
Longer RAY5 Laser Engraver User Manual
Model: RAY5 10W
1. Introduction
The Longer RAY5 Laser Engraver is a versatile DIY tool designed for engraving and cutting various materials such as metal, glass, and wood. It features a 10W output power, a 3.5-inch color touch screen, and supports offline control via an app. This manual provides essential information for the setup, operation, maintenance, and troubleshooting of your device.
Key Features:
- 10W Output Power: Capable of cutting through 0.8" (20mm) thick wood boards and 1.2" (30mm) thick acrylic sheets.
- Large Engraving Area: Standard 400 x 400mm working area, expandable to 850mm x 400mm with an optional extension kit.
- Multiple Connection Options: Supports Wi-Fi, USB cable, APP, and TF card for data transfer and control.
- 3.5" Color Touch Screen: Provides convenient and intuitive operation.
- Safety Protections: Includes eye protection, motionless protection, thermal protection, and an emergency stop device.
2. Setup
The Longer RAY5 laser engraver is designed for easy assembly. Follow the instructions provided in the Quick Start Guide included in the package. Ensure all components are present before beginning assembly.
2.1 Unboxing and Component Check
Upon receiving your Longer RAY5, carefully open the packaging and verify that all parts listed in the packing list are included. The components are securely packed in protective foam.
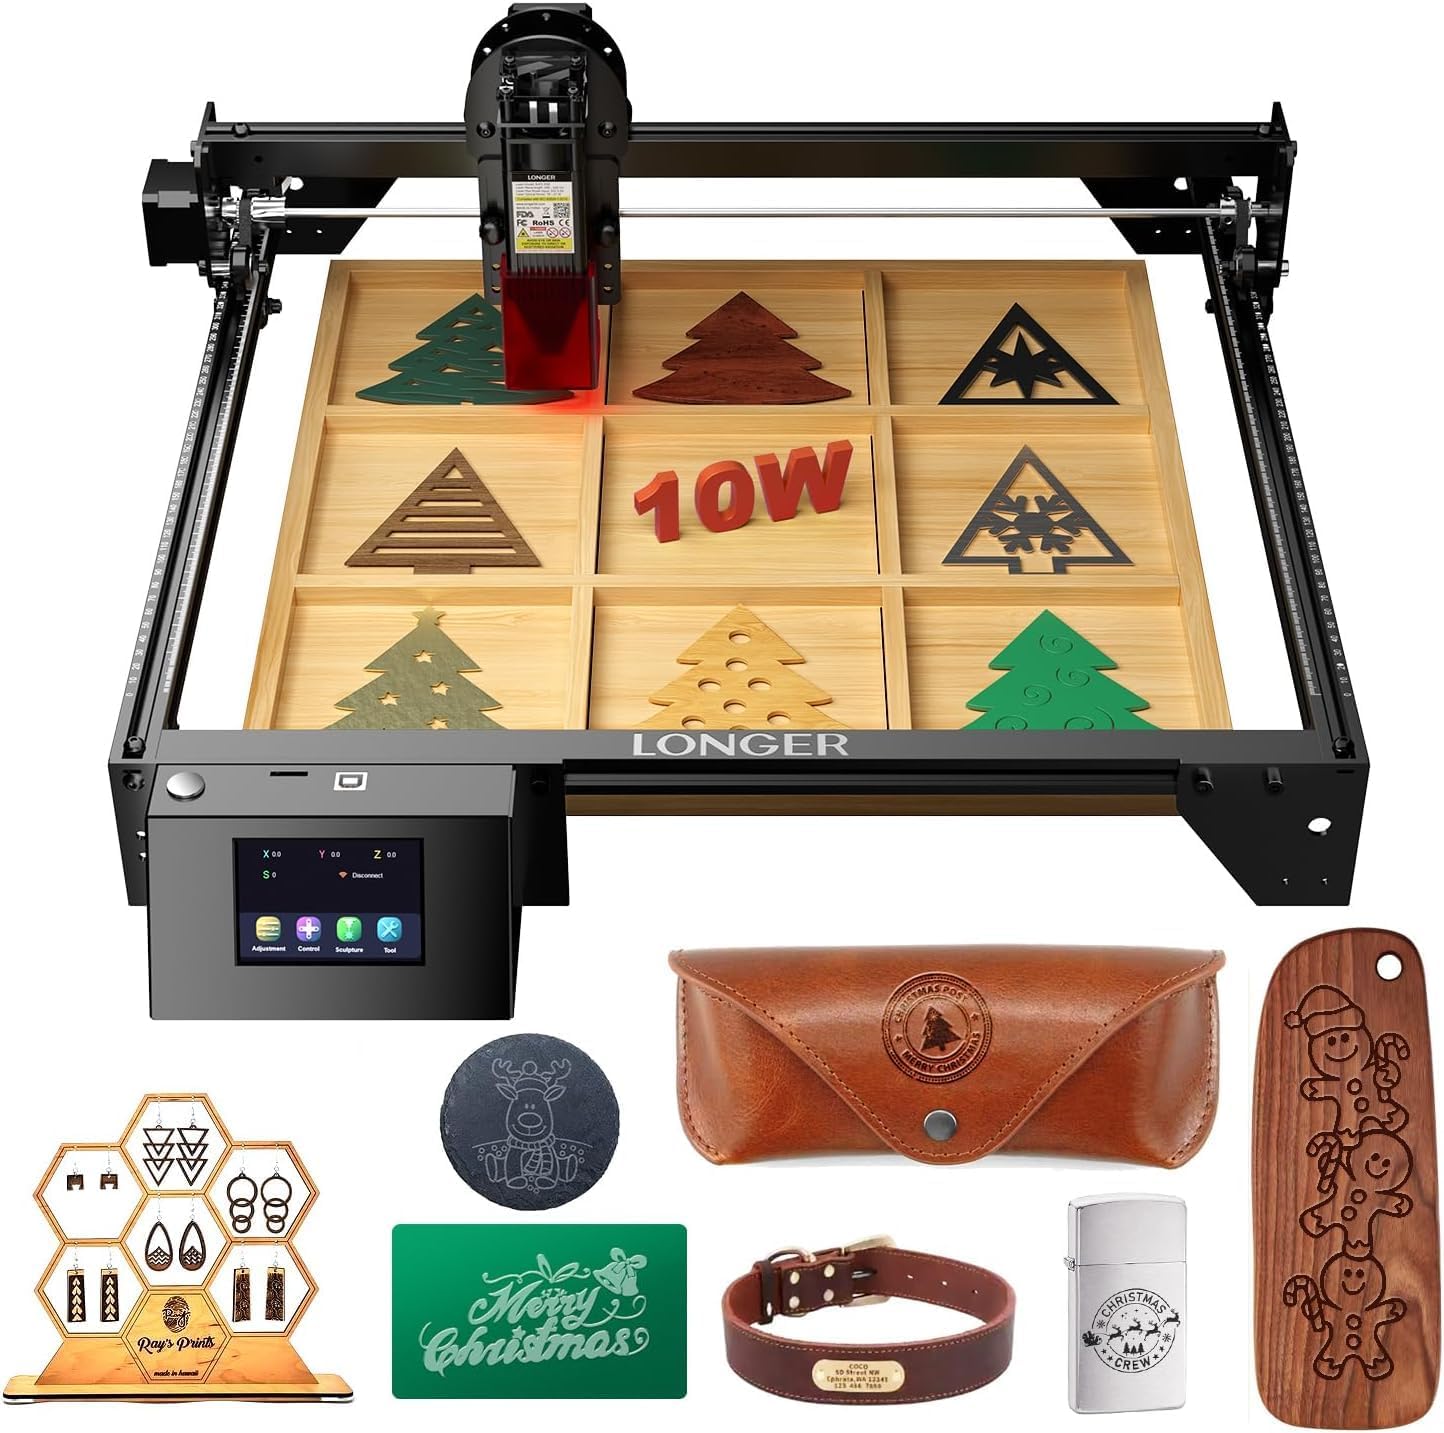
Image: Overview of the Longer RAY5 Laser Engraver and its packaged components.
2.2 Assembly Steps
Refer to the detailed product installation guide for step-by-step assembly. Key steps include:
- Placing the profiles on a flat table and securing the corner grooves.
- Assembling the X-Axis Frame and connecting it to the main frame.
- Installing the supporting foot and control box.
- Attaching the laser module and connecting all necessary cables.
- Adjusting the eccentric nut to prevent roller damage.
For visual guidance, please watch the official tutorial video:
Video: RAY 5W/10W Novice Laser Engraving Tutorial Video. This video demonstrates the initial setup and basic operation of the laser engraver.
2.3 Safety Precautions
Always wear the provided safety glasses during operation. The machine includes built-in safety features such as motionless protection, thermal protection, and an emergency stop button to ensure safe operation.

Image: Illustration of the five safety protections integrated into the Longer RAY5 Laser Engraver, including eye protection and emergency stop.
3. Operating Instructions
The Longer RAY5 offers multiple methods for operation, including a 3.5-inch touch screen, Wi-Fi, USB cable, and TF card. It is compatible with popular software like LaserGRBL and LightBurn.
3.1 Software and Connectivity
The device supports various file formats including JPG, PNG, BMP, G-code, GIF, SVG, NC, and GC. You can transfer data via Wi-Fi, USB cable, or TF card. The 3.5-inch touch screen allows for convenient offline operation.

Image: Displaying the various connectivity options (Wi-Fi, USB, APP, TF Card) and software compatibility (LaserGRBL, LightBurn) for the Longer RAY5.
3.2 Engraving Process
To begin engraving, prepare your design using compatible software. Ensure the material is properly placed within the 400x400mm working area. The laser engraver achieves a maximum engraving speed of 10,000 mm/min with an engraving accuracy of 0.01mm.

Image: Comparison of engraving speed and accuracy between Longer RAY5 10W and other models, highlighting the 10000mm/min speed and 0.01mm accuracy.
The device can engrave on a wide variety of materials, including plywood, basswood, hardwood, pinewood, acrylic, kraft paper, stainless steel, aluminum alloy, ceramics, bamboo, glass, and leather.

Image: A collage showcasing various materials suitable for engraving with the Longer RAY5, such as wood, acrylic, metal, and leather.
4. Maintenance
Regular maintenance ensures the longevity and optimal performance of your Longer RAY5 laser engraver. Key maintenance tasks include cleaning the laser lens and replacing components as needed.
4.1 Cleaning the Laser Lens
Over time, dust and debris can accumulate on the laser lens, affecting engraving quality. It is recommended to regularly clean the lens using dustless cloths and alcohol.
- Prepare disassembly tools, dustless cloth, and alcohol.
- Carefully remove the hood and screws from the laser module.
- Gently unscrew and remove the laser lens.
- Apply alcohol to a dustless cloth and wipe the laser lens clean.
- Clean the hood and other accessible parts of the laser module.
- Reassemble the laser lens, hood, and screws.
For a detailed visual guide on cleaning the laser lens, refer to the video below:
Video: Ray5 10W How to Replace and Clean Window Mirrors. This video provides instructions for maintaining the laser module's optical components.
4.2 Replacing the Laser Head Fan
If the laser head fan becomes noisy or stops functioning, it may need replacement to ensure proper cooling of the laser module.
Video: RAY5 5W/10W How to Replace the Laser Head Fan. This video guides you through the process of replacing the laser head fan.
4.3 Replacing the Motherboard
In rare cases, the motherboard may need to be replaced. This is a more advanced maintenance task.
Video: How to Replace Motherboard in Ray5 Series. This video provides instructions for replacing the motherboard.
4.4 Upgrading Limit Switches
Upgrading the limit switches can improve the precision and reliability of your engraver's movement.
Video: RAY5 5W&10W Upgraded Limit Switch Installation. This video demonstrates the installation process for upgraded limit switches.
5. Troubleshooting
This section addresses common issues you might encounter with your Longer RAY5 laser engraver. For more complex problems, please contact customer support.
| Problem | Possible Cause | Solution |
|---|---|---|
| Laser not firing or weak output. | Dirty laser lens, incorrect power settings, loose cable connection. | Clean the laser lens (refer to Section 4.1). Verify power settings in software. Check all cable connections. |
| Machine not responding or erratic movement. | Loose motor cables, software communication issue, emergency stop engaged. | Check motor cable connections. Restart the machine and software. Ensure the emergency stop button is disengaged. |
| Poor engraving quality (e.g., blurry, uneven). | Incorrect focus, material not flat, wrong speed/power settings. | Adjust laser focus. Ensure material is flat and secured. Experiment with speed and power settings for your specific material. |
| Machine stops unexpectedly. | Thermal protection activated, movement protection activated, power interruption. | Check for overheating or excessive movement. Ensure stable power supply. |
6. Specifications
| Specification | Detail |
|---|---|
| Model Number | RAY5 10W |
| Manufacturer | Longer |
| Item Weight | 8.2 pounds |
| Product Dimensions | 23.07 x 22.95 x 69.49 inches |
| Material | 10W Basic |
| Voltage | 110 Volts |
| Wattage | 60 watts |
| Sound Level | 40 dB |
| Working Area | 400 x 400mm (expandable to 850 x 400mm) |
| Max Engraving Speed | 10,000 mm/min |
| Engraving Accuracy | 0.01mm |
7. Warranty and Support
7.1 Warranty Information
Specific warranty details for the Longer RAY5 Laser Engraver are typically provided with the product packaging or can be found on the official Longer website. Please retain your proof of purchase for warranty claims.
7.2 Customer Support
Longer provides ongoing technical support and professional customer service. If you have any questions or require assistance, please contact their support team:
- Technical Support Hotline: (+1) 888-575-9099
- Operating Hours: Mon-Fri: 9:00am-6:00pm (EST, UTC-5), Sun-Thu: 8:30pm-7:00am (EST, UTC-5)
- Email Support: support@longer3d.com
- Facebook Group: LONGER Laser Engraver Official Group

Image: Longer's strong after-sales support, showing contact information for technical assistance.