1. Safety Information
For detailed safety guidelines and important warnings, please refer to the official Safety Information PDF document: Safety Information (PDF)
2. Box Contents
Ensure all items listed below are included in your package:

- KODAK REELS Film Digitizer
- 7" Empty Film Reel
- Micro USB Cable
- AC/DC Adapter
- Cleaning Cloth
- Gray Reel Adapter
- Red Reel Adapter
- User Guide
3. Product Overview
The KODAK REELS Film Digitizer is designed to convert your 8mm and Super 8mm film reels into high-definition digital MP4 files. It features an intuitive interface and a large 5-inch LCD screen for easy operation.

The KODAK REELS Film Digitizer with film reels in place.
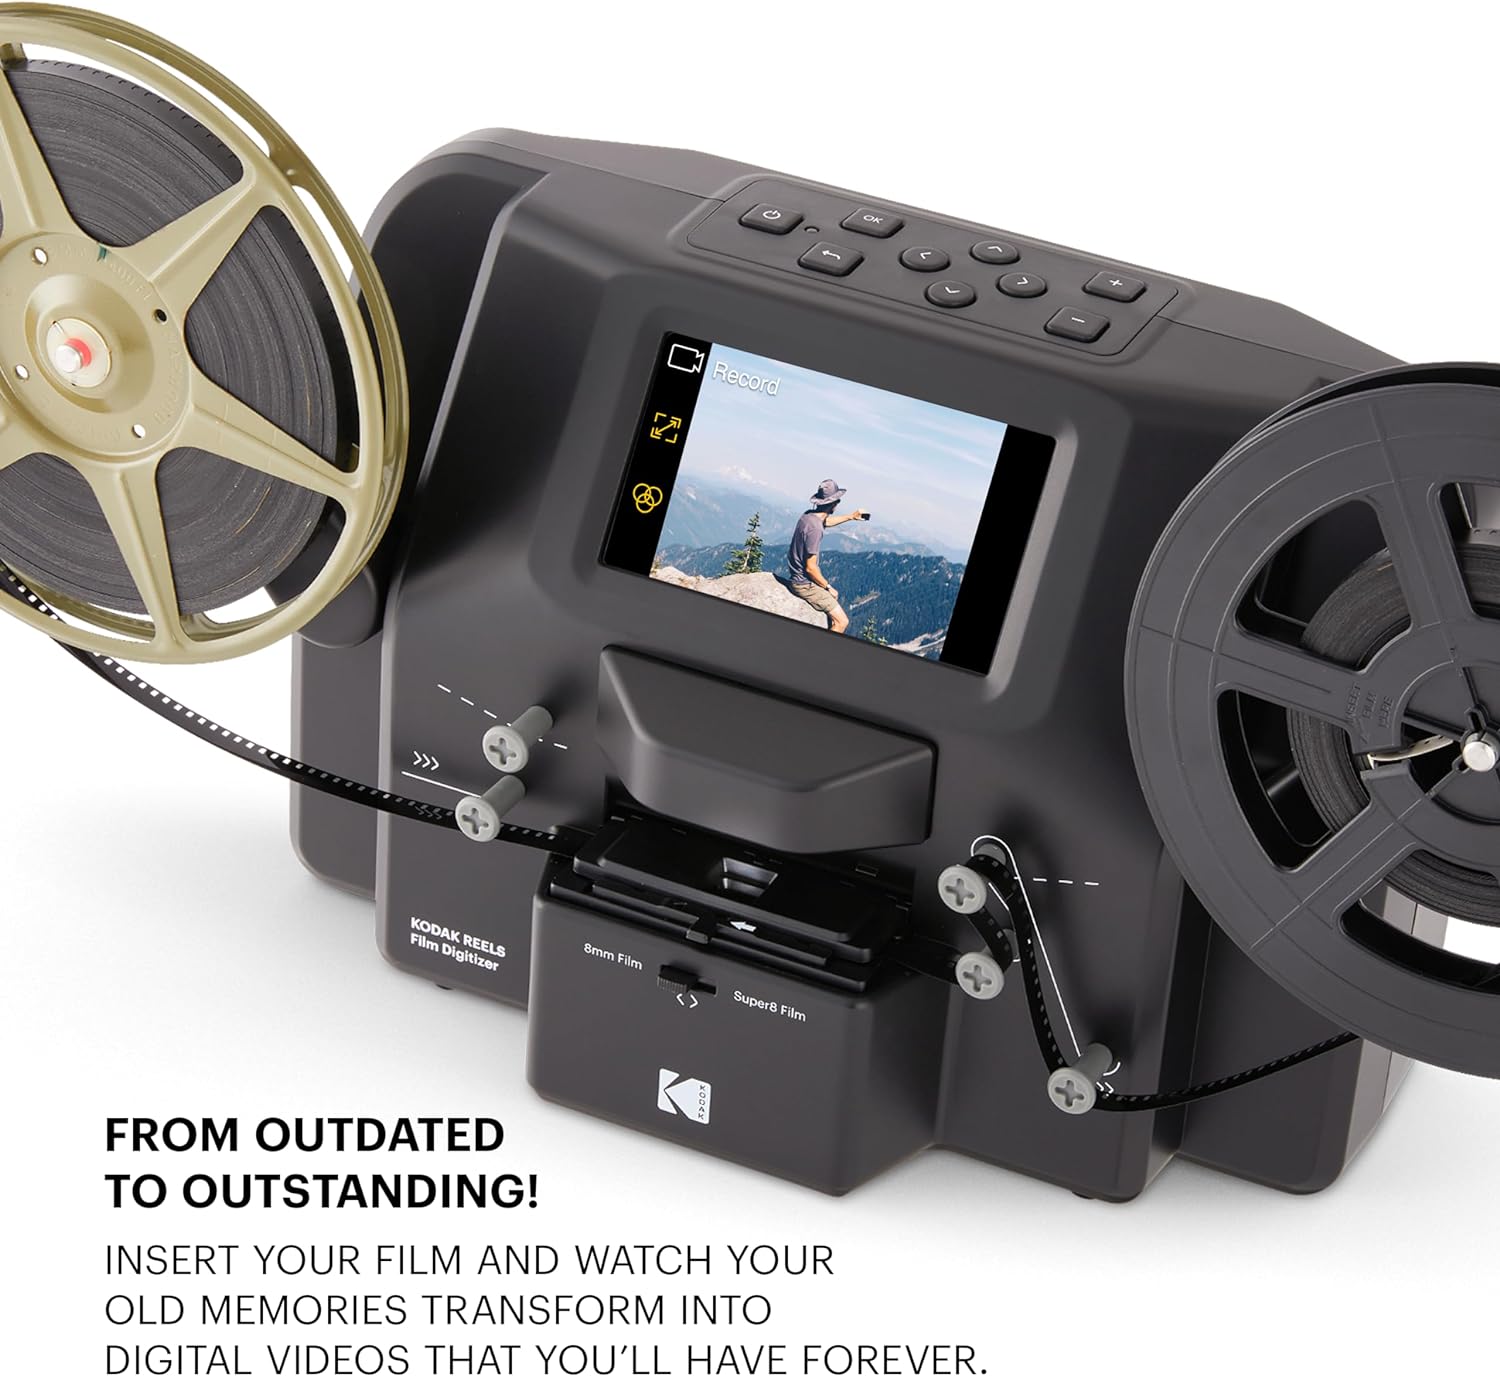
Converting film from outdated to outstanding digital videos.

The digitizer supports a variety of film reel sizes from 3 to 9 inches.

Compact and lightweight design for easy portability and storage.

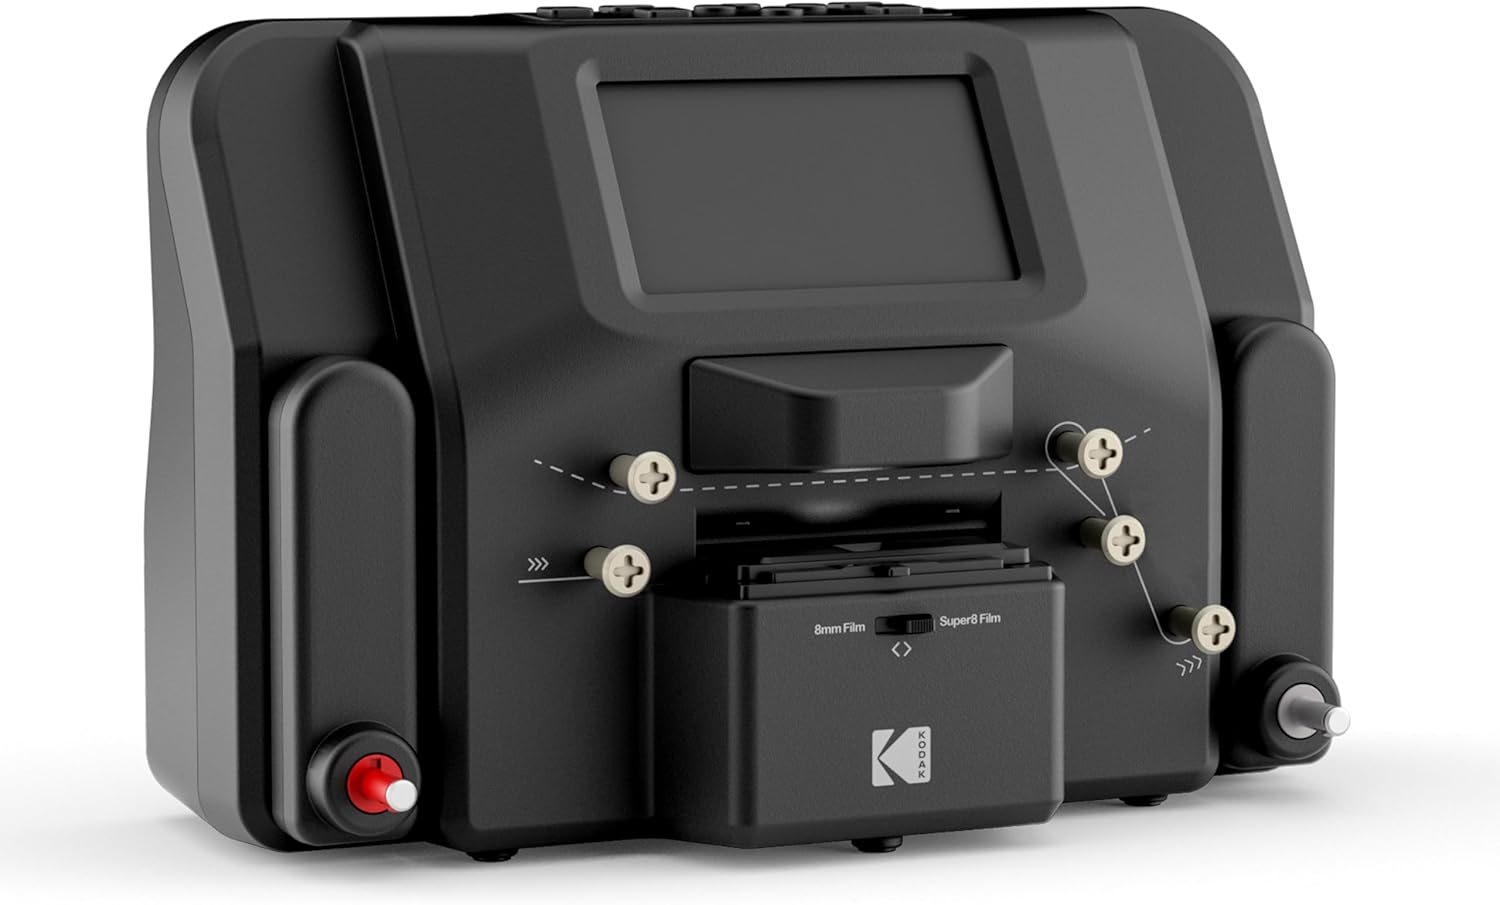
Rear panel showing connectivity options: SD card slot, Micro USB, and DC 12V power.

User-friendly interface with intuitive, responsive buttons for navigation.
4. Setup
4.1. Unfolding Reel Shafts
Unfold the two reel shafts on the film scanner until they click into place. These shafts will hold your film reels during the digitization process.
4.2. Attaching Film Reels
Pull out the end of your 8mm or Super 8mm film and insert it into the included empty film reel. Place the empty reel onto the right reel shaft and attach your film reel onto the left shaft. Ensure the film is properly threaded through the scanner's film path.
Proper film threading is crucial for successful digitization.
4.3. Connecting Power
Connect the power adapter to the DC 12V port on the scanner and the other end to a power outlet.
4.4. Inserting SD Card
Insert an SD card (not included) into the SD card slot located on the rear panel of the digitizer. This is where your converted MP4 files will be saved.
4.5. Powering On
Press the Power button on the scanner to turn on the device. The user interface will appear on the screen.
4.6. Film Type Selection
Push the film lid tab to the left to open the film lid. Wipe down the film area with the included cleaning cloth. Slowly and carefully insert the film into the film area under the lid, ensuring it clicks in place under the black tabs. Close the film lid. Take the film between the two reels and thread it through the front of the scanner. Finally, shift the film type switch back and forth to adjust the film into frame. If you are using Super 8mm film, the switch should end on the 'Super 8 Film' selection. If you are using 8mm film, the switch should end on the '8mm Film' selection.
Official video demonstrating how to install film and operate the KODAK REELS Film Digitizer.
5. Operating Instructions
5.1. Video Preview Mode
From the main menu, select Capture to enter video preview mode. In this mode, you have three options:
- Frame Adjust: Use this option to adjust the position or zoom in and out on your film to ensure the frame is perfectly aligned.
- Picture: This option allows you to adjust the visual appearance of your film, including exposure, sharpness, and tint. You can also reset to default values.
- Record: Select this to begin the digitization process.
5.2. Recording Film
Once you are in video preview mode and have adjusted the frame and picture settings as desired, select Record to start converting your inserted film. The digitizer will capture each frame and save it as an MP4 file on your SD card. If you pause the recording and start it again, the scanner will continue to record the film from where it left off. If you stop the recording completely, a new saved video file will be created.
5.3. Managing Recordings
Back at the main menu, select Menu. This screen provides options to manage your film and recordings:
- My Recordings: Access a library of your saved MP4 files to view them directly on the device.
- Rewind: Use this option to rewind your film. Note that the scanner operates from left to right, so reels must swap positions for the rewinding process. The reel you want your film to end up on should be placed on the right reel shaft.
- Fast-Forward: Use this option to quickly fast-forward through your film.
6. Maintenance
To ensure optimal performance and longevity of your KODAK REELS Film Digitizer, regular maintenance is recommended:
- Cleaning: Regularly wipe down the film area and the device's exterior with the included cleaning cloth to remove dust and debris. Ensure the film path is clear before each use.
- Storage: When not in use, store the digitizer in a clean, dry place away from direct sunlight and extreme temperatures.
7. Troubleshooting
If you encounter any issues with your KODAK REELS Film Digitizer, refer to the table below for common problems and solutions:
| Problem | Possible Cause | Solution |
|---|---|---|
| Film Jamming | Excessive tape on film splices; improper film threading. | Use minimal tape for splices. Ensure film is correctly threaded through all guides and tabs. Gently clear any jams. |
| Blurry Image | Film not properly seated in the film area; dirty lens. | Ensure film clicks into place under the black tabs. Clean the film area and lens with the provided cloth. |
| No Power | Power adapter not connected correctly. | Check that the AC/DC adapter is securely connected to the device and a working power outlet. |
| SD Card Error | SD card not inserted correctly or corrupted. | Reinsert the SD card. Try a different SD card. Format the SD card via the 'Settings' menu if necessary (this will erase all data). |
8. Specifications
| Feature | Detail |
|---|---|
| Brand | KODAK |
| Model Name | REELS (RODREELS) |
| Scanner Type | Film |
| Optical Sensor Technology | 8mm |
| Resolution | 1080p (8.08-Megapixel Sensor) |
| Media Type | SD Card (up to 128 GB) |
| Connectivity Technology | USB |
| Product Dimensions | 8.4 x 12.4 x 6.1 inches |
| Item Weight | 5.83 pounds |
| Visible Screen Diagonal | 5" / 13 cm |
| UPC | 843812167505 |
9. Warranty and Support
For warranty information, technical support, or any inquiries regarding your KODAK REELS Film Digitizer, please refer to the contact details provided in the original product packaging or visit the official KODAK support website.
Customer Support Email: kodak@camarketing.com (USA)
Customer Support Email: kodakintl@camarketing.com (International)
Customer Support Phone: 844-516-1540