1. Introduction
Thank you for choosing the Qubo B-209 Senior Mobile Phone. This manual provides essential information for setting up, operating, and maintaining your device. Please read it carefully to ensure proper use and to maximize the phone's features.
Package Contents
- Qubo B-209 Mobile Phone
- Rechargeable Li-Ion Battery
- Charging Dock
- USB Cable
- Power Adapter
- User Manual (this document)
2. Product Overview
The Qubo B-209 is designed for ease of use, featuring large buttons, a clear display, and essential functions for communication. Its key features include a dedicated SOS button for emergencies, a convenient charging dock, and a built-in flashlight.
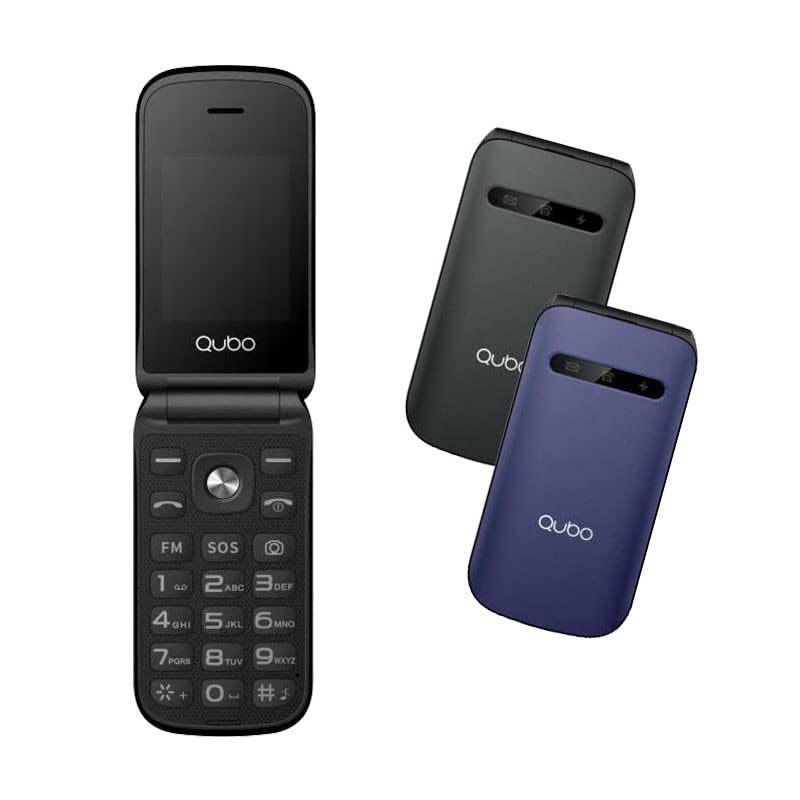
Image 1: Qubo B-209 Senior Mobile Phone with its charging dock. The phone features a blue casing, a large keypad, and a color display.
Key Features
- 2.4-inch QVGA TFT LCD Display: Clear and easy-to-read screen.
- Large Keypad: Ergonomic buttons for comfortable dialing and texting.
- SOS Button: Dedicated emergency button for quick contact with pre-set numbers.
- Charging Dock: Convenient desktop charger for easy power replenishment.
- Dual SIM Support: Use two SIM cards simultaneously.
- FM Radio: Listen to your favorite radio stations.
- Flashlight: Built-in LED light for convenience.
- 0.3 MP Camera: Basic camera functionality.
- Bluetooth 3.0: For wireless connectivity with compatible devices.
3. Setup
3.1 Battery Installation
- Gently remove the back cover of the phone.
- Locate the battery compartment.
- Insert the provided Li-Ion battery, ensuring the gold contacts align with the phone's terminals.
- Replace the back cover until it clicks securely into place.
3.2 SIM Card(s) Installation
- With the back cover and battery removed, locate the SIM card slots. The Qubo B-209 supports Dual SIM.
- Carefully insert your SIM card(s) into the designated slot(s) with the gold contacts facing down and the cut corner aligned as shown in the diagram (refer to phone's internal markings).
- Ensure the SIM card(s) are fully seated.
- Reinstall the battery and back cover.
3.3 Charging the Phone
Before first use, fully charge the phone's battery.
- Using the Charging Dock:
- Connect the USB cable to the power adapter, then plug the adapter into a wall outlet.
- Connect the other end of the USB cable to the charging dock.
- Place the phone into the charging dock, ensuring the charging contacts on the phone align with those on the dock. The phone will indicate charging status on its screen.
- Direct USB Charging:
- Connect the USB cable to the power adapter, then plug the adapter into a wall outlet.
- Connect the micro USB end of the cable directly to the micro USB port on the side or bottom of the phone.
A full charge typically takes approximately 2-3 hours. The battery indicator on the screen will show the charging progress.
4. Operating Instructions
4.1 Power On/Off
- To Power On: Press and hold the Power/End Call button (usually red) until the screen lights up.
- To Power Off: Press and hold the Power/End Call button until the power-off options appear, then select "Power off" or confirm.
4.2 Making and Receiving Calls
- To Make a Call:
- Enter the phone number using the keypad.
- Press the Call button (usually green) to initiate the call.
- To Answer a Call: When the phone rings, press the Call button.
- To End a Call: Press the Power/End Call button.
4.3 Sending and Receiving Messages (SMS)
- Navigate to the "Messages" menu from the main screen.
- Select "Write message" or "New SMS".
- Enter the recipient's phone number or select from contacts.
- Type your message using the keypad.
- Press "Send" to transmit the message.
4.4 SOS Emergency Button
The SOS button is located on the back of the phone. It allows you to quickly contact pre-set emergency numbers.
- Setting up SOS Numbers:
- Go to "Settings" > "SOS Settings" or "Emergency Settings".
- Add up to 5 emergency contact numbers. These numbers will be called in sequence when the SOS button is activated.
- You can also enable an SOS message to be sent to these contacts.
- Using the SOS Function:
- In an emergency, press and hold the SOS button for a few seconds.
- The phone will automatically call the pre-set emergency numbers one by one until an answer is received.
- If enabled, an emergency SMS message will also be sent.
Important: Ensure your SOS contacts are aware they are listed as emergency contacts and that their numbers are up-to-date.
4.5 FM Radio
- Navigate to the "FM Radio" application from the main menu.
- Use the navigation keys to scan for stations or manually tune to a frequency.
- Adjust the volume using the side volume buttons (if available) or menu options.
4.6 Flashlight
The flashlight can be activated quickly.
- Locate the dedicated flashlight button on the side of the phone (if present) or access it via the menu.
- Press the button once to turn the flashlight on, and again to turn it off.
4.7 Camera
- Access the "Camera" application from the main menu.
- Frame your shot using the screen as a viewfinder.
- Press the designated "Capture" or "OK" button to take a photo.
- Photos are saved to the phone's internal memory or an inserted T-Flash card.
5. Maintenance
5.1 Cleaning
- Use a soft, dry, lint-free cloth to clean the phone's screen and body.
- Avoid using liquid cleaners, aerosols, or harsh chemicals, as these can damage the phone.
- Ensure no moisture enters the charging port or other openings.
5.2 Battery Care
- Do not expose the battery to extreme temperatures (hot or cold).
- Avoid fully discharging the battery frequently. Charge it regularly.
- If the phone will not be used for an extended period, charge the battery to about 50% and store it in a cool, dry place.
5.3 Storage
- Store the phone in a dry environment, away from direct sunlight and excessive humidity.
- Keep the phone out of reach of children and pets.
6. Troubleshooting
| Problem | Possible Cause | Solution |
|---|---|---|
| Phone does not turn on. | Battery is depleted or not installed correctly. | Ensure the battery is correctly installed and fully charged. |
| Cannot make or receive calls. | No network signal; SIM card not installed or activated; incorrect network settings. | Check signal strength. Ensure SIM card is properly inserted and activated. Contact your network provider if issues persist. |
| Phone not charging. | Charging cable/adapter faulty; charging port/dock dirty or damaged; battery issue. | Check connections. Try a different outlet or charging method (dock vs. direct USB). Clean charging contacts. |
| SOS button not working. | SOS numbers not set up; no network signal. | Verify SOS numbers are correctly configured in settings. Ensure the phone has network coverage. |
| Display is blank or frozen. | Software glitch; low battery. | Restart the phone by holding the Power/End Call button. Charge the battery. |
7. Specifications
| Feature | Detail |
|---|---|
| Model Number | B-209 |
| Display | 2.4-inch QVGA TFT LCD |
| Chipset | M76261DA, ARM7 CPU, 260MHz |
| Memory (RAM/ROM) | 32MB RAM, 32MB ROM |
| Connectivity | 2G GSM 850/900/1800 (GSM/GPRS), Bluetooth 3.0 |
| Battery | 800 mAh Li-Ion |
| Camera | 0.3 MP (Rear) |
| SIM Support | Dual SIM |
| External Storage | T-Flash (up to 32MB) |
| Features | FM Radio, Flashlight, SOS Button, External Indicator (Messages, Calls, Charge) |
| Connections | Micro USB, 3.5 mm Jack |
| Dimensions (Package) | 15.3 x 8.1 x 6.9 cm; 230 g |
| Operating System | Symbian 9.1 |
8. Warranty and Support
8.1 Manufacturer's Warranty
The Qubo B-209 Senior Mobile Phone comes with a three-year manufacturer's warranty from the date of purchase. This warranty covers defects in materials and workmanship under normal use. It does not cover damage caused by misuse, accidents, unauthorized modifications, or normal wear and tear. Please retain your proof of purchase for warranty claims.
8.2 Customer Support
For technical assistance, troubleshooting beyond this manual, or warranty inquiries, please contact Qubo customer support. Refer to the packaging or the official Qubo website for the most up-to-date contact information.