1. Important Safety Instructions
Read all instructions before using this appliance. Failure to follow these instructions may result in electric shock, fire, or serious injury.
- Always unplug the vacuum cleaner from the electrical outlet before servicing or cleaning.
- Do not use outdoors or on wet surfaces.
- Do not allow to be used as a toy. Close attention is necessary when used by or near children.
- Use only as described in this manual. Use only manufacturer’s recommended attachments.
- Do not use with damaged cord or plug. If appliance is not working as it should, has been dropped, damaged, left outdoors, or dropped into water, return it to a service center.
- Do not pull or carry by cord, use cord as a handle, close a door on cord, or pull cord around sharp edges or corners. Do not run appliance over cord. Keep cord away from heated surfaces.
- Do not unplug by pulling on cord. To unplug, grasp the plug, not the cord.
- Do not handle plug or appliance with wet hands.
- Do not put any object into openings. Do not use with any opening blocked; keep free of dust, lint, hair, and anything that may reduce airflow.
- Keep hair, loose clothing, fingers, and all parts of body away from openings and moving parts.
- Do not pick up anything that is burning or smoking, such as cigarettes, matches, or hot ashes.
- Do not use to pick up flammable or combustible liquids, such as gasoline, or use in areas where they may be present.
- Do not use without dust bag and/or filters in place.
- Turn off all controls before unplugging.
- Use extra care when cleaning on stairs.
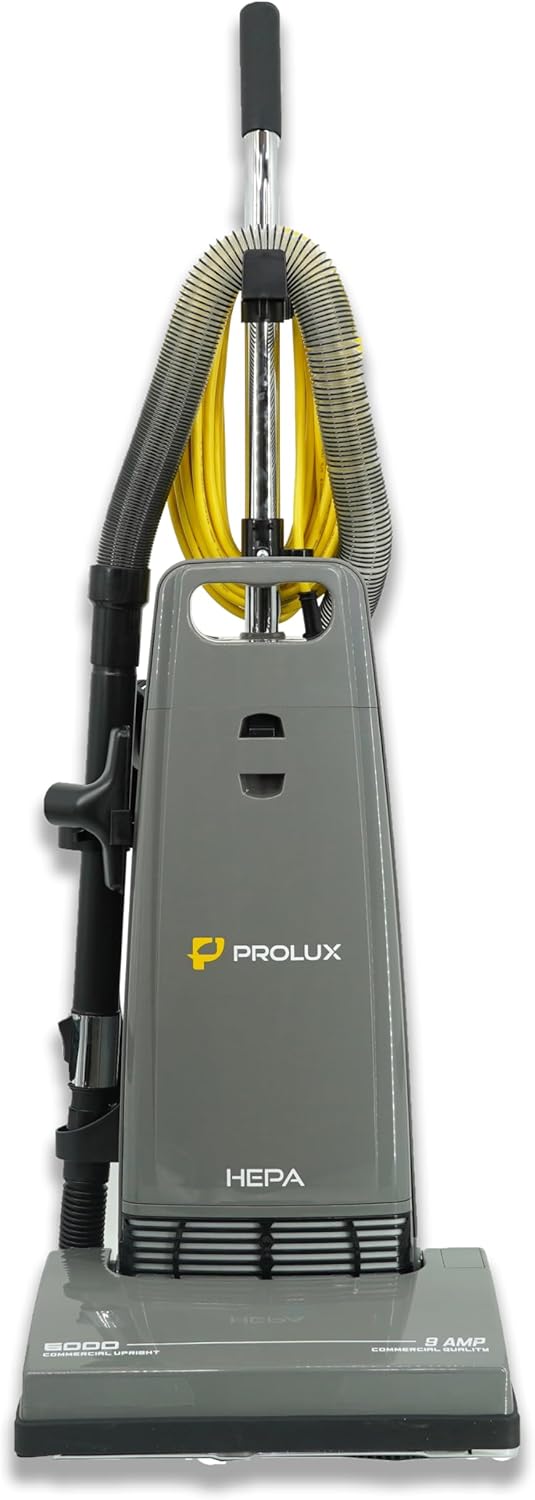
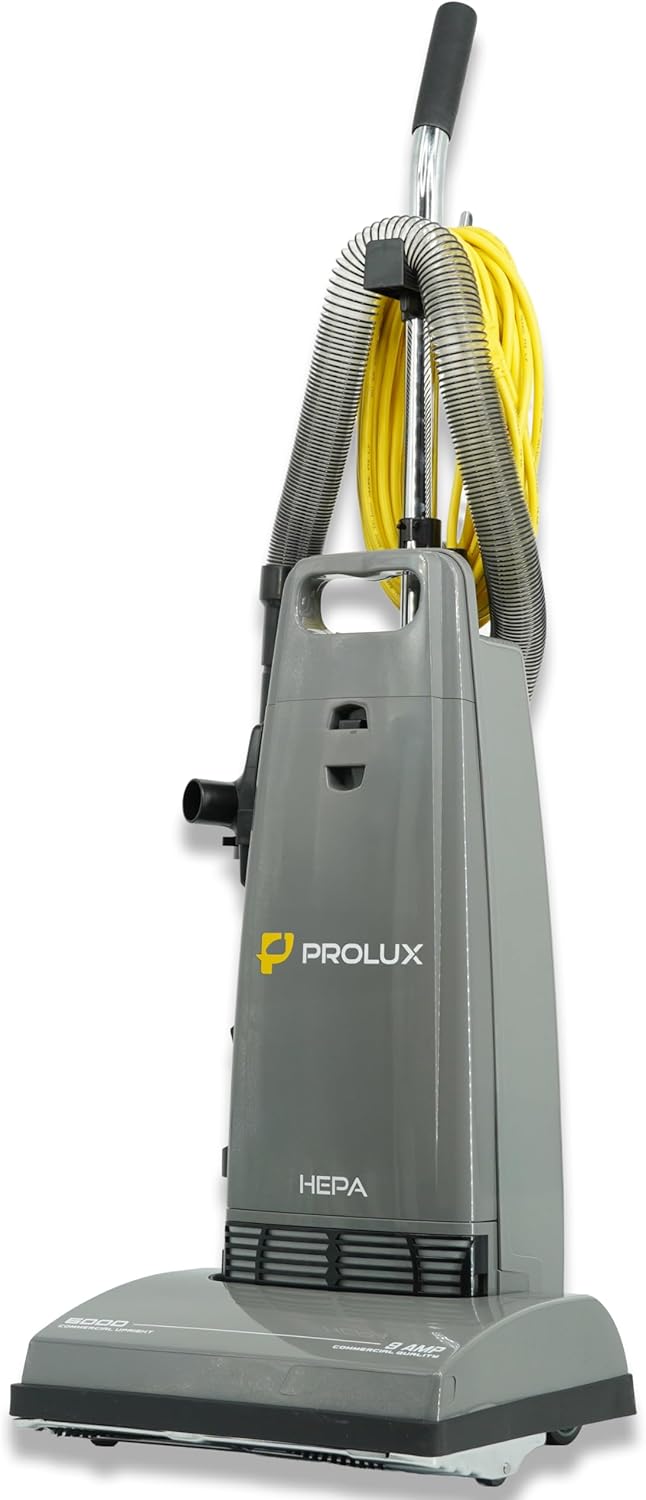
2. Package Contents
Verify that all components are present in the package:
- Prolux 6000 Upright Vacuum Unit
- Extendable Wand
- Upholstery Tool
- Crevice Tool
- Duster Tool
- HEPA Filter (6000/8000 compatible)
- 2-Pack of HEPA Bags
- Mini Pet Turbo Brush (included in Home Tool Kit)


3. Assembly Instructions
Follow these steps to assemble your Prolux 6000 Commercial Upright Vacuum:
- Attach the Handle: Insert the upper handle into the main vacuum body until it clicks securely into place. Ensure the electrical connection for the handle is properly seated.
- Connect the Hose: Attach the flexible hose to the suction inlet on the back of the vacuum. Twist or push firmly until it locks.
- Store Onboard Tools: Place the crevice tool, duster brush, and upholstery tool into their designated storage slots on the vacuum body.
- Insert Dust Bag: Open the bag compartment and insert a new HEPA collection bag, ensuring it is properly seated around the collar. Close the compartment securely.

4. Operating Instructions
Your Prolux 6000 vacuum is designed for efficient cleaning on various surfaces.
4.1 Powering On/Off
- Plug the power cord into a suitable electrical outlet.
- Press the power switch, typically located on the main body or handle, to turn the vacuum on.
- To turn off, press the power switch again.
4.2 Using the Main Unit
The Prolux 6000 features an auto-adjusting powerhead, which automatically adapts to different floor types, from hard floors to carpets, for optimal cleaning without manual adjustments.
4.3 Using Onboard Tools
For detailed cleaning, detach the hose and attach the desired tool:
- Crevice Tool: Ideal for narrow spaces, corners, and along baseboards.
- Duster Brush: Use for dusting delicate surfaces, blinds, and upholstery.
- Upholstery Tool / Mini Pet Turbo Brush: Effective for cleaning furniture, stairs, and removing pet hair.

4.4 Demonstration Video
Video: This video demonstrates the Prolux 6000 vacuum in operation, showcasing its effectiveness on both hard floors and carpets. It highlights the ease of transition between surfaces and the powerful suction.
5. Maintenance
Regular maintenance ensures optimal performance and extends the life of your vacuum cleaner.
5.1 Dust Bag Replacement
The Prolux 6000 uses HEPA paper collection bags. Replace the bag when it is full or when suction power noticeably decreases.
- Unplug the vacuum cleaner.
- Locate and open the bag compartment (refer to the diagram in Section 3).
- Carefully remove the full dust bag, ensuring the opening is sealed to prevent dust escape.
- Insert a new HEPA collection bag, making sure the bag collar is securely fitted into the holder.
- Close the bag compartment firmly.
5.2 HEPA Filter Maintenance
The vacuum features a dual filtration system with advanced HEPA technology. The HEPA filter should be checked periodically and replaced as needed, typically every 6-12 months depending on usage.
- Unplug the vacuum cleaner.
- Locate the HEPA filter compartment, usually near the motor or exhaust.
- Remove the old HEPA filter.
- Insert a new HEPA filter, ensuring it fits snugly.
- Close the filter compartment.
5.3 Steel Brush Roll Cleaning
Periodically inspect the steel brush roll for tangled hair, strings, or debris. The quick-release metal bottom plate allows for easy access.
- Unplug the vacuum cleaner.
- Lay the vacuum flat on its front.
- Release the quick-release metal bottom plate.
- Carefully remove any tangled hair or debris from the brush roll using scissors or a brush.
- Reattach the bottom plate securely.
6. Troubleshooting
If you encounter issues with your Prolux 6000, refer to the following common problems and solutions:
| Problem | Possible Cause | Solution |
|---|---|---|
| Vacuum does not turn on | No power to the unit; power switch off | Check if the plug is securely in the outlet. Ensure the power switch is in the 'ON' position. Check circuit breaker. |
| Loss of suction | Full dust bag; clogged hose/filter; brush roll obstructed | Replace the dust bag. Check hose and clear any blockages. Clean or replace HEPA filter. Clear debris from brush roll. |
| Brush roll not spinning | Brush roll obstructed; belt broken | Unplug and clear any debris from the brush roll. Inspect the drive belt for damage and replace if necessary. |
| Unusual noise | Foreign object in brush roll/hose; motor issue | Unplug and inspect for foreign objects. If noise persists, contact customer support. |
7. Specifications
| Feature | Detail |
|---|---|
| Brand | Prolux |
| Model Name | 6000 |
| Special Feature | Bag, HEPA Filtration |
| Filter Type | HEPA Filter |
| Included Components | Home Tool Kit (Mini Pet Turbo Brush, Crevice Tool, Duster Brush) |
| Is Cordless? | No |
| Capacity | 4 Liters |
| Wattage | 1440 watts |
| Maximum Suction | 107 CFM (Cubic Feet per Minute) |
| Form Factor | Upright |
| Color | White |
| Product Dimensions | 14.5"L x 44.25"W x 14.5"H |
| Noise Level | 60 Decibels |
| Amperage | 9 Amps |
| Item Weight | 19 pounds |
| Surface Recommendation | Multi Surface |
| Power Source | AC |
8. Warranty and Support
Prolux stands by the quality of its products. For warranty information and customer support, please refer to the details below:
- Warranty Coverage: Prolux offers comprehensive warranty coverage that includes shipping both ways, parts, and labor for eligible repairs.
- Product Support: If you require assistance with setup, operation, or troubleshooting, Prolux vacuum experts are available to provide support.
- Returns: Prolux offers a 61-day return policy with paid return shipping for a full refund.
For specific details regarding your warranty or to contact support, please visit the official Prolux website or refer to the contact information provided with your purchase.