
1. Introduction
This manual provides comprehensive instructions for the installation, operation, and maintenance of your Blindsmart JM36 Plantation Shutters Motor. This specific model is the Remote Version and includes a solar panel for auxiliary charging. Please read this manual thoroughly before using the product to ensure proper function and safety.

Image: The Blindsmart JM36 motor discreetly installed on a plantation shutter, with a user holding the remote control to operate it.
2. Safety Information
Observe the following safety precautions to prevent damage to the product or injury to yourself and others:
- Do not expose the motor to water or extreme humidity.
- Keep the device away from heat sources and direct sunlight for prolonged periods.
- Do not attempt to disassemble or repair the motor yourself. Contact customer support for assistance.
- Ensure the installation surface is clean and dry before applying adhesive or screws.
- Keep children and pets away from moving shutters during operation.
- Use only the specified charging methods (USB or solar panel).
3. Package Contents
Verify that all items are present in the package:
- 1x Blindsmart JM36 Motor
- 1x 64mm Louver Bracket
- 1x 89mm Louver Bracket
- 1x 16-Channel Remote Control
- 1x Solar Panel
- Installation Screws and Adhesive
- USB Charging Cable

Image: Detailed product parameters including dimensions of the motor, solar panel, 64mm and 89mm louver brackets, and the remote control.
4. Product Overview
The Blindsmart JM36 is a smart electric motor designed to automate plantation shutters. This remote-controlled version offers convenient operation and includes a solar panel for continuous charging, reducing the need for manual USB charging.
Key Features:
- Remote Control: Operate your shutters with the included 16-channel remote.
- Rechargeable Battery: Built-in 3200 mAh lithium battery for long-lasting operation.
- Solar Panel Charging: Auxiliary charging via the included solar panel.
- USB Charging: Alternative charging via a standard USB interface.
- Adjustable Limits: Set upper, middle, and lower limits for precise shutter positioning.
- Easy Installation: Supports both adhesive and screw installation methods.

Image: The motor's USB charging port is visible, highlighting its rechargeable lithium battery feature.
Version Information:
This manual pertains to the Remote Control Version. Other versions (Bluetooth, Zigbee) are available and offer app control capabilities, which are not applicable to this remote-only model.

Image: A visual comparison of the Zigbee, Bluetooth, and Remote control versions of the motor, showing their respective control methods.
5. Setup and Installation
5.1. Motor Installation
The motor can be installed using either adhesive or screws. Ensure the shutter louvers are clean and dry before installation.
- Choose the appropriate louver bracket (64mm or 89mm) for your shutters.
- Attach the bracket to the motor.
- Adhesive Installation: Peel the protective film from the adhesive on the back of the motor/bracket assembly. Carefully position the motor on the shutter louver and press firmly for several seconds. Ensure correct alignment before pressing, as the adhesive is strong.
- Screw Installation: If using screws, mark the desired position, pre-drill small pilot holes if necessary, and secure the motor/bracket assembly with screws.
- Install the solar panel in a location that receives adequate sunlight, typically on the window glass or frame, ensuring its cable can reach the motor's USB port.
5.2. Remote Control Pairing
Follow these steps to pair the 16-channel remote control with your motor:
- Press and hold the Setup button on the motor for 3 seconds. The motor indicator light will flash.
- On the remote control, press the [Channel] button to select the desired channel for this motor.
- Press the [Up] button on the remote control.
- The motor will respond, indicating successful pairing.
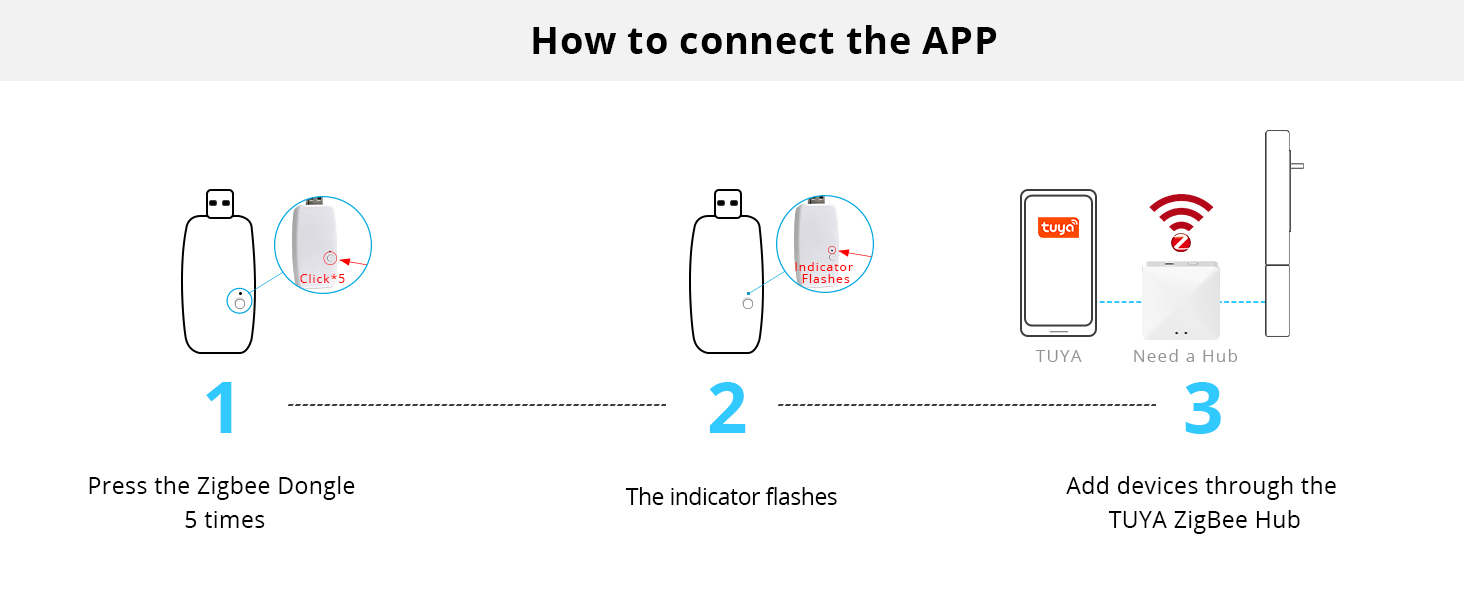
Image: A four-step visual guide demonstrating how to connect the remote control to the Blindsmart motor.
6. Operation
6.1. Basic Remote Control Functions
Use the 16-channel remote control to operate your shutters:
- Up Button: Opens the shutters.
- Down Button: Closes the shutters.
- Stop Button: Stops the shutters at their current position.
- Channel Buttons: Selects the motor channel to control.

Image: The RF remote control and the motor, illustrating the ease of opening and closing shutters.
6.2. Setting Limits
You can set specific upper, middle, and lower limits for your shutters:
- Manually move the shutter to the desired upper, middle, or lower position using the remote.
- Refer to the motor's specific instructions for entering limit setting mode (usually involves a combination of button presses on the remote and/or motor).
- Confirm the limit setting.

Image: Visual representation of shutters set to upper, middle, and lower limit positions.
7. Maintenance
7.1. Charging the Battery
The motor has a built-in rechargeable lithium battery. It can be charged via the included solar panel or a USB cable.
- Solar Panel: The solar panel provides auxiliary charging. Ensure it is placed in an area with sufficient sunlight. The motor's indicator light will typically show blue when charging via solar.
- USB Charging: For faster or more reliable charging, connect the motor to a USB power source using the provided USB cable. This is recommended if the solar panel does not provide sufficient charge, especially in low light conditions or during winter months.
A full charge ensures optimal performance and battery longevity. If the battery runs low, the motor's operation may become inconsistent or stop.
7.2. Cleaning
Wipe the motor and solar panel with a soft, dry cloth. Do not use abrasive cleaners or immerse the device in water.
8. Troubleshooting
| Problem | Possible Cause | Solution |
|---|---|---|
| Motor does not respond to remote. |
|
|
| Shutters stop mid-operation or move slowly. |
|
|
| Solar panel not charging effectively. |
|
|
| Motor indicator light not flashing during pairing. |
|
|
9. Specifications
| Feature | Detail |
|---|---|
| Model Number | JM36 |
| Brand | Blindsmart |
| Power Source | Rechargeable Lithium Battery (3200 mAh) |
| Charging Options | USB, Solar Panel (auxiliary) |
| Control Method | 16-Channel RF Remote Control |
| Installation Methods | Adhesive, Screw |
| Item Weight | 1.34 pounds (approx. 0.61 kg) |
| Package Dimensions | 15.98 x 6.89 x 1.26 inches (approx. 40.6 x 17.5 x 3.2 cm) |
| Included Components | Motor, 64mm Bracket, 89mm Bracket, 16-Channel Remote, Solar Panel |
10. Warranty and Support
Blindsmart products are designed for reliability and performance. For warranty information, technical support, or any questions regarding your JM36 Plantation Shutters Motor, please contact Blindsmart customer service through your purchase platform or the official Blindsmart website.
Please retain your proof of purchase for warranty claims.