
XIIW LH40
XIIW Fire Painting 100W Wood Burner Set
User Manual
Model: LH40
1. Introduction and Safety Information
Thank you for choosing the XIIW Fire Painting 100W Wood Burner Set. This device is designed for detailed pyrography on various materials such as wood, leather, and cork. Please read this manual carefully before operation to ensure safe and effective use.
Important Safety Warnings:
- This device operates at high temperatures (up to 850°C). Always exercise extreme caution to prevent burns.
- Ensure the device is placed on a stable, heat-resistant surface during operation.
- Do not touch the pen tip or heating wire when the device is powered on or still hot.
- Always allow the pen tips to cool completely before changing them. Use the provided screwdriver for safe tip replacement.
- Keep out of reach of children and pets.
- Ensure proper ventilation in your workspace to avoid inhaling fumes from burning materials.
- Do not use the device near flammable liquids or gases.
- The pen holder is made of high-temperature flame-retardant ABS material, allowing you to safely place the hot pen directly into it.
- Note: The top pen tip is used to fix the pen tip screw and press the heating wire on the pen nib to avoid poor contact between the pen tip and the connection post that will not cause heating. If overheated, it means the pen tip is not correctly fixed and the screw should be fixed in time.
2. Package Contents
Please verify that all items are present in your package:
- 1 x Pyrography Machine (Main Unit)
- 2 x Pyrography Pens
- 23 x Pen Heads (various shapes and sizes)
- 2 x Sponge (for cleaning tips)
- 2 x Pen Stands
- 1 x Screwdriver (for changing tips)

Image 1: Complete XIIW Fire Painting 100W Wood Burner Set showing the main unit, two pyrography pens, and a variety of 23 interchangeable pen tips, along with a screwdriver and pen stands.
3. Product Overview
The XIIW Fire Painting Station consists of a main control unit and two pyrography pens. The main unit features a digital display for temperature, a temperature adjustment knob, and ports for connecting the pens.

Image 2: Detailed view of the XIIW pyrography machine's components, including the digital temperature display, temperature adjustment knob, connection ports for the pyrography pens, the main power switch, and a separate pen stand with a cleaning sponge.
4. Setup
- Unpack: Carefully remove all components from the packaging.
- Placement: Place the main pyrography machine on a stable, flat, and heat-resistant surface. Position the two pen stands nearby.
- Connect Pens: Insert the connectors of the pyrography pens into the corresponding ports on the front of the main unit. Ensure they are securely fastened.
- Install Pen Tip: Select the desired pen tip. Using the provided screwdriver, loosen the screws on the pen handle, insert the chosen tip, and tighten the screws firmly to ensure good contact. Refer to the safety note in Section 1 regarding proper tip installation to prevent overheating due to poor contact.
- Power Connection: Plug the power cord of the pyrography machine into a suitable 230V AC power outlet.
5. Operating Instructions
5.1 Powering On and Temperature Adjustment
- Press the power switch on the main unit to turn on the device. The digital display will illuminate.
- Use the temperature adjustment knob to set your desired temperature. The digital display will show the current temperature, which can be adjusted precisely from 0°C to 850°C.
- The device heats up quickly, allowing for efficient work.
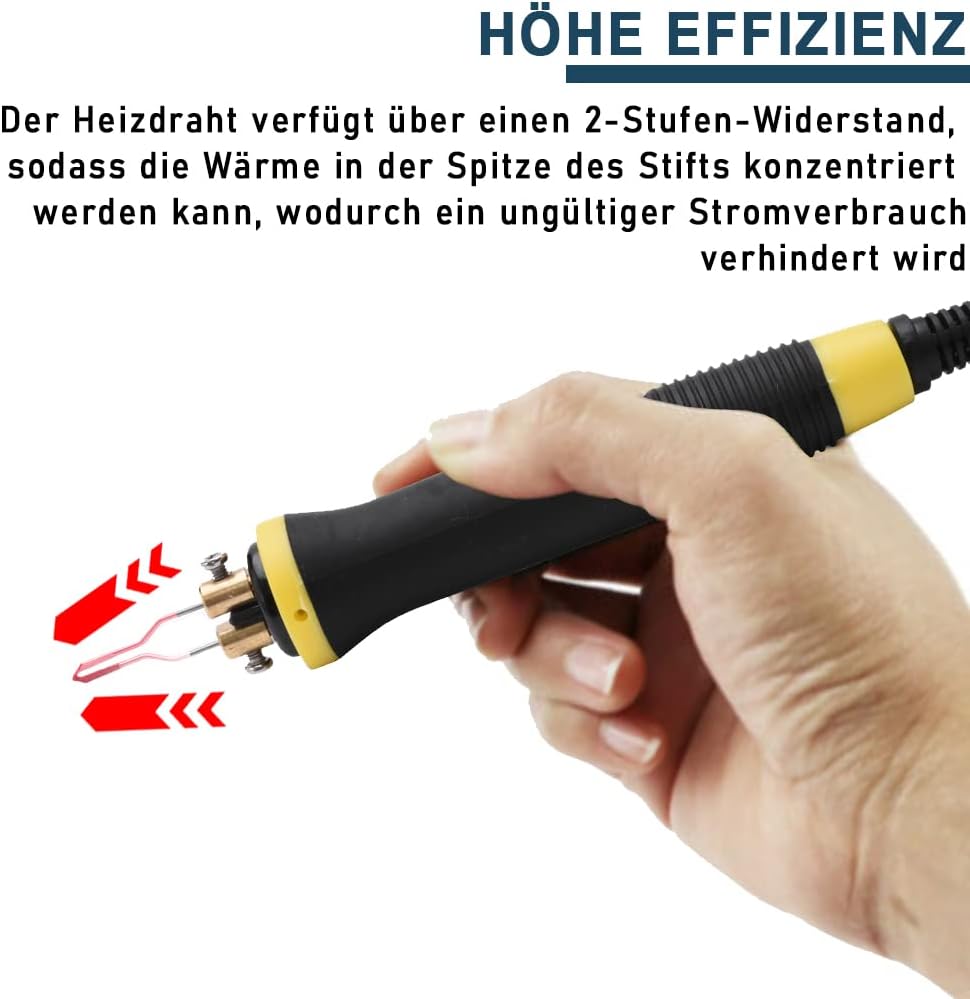
Image 3: Illustration of the pyrography pen's fast heating capability, reaching 750°C quickly, and its efficient heat dissipation when turned off, returning to 0°C.
5.2 Changing Pen Tips
Always ensure the pen is cool before attempting to change tips to prevent burns.
- Turn off the pyrography machine and allow the pen to cool down completely.
- Using the provided screwdriver, carefully loosen the two screws on the pen handle that secure the tip.
- Gently remove the current pen tip.
- Insert the new desired pen tip into the designated slots, ensuring the heating wire is properly seated.
- Tighten the screws firmly to secure the new tip. Ensure good contact to prevent poor heating or overheating.

Image 4: Step-by-step instructions for using the pyrography pen, demonstrating how to hold the insulated grip, unscrew the tip, insert a new tip, tighten the screws, and clean the tip with a wet sponge after use.
5.3 Using the Pyrography Pens
The pyrography pens are designed with a comfortable, non-slip, and heat-resistant handle, making them suitable for extended use. The set includes 23 different pen heads, allowing for a wide range of artistic effects, from fine lines to broad shading.

Image 5: A display of the 23 different pyrography pen tips included in the set, showcasing their diverse shapes and the various patterns and textures they can create on wood, such as lines, dots, and shading.
6. Maintenance
6.1 Cleaning the Pen Tips
After use, carbon residue may accumulate on the pen tips. Use the provided sponge, slightly dampened, to gently wipe off the carbon while the tip is still warm (but not excessively hot). This helps maintain tip performance and longevity.
6.2 Storage
When not in use, ensure the device is turned off and unplugged. Allow all components to cool completely before storing. Store the pyrography machine, pens, and tips in a dry, safe place, away from dust and moisture, and out of reach of children.
7. Troubleshooting
- Pen Tip Not Heating or Overheating: This often indicates poor contact between the pen tip and the connection post. Ensure the pen tip is correctly fixed and the screws are tightened firmly. Refer to the safety note in Section 1.
- Digital Display Not Working: Check if the power cord is securely plugged in and the power switch is turned on. If the issue persists, contact customer support.
- Inconsistent Temperature: Ensure the temperature knob is not accidentally moved during operation. If the issue persists, it may indicate a fault with the heating element or control unit.
For issues not covered in this section, please contact XIIW customer support.
8. Specifications
| Voltage | 230V AC |
| Power | 100W |
| Temperature Range | 0-850°C |
| Display | Digital Display (LCD) |
| Material (Main Unit) | ABS (Flame Retardant) |
| Main Machine Size | 115 x 155 x 90 mm |
| Pen Size | 120 x 25 x 25 mm |
| Item Weight | 1460g (1.46 kg) |
| Model Number | LH40 |
| Number of Pen Heads | 23 |
9. Warranty and Support
Specific warranty details are not provided in this manual. For information regarding warranty coverage, returns, or technical support, please contact the retailer or the manufacturer, XIIW, directly. Please have your product model number (LH40) and purchase information ready when contacting support.
Related Documents - LH40
 |
XIIW XTB1600 Walzenfräse – Technische Daten und Garantie Umfassende Informationen zur XIIW XTB1600 Walzenfräse, einschließlich technischer Daten, Bedienungsanleitung und Garantiebedingungen. Dieses Werkzeug dient zum Abtragen von Putz, Teppichresten und alten Beschichtungen. |
 |
FIRELOOd Pyrography Machine Instruction Manual Comprehensive guide for the FIRELOOd Pyrography Machine (Model LH40-1), covering important safety precautions, operating instructions, pen tip usage, and technical specifications. |
 |
FIRELOOd LH40-2 Pyrography Machine User Manual & Instructions Comprehensive user manual and instructions for the FIRELOOd LH40-2 Pyrography Machine, covering safety, operation, pen tip usage, installation, and technical specifications. |
 |
MomMed Ovulation and Pregnancy Test Strips User Manual User guide for MomMed Ovulation and Pregnancy Test Strips, detailing instructions for use, result interpretation, FAQs, and symbol explanations for accurate home fertility and pregnancy detection. |
 |
Theradome PRO & EVO User Instruction Manual for Hair Growth Technology Comprehensive user manual for Theradome PRO and EVO hair growth helmets, detailing features, operation, safety, and treatment schedules for effective hair restoration. |
 |
Renault LCV Price Guide: Kangoo, Trafic, Master Models and Options Official price guide for Renault Light Commercial Vehicles (LCVs), detailing pricing and options for the Kangoo, Trafic, and Master van ranges. Information is valid from April 2026. |
Ask a question about this manual
Ask about setup, troubleshooting, compatibility, parts, safety, or missing instructions. Manuals+ will review the question and use this page’s manual context to help answer it.