ORICO 1-Bay
ORICO USB C RGB Hard Drive Docking Station User Manual
Model: 1-Bay
Brand: ORICO
Introduction
This user manual provides detailed instructions for the ORICO USB C RGB Hard Drive Docking Station. This device is designed to provide convenient and high-speed access to 2.5-inch and 3.5-inch SATA I/II/III HDDs and SSDs, featuring vibrant RGB lighting and robust data transfer capabilities.

Figure 1: ORICO USB C RGB Hard Drive Docking Station with a hard drive, power adapter, and cables. Click the image to verify the Seagate HDD.
Package Contents
- ORICO USB C RGB Hard Drive Docking Station (1-Bay)
- USB 3.2 Gen 2 Type-C to Type-C Data Cable
- USB 3.2 Gen 2 Type-A to Type-C Data Cable
- 12V/2A Power Adapter
- User Manual (this document)
Product Features
- 14 RGB Lighting Modes: Customize your workspace with various single-color and colorful RGB atmospheric lighting modes. Modes can be adjusted via the RGB button on the back.
- Versatile Connectivity: Includes a 2-in-1 USB 3.2 Gen 2 data cable (Type-C to Type-C and Type-A to Type-C) for broad compatibility with USB-C and USB-A devices such as laptops, desktops, tablets, and more.
- High-Speed Data Transfer: Supports up to 6Gbps transfer speed and UASP (USB Attached SCSI Protocol) acceleration, offering up to 70% faster performance than traditional USB 3.0 when connected to a UASP-enabled host.
- Large Capacity Support: Compatible with 2.5-inch and 3.5-inch SATA SSDs and HDDs, supporting capacities up to 18TB. The included 12V/2A power adapter ensures stable power delivery for large drives.
- Premium Design & Heat Dissipation: Constructed from durable aluminum alloy with a vertical design for efficient heat dissipation. Features a dust-proof baffle to keep the docking slot clean and an LED indicator for operational status.
- Tool-Free Installation: Simple plug-and-play setup with no drivers required for most operating systems.
Setup Guide
- Connect Power: Insert the DC plug of the 12V/2A power adapter into the DC Power Port on the back of the docking station. Plug the power adapter into a wall outlet.
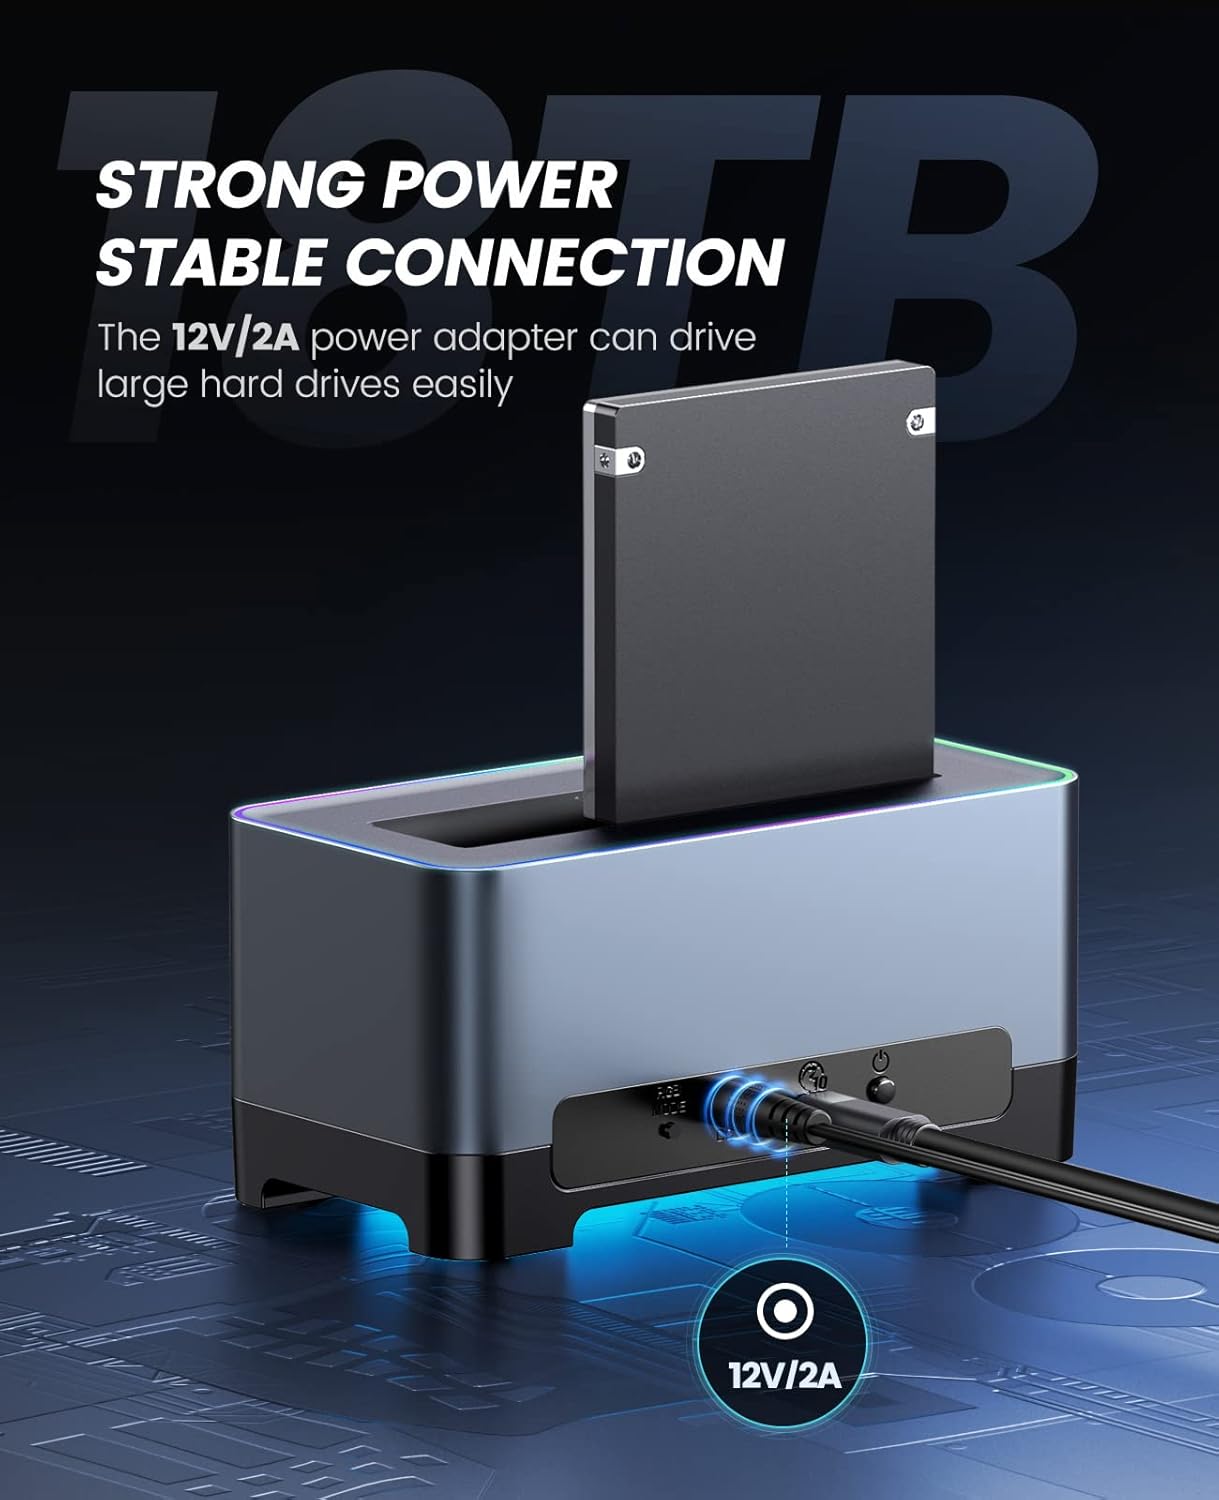
Figure 2: The 12V/2A power adapter ensuring stable power delivery for large capacity hard drives.
- Connect to Computer: Use the provided USB 3.2 Gen 2 cable to connect the docking station to your computer.
- For USB-C ports on your computer, use the Type-C to Type-C cable.
- For USB-A ports on your computer, use the Type-A to Type-C cable.

Figure 3: The included 2-in-1 USB cable, showing Type-C to Type-C and Type-C to USB-A configurations for versatile device connection.
- Insert Hard Drive/SSD: Gently insert your 2.5-inch or 3.5-inch SATA HDD/SSD into the docking slot. Ensure the drive is fully seated and the SATA connector aligns properly.
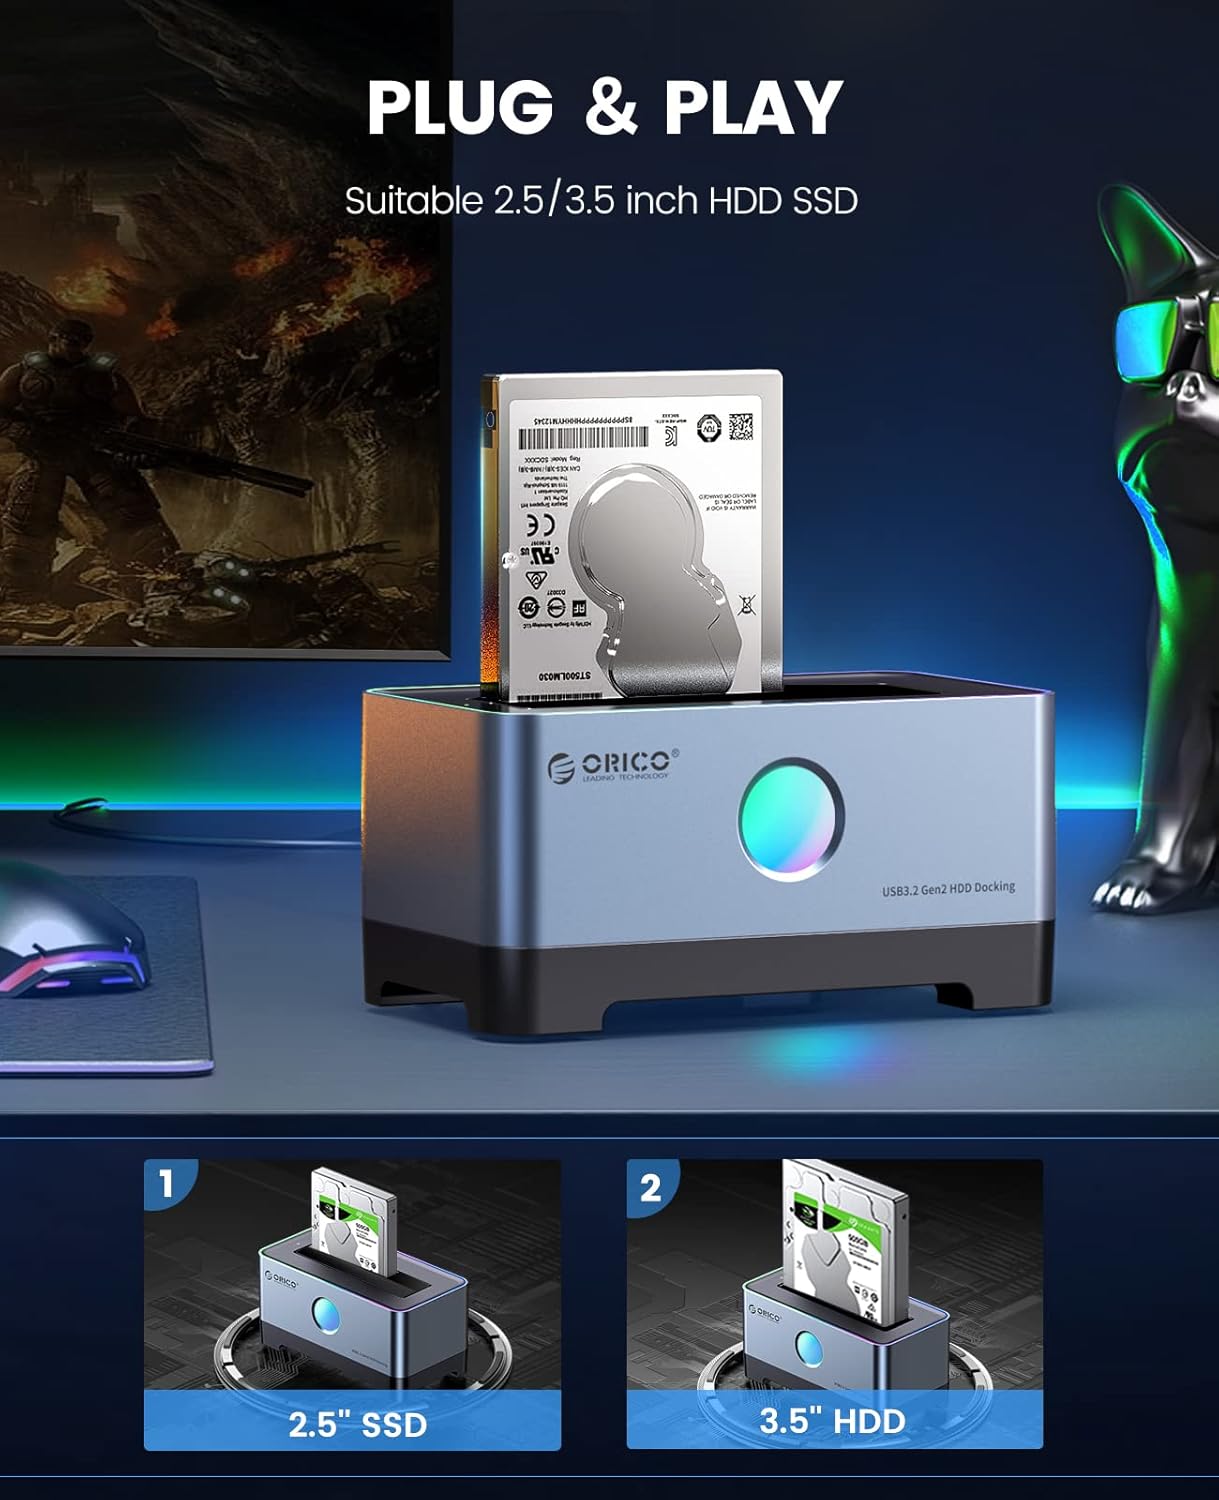
Figure 4: Proper insertion of 2.5-inch SSD and 3.5-inch HDD into the docking station.
- Power On: Press the ON/OFF button located on the back of the docking station to power it on. The LED indicator will light up.
- Driver Installation: The docking station is plug-and-play for most operating systems (Windows, macOS, Linux) and typically does not require additional driver installation. Your computer should automatically detect the connected drive.
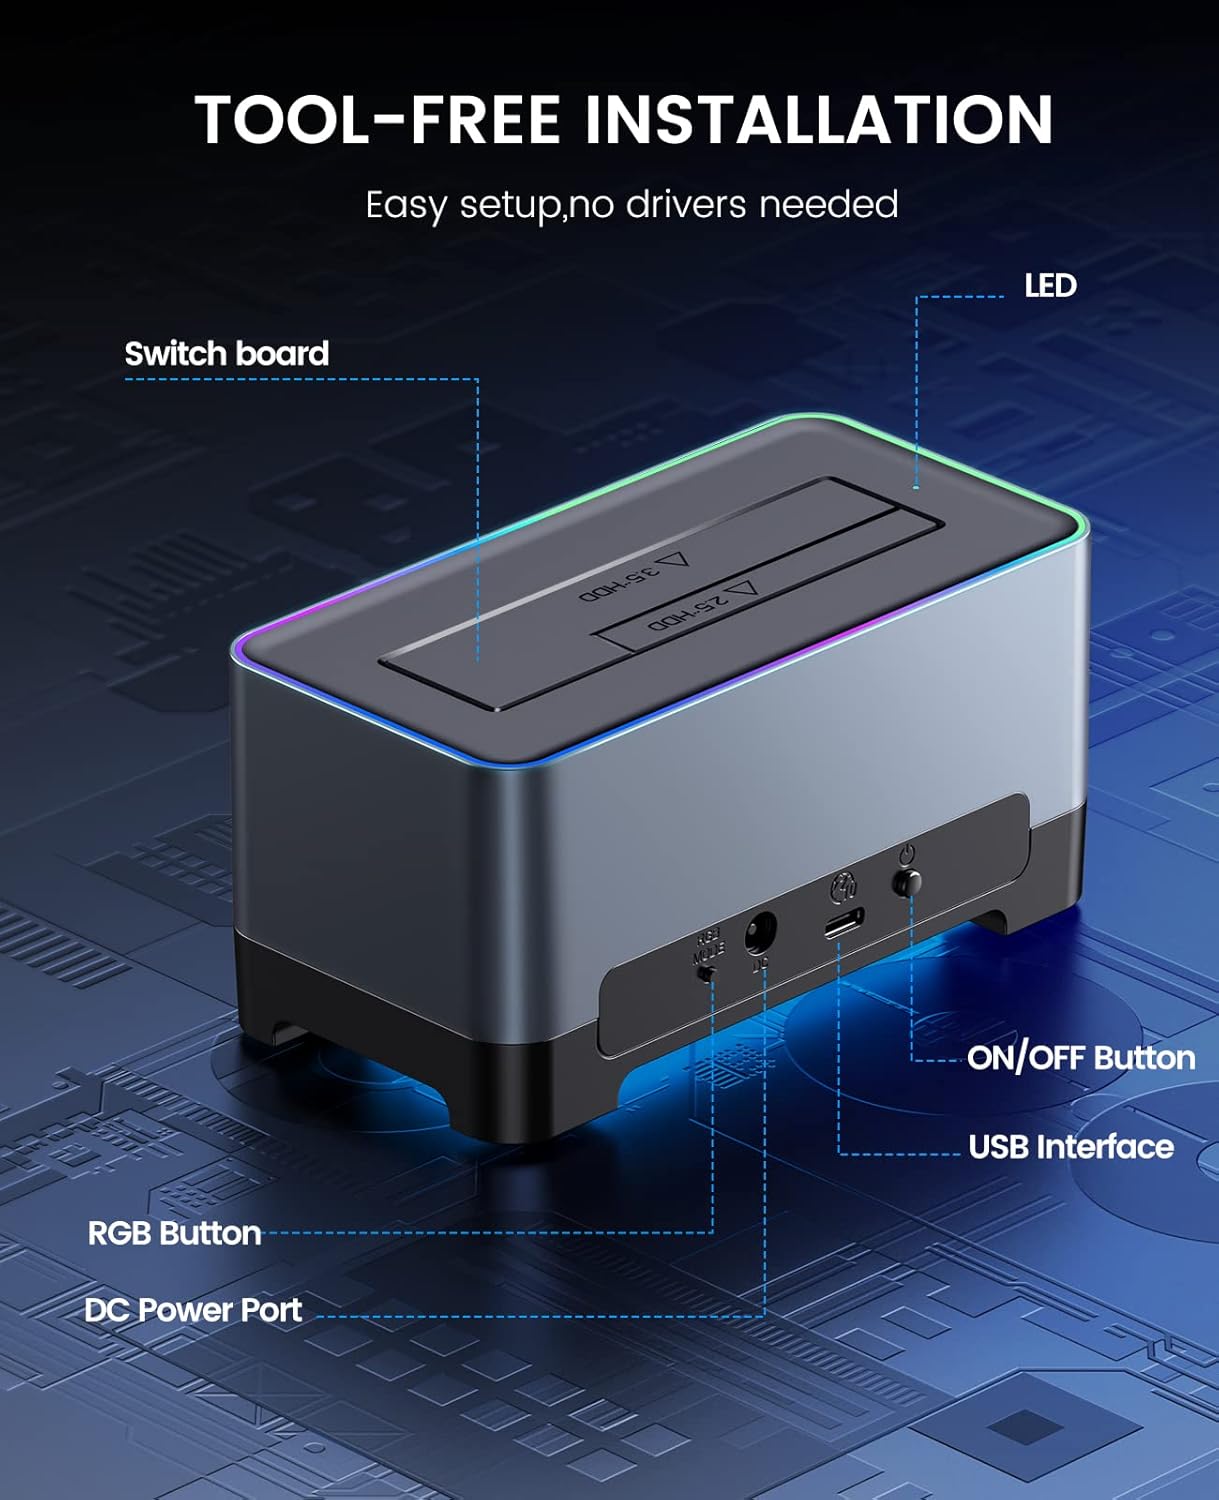
Figure 5: Rear view of the docking station with labeled ports and buttons.
Operating Instructions
Inserting and Removing Drives
To insert a drive, align the SATA connector of your 2.5-inch or 3.5-inch HDD/SSD with the slot and gently push down until it is firmly seated. To remove a drive, simply pull it straight up from the slot. Always ensure the drive is not actively transferring data before removal to prevent data corruption.
Data Transfer
Once the drive is recognized by your operating system, you can access it like any other external storage device. Drag and drop files, copy, paste, or use disk management tools as needed. The USB 3.2 Gen 2 interface provides high-speed data transfer for efficient workflow.

Figure 6: High-performance data transmission capabilities of the docking station, showing speeds up to 6Gbps.
RGB Lighting Control
The docking station features 14 RGB lighting modes. To cycle through the modes, press the RGB button located on the back of the device. To turn off the RGB lighting, press and hold the RGB button for a few seconds.

Figure 7: The docking station showcasing its 14 RGB lighting modes.
Troubleshooting
| Problem | Possible Cause | Solution |
|---|---|---|
| Drive not detected by computer. |
|
|
| Slow data transfer speed. |
|
|
| RGB lighting not working or stuck. |
|
|
Specifications
| Model Number | 1-Bay |
| Brand | ORICO |
| Compatible Drive Types | 2.5-inch / 3.5-inch SATA I/II/III HDD & SSD |
| Max. Storage Capacity | Up to 18TB |
| Interface | USB 3.2 Gen 2 Type-C |
| Data Transfer Rate | Up to 6Gbps (with UASP support) |
| Power Adapter | 12V/2A |
| Material | Aluminum Alloy, Plastic |
| Color | Grey |
| Supported Operating Systems | Windows, macOS, Linux |
Maintenance
- Cleaning: Use a soft, dry cloth to clean the exterior of the docking station. Avoid using liquid cleaners or solvents.
- Dust Protection: The docking station features a dust-proof baffle. Keep the slot covered when not in use to prevent dust accumulation.
- Storage: Store the device in a cool, dry place away from direct sunlight and extreme temperatures.
- Handling: Handle the docking station and hard drives with care to prevent physical damage.

Figure 8: The open design and aluminum alloy body of the docking station providing efficient heat dissipation.

Figure 9: Detailed view of product features including the LED indicator, dust-proof baffles, and anti-slip pads.
Warranty and Support
For warranty information and technical support, please refer to the warranty card included with your product or visit the official ORICO website. If you encounter any issues not covered in this manual, please contact ORICO customer service for assistance.
You can find more information about ORICO products and support at the official ORICO brand store: ORICO Brand Store
Ask a question about this manual
Ask about setup, troubleshooting, compatibility, parts, safety, or missing instructions. Manuals+ will review the question and use this page’s manual context to help answer it.