1. Introduction
Thank you for choosing the ASHATA 3D Hologram Fan Projector. This device utilizes 224 high-brightness LEDs to create stunning, three-dimensional holographic images and videos that appear to float in the air. It is designed for various display applications, offering vivid imaging and easy content management.
This manual provides essential information for the safe and effective use of your 3D Hologram Fan Projector. Please read it thoroughly before installation and operation, and keep it for future reference.

Image: The ASHATA 3D Hologram Fan Projector creating a dynamic holographic globe display.
The projector is ideal for digital signage campaigns, holographic billboards, activation campaigns, and digital point-of-sale displays. Its versatile design allows for wide application in exhibitions, stores, shopping malls, cinemas, airports, hotels, and other crowded public spaces.
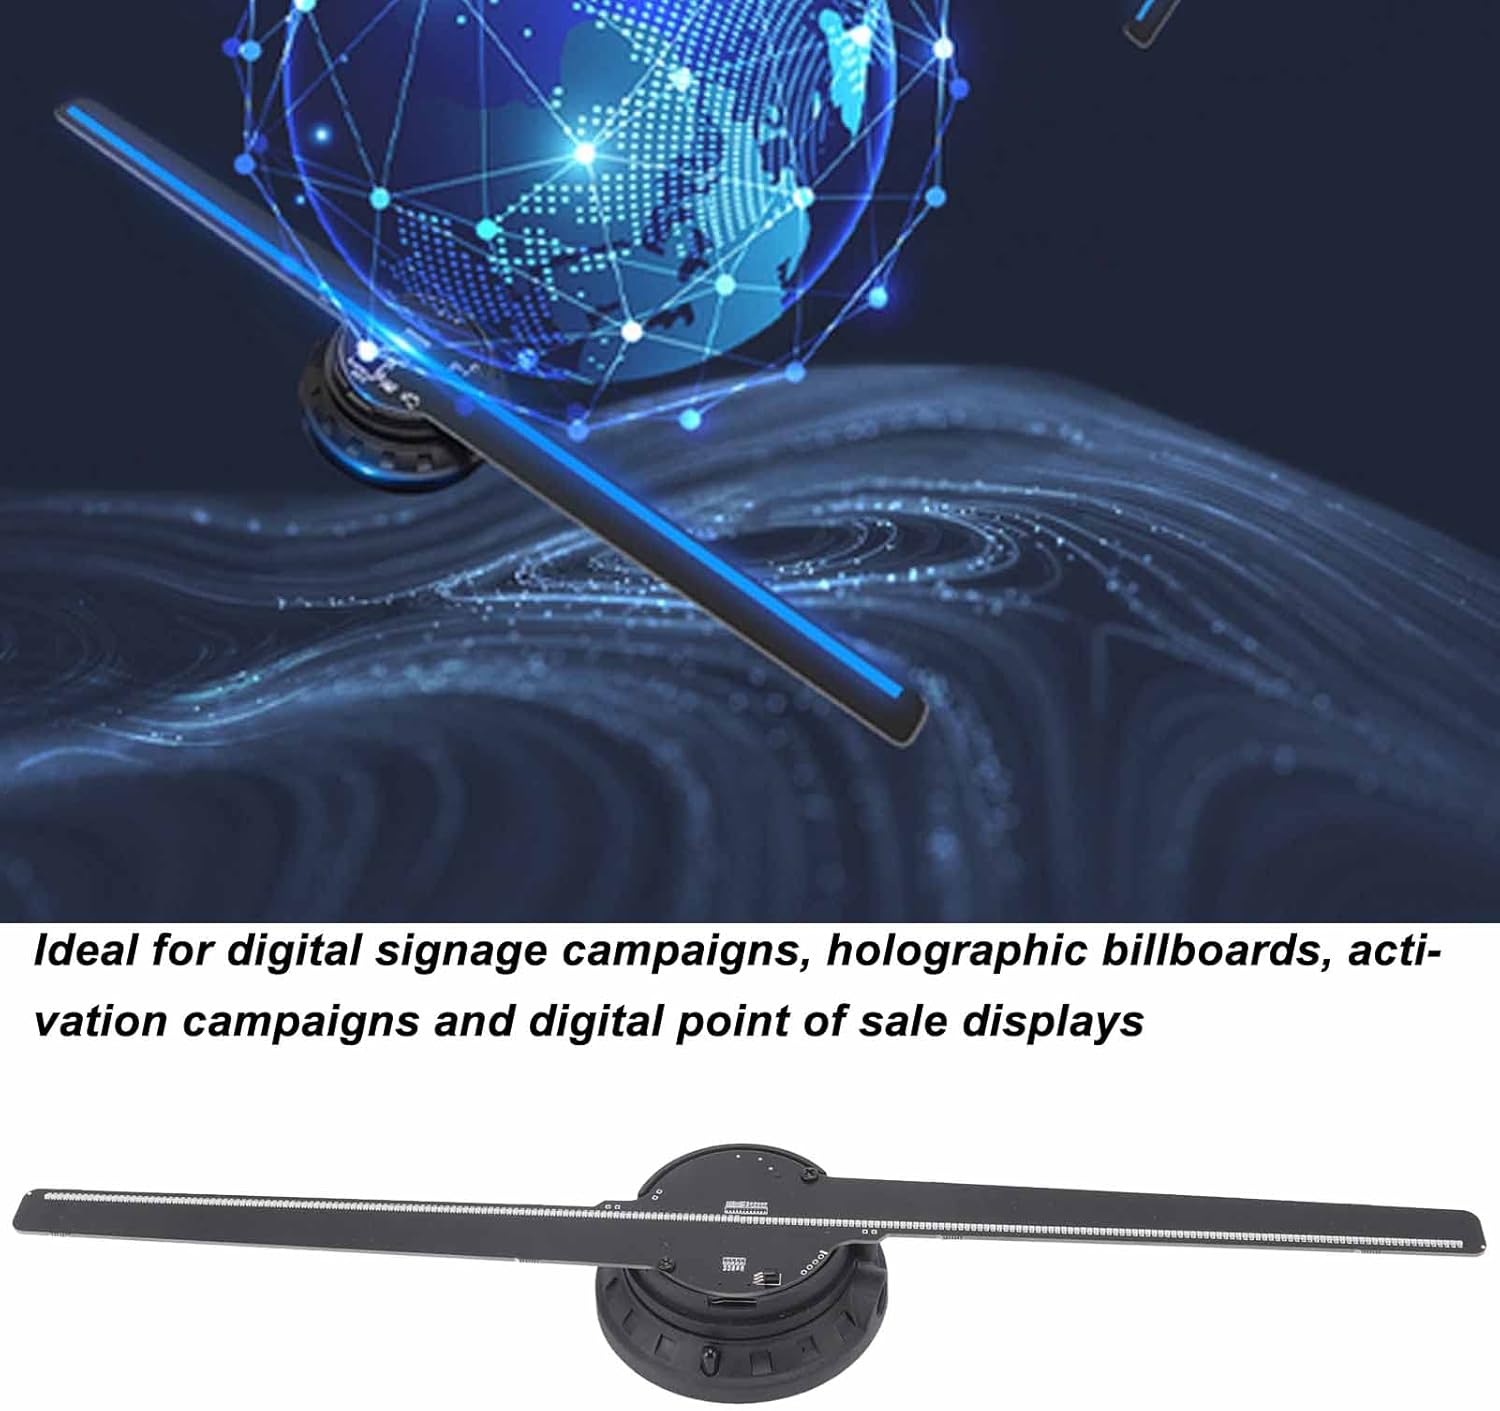
Image: The 3D Hologram Fan Projector is suitable for digital signage and advertising campaigns.

Image: The projector is widely used in exhibitions, stores, shopping malls, cinemas, airports, hotels, and other crowded places.
2. Safety Information
Please observe the following safety precautions to prevent injury or damage to the device:
- Do not touch the fan blades while the device is operating. The blades rotate at high speed and can cause serious injury.
- Ensure the device is securely mounted before operation. Loose mounting can lead to the device falling and causing damage or injury.
- Keep children and pets away from the device during operation.
- Do not disassemble or modify the device. This may void the warranty and pose safety risks.
- Use only the provided power adapter. Using an incorrect adapter may damage the device or cause fire.
- Install the device in a well-ventilated area, away from direct sunlight, heat sources, and moisture.
- In case of malfunction, immediately disconnect the power and contact customer support.
3. Package Contents
Verify that all items listed below are included in your package:
- Holographic Display Unit x 1
- Power Cord x 1
- Instruction Manual x 1
- Screws x 2
- Screw Expansion Tubes x 2
- Screwdriver x 1
- Memory Card (16GB) x 1
- Card Reader x 1
- Wall Bracket x 1
- Remote Control x 1 (CR2025 battery not included)

Image: All accessories and components included with the ASHATA 3D Hologram Fan Projector.
4. Specifications
| Feature | Specification |
|---|---|
| Item Type | Holographic Display |
| Material | Hardware, ABS |
| Device Size | Approx. 42 cm / 16.5 inches |
| Number of Lamp Beads | 224 LEDs |
| Lifespan | 100,000 hours |
| Resolution | 720 x 224 |
| Rated Power | 15W |
| Voltage | 100-240V |
| Supported Formats | MP4, JPG, AVI, MKV, RMVB, GIF, PNG (black background recommended) |
| Viewing Angle | 170° |
| Light Source | LED High Brightness RGB |
| Signal Source | Memory Card (16GB included) |
| Control System | Computer |
| Connection | Computer |
| Fixing Method | Wall Hanging |
| Remote Control Battery | 1 x CR2025 (not included) |

Image: The ASHATA 3D Hologram Fan Projector measures approximately 42 cm (16.5 inches) in length.

Image: A close-up view of the fan blades, highlighting the 224 integrated LED lamp beads for high brightness and clear imaging.
5. Setup Instructions
5.1 Wall Mounting
- Choose a suitable location on a wall, ensuring it is sturdy enough to support the device and away from areas where people might accidentally touch the rotating blades.
- Use the provided wall bracket as a template to mark the drilling points on the wall.
- Drill two holes at the marked points. Insert the screw expansion tubes into the drilled holes.
- Secure the wall bracket to the wall using the provided screws and screwdriver. Ensure it is firmly attached.
- Carefully attach the Holographic Display Unit to the wall bracket. Ensure it is securely seated and stable.
5.2 Power Connection
- Connect the power cord to the power input port on the Holographic Display Unit.
- Plug the other end of the power cord into a standard electrical outlet (100-240V).
5.3 Remote Control Battery Installation
- Open the battery compartment on the back of the remote control.
- Insert one CR2025 battery (not included), ensuring correct polarity (+/-).
- Close the battery compartment.
6. Operating Instructions
6.1 Preparing Content
The device supports MP4, AVI, RMVB, GIF, JPG, and PNG formats. For the best 3D effect, it is highly recommended that your video or image content has a black background. Video playback length for optimal 3D effect is typically 10-15 seconds.
- Use the provided card reader to connect the 16GB memory card to your computer.
- Transfer your prepared video or image files to the memory card. Ensure the files are in a supported format.
- Safely eject the memory card from your computer.
- Insert the memory card into the designated slot on the Holographic Display Unit.
6.2 Powering On/Off
- To power on the device, ensure it is connected to power, then press the power button on the device or the remote control. The fan blades will begin to rotate, and the holographic display will activate.
- To power off, press the power button again. The fan blades will slow down and stop.
6.3 Using the Remote Control
The remote control allows for convenient operation of the device. Functions typically include power on/off, content playback control (play, pause, next/previous), and possibly brightness adjustment.
- ON/OFF: Powers the device on or off.
- Play/Pause: Starts or pauses the current content.
- Next/Previous: Navigates through content files on the memory card.
- Refer to the remote control's specific button layout for detailed functions.
7. Maintenance
7.1 Cleaning
- Always power off and unplug the device before cleaning.
- Use a soft, dry cloth to gently wipe the surface of the device and fan blades.
- Do not use liquid cleaners, aerosols, or abrasive materials, as they may damage the device.
7.2 Durability
The hologram projector features thick fan blades designed to be robust and protect the light source. This design contributes to the device's longevity and ensures clear visibility even under high ambient lighting conditions.

Image: A detailed view of the central unit, showing the robust construction and thick fan blade design.
8. Troubleshooting
| Problem | Possible Cause | Solution |
|---|---|---|
| Device does not power on | No power supply; Power cord loose; Remote control battery depleted | Check power connection; Ensure power cord is securely plugged in; Replace remote control battery. |
| No holographic image displayed | Memory card not inserted; Incorrect file format; Corrupted files | Ensure memory card is properly inserted; Verify content is in supported format (MP4, JPG, etc.); Re-upload content to memory card. |
| Image is distorted or unclear | Content not optimized for 3D; Low resolution content | Use content with a black background; Ensure content resolution is appropriate for the device (720x224). |
| Remote control not working | Battery depleted; Obstruction between remote and device | Replace CR2025 battery; Ensure clear line of sight to the device's IR receiver. |
9. Warranty and Support
Specific warranty information is not provided in the product details. Please refer to the retailer or manufacturer's official website for warranty terms and conditions.
For technical support or inquiries, please contact your point of purchase or the ASHATA customer service department. Keep your purchase receipt and product model number (B0B6RS212H) handy when seeking support.