1. Introduction
This manual provides comprehensive instructions for the installation and operation of the MECMO 56434 4-Pin Trailer Wiring Harness. This custom-fit T-connector system is designed to provide a reliable 4-way flat trailer connector at the rear of your vehicle, enabling power for your trailer's signal lights, brake lights, and turn signals. It includes a powered converter to ensure compatibility between your vehicle's and trailer's electrical systems.

Image 1.1: Complete MECMO 4-Pin Trailer Wiring Harness Kit, including the T-connector, converter, 4-pin flat connector, power wire, ground wire, fuse, and installation accessories.
2. Compatibility
The MECMO 56434 4-Pin Trailer Wiring Harness is compatible with the following vehicle models:
- Toyota RAV4: 2019, 2020, 2021, 2022, 2023, 2024
- Toyota RAV4 Prime: 2021, 2022, 2023, 2024
- Mitsubishi Outlander PHEV: 2023, 2024
This harness is designed for a custom fit, connecting directly into your vehicle's existing wiring system.
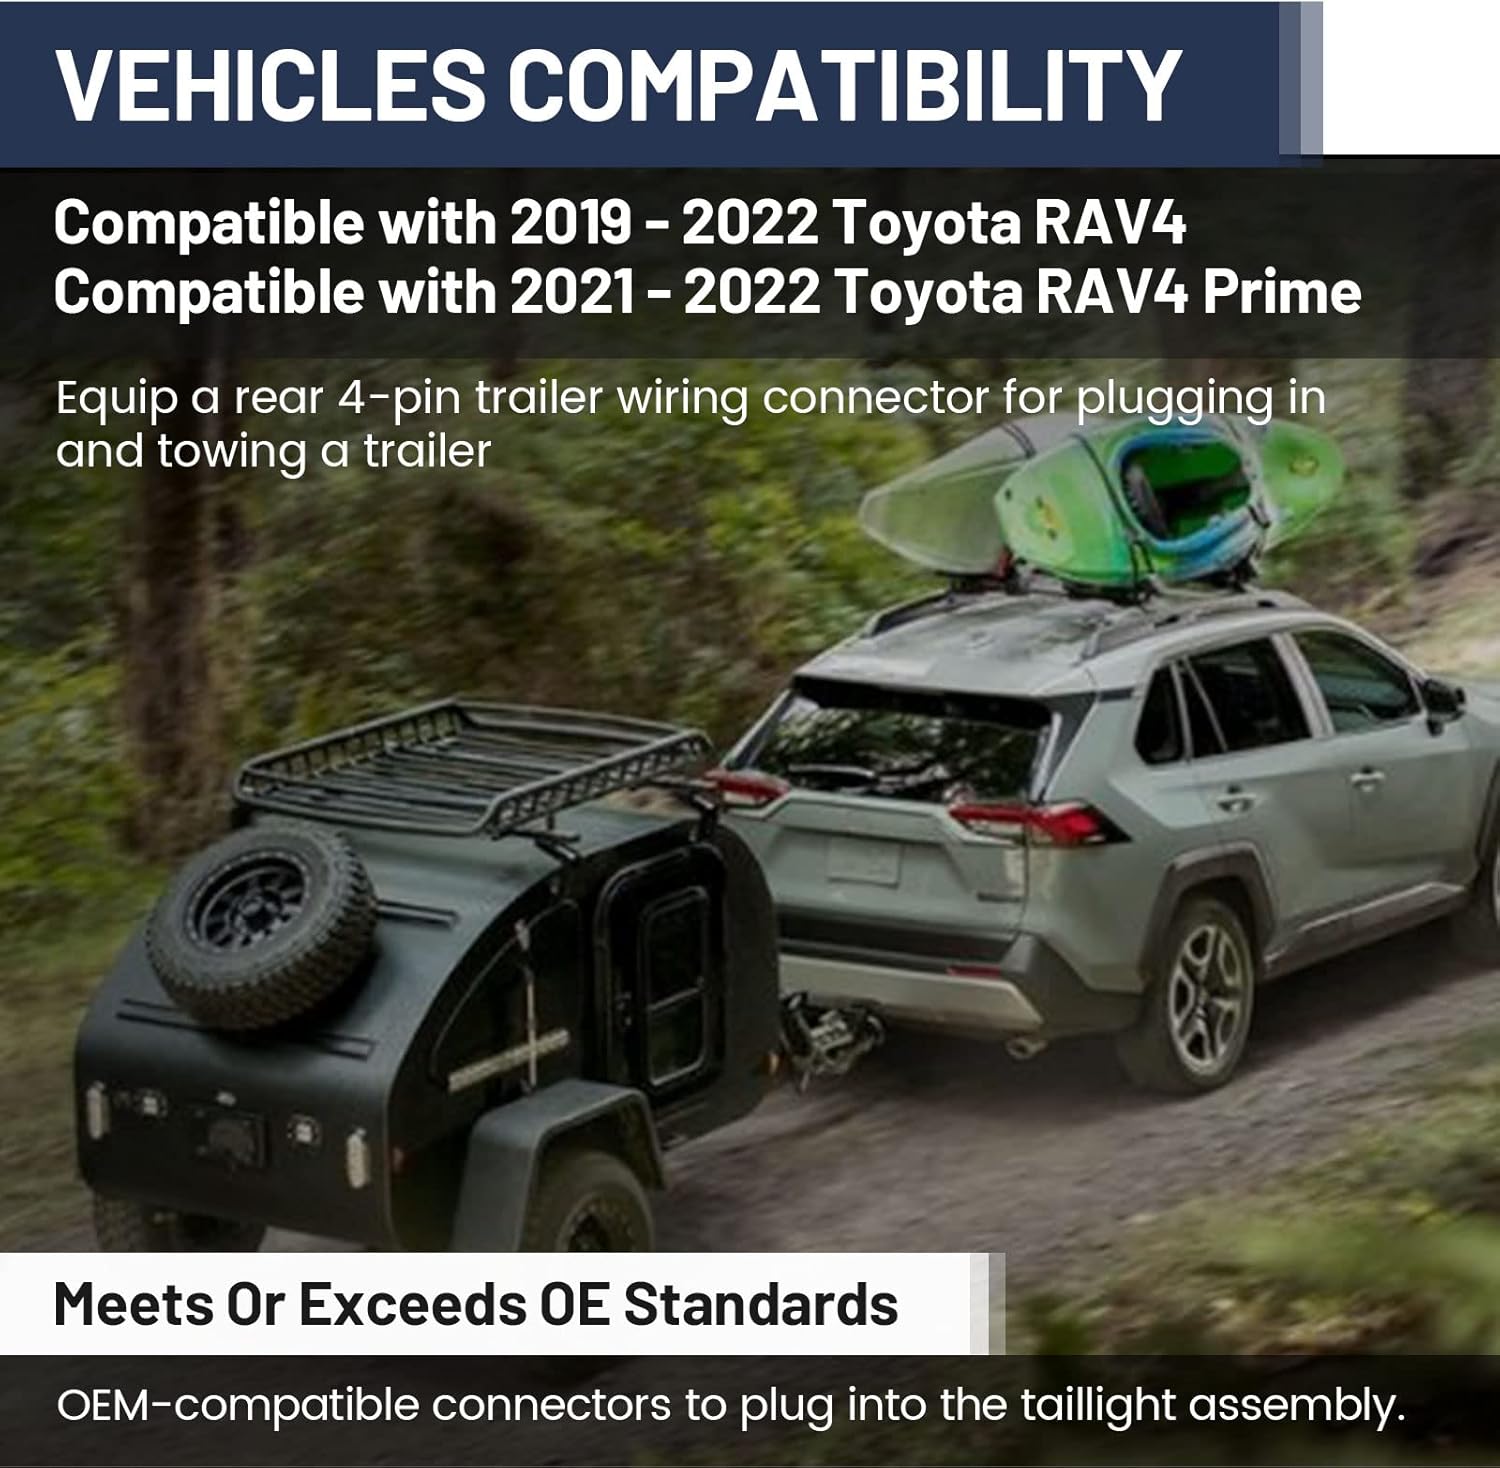
Image 2.1: A Toyota RAV4 towing a small trailer, illustrating the application of the trailer wiring harness.
3. Package Contents
Verify that all components are present before beginning installation:
- Vehicle-specific T-connector harness
- Powered Circuit Protected Taillight Converter
- 4-Pin Flat Trailer Light Connector
- Power wire (for 12V+ connection to battery)
- Ground wire
- In-line fuse holder and fuse
- Butt connectors and ring terminal
- Cable ties
- Dust cover for 4-pin connector

Image 3.1: Individual components of the MECMO 4-Pin Trailer Wiring Harness kit.
4. Installation Instructions
Important Safety Note: Before beginning installation, disconnect the negative terminal from your vehicle's battery to prevent electrical shorts or damage. Reconnect only after all wiring is complete and secured.
4.1 Accessing Vehicle Wiring
- Open the vehicle's rear cargo area.
- Remove the floor covering and any necessary scuff panels to access the vehicle's existing wiring harness. The connection points are typically located behind the driver's-side and passenger's-side rear access panels.

Image 4.1: Visual guide to locating the wiring access points in the rear cargo area of a Toyota RAV4.
4.2 Connecting the T-Connector
- Locate the vehicle's existing taillight wiring harness connectors.
- Disconnect the vehicle's taillight harness connectors.
- Plug the MECMO T-connector harness directly into the vehicle's existing wiring. The vehicle-specific connectors are designed for a precise fit.

Image 4.2: Detail of the vehicle-specific connectors, highlighting the plug-and-play design.
4.3 Power and Ground Connections
- Ground Wire: Secure the white ground wire with the ring terminal to a clean, unpainted metal surface on the vehicle chassis using a self-tapping screw or an existing bolt. Ensure a solid electrical connection.
- 12V+ Power Wire: Route the black power wire from the converter to the vehicle's battery. This wire must be connected to the positive terminal of the 12V battery. For RAV4 Prime models, the 12V battery is often located in the rear, simplifying this step. For other models, routing to the front engine bay battery may be required.
- Install the provided in-line fuse holder into the 12V+ power wire near the battery connection. Insert the fuse into the holder.

Image 4.3: Illustration of the ground wire (white) and 12V+ power wire (red) connections.
4.4 Securing the Converter and Wiring
- Mount the powered taillight converter box in a secure, dry location within the vehicle's rear cargo area using the provided double-sided tape or cable ties. Ensure it is protected from moisture and excessive heat.
- Route the 4-pin flat trailer connector to the exterior of the vehicle, near the trailer hitch. Secure it using cable ties to prevent it from dragging or getting damaged.
- Use the provided cable ties to secure all loose wiring, preventing rattles and potential damage.

Image 4.4: The powered taillight converter, showing signal inputs (Ground, Tail, Left Turn, Right Turn, 12V+) and outputs (Ground, Tail, Left Turn & Brake, Right Turn & Brake).

Image 4.5: The 4-pin flat trailer connector, featuring a dust cover for protection.
5. Operation
Once installed, the MECMO 4-Pin Trailer Wiring Harness provides a standard 4-way flat connector for your trailer's lighting system.
- Ensure your trailer is properly hitched to your vehicle.
- Remove the dust cover from the 4-pin flat connector on your vehicle.
- Connect your trailer's 4-pin flat connector to the vehicle's harness connector. Ensure a firm connection.
- Test all trailer lights (tail lights, brake lights, left turn signal, right turn signal) before driving to ensure proper functionality.

Image 5.1: A trailer hitch receiver with the 4-pin connector attached, ready for trailer connection.
6. Maintenance
- Keep the 4-pin connector clean and free of debris.
- When not in use, ensure the dust cover is securely placed over the 4-pin connector to protect terminals from dust and water.
- Periodically inspect all wiring for signs of wear, fraying, or damage. Replace any damaged components immediately.
- Check the fuse in the in-line fuse holder if trailer lights are not functioning.
7. Troubleshooting
| Problem | Possible Cause | Solution |
|---|---|---|
| Trailer lights not working | Blown fuse; loose connection; faulty converter | Check and replace fuse; ensure all connections are secure; test converter functionality. |
| Only brake lights work, no turn signals/tail lights | Converter malfunction | Verify converter wiring; if issue persists, converter may need replacement. |
| Trailer lights stay on when vehicle is off | Converter malfunction | Disconnect harness from vehicle battery; if issue resolves, converter may need replacement. |
| Intermittent light function | Corroded terminals; loose wiring | Clean connector terminals; inspect and secure all wiring connections. |
8. Specifications
- Model Number: 56434
- Connector Type: 4-pin Flat Ribbon
- Material: Acrylonitrile Butadiene Styrene, Rubber, Plastic, Copper
- Maximum Amperage:
- Stop/Turn Lights: 3 amps per circuit
- Tail Lights: 6 amps per circuit
- Wire Diameter: 1.3 Millimeters (various gauges for specific functions)
- Construction: Heavy-duty bonded wire, premium tin-plated copper terminals

Image 8.1: Diagram illustrating the color-coded wires and their respective functions and gauges.
9. Warranty and Support
MECMO products typically come with a 1-year warranty from the date of purchase. This warranty covers defects in materials and workmanship under normal use. For warranty claims, technical support, or any questions regarding your MECMO 56434 Trailer Wiring Harness, please contact MECMO customer service through their official channels or the retailer where the product was purchased.
Please retain your proof of purchase for warranty validation.