Introduction
Thank you for purchasing the Hiseeu 5MP Wireless Security Camera System. This manual provides detailed instructions for the installation, operation, and maintenance of your new surveillance system. Please read this manual thoroughly before use and keep it for future reference.
Safety Information
- Ensure all power connections are secure and correct to prevent electrical hazards.
- Do not expose the cameras or NVR to extreme temperatures, humidity, or direct sunlight beyond their specified operating conditions.
- Avoid placing the NVR in areas with poor ventilation.
- Use only the provided power adapters for the NVR and cameras. The NVR requires a 12V 2A power supply.
- Keep the system away from strong magnetic fields.
- Do not attempt to disassemble or repair the unit yourself. Contact customer support for assistance.
1. Setup Guide
1.1 Package Contents
Before starting, verify that all components are present in your package:
- NVR Main Unit (with 10.1-inch LCD monitor and 1TB HDD)
- 5MP IP66 Waterproof Cameras (4 units)
- NVR Power Adapter (12V 2A)
- Camera Power Adapters (4 units, PSE standard)
- USB Mouse
- HDMI Cable
- LAN Cable
- Instruction Manual
- Security Stickers
- Mounting Screws

1.2 Initial Setup and Connection
The system features wireless connectivity and automatic code matching, simplifying installation. No complex wiring is required between the cameras and the NVR.
- Power On the NVR: Connect the provided 12V 2A power adapter to the NVR and plug it into a power outlet.
- Power On the Cameras: Connect each camera to its respective power adapter and plug them into power outlets.
- Automatic Pairing: The cameras and NVR are pre-paired at the factory. Once powered on, the cameras will automatically connect to the NVR, and live video feeds will appear on the NVR's 10.1-inch monitor.

1.3 Remote Monitoring Setup (Optional)
For remote viewing via a smartphone app or PC software, the NVR must be connected to your home router using the provided LAN cable.
- Connect one end of the LAN cable to the Ethernet port on the back of the NVR.
- Connect the other end of the LAN cable to an available LAN port on your home router.
- Download the 'EseeCloud' app from the App Store (iOS) or Google Play (Android) for smartphone access, or the 'EseeCloud' software for PC.
- Follow the in-app/software instructions to add your NVR device using its unique ID.

1.4 Camera Installation
The cameras are IP66 rated, making them suitable for both indoor and outdoor use. They are resistant to dust and water, allowing reliable operation in various weather conditions.
- Choose a mounting location that provides a clear view of the area you wish to monitor.
- Ensure the camera is within range of a power outlet for its power adapter.
- Use the provided mounting screws to securely attach the camera to a wall or ceiling.
- Adjust the camera angle (180° horizontal, 360° vertical) for optimal coverage.


2. Operating Instructions
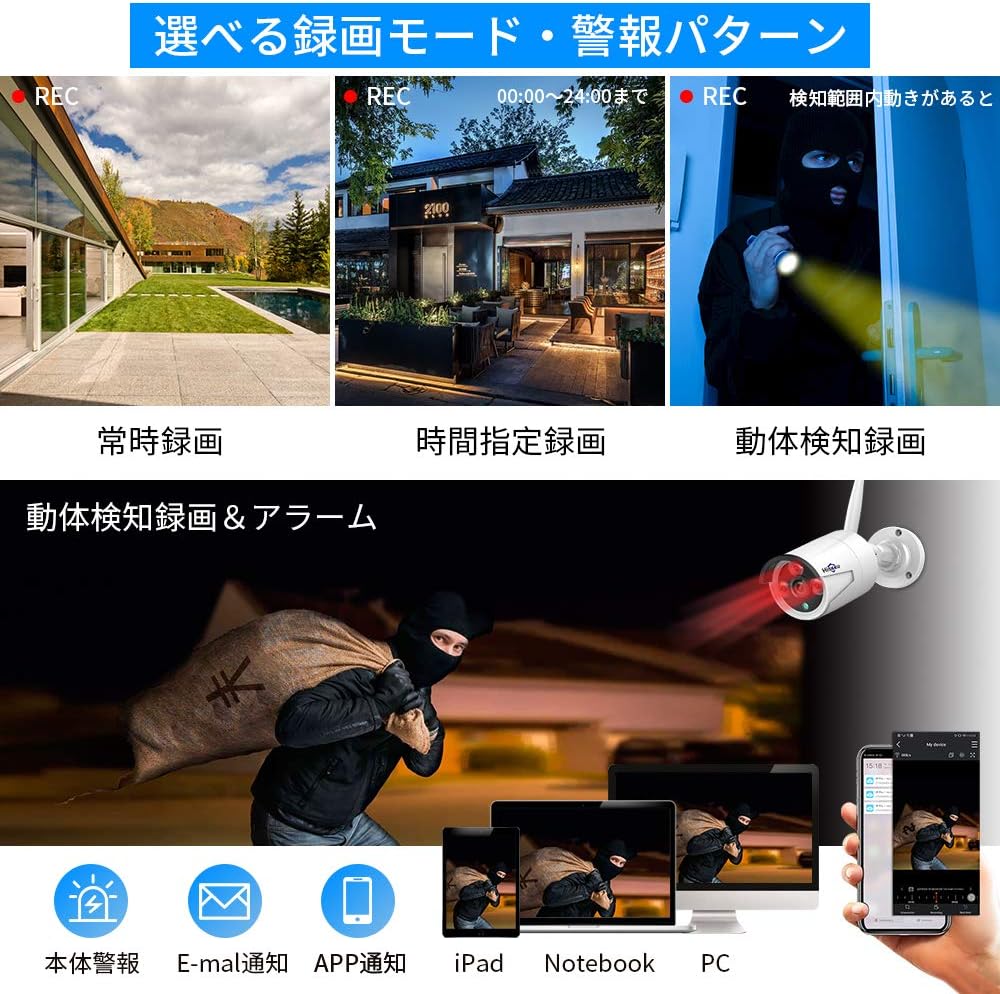
2.1 Recording Modes
The system offers various recording options to suit your needs:
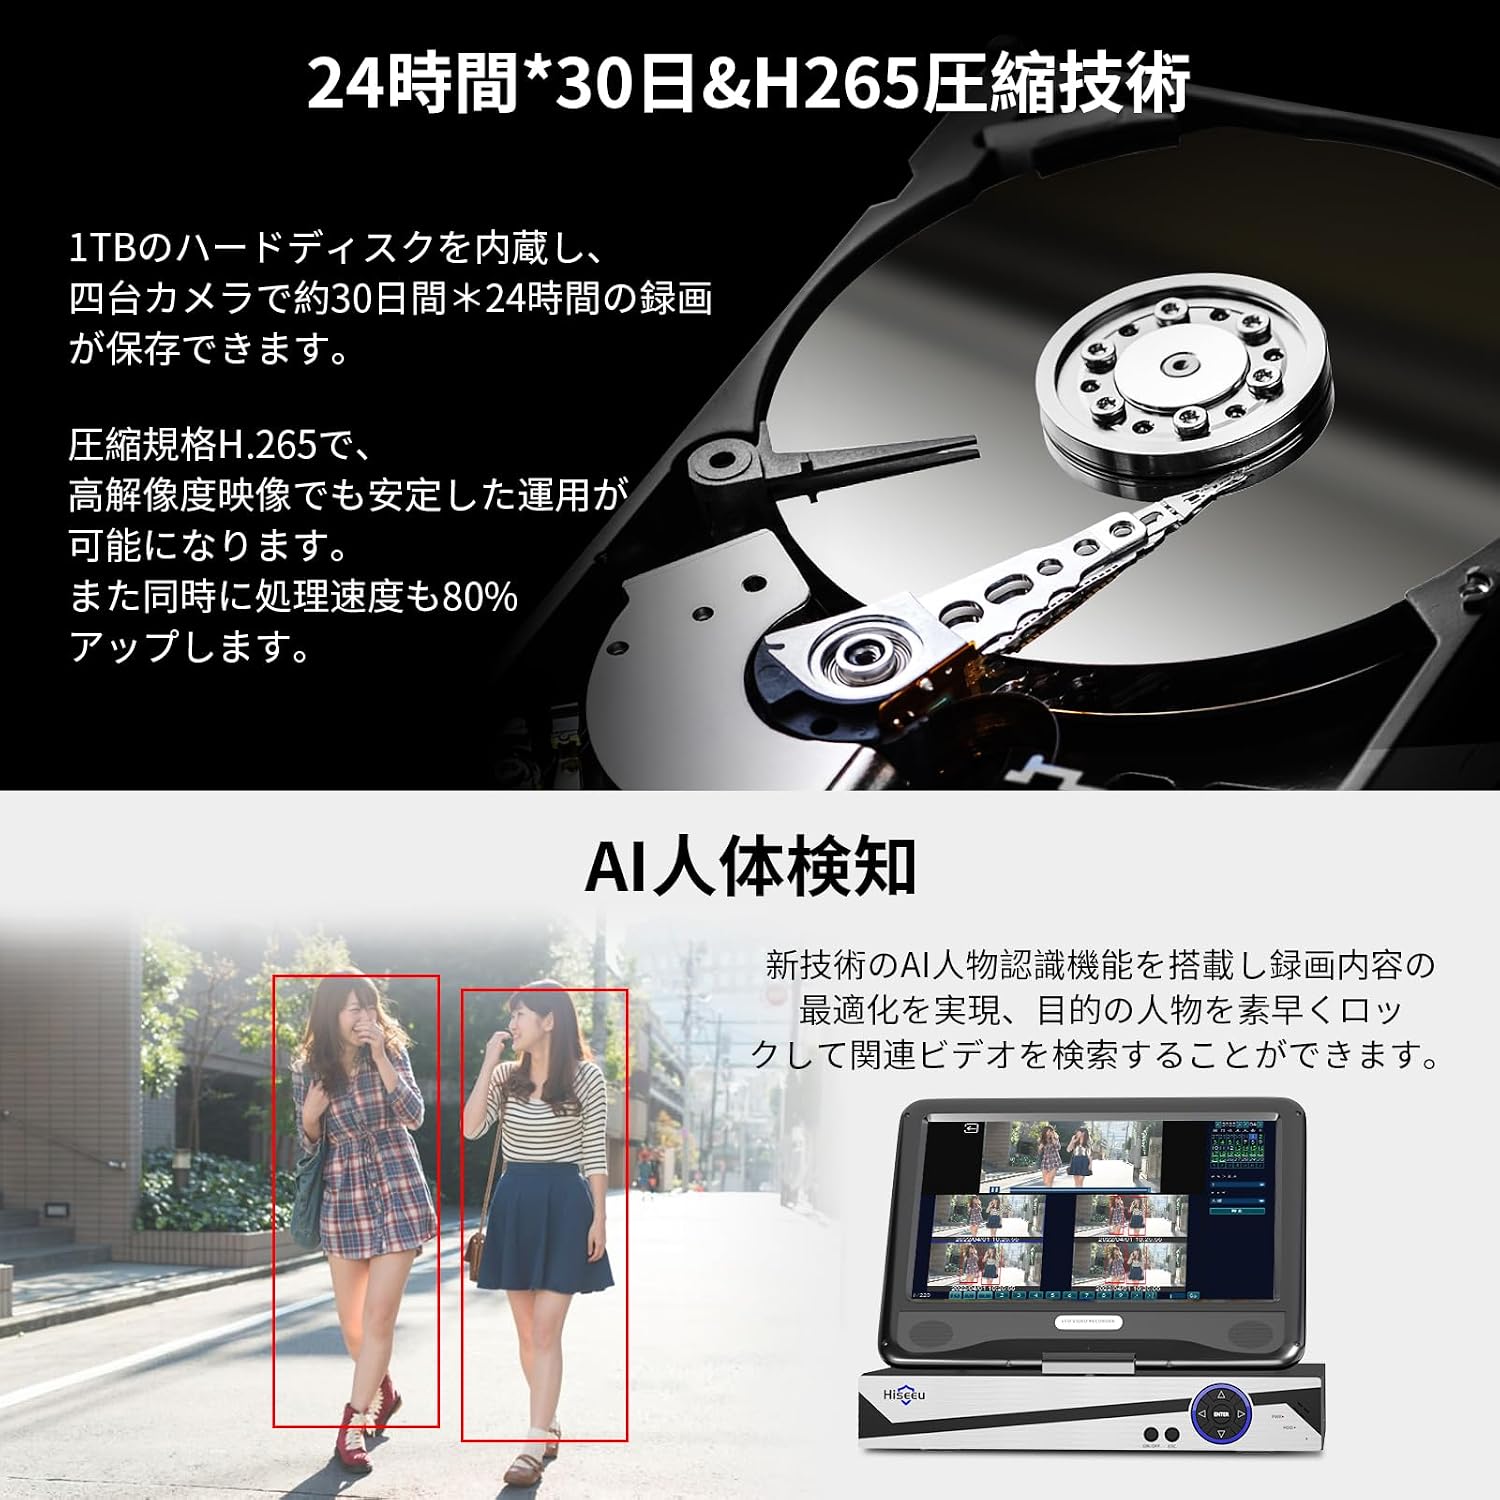
- Continuous Recording: Records 24/7. The 1TB HDD can store approximately 30 days of continuous footage from 4 cameras using H.265+ compression. Older data is automatically overwritten when the disk is full.
- Scheduled Recording: Set specific times for recording.
- Motion Detection Recording: Records only when motion is detected, saving storage space and making event review easier. The system supports AI human detection for optimized recording.
2.2 Live View and Playback
- On NVR Monitor: View live feeds directly on the integrated 10.1-inch LCD monitor. Use the included USB mouse to navigate the NVR interface for playback, settings, and other functions.
- External Display: Connect the NVR to a larger TV or PC monitor via the HDMI output for a clearer, higher-resolution view.
- Remote Access: Use the EseeCloud app or software to view live feeds and playback recorded footage from anywhere with an internet connection.
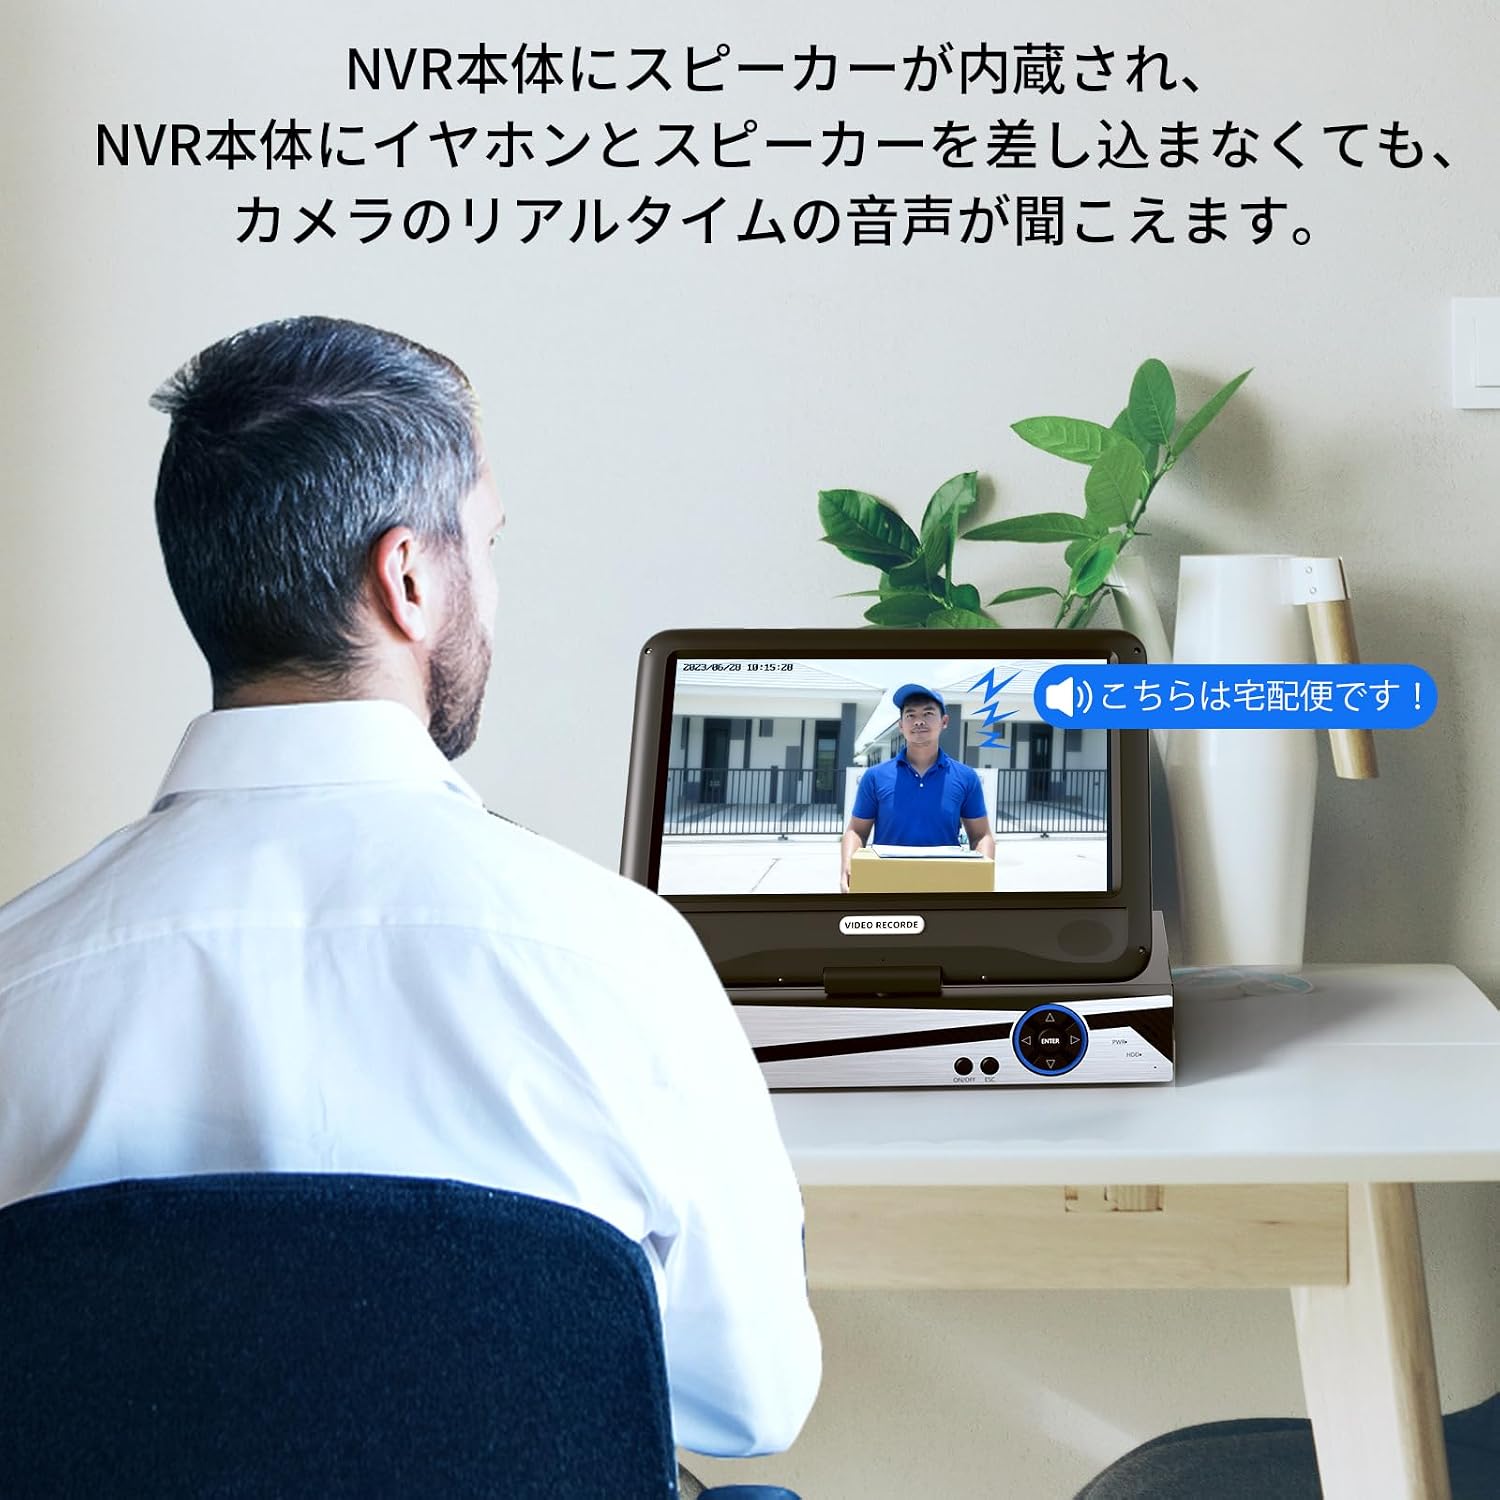
2.3 Audio Features
The NVR has a built-in speaker, allowing you to hear real-time audio from the cameras without needing external speakers or headphones.
3. Maintenance
- Cleaning: Regularly wipe the camera lenses and NVR screen with a soft, dry cloth. For stubborn dirt, use a slightly damp cloth and then dry thoroughly. Do not use harsh chemicals or abrasive cleaners.
- Firmware Updates: Check the Hiseeu official website or EseeCloud app for any available firmware updates to ensure optimal performance and security.
- Cable Inspection: Periodically inspect all cables for any signs of wear or damage. Replace damaged cables immediately.
- Storage: If storing the system for an extended period, disconnect power, clean all components, and store them in a dry, cool place.
4. Troubleshooting
- No Image on NVR Monitor:
- Ensure the NVR is powered on and the power adapter is securely connected.
- Check if the cameras are powered on.
- If using an external monitor, ensure the HDMI cable is properly connected and the monitor is set to the correct input source.
- Cameras Not Connecting to NVR:
- Verify that both the NVR and cameras are powered on.
- Ensure cameras are within the wireless range of the NVR. Obstacles like thick walls can reduce signal strength.
- If issues persist, try re-pairing the cameras manually (refer to the NVR's on-screen menu for pairing instructions).
- Remote Viewing Not Working:
- Confirm the NVR is connected to your home router via a LAN cable and has internet access.
- Check your smartphone or PC's internet connection.
- Ensure the EseeCloud app/software is updated to the latest version.
- Verify that the NVR device ID is correctly entered in the app/software.
- Recording Issues:
- Check the NVR's storage status to ensure the 1TB HDD is functioning and not full (though it overwrites automatically).
- Review recording settings (continuous, scheduled, motion detection) to ensure they are configured as desired.
- NVR Hard Drive Noise:
- A slight humming or clicking sound from the HDD is normal during operation. If the noise is excessive or unusual, contact customer support.
5. Product Specifications
| Feature | Specification |
|---|---|
| Brand | Hiseeu |
| Model Number | WK-10V-4HB613-1T |
| Connectivity Technology | Wireless |
| Video Capture Resolution | 1920p (5 Megapixels) |
| Special Feature | Waterproof (IP66) |
| Number of Channels | 10 (NVR supports up to 10 cameras) |
| Communication Interface | Wireless |
| Maximum Memory Capacity | 1 TB HDD (built-in) |
| Power Type | Power cord |
| Compatible Devices | TV, PC |
| Camera Lens Type | 3.6mm Wide-angle |
| Night Vision | Yes (Infrared LEDs) |
| Signal Format | Digital |
| Product Body Size (NVR) | 38.5 x 17 x 29.5 cm |
6. Warranty Information
Hiseeu products come with a standard manufacturer's warranty. Please refer to the warranty card included in your package or visit the official Hiseeu website for detailed warranty terms and conditions. Keep your proof of purchase for warranty claims.
7. Customer Support
If you encounter any issues or have questions regarding your Hiseeu Wireless Security Camera System, please contact our customer support team:
- Online Support: Visit the Hiseeu official website for FAQs, troubleshooting guides, and contact forms.
- Email Support: Refer to your warranty card or the Hiseeu website for the customer service email address.
Our mission is to provide you with peace of mind and satisfaction. We are committed to continuously improving our products and services.