1. Introduction
This manual provides detailed instructions for the installation, operation, and maintenance of your EDISHINE Low Voltage Pathway Lights. Please read this manual thoroughly before installation and retain it for future reference.
These 12V AC/DC LED landscape pathway lights are designed for outdoor use, providing warm white illumination for walkways, gardens, and other landscape areas. They feature a durable cast-aluminum construction and are IP65 waterproof rated.
2. Safety Information
WARNING: Risk of Electric Shock.
- Always disconnect power at the source before installing or servicing the lights.
- Ensure all connections are secure and properly insulated to prevent electrical hazards.
- Do not exceed the specified voltage (12V AC/DC).
- Use only with a low voltage landscape lighting transformer (not included).
- Do not submerge the lights in water. While IP65 rated for water resistance, prolonged submersion is not recommended.
- Keep children away from electrical components during installation.
3. Package Contents
Verify that all components are present before beginning installation.
- EDISHINE Low Voltage Pathway Lights (4 units)
- Ground Stakes (4 units)
- Quick-Install Wire Connectors (4 units)
- Instruction Manual (this document)
Note: Low voltage transformer and low voltage wires are not included and must be purchased separately.
4. Specifications
| Feature | Specification |
|---|---|
| Brand | EDISHINE |
| Model Number | HGSL09AB |
| Voltage | 12V AC/DC |
| Wattage | 3.2W per light |
| Brightness | 85 Lumens per light |
| Color Temperature | 3000K Warm White |
| CRI (Color Rendering Index) | 80 |
| Material | Die-cast Aluminum |
| Water Resistance | IP65 Waterproof |
| Lifespan | Up to 50,000 hours |
| Product Dimensions (each light) | 18"L x 1.2"W x 4"H (approximate, including spike) |
| Extension Cord Length | 15 inches (with wire connector) |
| Certifications | ETL Listed |
5. Setup and Installation
Follow these steps to properly install your EDISHINE pathway lights. Ensure power to the low voltage transformer is OFF before starting.
5.1 Components Overview

5.2 Installation Steps
- Prepare the Location: Choose desired locations for your pathway lights. Ensure the ground is soft enough to insert the stakes without excessive force. If the ground is hard, pre-dig a small hole or use a tool to loosen the soil to prevent damage to the stakes.

Figure 2: Assembling the Light. This image depicts the initial assembly step, where the lamp holder, lamp post, and ground spike are connected together. - Assemble the Lights: Attach the ground spike to the bottom of each pathway light. Ensure it is securely fastened.
- Insert into Ground: Carefully insert the assembled light with its spike into the prepared ground. Push firmly until the light is stable and at the desired height.

Figure 3: Inserting Light into Ground. This image shows the final step of physically installing the light by inserting its spike into the ground at the target location. - Connect Wiring: Lay out your low voltage wires (not included) from your transformer to each pathway light. Use the provided quick-install wire connectors to connect each light to the main low voltage wire.
Using Quick-Install Connectors:
- Open the connector.
- Place the low voltage wire into the designated channel.
- Align the light's wire into the other channel.
- Close the connector firmly until it snaps shut, ensuring the metal prongs pierce the wire insulation to make contact.
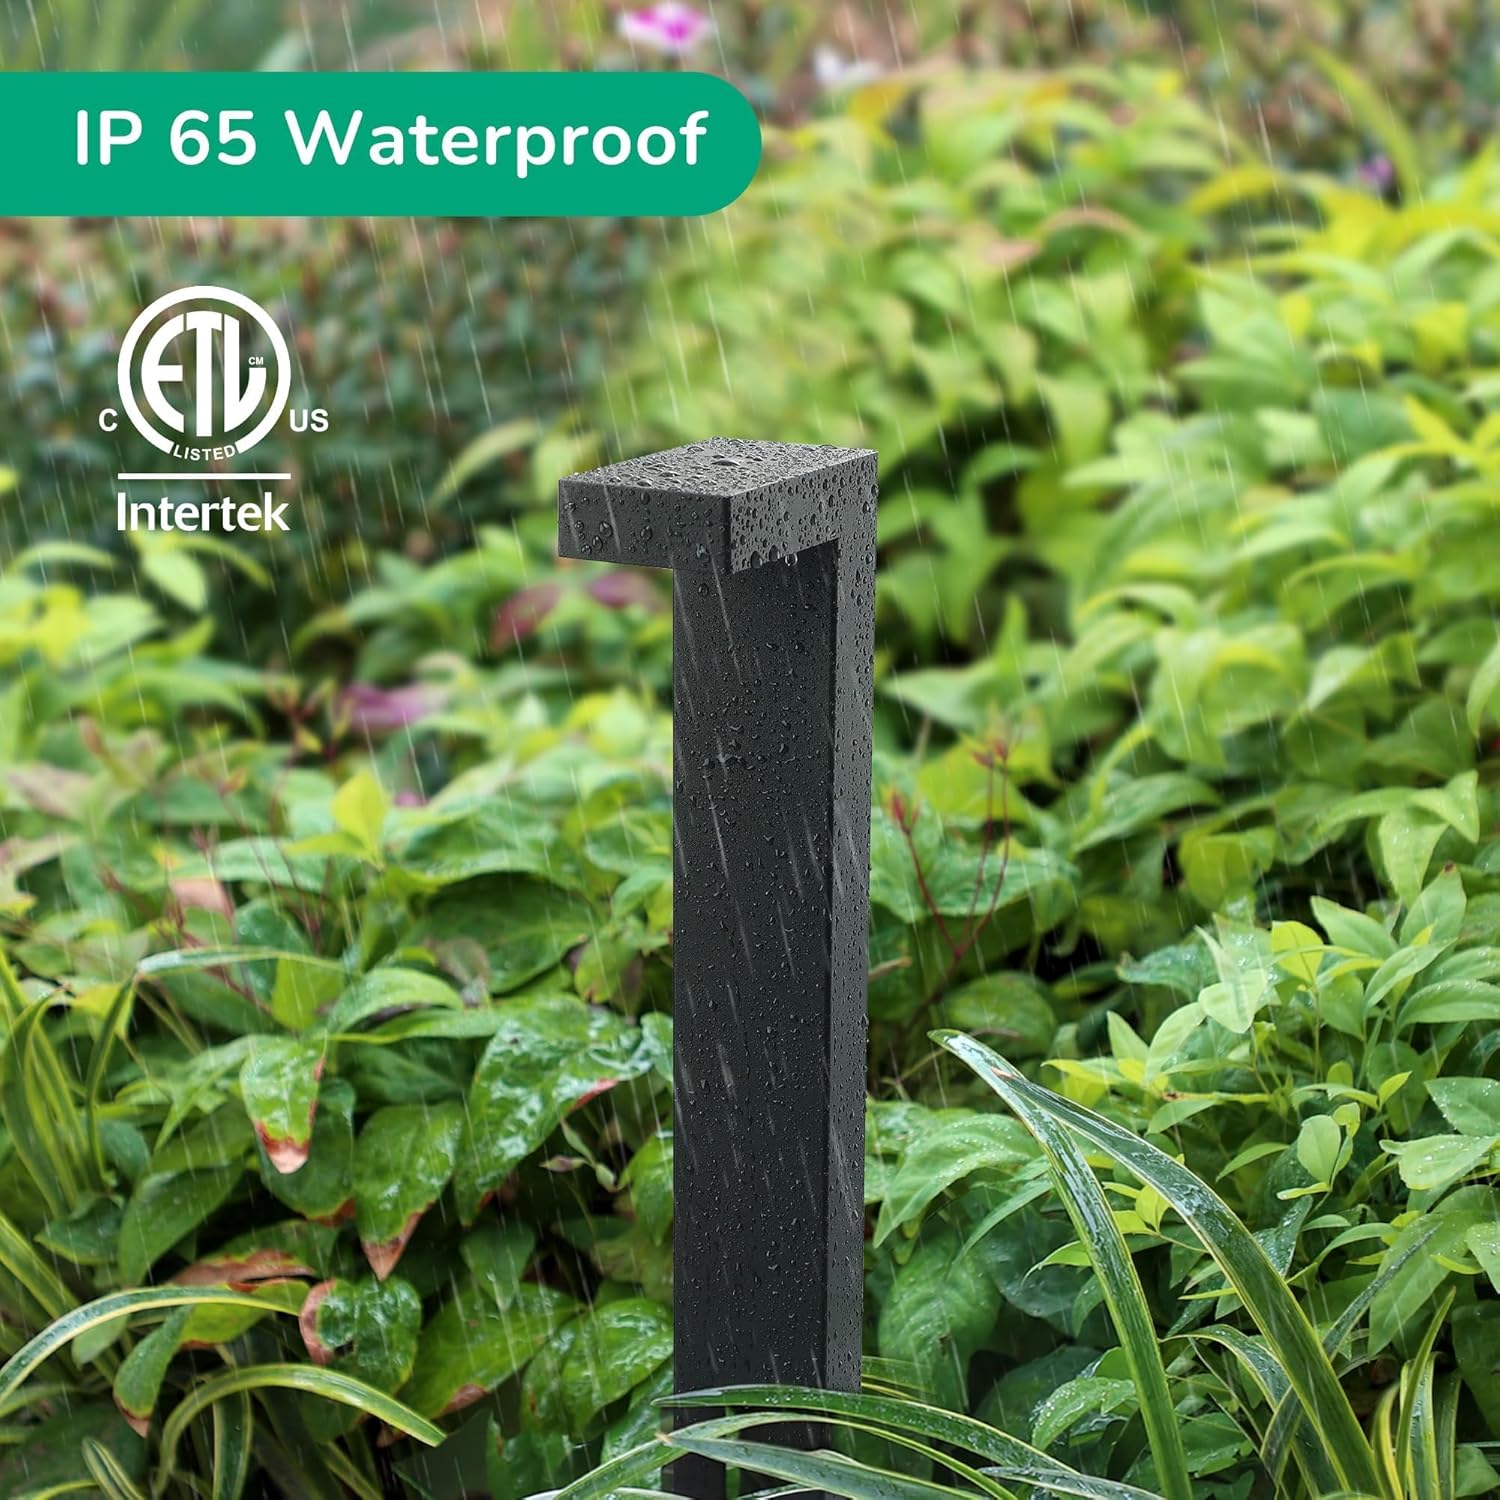
Figure 4: Quick-Install Wire Connector Diagram. This diagram illustrates the process of connecting the pathway lights to a low voltage transformer (not included) using the provided quick-install wire connectors. It shows the 110V input to the transformer and the 12V output to the lights, with detailed steps on how to use the connectors. 
Figure 5: Connecting with Quick Connector. This image demonstrates the use of a quick connector to establish a connection with the outdoor low-voltage wiring system. - Connect to Transformer: Connect the main low voltage wire to your low voltage landscape transformer (not included).
- Test: Once all lights are connected, turn on the power to the transformer to test the lights.
6. Operating Instructions
The EDISHINE Low Voltage Pathway Lights operate in conjunction with a low voltage landscape transformer (not included). The operation of the lights is controlled by the transformer's settings.
- Power On/Off: The lights will turn on and off based on the power supply from your low voltage transformer. Most transformers have a timer or photocell feature for automatic operation.
- Control Method: The product specifications mention "Remote" and "Push Button" for control method. This refers to the control options available on your external low voltage transformer, not directly on the pathway lights themselves.
- Light Output: The lights provide a consistent 3000K warm white light at 85 lumens. There are no adjustable brightness or color settings on the individual lights.
7. Maintenance
Regular maintenance ensures optimal performance and longevity of your pathway lights.
- Cleaning: Periodically wipe the light fixtures with a soft, damp cloth to remove dirt, dust, and debris. Avoid using abrasive cleaners or solvents.
- Inspection: Regularly inspect the wiring and connectors for any signs of damage, corrosion, or loose connections. Repair or replace damaged components immediately.
- Positioning: Ensure the lights remain securely in the ground. Re-adjust or re-insert stakes if they become loose due to soil conditions or external factors.
- LED Lifespan: The integrated LED light source has a long lifespan of up to 50,000 hours and is not user-replaceable. If the LED fails, the entire fixture may need replacement.
8. Troubleshooting
If you encounter issues with your pathway lights, refer to the following common problems and solutions:
| Problem | Possible Cause | Solution |
|---|---|---|
| Lights do not turn on. |
|
|
| Lights flicker or are dim. |
|
|
| Water inside the fixture. |
|
|
9. Warranty and Support
For warranty information or technical support, please contact EDISHINE customer service. Details regarding specific warranty periods and claims procedures are typically provided with your purchase documentation or on the manufacturer's official website.
Please have your model number (HGSL09AB) and purchase date available when contacting support.
You can visit the official EDISHINE store for more information: EDISHINE Store