1. Introduction
Thank you for choosing the illumishin Electronic Safe Box. This manual provides essential information for the proper setup, operation, and maintenance of your safe. Please read it thoroughly before use to ensure optimal security and longevity of the product.

Image: Front view of the illumishin Electronic Safe Box, showcasing the keypad and emergency keyhole.
2. Product Features
- Digital Lock & Emergency Keys: Offers two ways to open the safe: via a programmable digital keypad or with traditional emergency override keys.
- Durable Construction: Made from steel alloy with a scratch-resistant powder coat finish to protect valuables from damage.
- Compact Size, Ample Capacity: With dimensions of 9.1" x 6.7" x 6.7'' and 0.23 cubic feet capacity, it's ideal for securing money, jewelry, documents, and other small valuables.
- Mountable Design: Pre-drilled holes and included bolts allow for secure mounting to a wall or floor, enhancing security against unauthorized removal.
- Anti-Theft Alarm: An integrated alarm system activates after multiple incorrect code entries, deterring unauthorized access.
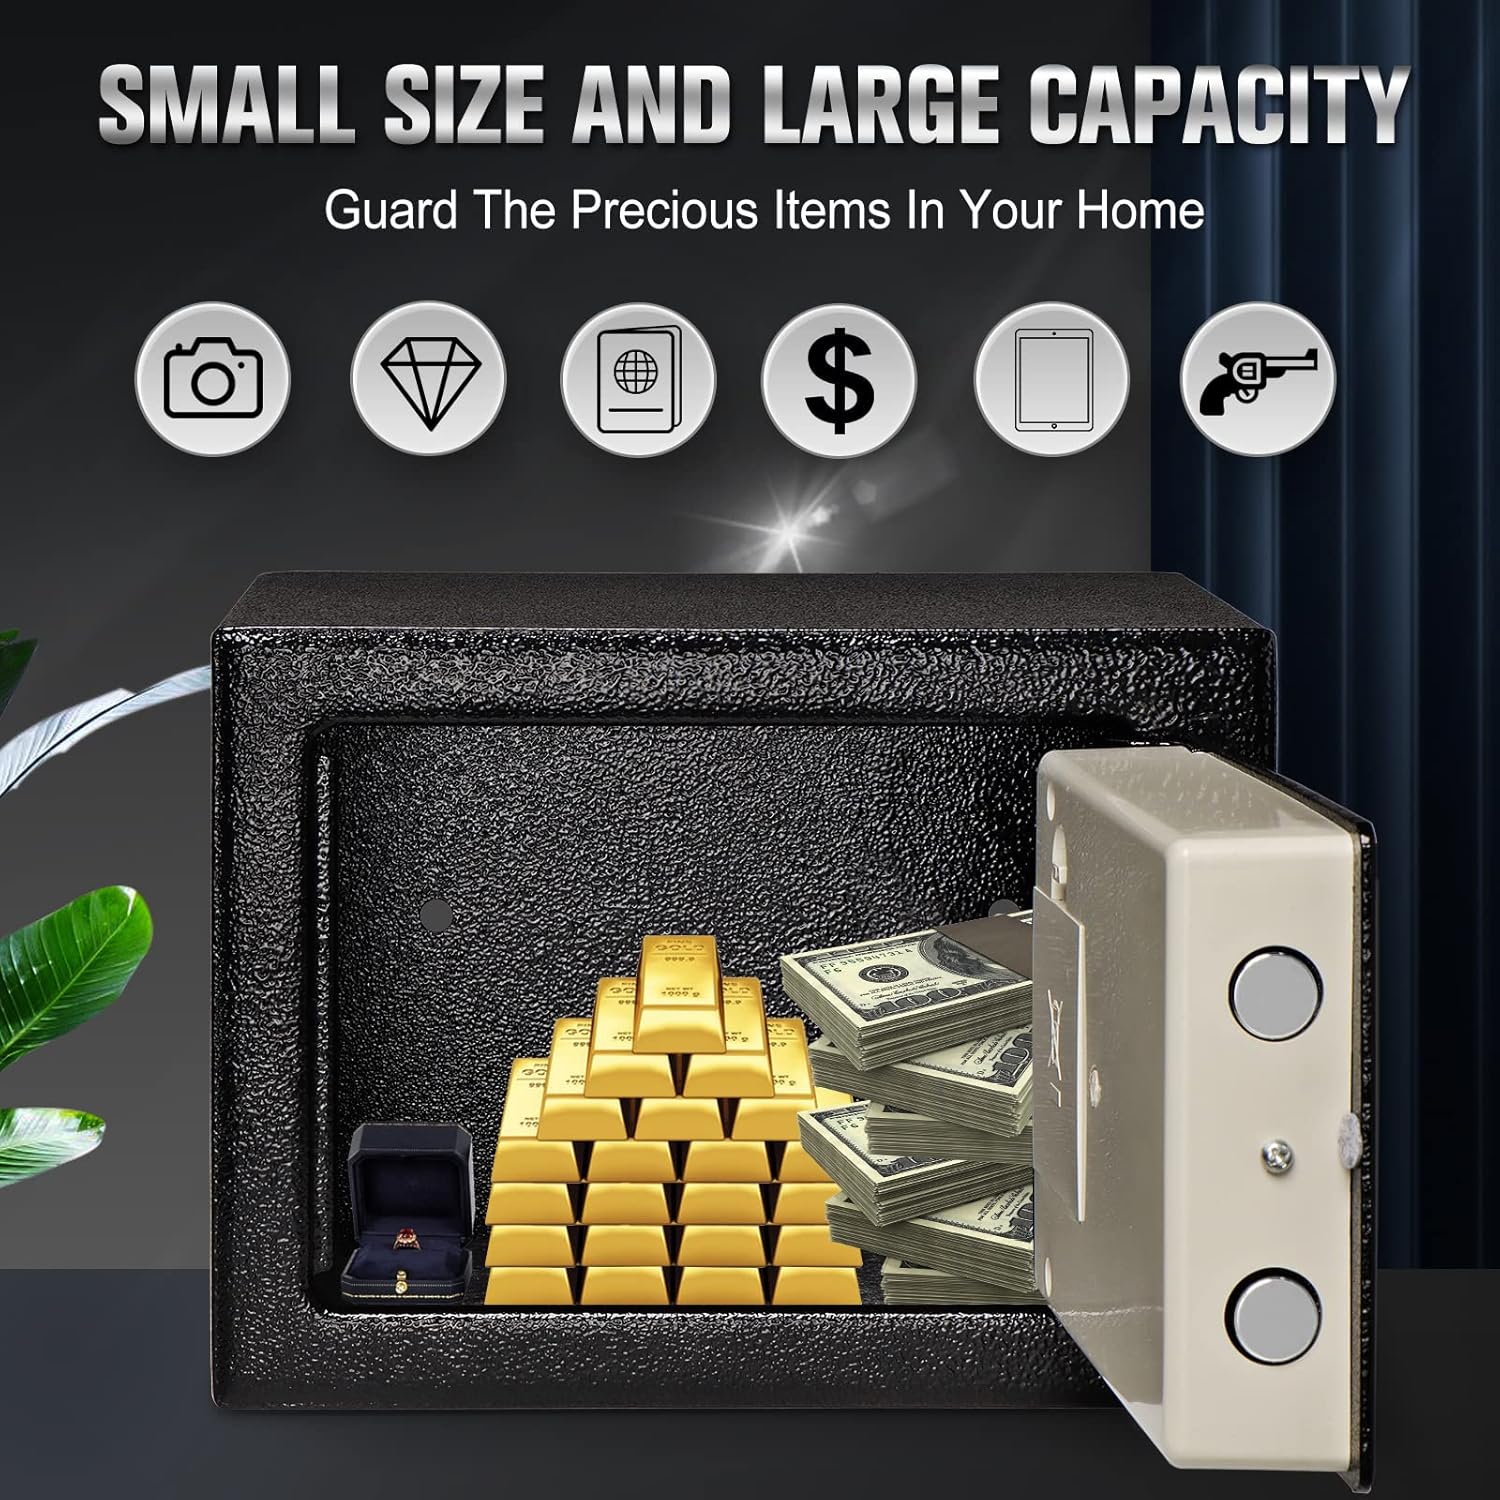
Image: The safe with its door open, revealing various valuables like gold bars, cash, and a ring, demonstrating its compact size yet ample storage capacity.

Image: A visual representation of the safe as a security box, accompanied by icons indicating its suitability for storing jewelry, passports, electronic products, cash, and secret documents.

Image: A close-up view of the safe's exterior, emphasizing its scratch-resistant powder coat finish.
3. Safety Information
- Always keep the emergency override keys in a secure location, separate from the safe itself, and not inside the safe.
- Ensure the safe is mounted securely to a wall or floor to prevent unauthorized removal.
- Do not expose the safe to extreme temperatures or humidity.
- Replace batteries promptly when the low battery indicator appears to avoid being locked out.
- This safe is designed for security against theft and unauthorized access. It is not water resistant and should not be used to protect items from water damage.

Image: A visual warning emphasizing the importance of not leaving emergency keys inside the safe, alongside a diagram illustrating the safe's dimensions (9.1" x 6.7" x 6.7").
4. Package Contents
Please check the package for the following items:
- Electronic Safe Box (1)
- Emergency Override Keys (2)
- Mounting Bolts (2)
- User Manual (This document)
5. Setup
5.1 Installing Batteries
- Open the safe using one of the emergency override keys. Insert the key into the keyhole, turn it clockwise, and then turn the knob to open the door.
- Locate the battery compartment on the inside of the safe door.
- Insert 4 AAA batteries (not included) into the compartment, ensuring correct polarity (+/-).
- Close the battery compartment cover.
5.2 Setting Your Personal Code
The safe comes with a factory default code. It is highly recommended to change this immediately.
- With the safe door open, locate the red reset button on the inside of the door, near the hinge.
- Press the red reset button. The yellow light on the keypad will illuminate, indicating the safe is ready for programming.
- Enter your new personal code (3-8 digits) on the keypad.
- Press the "E" button to confirm. The yellow light will turn off, and a beep will confirm the new code is set.
- Test your new code with the door open before closing it.

Image: An internal view of the safe door, highlighting the password reset button, the battery compartment, and the strengthening bolt mechanism.
5.3 Mounting the Safe (Optional)
The safe can be mounted to a wall or floor for added security.
- Choose a suitable location for mounting.
- Mark the drilling points through the pre-drilled holes at the back or bottom of the safe.
- Drill holes in the wall or floor using an appropriate drill bit.
- Align the safe with the drilled holes and secure it using the provided mounting bolts.

Image: A close-up view of the safe's exterior, highlighting its textured finish, labeled as "ANTI SQUEEZE" for enhanced grip and security.
6. Operating Instructions
6.1 Opening the Safe with Your Code
- Enter your personal code (3-8 digits) on the keypad.
- Press the "E" button. The green light will illuminate.
- Within 5 seconds, turn the knob clockwise to open the safe door.
6.2 Opening the Safe with Emergency Key
This method is for emergencies, such as forgotten codes or dead batteries.
- Locate the emergency keyhole cover (usually hidden behind the logo plate or a small cap). Remove the cover.
- Insert one of the emergency override keys into the keyhole and turn it clockwise.
- While holding the key turned, turn the knob clockwise to open the safe door.
- Remove the key once the door is open.

Image: A clear diagram illustrating the two primary methods for opening the safe: using the smart digital lock with a private password and knob, or using the emergency key with the knob.
6.3 Closing and Locking the Safe
Simply close the safe door and turn the knob counter-clockwise until it locks securely. No code entry is required to lock the safe.

Image: A detailed diagram of the safe's multi-function panel, explaining features such as the knob, double lock protection, warning alarm system, warning light, emergency lock, and secondary lock.
7. Maintenance
- Cleaning: Wipe the safe's exterior with a soft, damp cloth. Avoid abrasive cleaners or solvents.
- Battery Replacement: Replace all 4 AAA batteries when the warning light indicates low power. Do not mix old and new batteries.
- Keyhole Maintenance: Keep the emergency keyhole clean and free of debris. Do not lubricate the lock mechanism.
8. Troubleshooting
| Problem | Possible Cause | Solution |
|---|---|---|
| Safe does not open with code. | Incorrect code entered; batteries are low or dead. | Re-enter code carefully. Replace batteries. Use emergency key to open. |
| Keypad does not respond. | Batteries are dead or incorrectly installed. | Check battery polarity and replace batteries. |
| Alarm sounds after multiple incorrect entries. | Security feature activated. | Wait for the alarm to stop (typically 20-30 seconds) or use the emergency key to open the safe. |
| Safe door cannot be closed/locked. | Obstruction in the door frame; locking bolts are extended. | Check for any items blocking the door. Ensure the knob is in the unlocked position before closing. |

Image: The safe displaying a red flashing light and emitting sound waves, illustrating the "Wrong Code Alert" feature which activates after three incorrect code entries.
9. Specifications
| Feature | Detail |
|---|---|
| Brand | illumishin |
| Model | 17E |
| Product Dimensions | 9"D x 7"W x 7"H |
| Lock Type | Electronic |
| Color | Black3 |
| Capacity | 0.23 Cubic Feet |
| Material | Metal (Steel Alloy) |
| Special Feature | Portable |
| Mounting Type | Floor Mount, Wall Mount |
| Included Components | Keys |
| Item Weight | 3.04 Kilograms (6.69 pounds) |
| Alarm | Anti-theft (triggered by incorrect code entries) |
| Water Resistance Level | Not Water Resistant |
| Batteries Required | 4 AAA batteries (not included) |
10. Warranty and Support
For warranty information or technical support, please contact illumishin customer service. Refer to the product packaging or the official illumishin website for contact details.
You can also visit the illumishin Store on Amazon for more information: illumishin Store


