1. Introduction
The Nadex CR600 Cash Register is a robust and versatile solution designed for efficient transaction processing in various business environments. This manual provides detailed instructions for setting up, operating, and maintaining your cash register to ensure optimal performance.
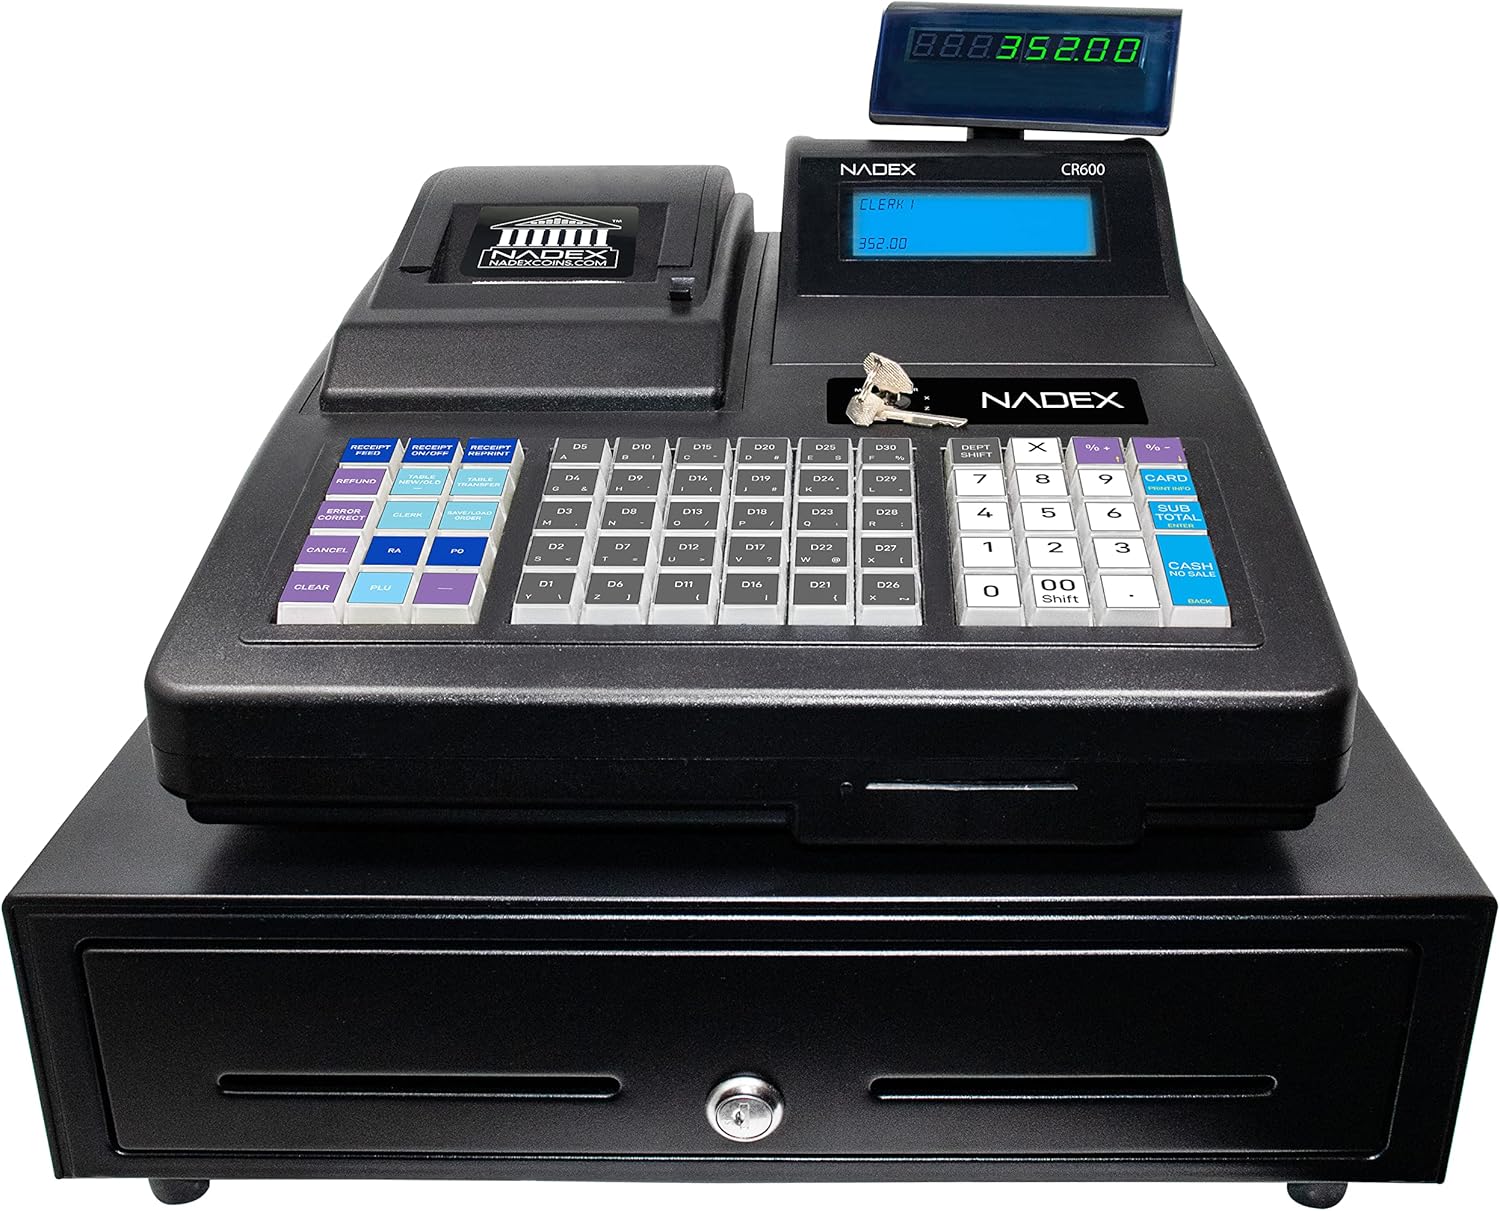
Figure 1: Front view of the Nadex CR600 Cash Register.
2. Key Features
- Easy Loading Thermal Printer: Supports quick 57mm or 75mm thermal printing. Easily add graphics to your receipts.
- Dual Displays: Features a 7.5-inch LCD Operator Display and an 8-digit Customer Display for clear visibility.
- Extensive Capacity: Supports 4500 PLUs, 50 Departments, 50 Cashiers, 20 Payment Methods, and 150 Tables.
- Comprehensive Reporting: Includes Electronic Journal and Financial, Departmental, PLU, Cashier, Hourly, Period, and Refund Reports.
- Heavy-Duty Cash Drawer: Equipped with a durable steel cash and coin drawer.

Figure 2: The Nadex CR600 features clear LED displays for both operator and customer.
3. Setup
3.1. Loading Receipt Paper
The CR600 uses 58mm or 75mm thermal paper rolls. Ensure the machine is off before loading. Lift the printer cover, insert the paper roll with the printing side facing downwards and the outside of the roll facing you. Close the cover securely.
Video 1: Demonstrates the process of loading receipt paper into the Nadex CR600 cash register.

Figure 3: The quick-load thermal printer allows for easy paper replacement and custom receipt headers/footers.
3.2. Connecting Peripherals
The CR600 features multiple connection ports for various peripherals, including a PS/2 port for older scanners, a DK port for the cash drawer, a COM port for PC or barcode scanner connections, and a USB-B port for PC connectivity.

Figure 4: Rear view of the Nadex CR600 highlighting its multiple connection ports.
4. Operating Instructions
4.1. Basic Sales
To perform a basic sale, ensure the key is turned to 'R' (Register mode). Enter the price of the item, followed by its department key. For exact change, press the 'Cash' or 'Card' button. For transactions requiring change, enter the amount received from the customer, then press 'Cash' to calculate the change due.
Video 2: A step-by-step guide on how to perform basic sales transactions on the Nadex CR600.
4.2. Processing Split Payments
For split payments (e.g., cash and card), first enter all items and their departments. Enter the cash amount received, then press 'Cash'. The display will show the remaining balance. Press 'Card' to finalize the remaining amount on a card.
Video 3: Learn how to process transactions involving split payments (cash and card) on the Nadex CR600.
4.3. Processing Refunds
To process a refund, ensure the key is in the correct mode (e.g., 'R' for Register or 'Z' for Z-report mode, depending on your setup). Follow the specific refund procedure outlined in the full manual or demonstrated in the video.
Video 4: Instructions on how to correctly process a refund using the Nadex CR600 cash register.
4.4. Cancelling a Transaction
If a transaction needs to be cancelled, use the designated 'Cancel' or 'Void' key on the keyboard. Refer to the video for the exact sequence of steps to ensure the transaction is properly voided.
Video 5: Guide to cancelling an ongoing transaction on the Nadex CR600.
5. Programming and Customization
To access programming functions, turn the key to 'P' (Program mode).
5.1. Setting Time and Date
In Program mode, navigate to the time/date settings. Enter the current time in 24-hour format and the date in the specified format (e.g., DDMMYY). Confirm your entries to save the changes.
Video 6: Instructions for setting the correct time and date on your Nadex CR600 cash register.
5.2. Setting Tax Rates
In Program mode, access the tax settings. You can define up to four separate tax rates and assign them to specific departments. Ensure the 'Tax Included' setting is configured correctly (Yes/No) based on your business needs.
Video 7: Guide to presetting and configuring tax rates on the Nadex CR600.
5.3. Customizing Receipt Header/Footer
Personalize your receipts by customizing the header and footer messages. In Program mode, navigate to the receipt format settings. You can enter custom text for multiple lines in both the header and footer sections.
Video 8: Learn how to customize the header and footer messages on your Nadex CR600 receipts.
5.4. Setting Department Presets
The CR600 allows for 50 programmable departments. In Program mode, access department settings to assign names, prices, and tax rates to each department key for quick and accurate sales entry.
Video 9: Instructions for setting up and customizing department presets on the Nadex CR600.
5.5. Cash Drawer Features
The heavy-duty steel cash drawer features 5 bill slots and 8 coin slots. It includes a removable coin tray for organizing currency and additional storage underneath for checks or slips. The drawer is secured with a lock and key.

Figure 5: The spacious cash drawer with organized bill and coin compartments.
Video 10: An overview of the Nadex CR600 Cash Register's cash drawer, highlighting its 5 bill slots and 8 coin slots.
6. Specifications
- Package Dimensions: 20 x 20 x 14 inches
- Item Weight: 25.1 pounds
- ASIN: B0B5YN5DBN
- Manufacturer: Nadex
- Date First Available: July 6, 2022
7. Troubleshooting
For common issues such as paper jams, display errors, or power problems, please refer to the comprehensive troubleshooting section in the full user manual. Ensure all cables are securely connected and the power supply is stable. If problems persist, contact customer support.
8. Maintenance
Regular cleaning of the printer head and external surfaces is recommended. Use a soft, dry cloth for cleaning. Avoid abrasive cleaners or solvents. Ensure the cash drawer is free of debris to maintain smooth operation. Always power off the device before performing any maintenance.
9. Warranty and Support
The Nadex CR600 Cash Register comes with a standard manufacturer's warranty. For detailed warranty information, please refer to the warranty card included in your product packaging or visit the official Nadex website. For technical support, product inquiries, or service requests, please contact Nadex customer service through the contact information provided in your user manual or on the official website.