1. Important Safety Instructions
Always read and understand all safety warnings and instructions before operating this power tool. Failure to follow the warnings and instructions may result in electric shock, fire, and/or serious injury.
- Work Area Safety: Keep your work area clean and well-lit. Cluttered or dark areas invite accidents. Do not operate power tools in explosive atmospheres, such as in the presence of flammable liquids, gases, or dust.
- Electrical Safety: Power tool plugs must match the outlet. Never modify the plug in any way. Do not expose power tools to rain or wet conditions.
- Personal Safety: Stay alert, watch what you are doing, and use common sense when operating a power tool. Always wear appropriate personal protective equipment, including eye protection, hearing protection, and gloves.
- Tool Use and Care: Do not force the power tool. Use the correct power tool for your application. Disconnect the plug from the power source and/or remove the battery pack before making any adjustments, changing accessories, or storing power tools.
- Battery Pack Safety: Do not disassemble, open, or shred battery packs. Do not expose battery packs to heat or fire. Avoid direct sunlight.
2. Package Contents
Upon opening the package, please verify that all items listed below are present and in good condition:
- BLACK+DECKER reviva 10.8V Cordless Jigsaw (Model: REVJ12C-JP)
- Charger x 1
- Woodworking Jigsaw Blade x 1
If any items are missing or damaged, please contact BLACK+DECKER customer support immediately.
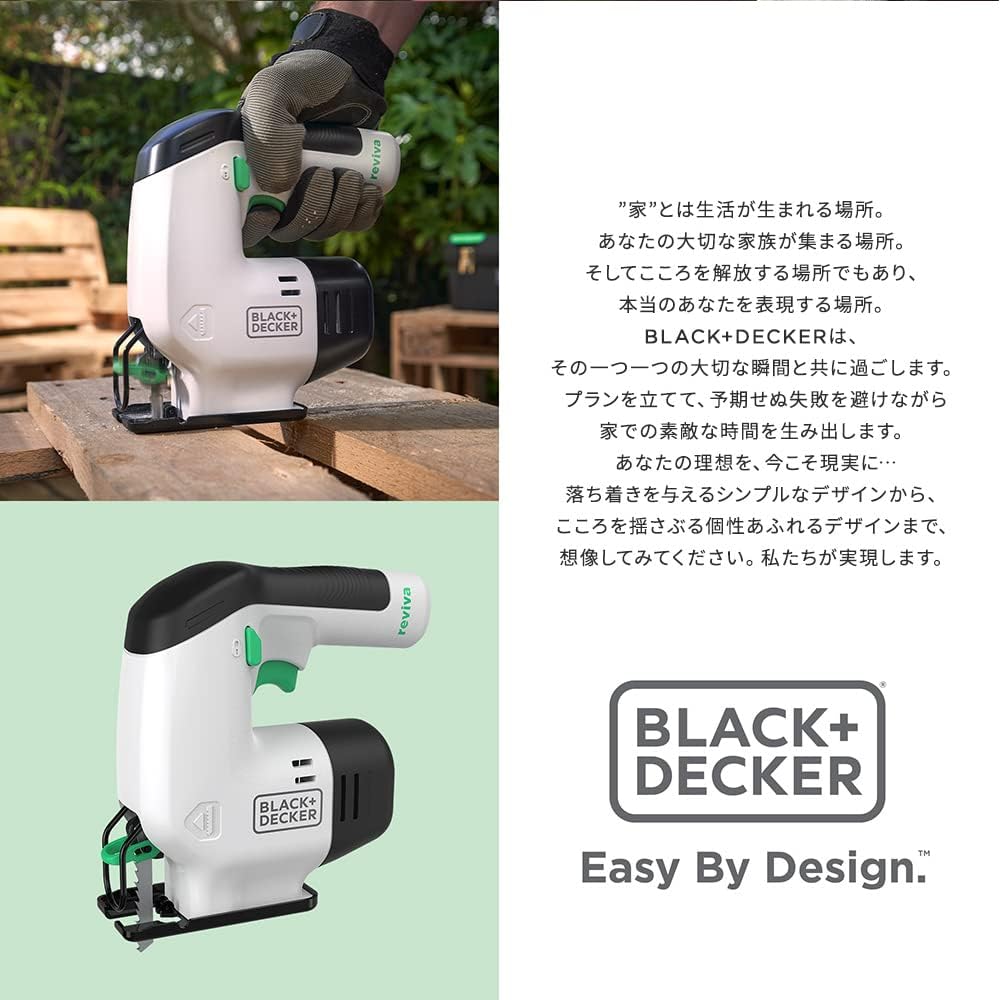
3. Product Overview
Familiarize yourself with the components of your BLACK+DECKER reviva 10.8V Cordless Jigsaw.


4. Setup
4.1. Charging the Battery
The jigsaw is powered by an integrated 10.8V Lithium-Ion battery. Before first use, ensure the battery is fully charged.
- Connect the charger to a standard electrical outlet.
- Insert the charging cable into the charging port on the jigsaw.
- The LED charge indicator will illuminate to show the charging status. Refer to Figure 3.5 for visual reference.
- Once charging is complete, disconnect the charger.
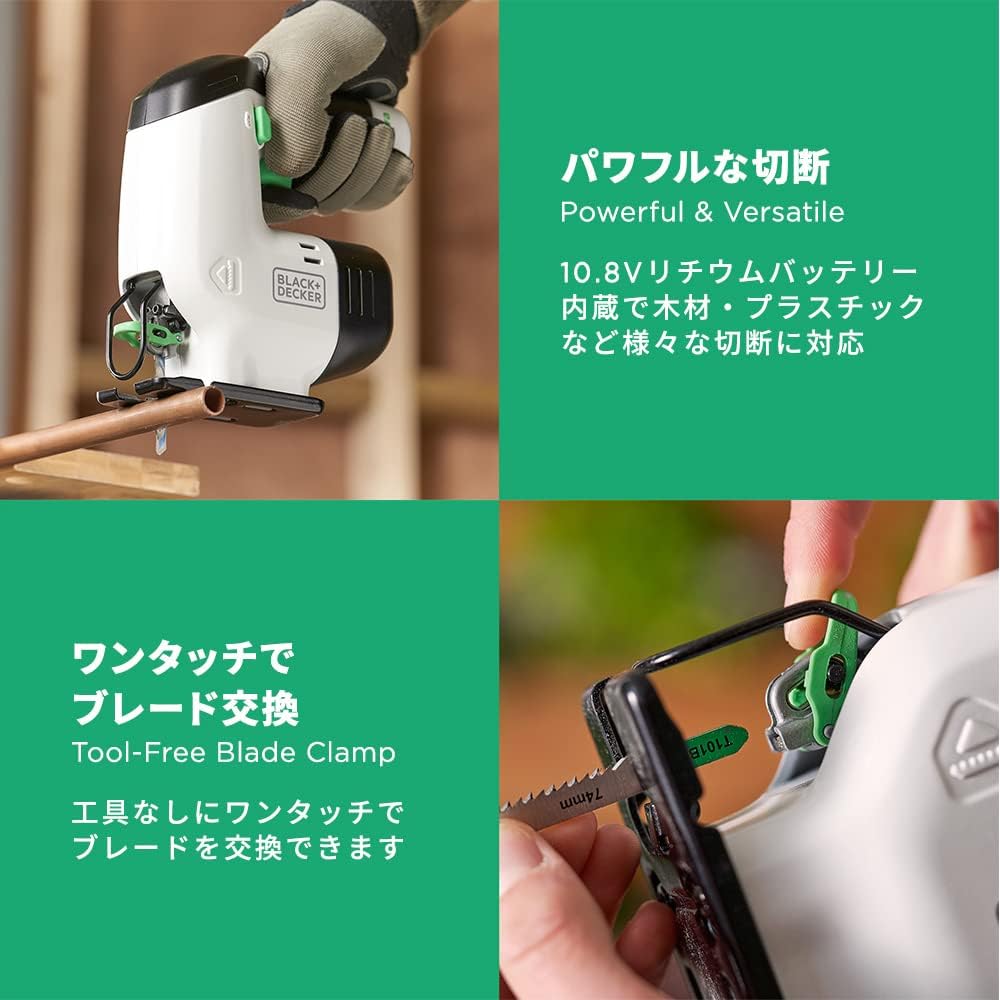
4.2. Installing the Jigsaw Blade
The BLACK+DECKER reviva jigsaw features a tool-free blade clamp for quick and easy blade changes. It is compatible with both U-shank and T-shank jigsaw blades.
- Ensure the tool is switched off and the battery is not actively charging.
- Locate the blade clamp lever near the front of the tool.
- Push the blade clamp lever to open the clamp.
- Insert the shank of the desired jigsaw blade fully into the blade holder. Ensure the teeth of the blade are facing forward. Refer to Figure 3.4 for visual reference.
- Release the blade clamp lever to secure the blade in place. Gently pull on the blade to ensure it is firmly seated.
5. Operating Instructions
5.1. Starting and Stopping the Jigsaw
- To start the jigsaw, press the safety lock-off button (if present) and then depress the variable speed trigger.
- To stop the jigsaw, release the variable speed trigger.
5.2. Using the Variable Speed Trigger
The jigsaw is equipped with a variable speed trigger, allowing you to control the cutting speed based on the material and application.
- Lightly pressing the trigger will result in a slower speed, suitable for delicate cuts or starting a cut.
- Pressing the trigger further will increase the speed, providing faster cutting for tougher materials.
- Always start at a slower speed and gradually increase as needed.
5.3. Cutting Techniques
The compact and lightweight design of the reviva jigsaw makes it suitable for various cutting tasks, including wood and plastic.
- Straight Cuts: For straight cuts, mark your cutting line clearly. Guide the jigsaw along the line, applying steady, even pressure.
- Curved Cuts: The jigsaw is ideal for curved cuts. Use a narrower blade for tighter curves. Guide the tool smoothly along the desired curve.
- Plunge Cuts: For plunge cuts, tilt the front of the base plate onto the workpiece, with the blade clear of the surface. Start the tool, then slowly lower the blade into the material.


6. Maintenance
Regular maintenance ensures the longevity and optimal performance of your jigsaw.
- Cleaning: After each use, wipe down the tool with a clean, damp cloth. Remove any sawdust or debris from the ventilation slots and blade area. Do not use harsh chemicals or abrasive cleaners.
- Blade Inspection: Regularly inspect the jigsaw blade for wear, damage, or dullness. Replace dull or damaged blades promptly to ensure efficient and safe cutting.
- Battery Care: Store the battery in a cool, dry place away from direct sunlight. Avoid fully discharging the battery before recharging to prolong its lifespan.
- Storage: When not in use, store the jigsaw in a dry, secure location out of reach of children.
7. Troubleshooting
This section addresses common issues you might encounter with your jigsaw.
| Problem | Possible Cause | Solution |
|---|---|---|
| Jigsaw does not start | Battery is not charged Safety lock-off button not pressed | Charge the battery fully Ensure the safety lock-off button is pressed before the trigger |
| Blade not cutting efficiently | Dull or damaged blade Incorrect blade for material Insufficient pressure | Replace the blade Use the appropriate blade for the material Apply steady, even pressure |
| Excessive vibration | Blade not properly installed Damaged blade | Re-install the blade, ensuring it is fully seated Replace the blade |
8. Specifications
Detailed technical specifications for the BLACK+DECKER reviva 10.8V Cordless Jigsaw:
| Feature | Specification |
|---|---|
| Model Number | REVJ12C-JP |
| Voltage | DC 10.8V |
| Battery Type | Lithium-Ion |
| Battery Capacity | 1.5Ah |
| Stroke Length | 16mm |
| Strokes Per Minute (SPM) | 0-2,800 /min |
| Product Dimensions (L x W x H) | 19 x 7 x 18.5 cm |
| Product Weight | 1.6 kg |
| Housing Material | 50% Certified Recycled Material |
| Recommended Use | Wood, Plastic |
9. Warranty and Support
Your BLACK+DECKER reviva 10.8V Cordless Jigsaw is covered by a manufacturer's warranty.
- Warranty Period: 1 year from the date of purchase.
- Warranty Coverage: This warranty covers defects in materials and workmanship under normal use. It does not cover damage resulting from misuse, abuse, accident, unauthorized repairs, or normal wear and tear.
- Claiming Warranty: To make a warranty claim, please retain your proof of purchase. Contact BLACK+DECKER customer support for assistance.
- Customer Support: For technical assistance, troubleshooting, or spare parts, please visit the official BLACK+DECKER website or contact their customer service hotline.