1. Introduction
The Movmax N2 Air Arm Mini Pro Kit is a professional car mounting system designed to capture smooth, dynamic footage from a moving vehicle. It effectively isolates your camera and gimbal rig from vibrations and shocks encountered during motion, ensuring stable and high-quality video. This manual provides detailed instructions for the setup, operation, and maintenance of your N2 Air Arm Mini Pro Kit.
2. Package Contents
Please verify that all components listed below are included in your package. If any items are missing or damaged, please contact your dealer.

Figure 2.1: Labeled diagram of the N2 Air Arm Mini Pro Kit components.
This image displays all components of the Movmax N2 Air Arm Mini Pro Kit, clearly labeled for identification. Key components include the Flight Case, Double Sided Dovetail Sliding Plates, Suction Cup Connect Sliding Plates, Arm Bracket Connector, Silicone Rubber sets, Inflator, Star Vibration Isolator, N2 Arm Mini, V Mount Sliding Plate, CVD Suction Cups, Safety String, Tilta Power Supply Base Plate for RS2, D-tap male to 3-Port D-tap Female Splitter Cable, and D-tap to 2-pin LEMO Power Cable.
- Flight Case (Net Weight 8.7KG) x1
- Double Sided Dovetail Sliding Plate x2
- Double Sided Dovetail Plate (M1*1/M2*2/M3*1/M4*1) x5
- Suction Cup Connect Sliding Plate x4
- Arm Bracket Connector x1
- Silicone Rubber (0-3kg) x6
- Inflator x1
- Star Vibration Isolator (Included 3-6.6kg Silicone Rubber x6) x1
- N2 Arm Mini x1
- V Mount Sliding Plate x1
- CVD Suction Cup x4
- Safety String x1
- Tilta Power Supply Base Plate for RS2 x1
- D-tap male to 3-Port D-tap Female Splitter Cable x1
- D-tap to 2-pin LEMO Power Cable x1
3. Key Features
- Air Shock Absorption System: The N2 Arm Mini utilizes 0-140Psi air shock absorption with multi-grade rebound damping adjustment, allowing for rapid adjustment to suit different payload weights.
- Star Vibration Isolator: The horizontal damping head incorporates a star mode engine with three hydraulic cylinders to balance horizontal shake and stabilizer inertia.
- Suspension Damping System: Features a damping tank made of silicone rubber to effectively block high-frequency vibrations.
- TCA System: The N2 arm Mini adjusts its damping direction and stroke via a turning point and pull rod to absorb large vertical vibrations.
- CVD Suction Cups: Combined with a CVD universal ball shaft, these suction cups quickly adapt to various curved surfaces. The screw structure at the rear end allows adjustment to ensure the arm remains parallel to the ground.

Figure 3.1: N2 Arm Mini Air Shock Absorption System.
This image illustrates the N2 Arm Mini, highlighting its air shock absorption mechanism which provides adjustable damping for various weight loads.

Figure 3.2: Star Vibration Isolator.
A close-up view of the Star Vibration Isolator, showing the internal hydraulic cylinders responsible for balancing horizontal movements.

Figure 3.3: Suspension Damping System.
This image details the suspension damping system, emphasizing the silicone rubber component designed to absorb high-frequency vibrations.

Figure 3.4: TCA System.
A diagram illustrating the TCA system's mechanism for adjusting damping direction and stroke to absorb vertical vibrations.
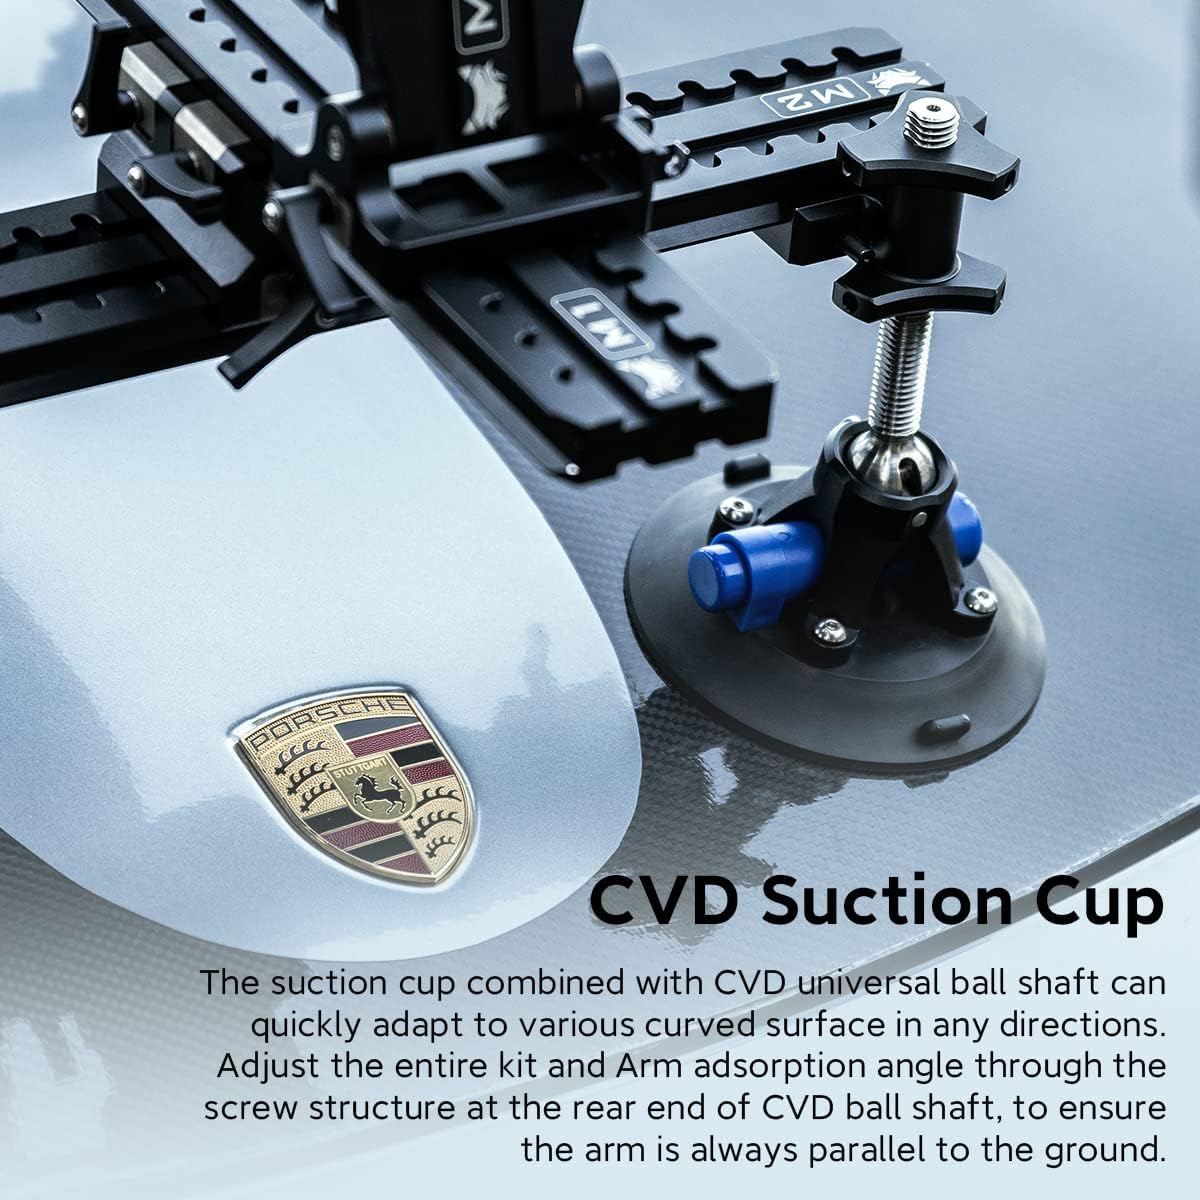
Figure 3.5: CVD Suction Cup and Quick Installation.
This image shows a close-up of the CVD suction cup and demonstrates the quick installation process of the system on a car surface.
4. Setup and Installation
Follow these steps to properly set up and install your N2 Air Arm Mini Pro Kit on a vehicle.
4.1 Attaching Suction Cups
- Ensure the vehicle surface is clean, dry, and smooth.
- Attach the four CVD Suction Cups to the desired mounting points on the vehicle. Press each suction cup firmly against the surface and engage the vacuum pump until the red line disappears, indicating a secure seal.
- Connect the Suction Cup Connect Sliding Plates to the suction cups.
4.2 Mounting the Arm and Isolator
- Assemble the Double Sided Dovetail Sliding Plates and Double Sided Dovetail Plates to form the main mounting rail system.
- Attach the assembled rail system to the Suction Cup Connect Sliding Plates.
- Mount the N2 Arm Mini to the rail system using the Arm Bracket Connector.
- Attach the Star Vibration Isolator to the end of the N2 Arm Mini.
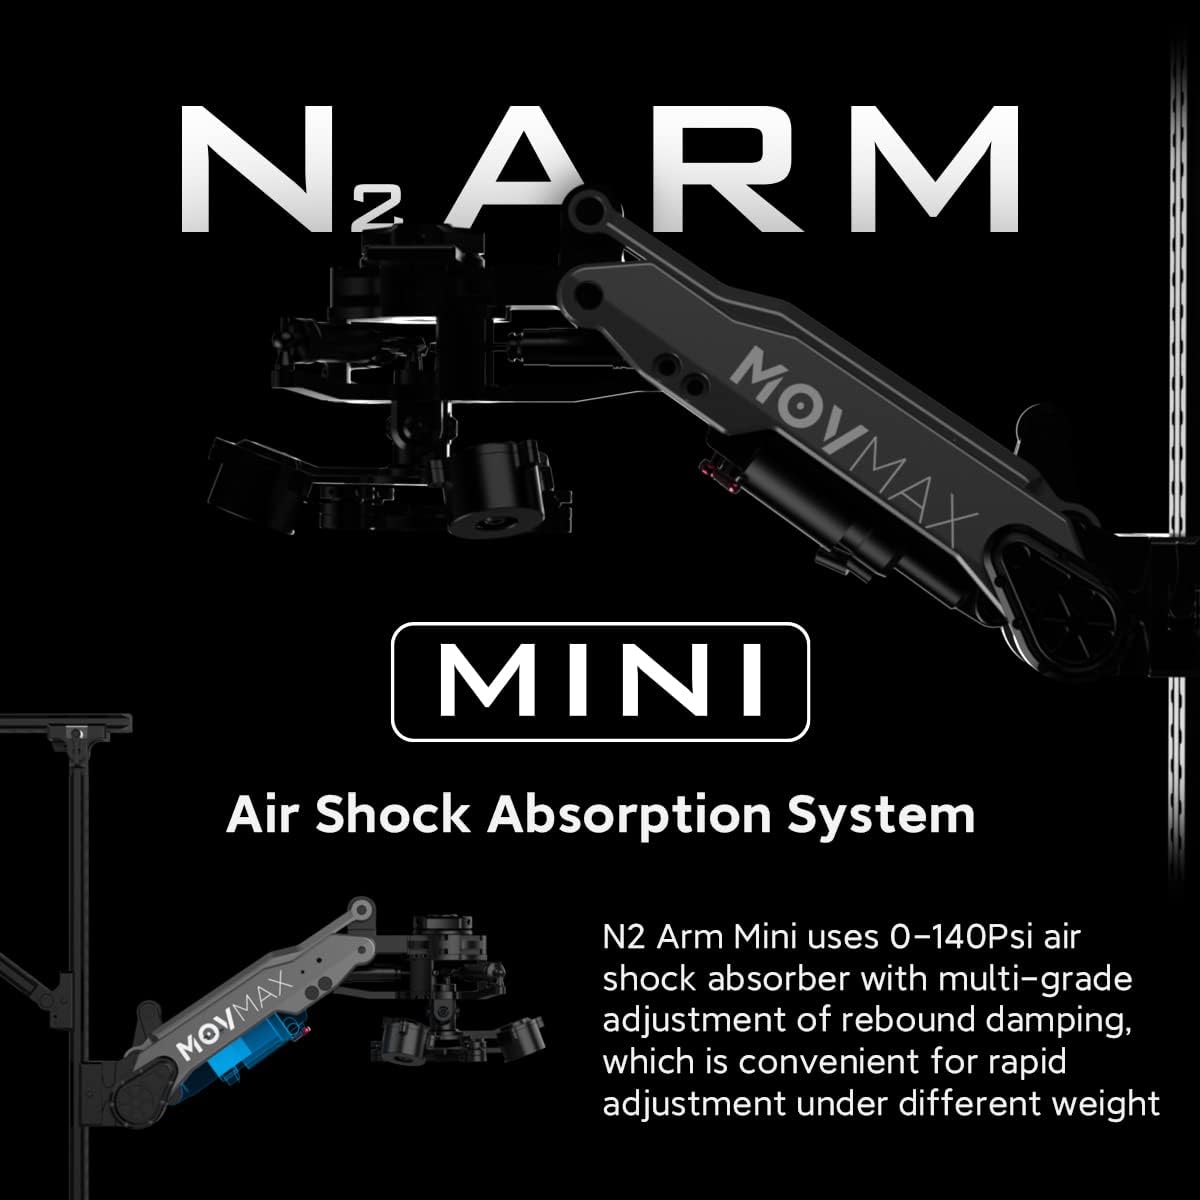
Figure 4.1: Fully assembled system mounted on a car.
This image shows the complete Movmax N2 Air Arm Mini Pro Kit securely mounted on the hood of a car, ready for filming.
4.3 Connecting the Gimbal
- Attach your DJI RS2 gimbal (or compatible gimbal) to the Star Vibration Isolator using the appropriate mounting options.
- If using the Tilta Power Supply Base Plate for RS2, attach it to the gimbal and connect the D-tap cables for power.
- Secure the entire setup with the Safety String as an additional safety measure, attaching it to a secure point on the vehicle.
5. Operation
5.1 Adjusting Air Damping
The N2 Arm Mini features an adjustable air shock absorption system. Use the provided Inflator to adjust the air pressure (0-140Psi) to match the weight of your camera and gimbal setup. Higher pressure is generally required for heavier rigs. Experiment with different pressures to achieve optimal damping and smooth footage for your specific shooting conditions.
5.2 Weight Capacity
The N2 Air Arm Mini Pro Kit supports rigs weighing up to 24.3 pounds (approximately 11 kg). Ensure your total payload, including camera, gimbal, and accessories, does not exceed this limit to maintain optimal performance and safety.
6. Maintenance
- Cleaning: After each use, especially in dusty or wet conditions, wipe down all components with a soft, dry cloth. For stubborn dirt, use a slightly damp cloth and dry thoroughly.
- Suction Cups: Regularly inspect the CVD Suction Cups for any signs of wear, cracks, or damage. Keep the rubber seals clean and free of debris to ensure a strong vacuum seal. Store them in a clean, protected environment.
- Air System: Periodically check the air pressure in the N2 Arm Mini. If the pressure drops significantly over time, inspect for leaks.
- Lubrication: Moving parts and joints may benefit from light lubrication with a silicone-based lubricant if they become stiff. Avoid over-lubrication.
- Storage: When not in use, store the N2 Air Arm Mini Pro Kit in its flight case in a cool, dry place to protect it from environmental damage.
7. Troubleshooting
| Problem | Possible Cause | Solution |
|---|---|---|
| System not holding suction on vehicle. | Dirty surface; damaged suction cup seal; insufficient vacuum. | Clean vehicle surface and suction cup seals thoroughly. Inspect seals for damage and replace if necessary. Re-pump the vacuum until the red line disappears. |
| Excessive vibration or shaking during filming. | Incorrect air pressure in N2 Arm Mini; payload too heavy; loose connections. | Adjust air pressure using the inflator to match payload weight. Ensure payload does not exceed 24.3 lbs. Check all connections (dovetail plates, arm, isolator) are secure. |
| Arm feels stiff or does not move smoothly. | Lack of lubrication; debris in joints. | Clean joints and apply a small amount of silicone-based lubricant. |
8. Specifications
| Attribute | Value |
|---|---|
| Brand | Movmax |
| Model | N2 Air Arm Mini Pro Kit |
| Item Weight | 14 pounds (approx. 6.35 kg) |
| Maximum Weight Recommendation | 6.6 Kilograms (approx. 14.55 lbs) |
| Compatible Devices | Camera, DJI Ronin series, RS 2 gimbal |
| Color | Black |
| Manufacturer | hunanmov |
| First Available Date | June 30, 2022 |