1. Introduction
Thank you for purchasing the ANDELI MIG-250METC2 Multi-Process Welder. This manual provides essential information for the safe and efficient operation of your new welding machine. Please read it thoroughly before use and keep it for future reference.
Safety Precautions
- Always wear appropriate personal protective equipment (PPE), including a welding helmet, gloves, and protective clothing.
- Ensure proper ventilation in your work area to avoid inhaling welding fumes.
- Never operate the welder in wet conditions or near flammable materials.
- Disconnect power before performing any maintenance or adjustments.
- This machine features overload protection, voltage fluctuation auto-correction, and overcurrent protection.
2. Product Overview and Components
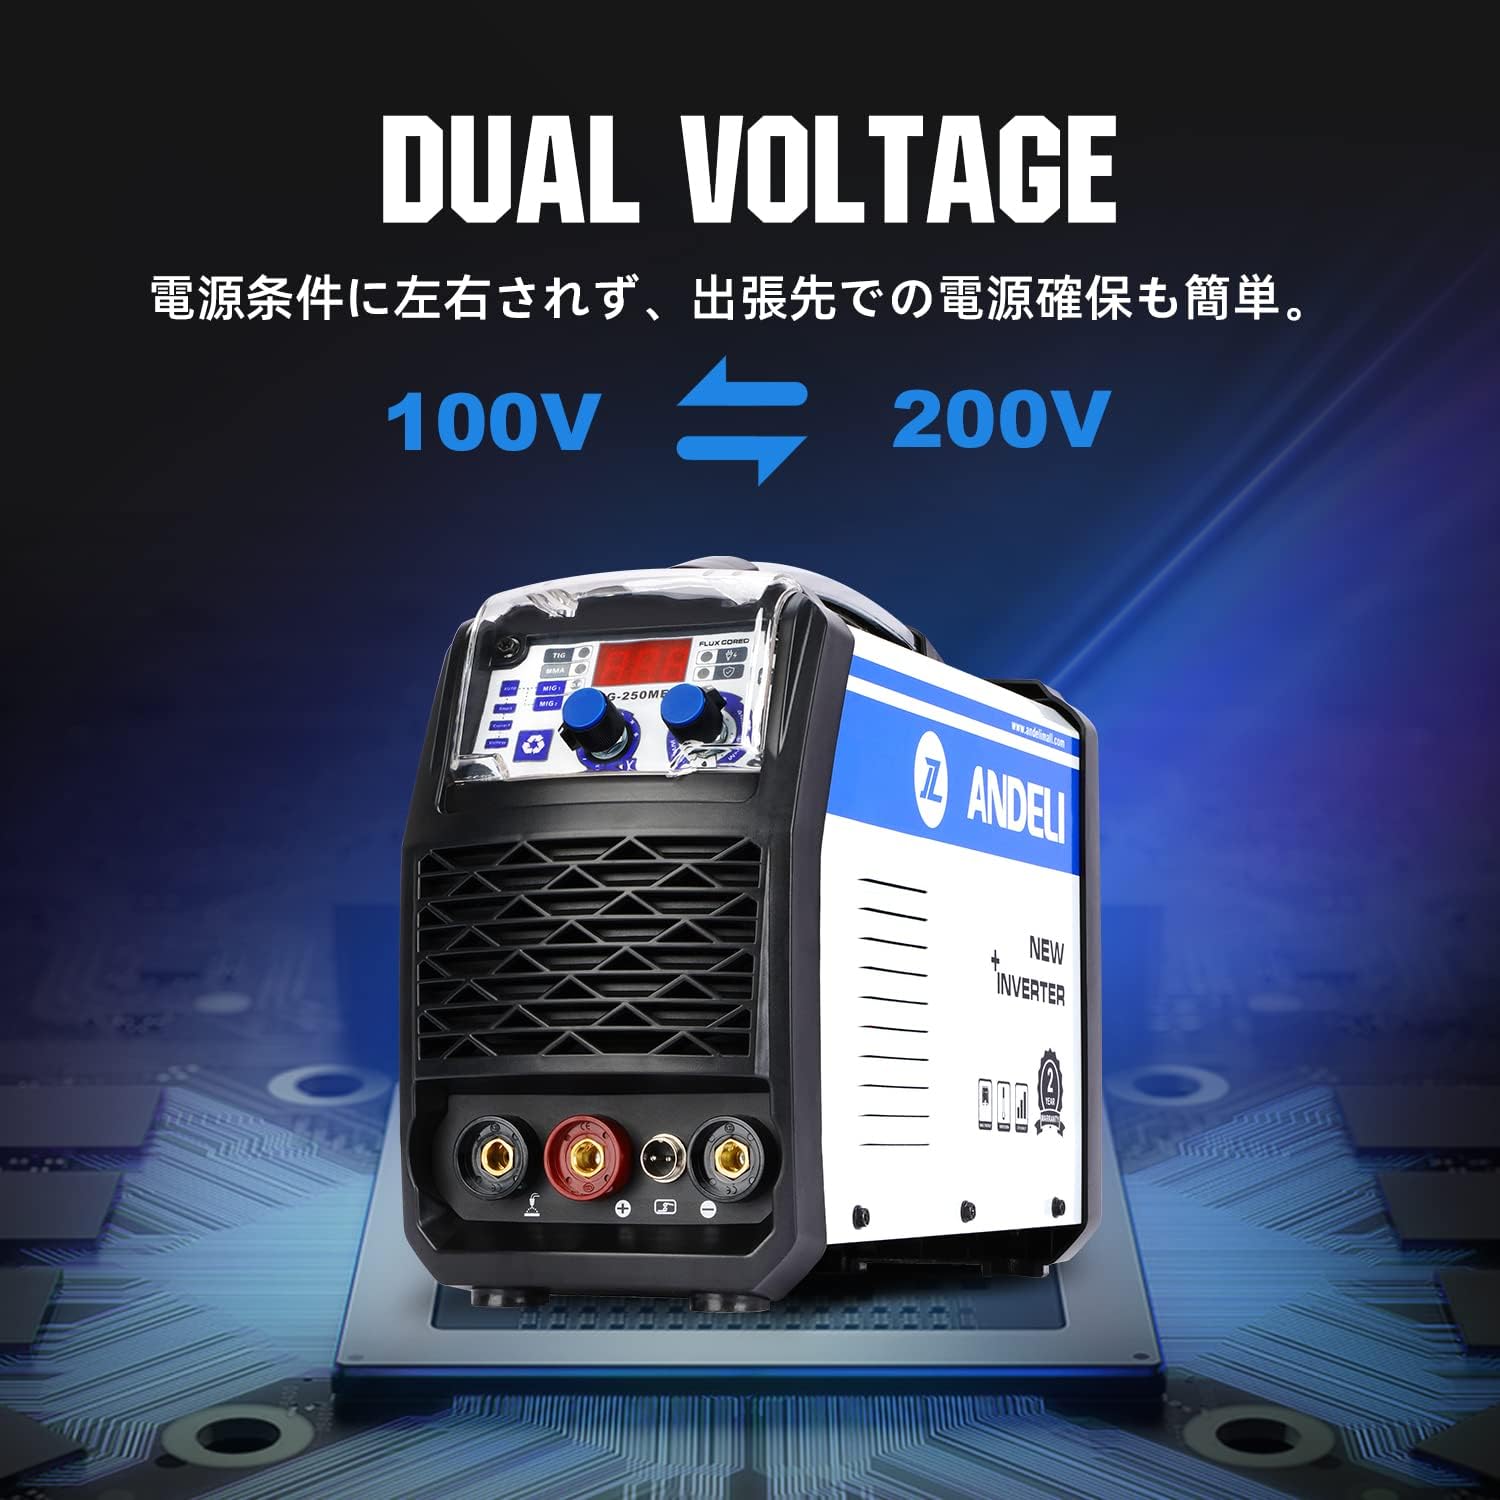
The ANDELI MIG-250METC2 is a versatile 3-in-1 inverter welder supporting Non-Gas MIG, Arc Welding (MMA), and Lift TIG welding. It operates on both 100V and 200V power supplies, offering flexibility for various applications.
Included Accessories
- Semi-automatic welding torch (3M) x 1
- MMA holder (3M) x 1
- Nozzle shield x 2
- Collet x 5
- Non-gas wire (0.5kg) x 2
- Welding rod x 5
- Wire brush x 1
Note: A Lift TIG torch is not included.
Key Features
- Dual Voltage (100V/200V): Automatically adapts to available power, making it convenient for various work environments.
- Synergy Function: Automatically sets optimal welding conditions based on wire diameter and plate thickness, simplifying operation for beginners.
- High Versatility: Suitable for welding mild steel, ordinary thin steel, carbon steel, and iron. Ideal for household use, maintenance, automotive sheet metal, construction, and DIY projects.
- Advanced Protection: Features usage rate overload prevention, automatic voltage fluctuation correction, overcurrent protection, and overheat prevention.
3. Setup
Connecting the Welding Torch and Cables
- Connect the semi-automatic welding torch to the designated port on the front panel.
- Connect the MMA holder to the appropriate terminal for Arc Welding.
- For Lift TIG, connect the Lift TIG torch (not included) to its respective terminal.
- Ensure all connections are secure before powering on the machine.

Wire Installation (Non-Gas MIG)
- Open the side panel of the welder to access the wire spool compartment.
- Install the non-gas wire spool onto the spindle.
- Thread the wire through the wire feeder mechanism.
- Close the side panel securely.
4. Operating Modes
Control Panel Overview

Selecting Welding Mode
Use the selection button (3) on the control panel to cycle through the available welding modes: Non-Gas MIG, Arc Welding (MMA), and Lift TIG.
Adjusting Welding Parameters
The synergy function automatically sets optimal parameters. However, you can fine-tune voltage using the Voltage Adjustment Dial (1) and current using the Current Adjustment Dial (2) for specific applications, especially for thin plate welding.
Dual Voltage Operation

The machine automatically detects and adapts to either 100V or 200V power sources, providing convenience without manual switching.
5. Maintenance
- Regularly clean the welding machine to prevent dust and debris buildup, especially around ventilation openings.
- Inspect cables and connections for any damage or wear before each use. Replace damaged components immediately.
- Ensure the welding torch and consumables (nozzles, contact tips) are clean and in good condition for optimal performance.
- Store the welder in a dry, clean environment when not in use.
6. Troubleshooting
If you encounter issues with your welder, please check the following common problems:
- No Power: Ensure the power cable is securely connected and the power switch is ON. Check the circuit breaker.
- Poor Arc Start/Unstable Arc: Verify that the ground clamp is securely attached to the workpiece. Check welding parameters (current, voltage) and adjust as needed. Ensure consumables are clean and correctly installed.
- Wire Feeding Issues: Check for tangled wire in the spool compartment. Ensure the wire feeder tension is correctly set. Inspect the contact tip and liner for blockages or wear.
- Overheat Protection Activated: If the machine stops welding and the overheat indicator lights up, allow the machine to cool down. Ensure ventilation is not obstructed.
For persistent issues, please contact customer support.
7. Specifications
| Specification | Value |
|---|---|
| Brand | ANDELI |
| Product Model Number | MIG-250ME |
| Product Dimensions | 55 x 27 x 40 cm |
| Item Weight | 10.37 kg |
| Rated Input Voltage | 100V/200V (Automatic Switching) |
| Welding Current (MIG) | 30A/15.5V - 120A/20V |
| Welding Current (MMA) | 20A/20.8V - 120A/24.8V |
| Duty Cycle | 60% |
| Protection Class | IP21S |
| Cooling Method | Wind |
8. Warranty and Support
This product comes with a two-year warranty from the date of purchase. For warranty claims, technical support, or any inquiries, please contact ANDELI Official Store JP customer service. Please provide your purchase details and model number (MIG-250METC2) when contacting support.