1. Introduction
The Vacmaster VK1620SWC is a powerful and versatile 1600W 20L wet and dry vacuum cleaner designed for various cleaning tasks in workshops, homes, and vehicles. It features a robust stainless steel tank, HEPA 13 filtration, and functions for dry vacuuming, wet vacuuming, blowing, and even carpet/upholstery washing. This manual provides essential information for safe operation, assembly, maintenance, and troubleshooting to ensure optimal performance and longevity of your appliance.
2. Safety Instructions
WARNING: Read all safety warnings and instructions before using this appliance.
- Always unplug the vacuum cleaner from the power outlet before cleaning, servicing, or performing any maintenance.
- Do not vacuum flammable or combustible liquids, hot ashes, or sharp objects.
- Keep hands, feet, loose clothing, and hair away from openings and moving parts.
- Do not operate the vacuum cleaner with a damaged cord or plug.
- This appliance is not intended for use by persons with reduced physical, sensory or mental capabilities, or lack of experience and knowledge, unless they have been given supervision or instruction.
- Ensure all filters are correctly installed for the intended operation (dry or wet).
- Do not immerse the motor head in water.
3. Package Contents
Carefully unpack all items and ensure you have received the following components:
- Vacmaster VK1620SWC Wet & Dry Vacuum Cleaner Unit
- Flexible Hose
- Extension Wands (typically 2-3 pieces)
- Floor Nozzle (for wet and dry use)
- Crevice Tool
- Upholstery/Brush Tool
- HEPA Filter
- Washable Pre-filter
- Foam Filter (for wet vacuuming, usually pre-installed or separate)
- Instruction Manual

Image: All components included with the Vacmaster VK1620SWC vacuum cleaner.
4. Assembly
Follow these steps to assemble your vacuum cleaner before first use:
- Attach the Wheels: If not pre-assembled, attach the caster wheels to the base of the tank by pushing them firmly into their sockets until they click into place.
- Secure the Motor Head: Place the motor head onto the tank, ensuring it is properly aligned. Secure it with the side latches.
- Connect the Hose: Insert the flexible hose into the suction inlet on the front of the tank. Twist clockwise to secure it.
- Attach Extension Wands and Nozzles: Connect the desired extension wands to the hose handle, then attach the appropriate nozzle (floor nozzle, crevice tool, etc.) for your cleaning task.
5. Operating Instructions
5.1. Dry Vacuuming
For dry vacuuming, ensure the HEPA filter and washable pre-filter are correctly installed over the float cage. These filters capture dust and debris, protecting the motor.
- Ensure the tank is empty and clean.
- Install the HEPA filter and washable pre-filter.
- Connect the hose, extension wands, and dry floor nozzle or other suitable attachment.
- Plug the power cord into a suitable electrical outlet.
- Turn the power switch to the 'ON' position.
- Begin vacuuming dry debris.
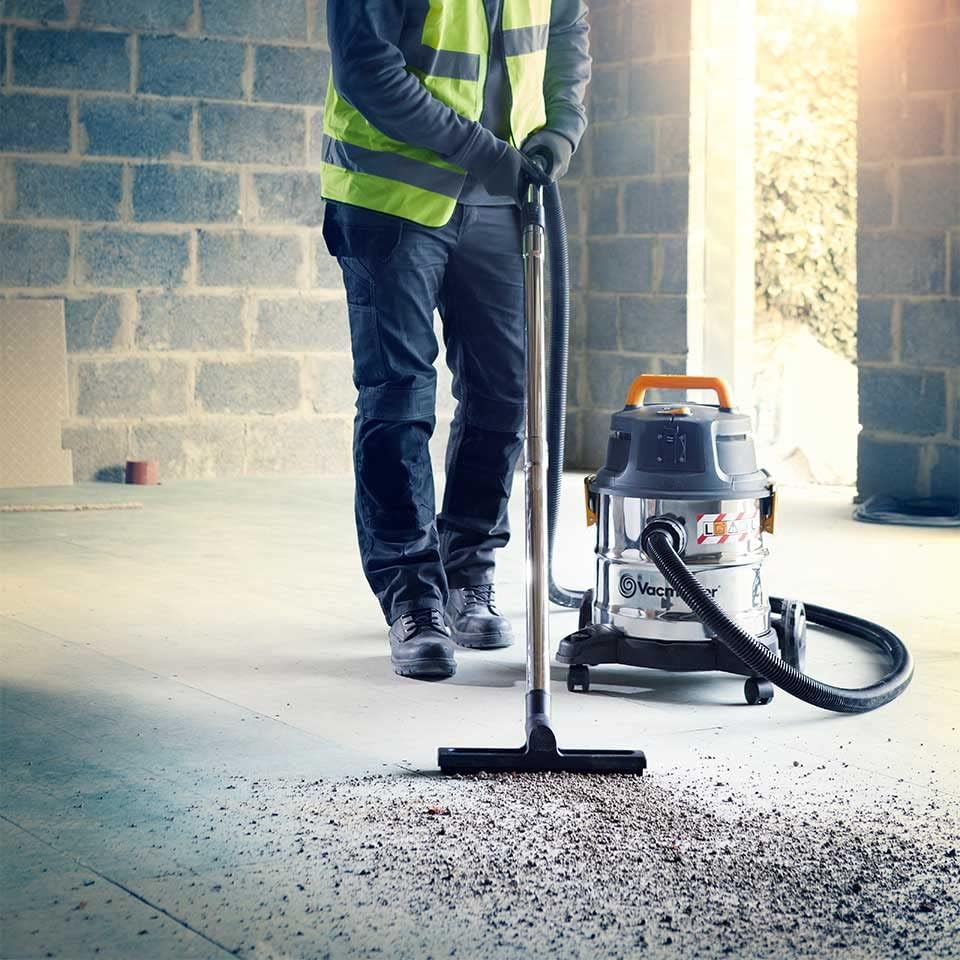
Image: Dry vacuuming operation on a workshop floor.

Image: Using the crevice tool for detailed dry cleaning.
5.2. Wet Vacuuming
For wet vacuuming, the HEPA filter and washable pre-filter must be removed. Only the foam filter should be in place over the float cage to protect the motor from liquids.
- Ensure the tank is empty and clean.
- Remove the HEPA filter and washable pre-filter.
- Ensure the foam filter is properly installed over the float cage.
- Connect the hose, extension wands, and wet floor nozzle or other suitable attachment.
- Plug the power cord into a suitable electrical outlet.
- Turn the power switch to the 'ON' position.
- Begin vacuuming liquids. The float mechanism will automatically shut off suction when the tank is full.

Image: Wet vacuuming a liquid spill on a hard surface.
5.3. Blowing Function
The vacuum cleaner can also be used as a powerful blower for clearing debris from driveways, workshops, or inflating items.
- Ensure the tank is empty and clean.
- Remove the hose from the suction inlet.
- Insert the hose into the blowing port located on the motor head. Twist clockwise to secure.
- Plug the power cord into a suitable electrical outlet.
- Turn the power switch to the 'ON' position.
- Direct the hose to blow air as needed.

Image: Using the blower function to clear debris.
5.4. Washing/Extraction Function (Carpet & Upholstery Cleaning)
This model features a washing function for thorough cleaning of carpets, upholstery, and car interiors by applying cleaning solution and then extracting the dirty water.
- Preparation: Ensure the tank is empty and clean. Remove dry filters (HEPA, washable pre-filter) and ensure only the foam filter is in place.
- Fill Solution Tank: Locate the separate solution tank (if applicable, or fill the main tank with diluted cleaning solution as per detergent instructions).
- Attach Washing Nozzle: Connect the appropriate washing/upholstery nozzle to the hose.
- Apply Solution: Turn on the vacuum. If there's a separate pump switch for solution, activate it. Spray the cleaning solution onto the surface to be cleaned. Allow it to penetrate for a few minutes as per detergent instructions.
- Extract Dirty Water: Move the nozzle slowly over the treated area, applying downward pressure to extract the dirty water and foam into the main tank. Overlap strokes slightly.
- Rinse (Optional): For best results, you may rinse the area by repeating the extraction process with clean water in the solution tank.
- Empty Tank: Once cleaning is complete or the tank is full of dirty water, turn off the vacuum and empty the tank.
6. Maintenance and Cleaning
Regular maintenance ensures the longevity and efficiency of your Vacmaster vacuum cleaner.
6.1. Emptying the Tank
- For Dry Debris: Unlatch the motor head and lift it off. Carefully remove the filter assembly. Dispose of the collected dry debris from the tank.
- For Liquids: Unlatch the motor head and lift it off. Carefully pour out the collected liquid from the tank into a drain.
- Rinse the tank with clean water after each use, especially after wet vacuuming or washing.
6.2. Filter Cleaning and Replacement
- HEPA Filter & Washable Pre-filter: For dry use, these filters can be cleaned by tapping them gently to dislodge dust or by rinsing them under running water. Allow them to air dry completely before re-installation. Replace if damaged or suction significantly decreases after cleaning.
- Foam Filter: For wet use, the foam filter should be rinsed with water after each use and allowed to air dry.

Image: Removing the HEPA filter for cleaning.
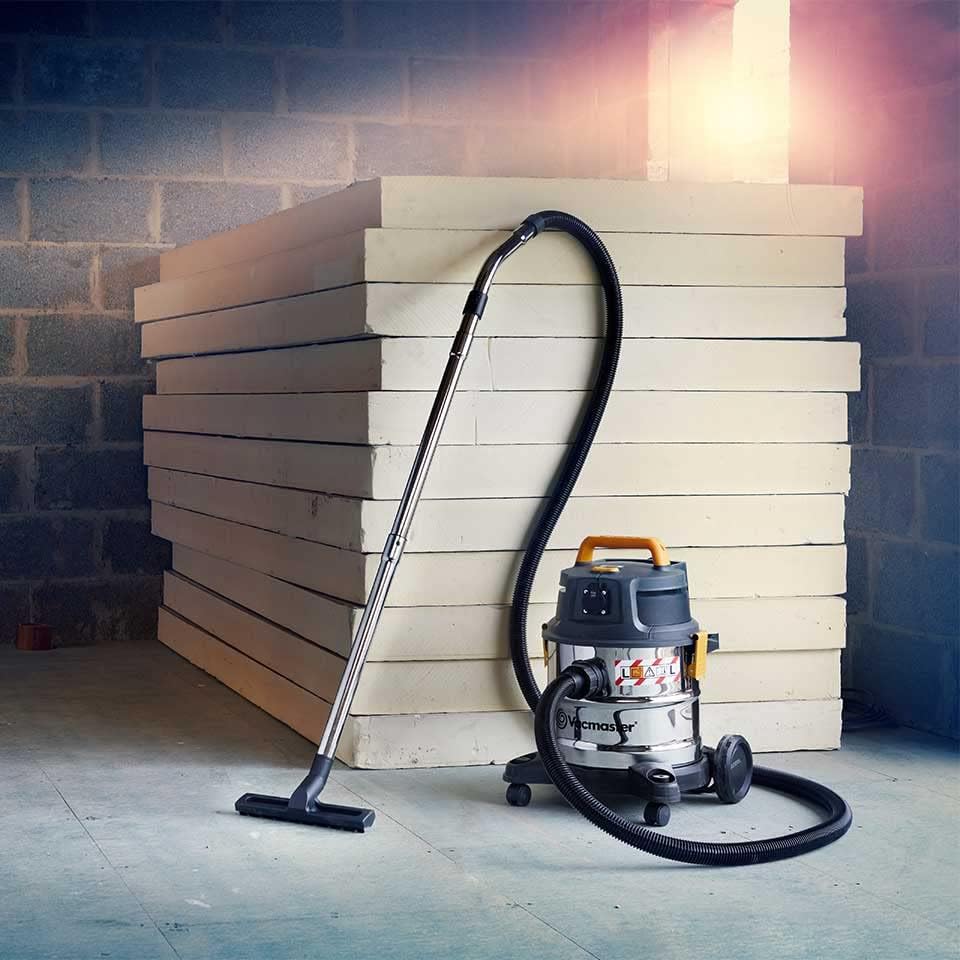
Image: Adjusting the filter bag for optimal performance.
6.3. Hose and Accessory Cleaning
Rinse the hose and all accessories with water to remove any debris or residue. Ensure they are dry before storing.

Image: On-board accessory storage for convenience.
7. Troubleshooting
If you encounter issues with your vacuum cleaner, refer to the table below for common problems and solutions.
| Problem | Possible Cause | Solution |
|---|---|---|
| Vacuum does not turn on. | No power supply; Damaged power cord/plug; Faulty switch. | Check power outlet; Inspect cord/plug for damage; Contact customer support. |
| Low suction power. | Clogged hose/nozzle; Full tank; Dirty/clogged filter; Improper filter installation. | Clear blockages; Empty tank; Clean/replace filters; Ensure filters are correctly seated. |
| Motor overheats and shuts off. | Clogged filter; Blocked hose; Prolonged heavy use. | Clean/replace filter; Clear blockages; Allow unit to cool down before restarting. |
| Water leaks during wet vacuuming. | Tank not properly sealed; Damaged tank/gasket. | Ensure motor head latches are secure; Inspect tank and gasket for damage. |
8. Specifications
| Feature | Detail |
|---|---|
| Model Number | VK1620SWC |
| Power | 1600W |
| Tank Capacity | 20 Liters |
| Product Dimensions | 50 x 42 x 56 cm |
| Product Weight | 6 Kilograms |
| Form Factor | Canister |
| Material Composition | Stainless Steel |
| Filter Type | HEPA Filter, Washable Pre-filter |
| Special Feature | HEPA, Wet/Dry, Blowing, Washing Function |
| Assembly Required | No (minimal assembly for initial setup) |
| Cordless | No |
9. Warranty and Customer Support
Your Vacmaster VK1620SWC Wet & Dry Vacuum Cleaner comes with a Two-Year Warranty from the date of purchase, covering defects in materials and workmanship under normal use. Please retain your proof of purchase for warranty claims.
For technical assistance, warranty claims, or to order replacement parts, please contact Vacmaster Customer Support. Refer to the Vacmaster official website or your purchase documentation for contact details specific to your region.