1. Introduction
Thank you for choosing the RUSTOWN Farmhouse Rustic Medicine Cabinet. This wall-mounted storage solution is designed to enhance your bathroom, living room, kitchen, or laundry room with its vintage farmhouse aesthetic and practical storage features. This manual provides detailed instructions for safe assembly, installation, operation, and maintenance of your new cabinet.
Please read this manual thoroughly before beginning assembly or installation to ensure correct procedures and to prevent potential damage or injury. Keep this manual for future reference.
2. Safety Information
Important Safety Instructions:
- Always ensure the cabinet is securely mounted to the wall.
- Do not place heavy items on the cabinet that could cause it to topple over.
- Always use the provided hardware and follow the instructions for proper installation.
- Keep small parts and packaging materials away from children during assembly.
- Periodically check all connections and fasteners to ensure they remain tight and secure.
3. Package Contents
Before assembly, verify that all components listed below are present and undamaged. If any parts are missing or damaged, please contact RUSTOWN customer support.
- Cabinet Panels (Top, Bottom, Sides, Back)
- Barn Doors (2)
- Adjustable Shelf (1)
- Towel Bar (1)
- Metal Handles (2)
- X-shaped Hollow Iron Open Shelf Supports (2)
- Hinges and Corner Protectors
- Assembly Hardware (screws, dowels, wall anchors, etc.)
- Instruction Manual
4. Assembly Instructions
Assembly of the RUSTOWN Medicine Cabinet requires careful attention to detail. All necessary hardware and detailed instructions are included in the package. It is recommended to assemble the cabinet on a soft, clean surface to prevent scratches.
- Step 1: Assemble the Cabinet Frame. Attach the side panels to the bottom panel using the provided screws and dowels. Ensure all connections are secure.
- Step 2: Attach the Back Panel. Slide the back panel into the grooves of the assembled frame and secure it with small nails or screws as indicated in the detailed instructions.
- Step 3: Install the Adjustable Shelf. Insert the shelf pins into the desired height slots on the side panels. Place the adjustable shelf onto these pins. The cabinet offers 3 height options for flexible storage.
- Step 4: Attach the Top Panel. Secure the top panel to the assembled frame using the remaining screws and dowels.
- Step 5: Install the Barn Doors. Attach the hinges to the barn doors and then to the cabinet frame. Ensure the doors align properly and open/close smoothly. Install the metal handles onto the doors.
- Step 6: Assemble the Open Shelf. Attach the X-shaped hollow iron supports to the bottom shelf panel.
- Step 7: Attach the Towel Bar. Secure the removable towel bar to the underside of the open shelf using the designated hardware.
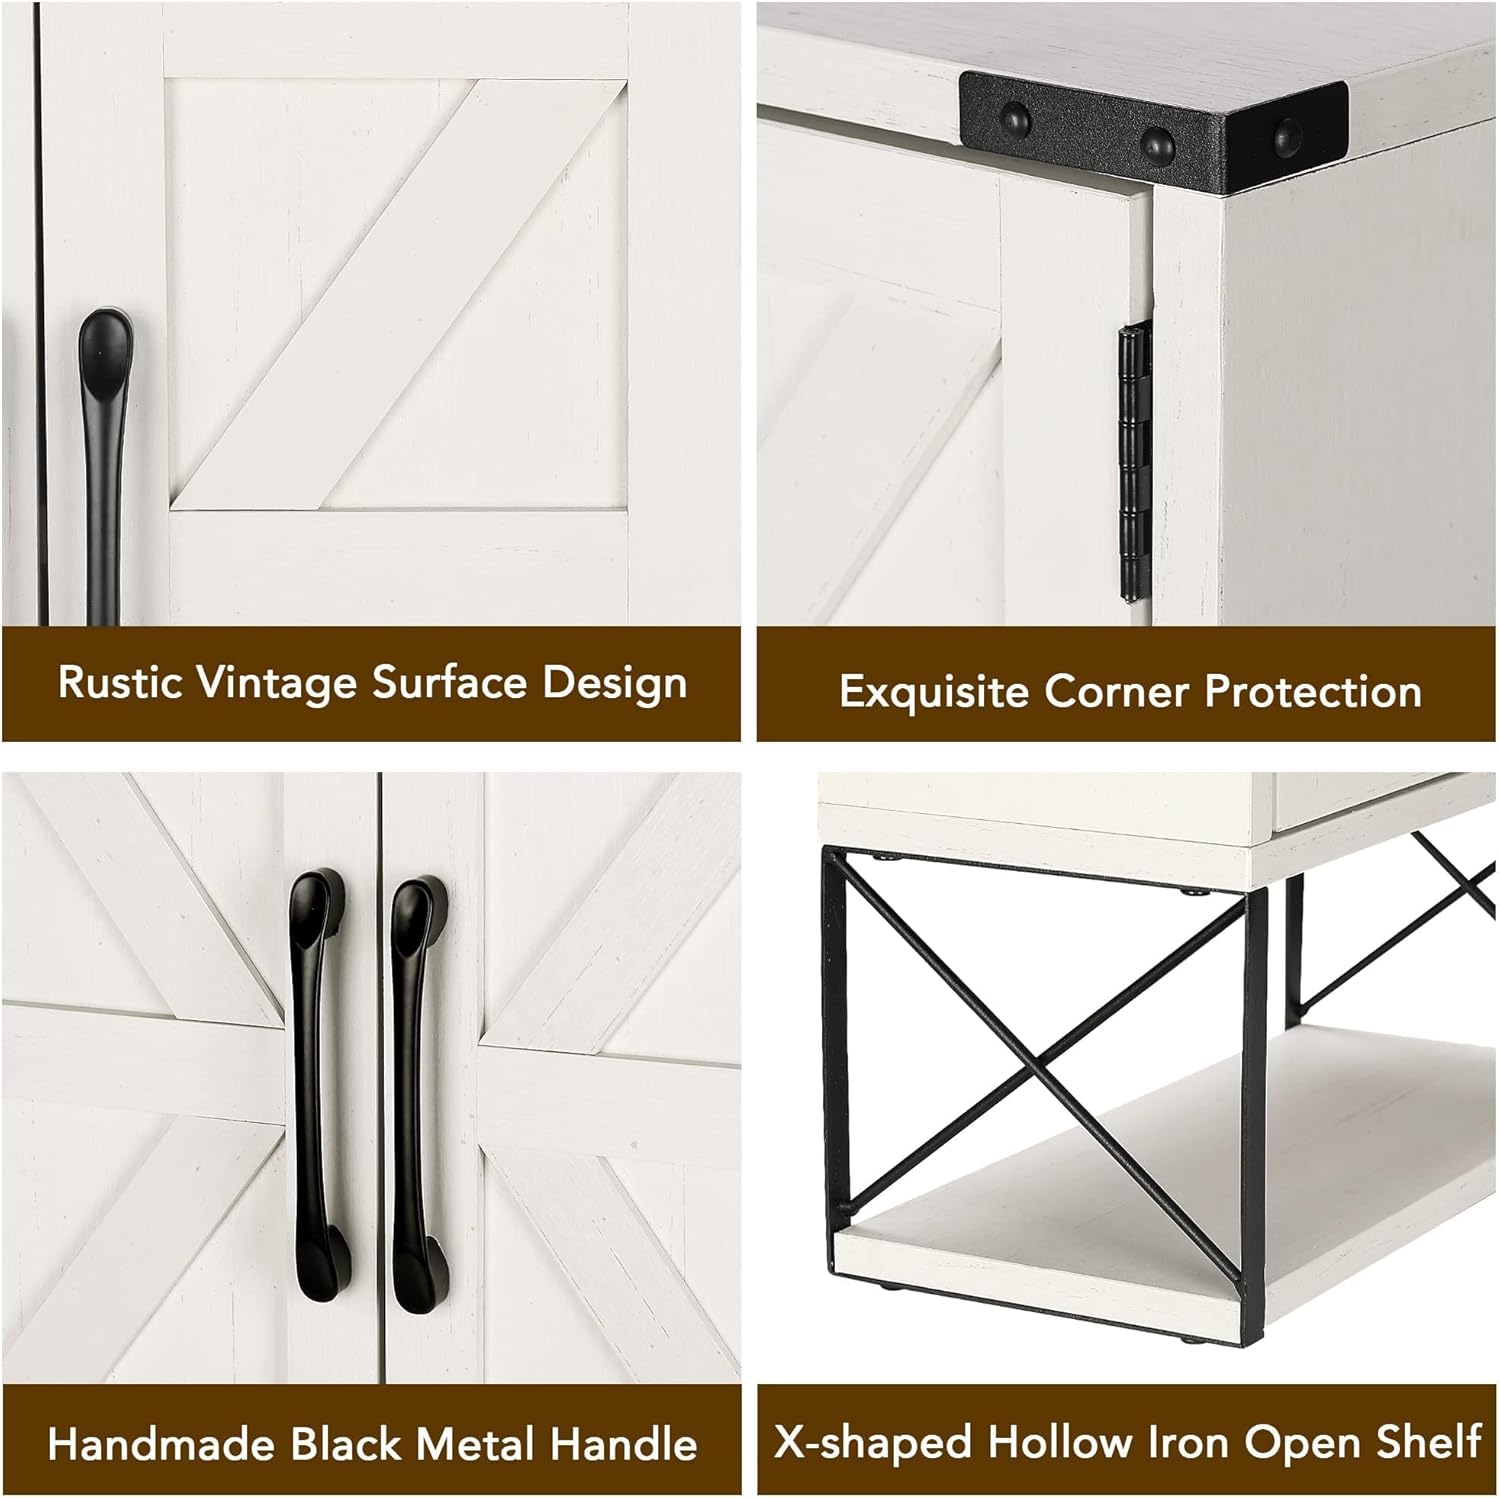
Image: Detailed view of the cabinet's rustic vintage surface design, corner protection, black metal handles, and X-shaped open shelf supports.
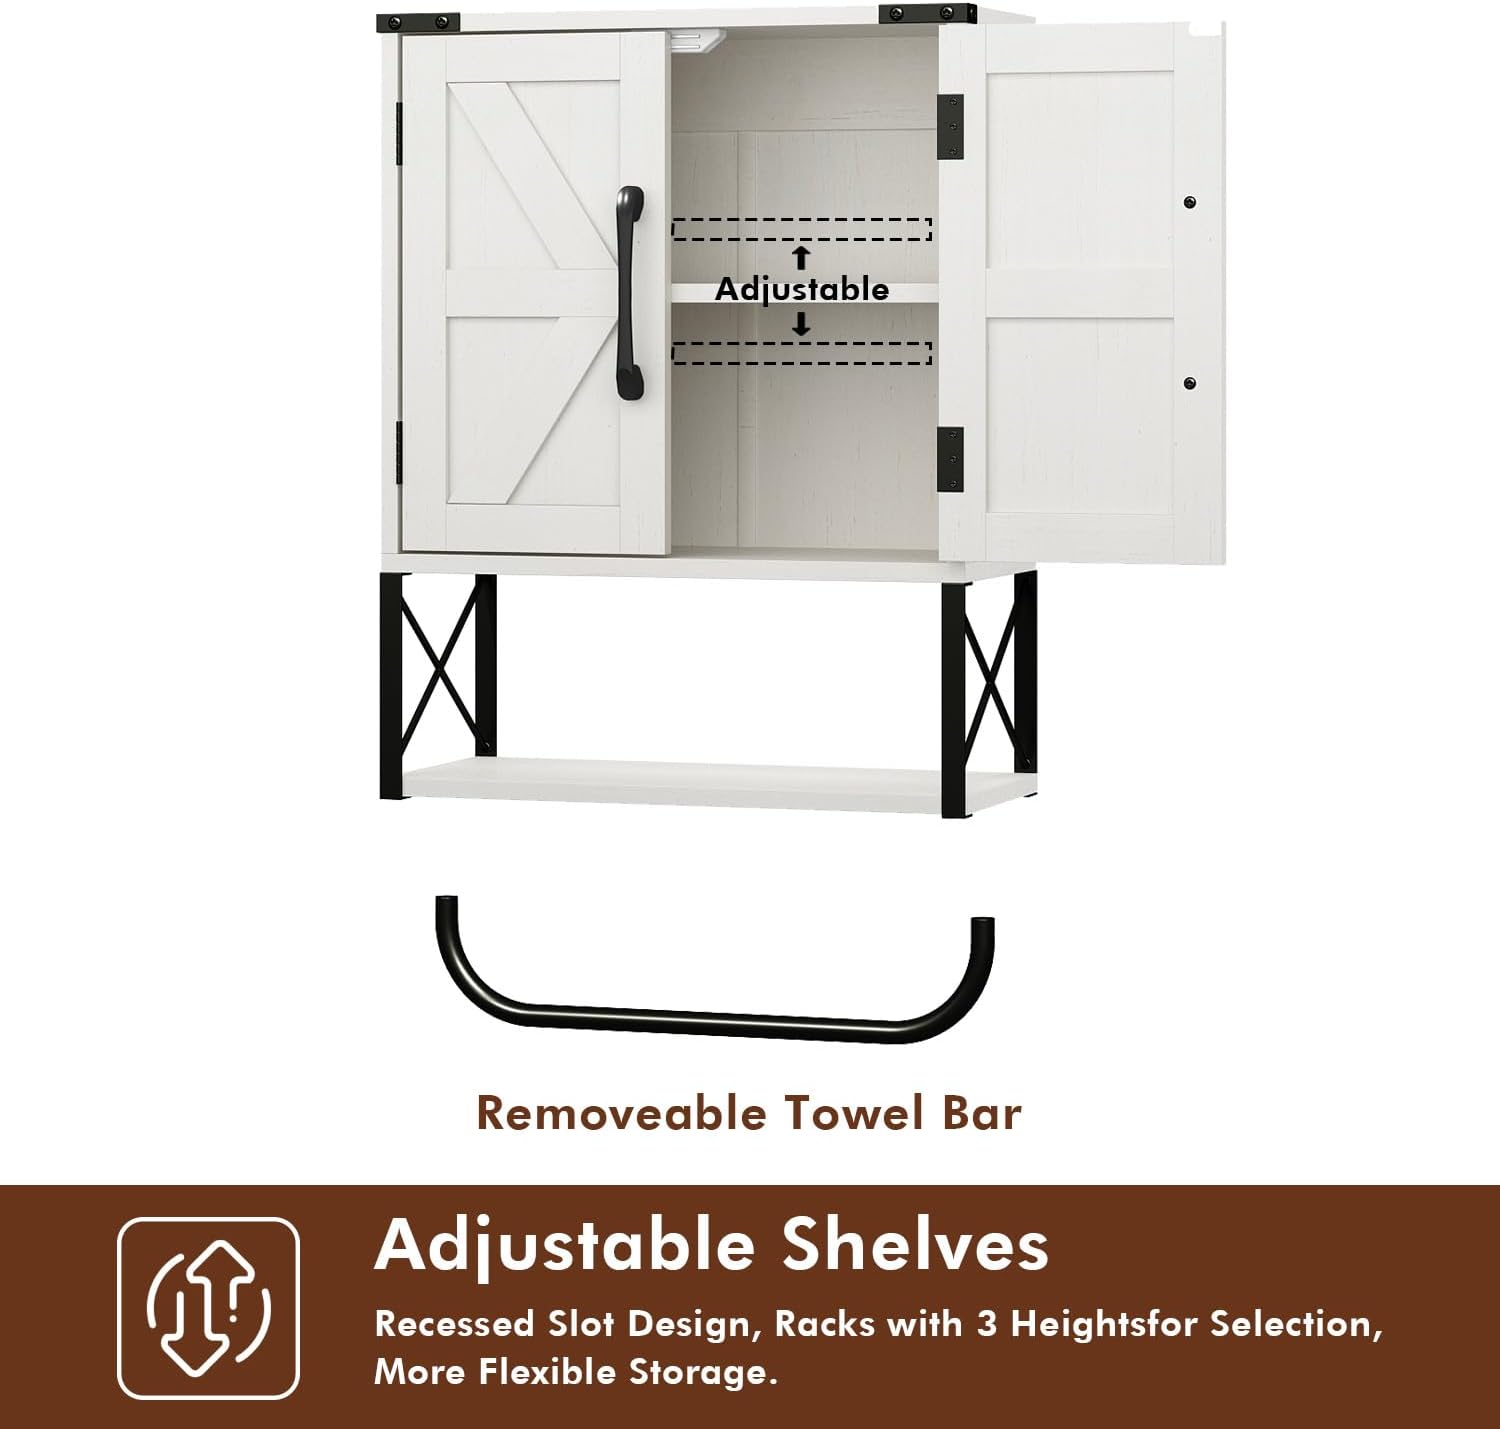
Image: Illustration of the adjustable shelves within the cabinet and the removable towel bar feature.
5. Installation Instructions
The cabinet is designed for wall mounting. Proper installation is crucial for stability and safety.
- Choose a Location: Select a suitable wall location, ensuring it can support the weight of the cabinet and its contents. Consider the cabinet's dimensions (7.09"D x 15.35"W x 22.83"H) when planning placement.
- Mark Mounting Points: Hold the cabinet against the wall at the desired height and use a pencil to mark the locations for the mounting screws. Use a level to ensure the marks are straight.
- Drill Pilot Holes: Drill pilot holes at the marked locations. If mounting into drywall, use appropriate wall anchors. If mounting into studs, drill smaller pilot holes suitable for the mounting screws.
- Secure the Cabinet: Align the cabinet's mounting points with the drilled holes and securely fasten the cabinet to the wall using the provided screws and anchors. Ensure the cabinet is stable and does not wobble.
- Attach Open Shelf: Once the main cabinet is securely mounted, attach the open shelf assembly to the bottom of the cabinet using the designated hardware.

Image: Product dimensions for planning installation.
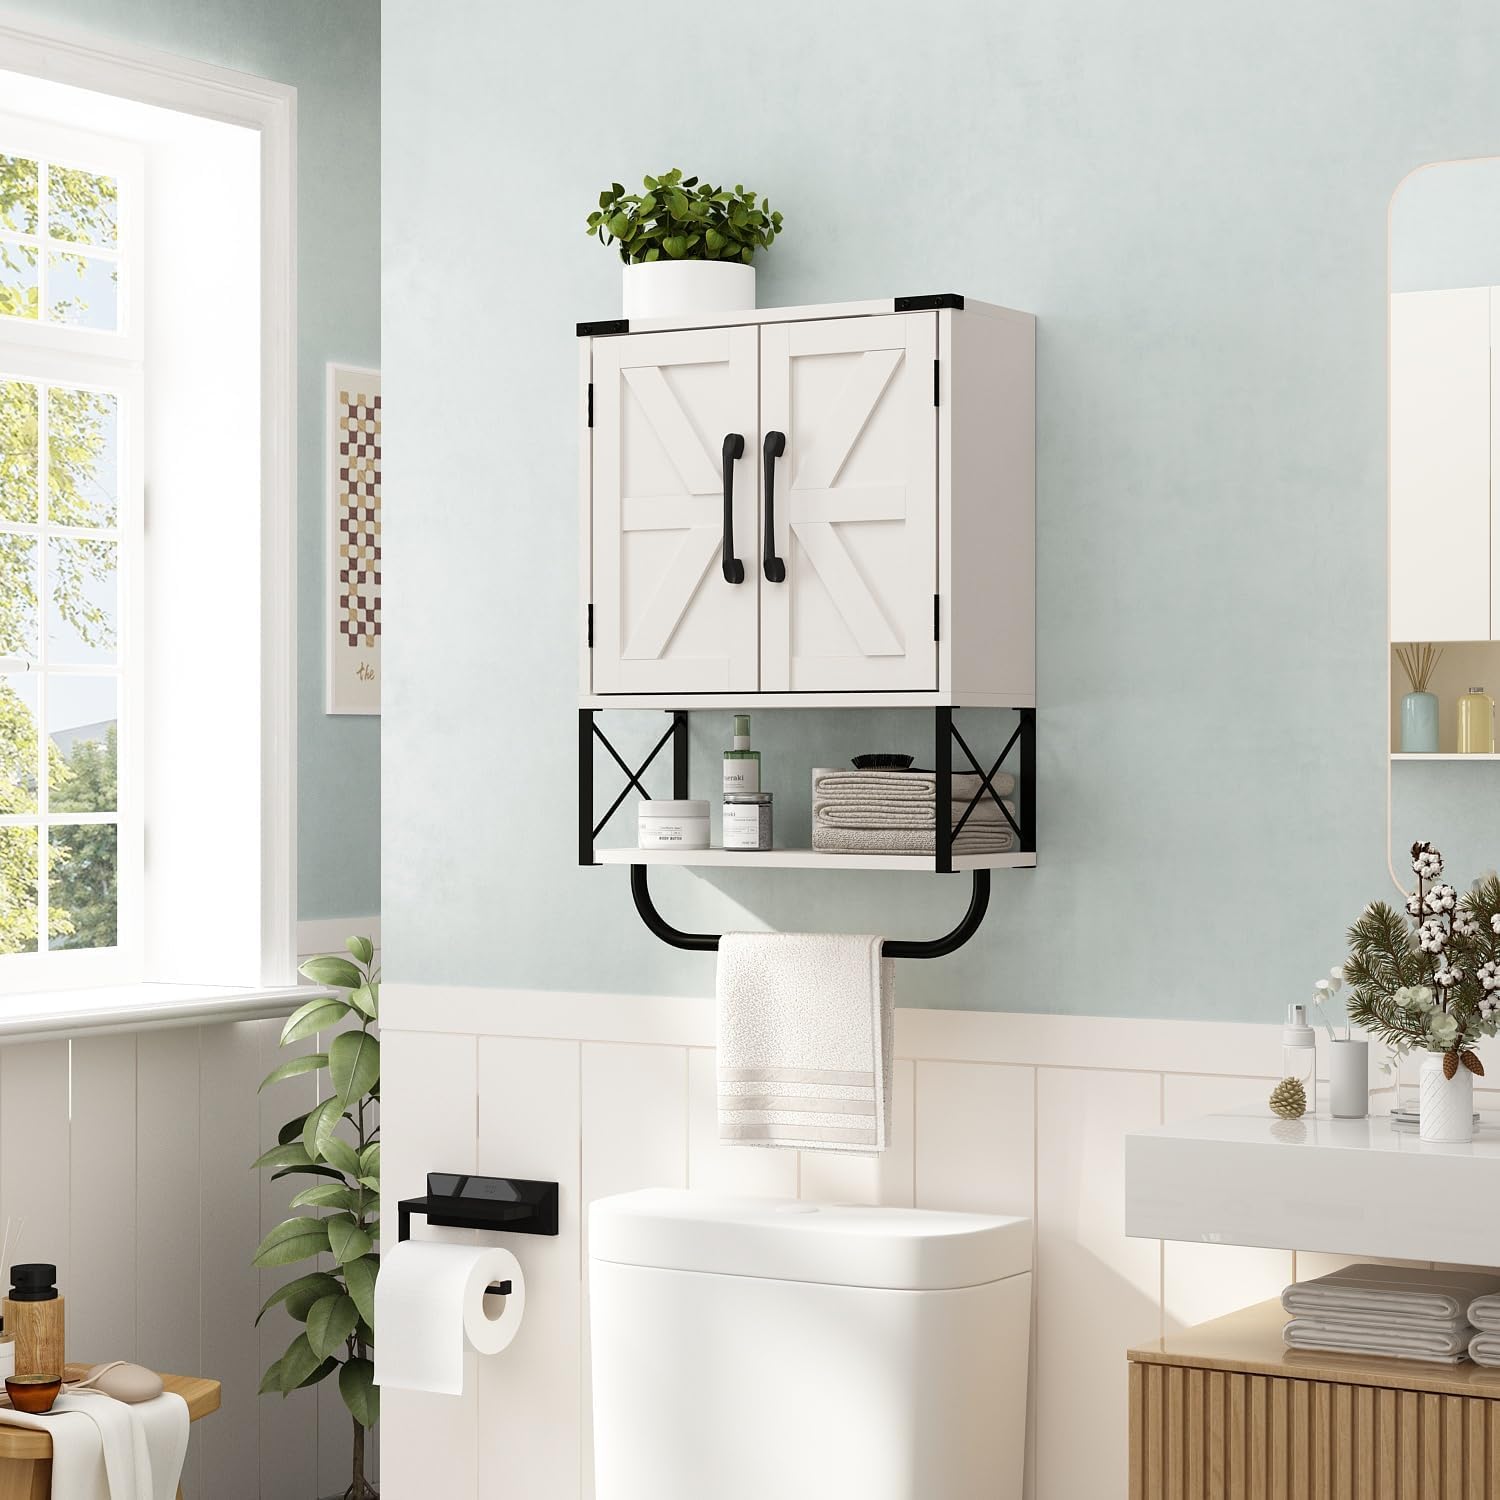
Image: Example of the cabinet installed above a toilet in a bathroom setting.
6. Operating Instructions
Your RUSTOWN medicine cabinet is designed for convenient storage and organization.
- Barn Doors: The two barn doors open to reveal the enclosed storage space. Use the metal handles to open and close them smoothly.
- Adjustable Shelf: The internal shelf can be adjusted to 3 different heights to accommodate items of various sizes. To adjust, remove the shelf, reposition the shelf pins to the desired slots, and then place the shelf back on the pins.
- Open Shelf: The open shelf below the main cabinet provides easy access storage for frequently used items or decorative pieces.
- Towel Bar: The removable towel bar is located beneath the open shelf, ideal for hanging hand towels or small cloths.
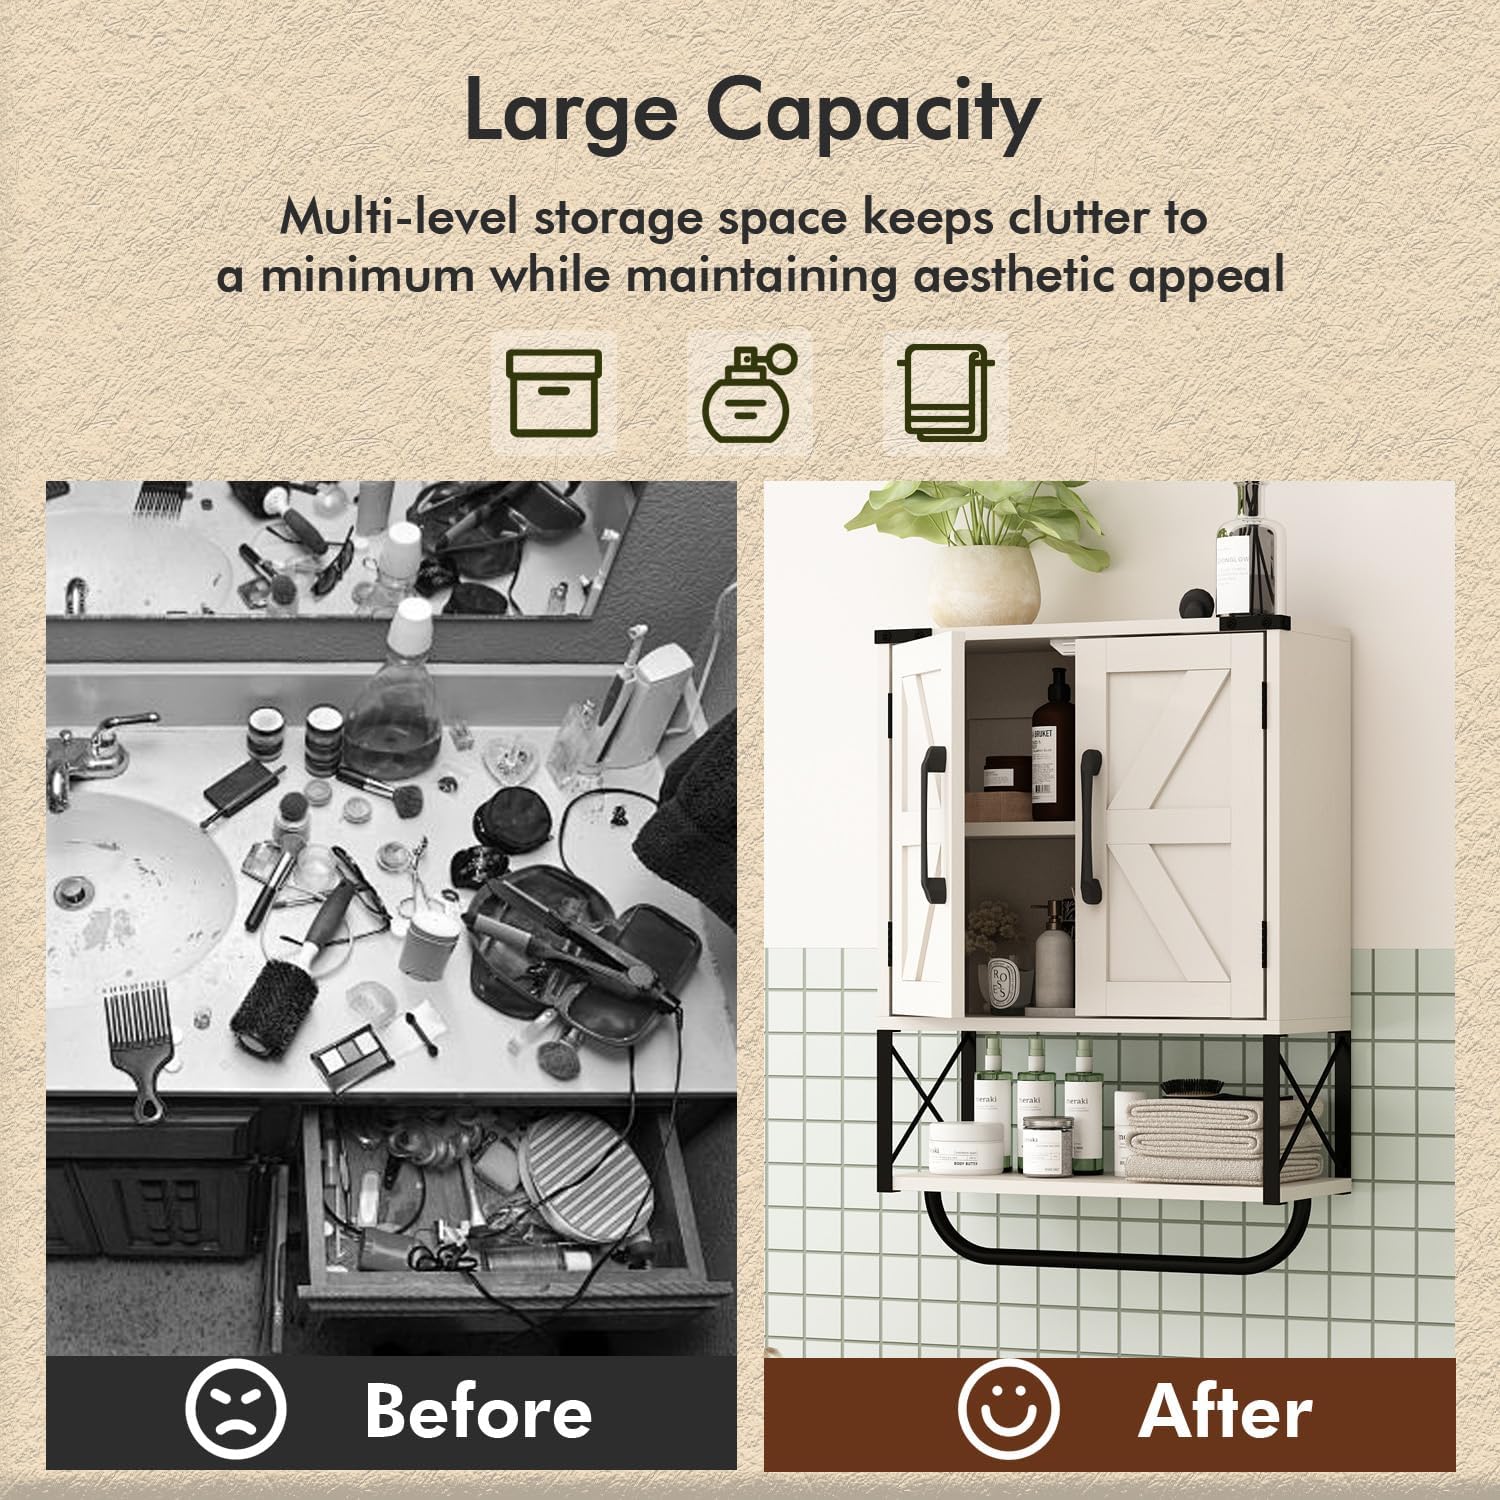
Image: Visual representation of the cabinet's organizational benefits.
7. Maintenance
To ensure the longevity and appearance of your RUSTOWN medicine cabinet, follow these maintenance guidelines:
- Cleaning: Wipe the cabinet surfaces with a soft, damp cloth. Avoid using harsh chemicals, abrasive cleaners, or excessive moisture, as these can damage the wood grain finish.
- Dusting: Regularly dust the cabinet with a dry, soft cloth to prevent buildup.
- Hardware Check: Periodically inspect all screws, hinges, and mounting hardware. Tighten any loose fasteners to maintain stability.
- Avoid Overloading: Do not exceed the recommended weight limit of 15 pounds for the cabinet to prevent structural damage or detachment from the wall.
8. Troubleshooting
If you encounter any issues with your RUSTOWN medicine cabinet, consider the following common solutions:
- Wobbly Cabinet: Ensure all wall mounting screws are securely tightened. If mounted into drywall, verify that the wall anchors are properly installed and holding firm.
- Doors Not Aligning: Check the hinge attachments. Loosen and readjust the hinges slightly to achieve proper door alignment, then re-tighten.
- Loose Parts: Inspect all assembly points and tighten any loose screws or connections.
- Difficulty Adjusting Shelf: Ensure the shelf pins are fully inserted into the desired slots and that the shelf is not obstructed.
If problems persist, please contact RUSTOWN customer support for further assistance.
9. Specifications
| Feature | Detail |
|---|---|
| Brand | RUSTOWN |
| Model Name | PDHX8005WT |
| Color | Vintage White |
| Product Dimensions | 7.09"D x 15.35"W x 22.83"H |
| Item Weight | 13 Pounds |
| Weight Limit | 15 Pounds |
| Mounting Type | Wall Mount |
| Material | Engineered Wood (Frame & Top), Metal (Handle) |
| Number of Shelves | 3 (1 adjustable internal, 1 open, 1 top surface) |
| Special Feature | Adjustable Shelf, Removable Towel Bar |
| Assembly Required | Yes |
| UPC | 761736129822 |
10. Warranty and Support
RUSTOWN stands behind the quality of its products. For any warranty claims, missing parts, or technical support, please contact RUSTOWN customer service through the retailer where the product was purchased or visit the official RUSTOWN website for contact information.
Please retain your proof of purchase for warranty purposes.