Introduction
Thank you for choosing the Adax VP12 H electric convector heater. This modern electric heater features a programmable electronic thermostat and is designed for efficient energy use and wall mounting. It complies with the EcoDesign directive. This manual provides essential information for the safe installation, operation, and maintenance of your new heater.
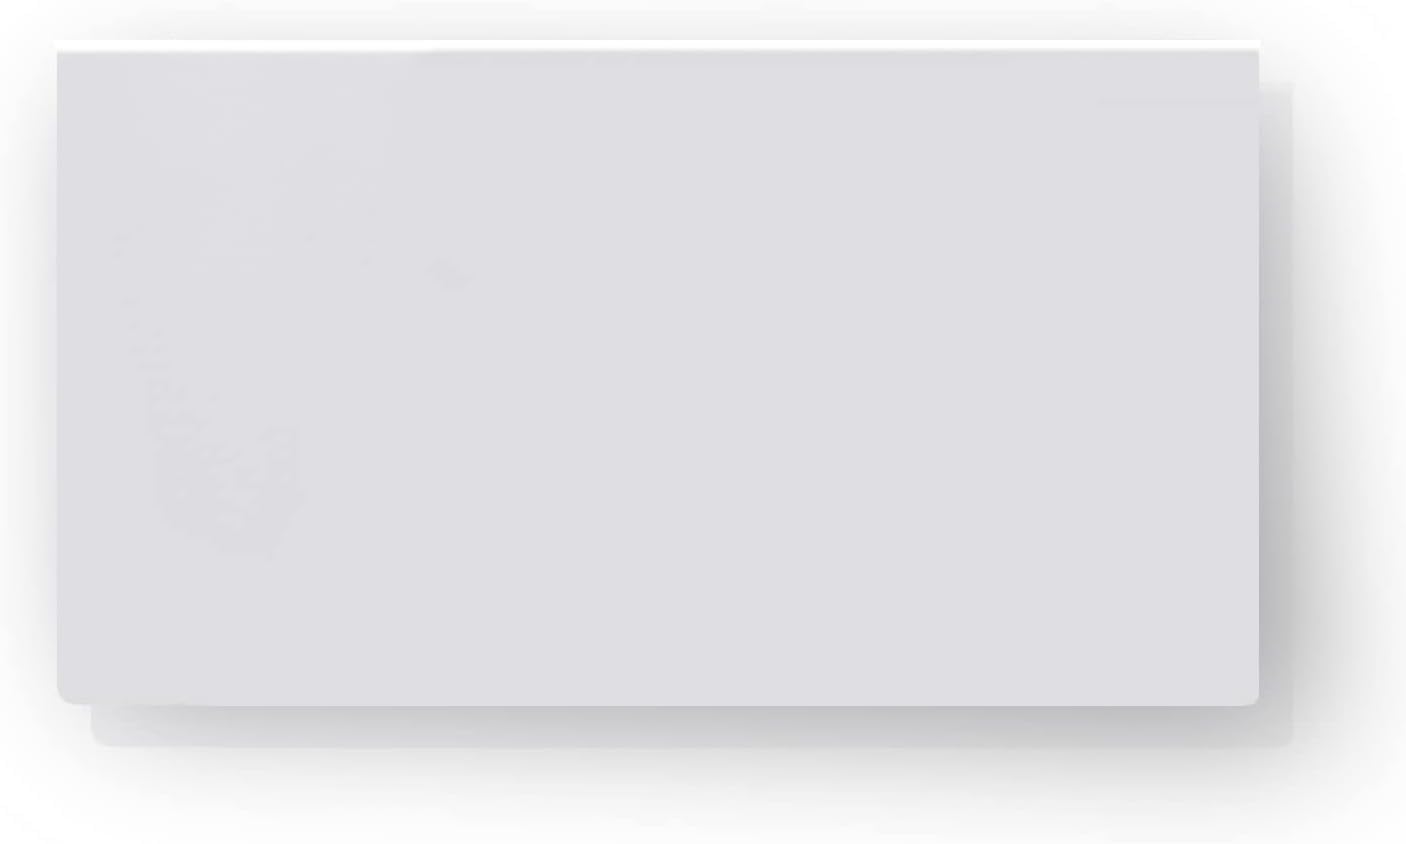
Image 1: The Adax VP12 H wall-mounted electric convector heater. This image shows the sleek, minimalist design of the white heater mounted on a wall, with a plant visible to the left.
Important Safety Instructions
Please read all instructions carefully before using the heater. Failure to follow these instructions may result in electric shock, fire, or serious injury.
- Do not cover the heater. Covering the heater can cause overheating and fire.
- Do not use this heater in the immediate vicinity of a bath, shower, or swimming pool.
- Ensure the voltage indicated on the rating label corresponds to your mains voltage.
- Keep flammable materials such as furniture, curtains, and other combustible items at least 1 meter (3 feet) away from the heater.
- Do not insert any objects into the heater openings.
- This appliance is not intended for use by persons (including children) with reduced physical, sensory or mental capabilities, or lack of experience and knowledge, unless they have been given supervision or instruction concerning use of the appliance by a person responsible for their safety.
- Children should be supervised to ensure that they do not play with the appliance.
- If the supply cord is damaged, it must be replaced by the manufacturer, its service agent, or similarly qualified persons in order to avoid a hazard.
- The heater is designed for wall mounting. Ensure it is installed correctly and securely.
Package Contents
Before installation, please check that all components are present and undamaged:
- Adax VP12 H Convector Heater unit
- Wall mounting bracket
- Screws and wall plugs for mounting
- User Manual (this document)
Installation Guide
The Adax VP12 H heater is designed for wall mounting. Ensure the heater is installed in the correct orientation for proper function and access to controls.
Wall Mounting
- Choose a suitable location on a wall, ensuring sufficient clearance from flammable materials and obstructions.
- Attach the wall mounting bracket securely to the wall using the provided screws and wall plugs. Ensure the bracket is level.
- Carefully hang the heater unit onto the wall bracket. Ensure it clicks into place securely.
- Verify that the thermostat knob and power switch are easily accessible and oriented correctly (thermostat on the right side).
Optional Floor Installation
If you intend to use the heater as a freestanding unit, you must purchase additional 'P' feet (sold separately). Follow the instructions provided with the 'P' feet for proper attachment.
Operating Your Heater
Powering On/Off
Locate the power switch on the side of the heater. Flip the switch to the 'I' position to turn the heater on, and to the 'O' position to turn it off.
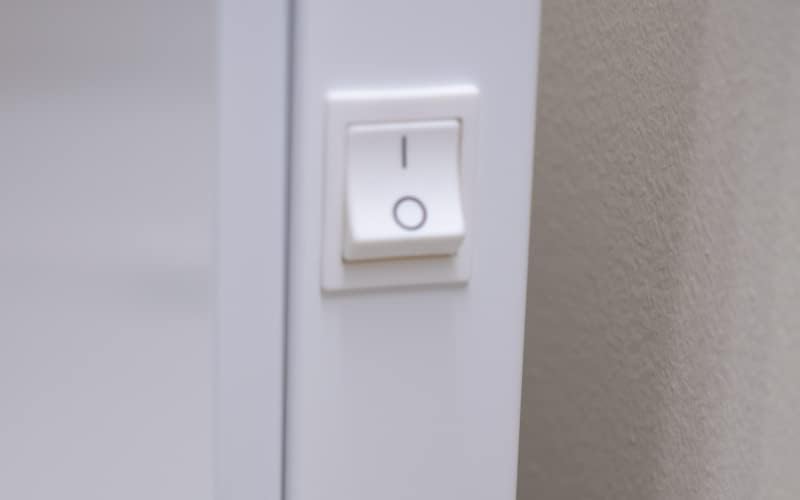
Image 2: Close-up of the power switch on the side of the Adax VP12 H heater. The switch is white with 'I' and 'O' symbols.
Setting the Temperature
The Adax VP12 H features a rotary thermostat knob located on the right side of the heater. Turn the knob to set your desired room temperature. The electronic thermostat maintains the temperature with an accuracy of ± 0.3 °C.

Image 3: Close-up of the rotary thermostat knob on the side of the Adax VP12 H heater. The knob has temperature markings for precise adjustment.
Programming Modes
The integrated timer allows for weekly programming. Two modes are available:
- Pre-programmed Night Reduction: Automatically lowers the temperature during nighttime hours for energy saving.
- Daily Temperature Programming: Allows you to set specific temperatures for different times of the day.
Refer to the detailed programming instructions in the separate programming guide (if provided) or the full digital manual for specific steps on setting these modes.
Window Open Detection
The heater features a window open detection function. If a sudden drop in room temperature is detected (e.g., when a window or door is opened for ventilation), the heater will temporarily switch off to avoid unnecessary energy consumption.
Indicator Lights
- Red Light: Indicates the heater is actively heating to reach the set temperature.
- Green Light: Indicates the set temperature has been reached, and the heater has stopped heating.
Maintenance
Regular maintenance ensures optimal performance and longevity of your heater.
- Cleaning: Disconnect the heater from the power supply before cleaning. Use a soft, damp cloth to wipe the exterior surfaces. Do not use abrasive cleaners or solvents.
- Dust Removal: Periodically vacuum or brush away any dust accumulated on the air inlets and outlets to maintain efficient airflow.
- Do not attempt to open or repair the heater yourself. Refer all servicing to qualified personnel.
Troubleshooting
If you experience issues with your heater, consult the following table before contacting support.
| Problem | Possible Cause | Solution |
|---|---|---|
| Heater does not turn on. | No power supply. Power switch is off. | Check power outlet and circuit breaker. Ensure power switch is in 'I' position. |
| Heater is on but not heating. | Thermostat set too low. Window open detection activated. | Increase the thermostat setting. Close windows/doors or wait for the detection period to end. |
| Heater makes unusual noises. | Dust accumulation. Loose mounting. | Clean the heater. Check if the heater is securely mounted to the wall. |
| Heater smells burnt. | Dust on heating elements. Overheating. | Immediately turn off and unplug the heater. Allow to cool. Clean thoroughly. If smell persists, discontinue use and contact support. |
Technical Specifications
- Brand: ADAX
- Model Number: 610020
- Color: White
- Power: 500 Watts
- Voltage: 230 Volts
- Product Dimensions (L x W x H): 43 x 8.7 x 42 cm
- Item Weight: 3.6 Kilograms
- Mounting Type: Wall-mounted
- Heating Method: Convection
- Special Feature: Electronic Thermostat, Window Open Detection, Programmable Timer
Heating Capacity Guide

Image 4: A table illustrating the recommended heated area in square meters (m²) based on radiant power in Watts (W) and different levels of heat demand (up to 50 W/m², 50-100 W/m², and over 100 W/m²). For a 500W heater, the heated area ranges from 3-10 m² depending on demand.
Warranty and Support
ADAX products are manufactured to high-quality standards. For information regarding warranty coverage, please refer to the warranty card included with your purchase or visit the official ADAX website. For technical support, spare parts, or service inquiries, please contact your local ADAX distributor or the retailer where you purchased the product.