Crystorama 2244-BF
Crystorama Libby Langdon Sylvan 4 Light Black Forged Lantern Chandelier Instruction Manual
Brand: Crystorama | Model: 2244-BF
1. Introduction
This manual provides detailed instructions for the safe installation, operation, and maintenance of your Crystorama Libby Langdon Sylvan 4 Light Black Forged Lantern Chandelier. Please read all instructions carefully before beginning installation and retain this manual for future reference. Proper installation by a qualified electrician is recommended.
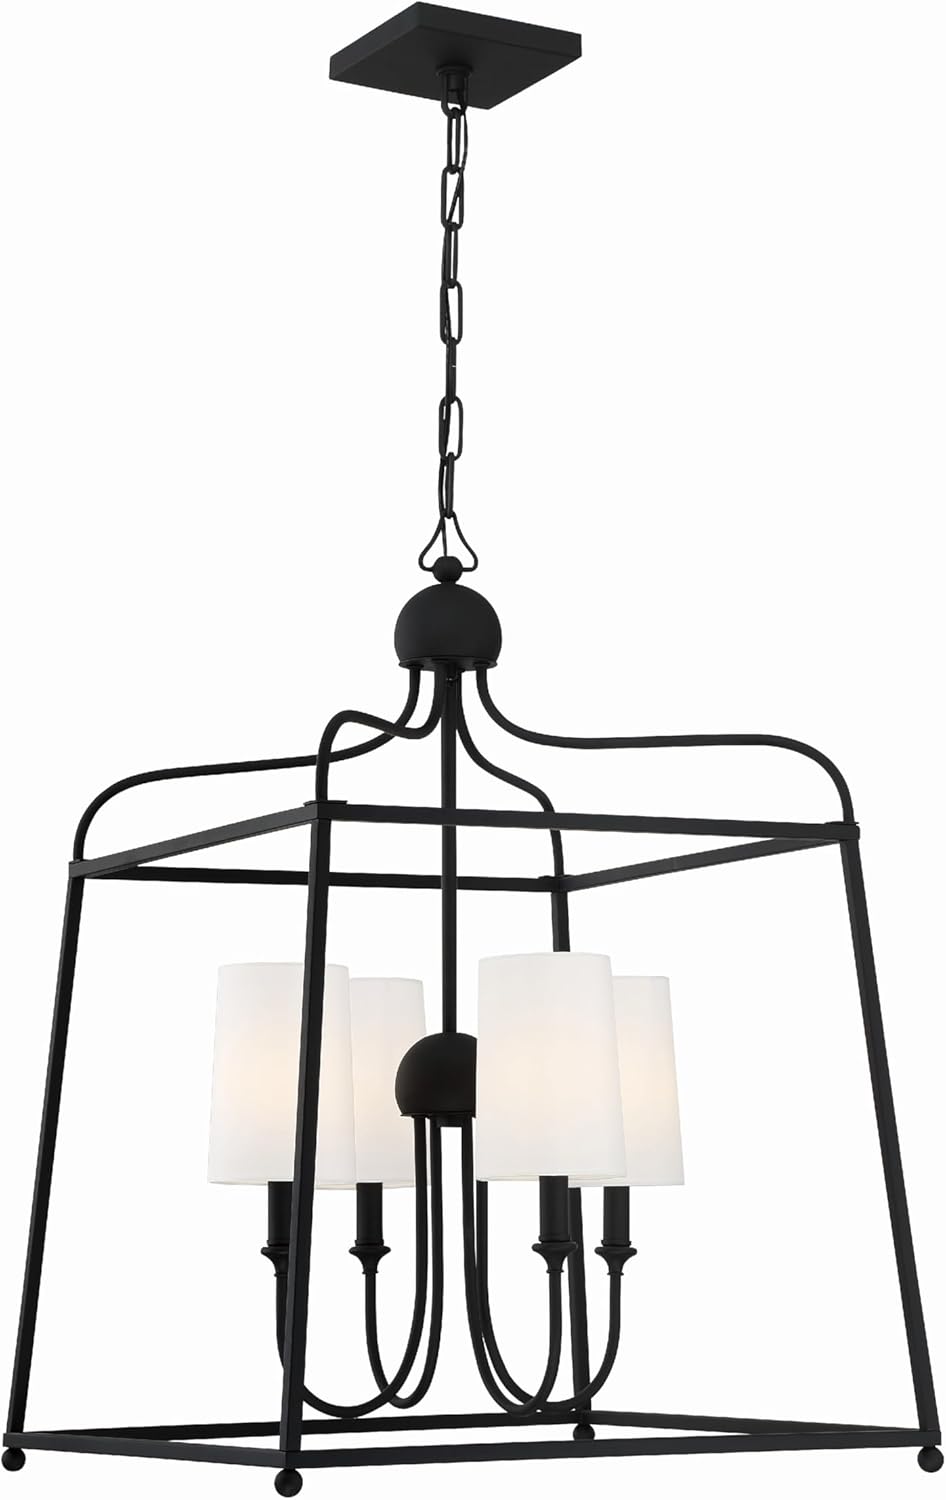
Image 1.1: Front view of the Crystorama Libby Langdon Sylvan 4 Light Black Forged Lantern Chandelier with shades.
2. Important Safety Information
To reduce the risk of fire, electric shock, or personal injury, always follow these basic precautions:
- Disconnect Power: Always turn off the electrical supply at the main fuse or circuit breaker box before beginning installation or performing any maintenance.
- Qualified Electrician: Installation should be performed by a qualified, licensed electrician.
- Grounding: Ensure the fixture is properly grounded to avoid potential electrical shock.
- Wiring: All wiring connections must be made in accordance with local and national electrical codes.
- Bulb Wattage: Do not exceed the maximum wattage specified for the bulbs. This fixture is designed for E12 base bulbs, up to 60 watts each.
- Handling: Handle the fixture and glass components with care to prevent breakage or injury.
- UL Listed: This product is UL listed, ensuring it meets specific safety standards.
3. Product Specifications
| Feature | Specification |
|---|---|
| Brand | Crystorama |
| Model Name | 2244-BF |
| Color | Black Forged |
| Material | Alloy Steel (Frame), Glass (Shade) |
| Light Fixture Form | Chandelier |
| Room Type | Living Room (General Purpose) |
| Product Dimensions | 21.5"L x 21.5"W x 29.75"H |
| Item Weight | 6 Pounds |
| Indoor/Outdoor Usage | Indoor |
| Power Source | Hardwired |
| Installation Type | Semi Flush Mount |
| Light Source Type | LED Compatible (Bulbs not included) |
| Number of Light Sources | 4 |
| Voltage | 120 Volts |
| Wattage (Max per bulb) | 60 Watts |
| Bulb Base | E12 |
| Assembly Required | Yes |
| Specification Met | UL |
| UPC | 633779048180 |

Image 3.1: Dimensional drawing of the chandelier, showing 21.5" width, 29.75" height, and 72" chain length.
4. Package Contents
Carefully unpack your new chandelier and lay out all parts on a clean, soft surface. Ensure all components are present before discarding packaging materials.
- Chandelier Frame (Black Forged)
- 4 Glass Shades (White Enclosed)
- Mounting Hardware Kit (Canopy, Mounting Plate, Screws, Wire Nuts)
- Chain and Wiring (Pre-attached or separate for assembly)
- Instruction Manual
Note: Bulbs are not included with this fixture. Four (4) E12 base bulbs, up to 60 watts each, are required.

Image 4.1: Close-up view of the four E12 bulb sockets and white enclosed glass shades.
5. Setup and Installation
This chandelier is designed for semi-flush mount installation. Professional installation by a licensed electrician is strongly recommended.
Tools and Materials Required (Not Included):
- Phillips Head Screwdriver
- Flathead Screwdriver
- Wire Strippers
- Pliers
- Electrical Tape
- Safety Glasses
- Ladder
- E12 Base Bulbs (4, max 60W each)
Installation Steps:
- Turn Off Power: Locate the circuit breaker that supplies power to the installation location and turn it off. Verify power is off using a voltage tester.
- Prepare Mounting: Attach the mounting plate to the junction box in the ceiling using the provided screws. Ensure it is securely fastened.
- Adjust Chain Length (if applicable): If your fixture includes a chain, determine the desired hanging height and adjust the chain length by removing links as needed. Feed the electrical wires through the chain and canopy.
- Make Electrical Connections: Connect the fixture's wires to the house wiring.
- Connect the bare copper (ground) wire from the fixture to the green or bare copper ground wire from the junction box.
- Connect the black (hot) wire from the fixture to the black (hot) wire from the junction box.
- Connect the white (neutral) wire from the fixture to the white (neutral) wire from the junction box.
- Secure Canopy: Carefully push the canopy up to the ceiling, covering the junction box, and secure it with the provided screws or nuts.
- Install Bulbs: Screw four (4) E12 base bulbs (not included) into the sockets. Do not exceed 60 watts per bulb.
- Attach Shades: Carefully place the white enclosed glass shades over each bulb socket.
- Restore Power: Turn the power back on at the circuit breaker.

Image 5.1: Angled view of the chandelier, showcasing its black forged frame and white shades.
6. Operating Instructions
Once installed, your Crystorama Libby Langdon Sylvan Chandelier operates via a standard wall switch connected to the fixture's electrical circuit. Simply toggle the wall switch to turn the chandelier on or off.
This fixture is compatible with dimmable E12 LED bulbs if connected to a compatible dimmer switch (sold separately).
7. Care and Maintenance
Regular cleaning and proper care will help maintain the appearance and functionality of your chandelier.
Cleaning:
- Always Disconnect Power: Before cleaning, ensure the power supply to the fixture is turned off at the circuit breaker.
- Frame: Wipe the black forged metal frame with a soft, dry, or slightly damp cloth. Avoid abrasive cleaners, solvents, or polishes, as these can damage the finish.
- Glass Shades: The white enclosed glass shades can be gently wiped with a soft, damp cloth. For stubborn marks, a mild glass cleaner can be used sparingly on the cloth, not directly on the glass. Ensure shades are completely dry before restoring power.
Bulb Replacement:
- Turn Off Power: Always turn off the power at the circuit breaker before replacing bulbs.
- Allow Cooling: Allow bulbs to cool completely before touching them.
- Replace: Unscrew the old bulb and screw in a new E12 base bulb. Ensure the replacement bulb does not exceed 60 watts.
8. Troubleshooting
If you experience issues with your chandelier, consult the following common problems and solutions:
| Problem | Possible Cause | Solution |
|---|---|---|
| Light does not turn on | No power to the fixture Loose wire connection Faulty bulb | Check circuit breaker and wall switch Verify all wire connections are secure (with power off) Replace bulb with a new one |
| Light flickers | Loose bulb Incorrect bulb type for dimmer Loose wire connection | Tighten bulb Ensure dimmable bulbs are used with a compatible dimmer Check wire connections (with power off) |
| Humming noise | Incompatible dimmer switch Loose components | Replace dimmer with an LED-compatible model Ensure all parts are securely fastened |
If the issue persists after attempting these solutions, please contact Crystorama customer support or a qualified electrician.
9. Warranty and Support
This Crystorama Libby Langdon Sylvan Chandelier is covered by a manufacturer's warranty. For specific warranty details, claims, or technical support, please refer to the warranty card included with your purchase or visit the official Crystorama website.
For additional assistance, you may contact Crystorama customer service directly.
Ask a question about this manual
Ask about setup, troubleshooting, compatibility, parts, safety, or missing instructions. Manuals+ will review the question and use this page’s manual context to help answer it.