1. Introduction
This manual provides detailed instructions for the safe and effective use of your Heayzoki KT4H LED Backlight Tester. This versatile tool is designed for testing LED TV backlights, constant current driver boards, and individual LED lamp beads, aiding in the repair and diagnosis of LCD TV issues. Its intelligent automatic voltage and current adjustment features simplify the testing process for both professional technicians and enthusiasts.

Image: The Heayzoki KT4H LED Backlight Tester positioned in front of a television, demonstrating its application in backlight testing.
2. Safety Information
Please read and understand all safety warnings and instructions before operating this device. Failure to do so may result in electric shock, fire, or serious injury.
- Always ensure proper insulation and follow electrical safety guidelines when working with electronic components.
- The device features double isolation and short circuit protection for enhanced user safety.
- Do not attempt to open the device casing or modify its internal components. Refer all servicing to qualified personnel.
- Avoid contact with live circuits. Always disconnect power to the device under test before making connections.
- Do not use the tester in wet conditions or environments with explosive gases or vapors.
3. Package Contents
Verify that all items listed below are included in your package:
- 1 x Heayzoki KT4H LED Backlight Tester
- 1 x Power Cord (US Plug)
- 1 x Constant Current Board Socket Connection Cable
- 1 x Constant Current Board Tester Connection Cable
- 2 x Meter Pens (Probes)
- 1 x Storage Bag
- 1 x User Manual (This document)

Image: All included accessories for the KT4H LED Backlight Tester, laid out for inspection.
4. Specifications
| Feature | Specification |
|---|---|
| Model | KT4H |
| Input Voltage | AC 85-265V |
| Output Voltage | DC 0-330V (Automatic, Adjustable) |
| Voltmeter Accuracy | ≤(±0.5±1%Vout)V |
| Internal Output Current | 0-150mA (Automatic, Adjustable) |
| Constant Current Board Test Current | 0-999mA |
| Ammeter Accuracy | ≤(±2±1%Iout)mA |
| Input Power | 50VA (Maximum) |
| Working Stability | 20℃ ~ +40℃ |
| Material | ABS |
| Item Weight | 0.49 Kilograms |
5. Setup
The Heayzoki KT4H LED Backlight Tester is designed for straightforward plug-and-play operation.
- Connect Power: Plug the provided power cord into the AC input port on the tester and then into a standard AC 85-265V power outlet.
- Attach Probes: Connect the red and black meter pens (probes) to the corresponding output terminals on the tester. Ensure a secure connection.
- Power On: Flip the AC switch to the 'ON' position. The digital displays for voltage and current will illuminate.

Image: The KT4H tester with its test probes connected, illustrating the basic setup.
6. Operating Instructions
The KT4H tester offers intelligent automatic voltage and current adjustment, simplifying the testing process for various LED components.
6.1 General Operation
- Once powered on, the tester automatically adjusts its output voltage from 0 to 330VDC and current from 0 to 150mA to safely test the connected LED components.
- The digital displays will show the real-time voltage (V) and current (mA) readings.
6.2 Testing LED Backlight Strips
- Ensure the TV or device is powered off and disconnected from its power source.
- Carefully connect the red probe to the positive (+) terminal and the black probe to the negative (-) terminal of the LED backlight strip.
- The LEDs should illuminate, and the tester will display the voltage and current. Observe for uniform brightness across the strip.
- If only a section lights up, or if there's no light, it indicates a fault in that section or the entire strip.

Image: A technician using the tester to check an LED backlight strip on an open television panel.
6.3 Testing Constant Current Driver Boards
- Use the provided Constant Current Board connection cables to interface the driver board with the tester.
- The tester can measure the output current of the driver board up to 999mA. Compare this reading with the expected specifications of the board.
6.4 Testing Individual LED Lamp Beads and IC Power Legs
- For individual LED lamp beads, connect the probes directly to the LED, observing polarity. The LED should light up.
- The 1mA mode can be used for detailed testing of IC power legs. This low current mode helps in determining the operational status of integrated circuits without causing damage.
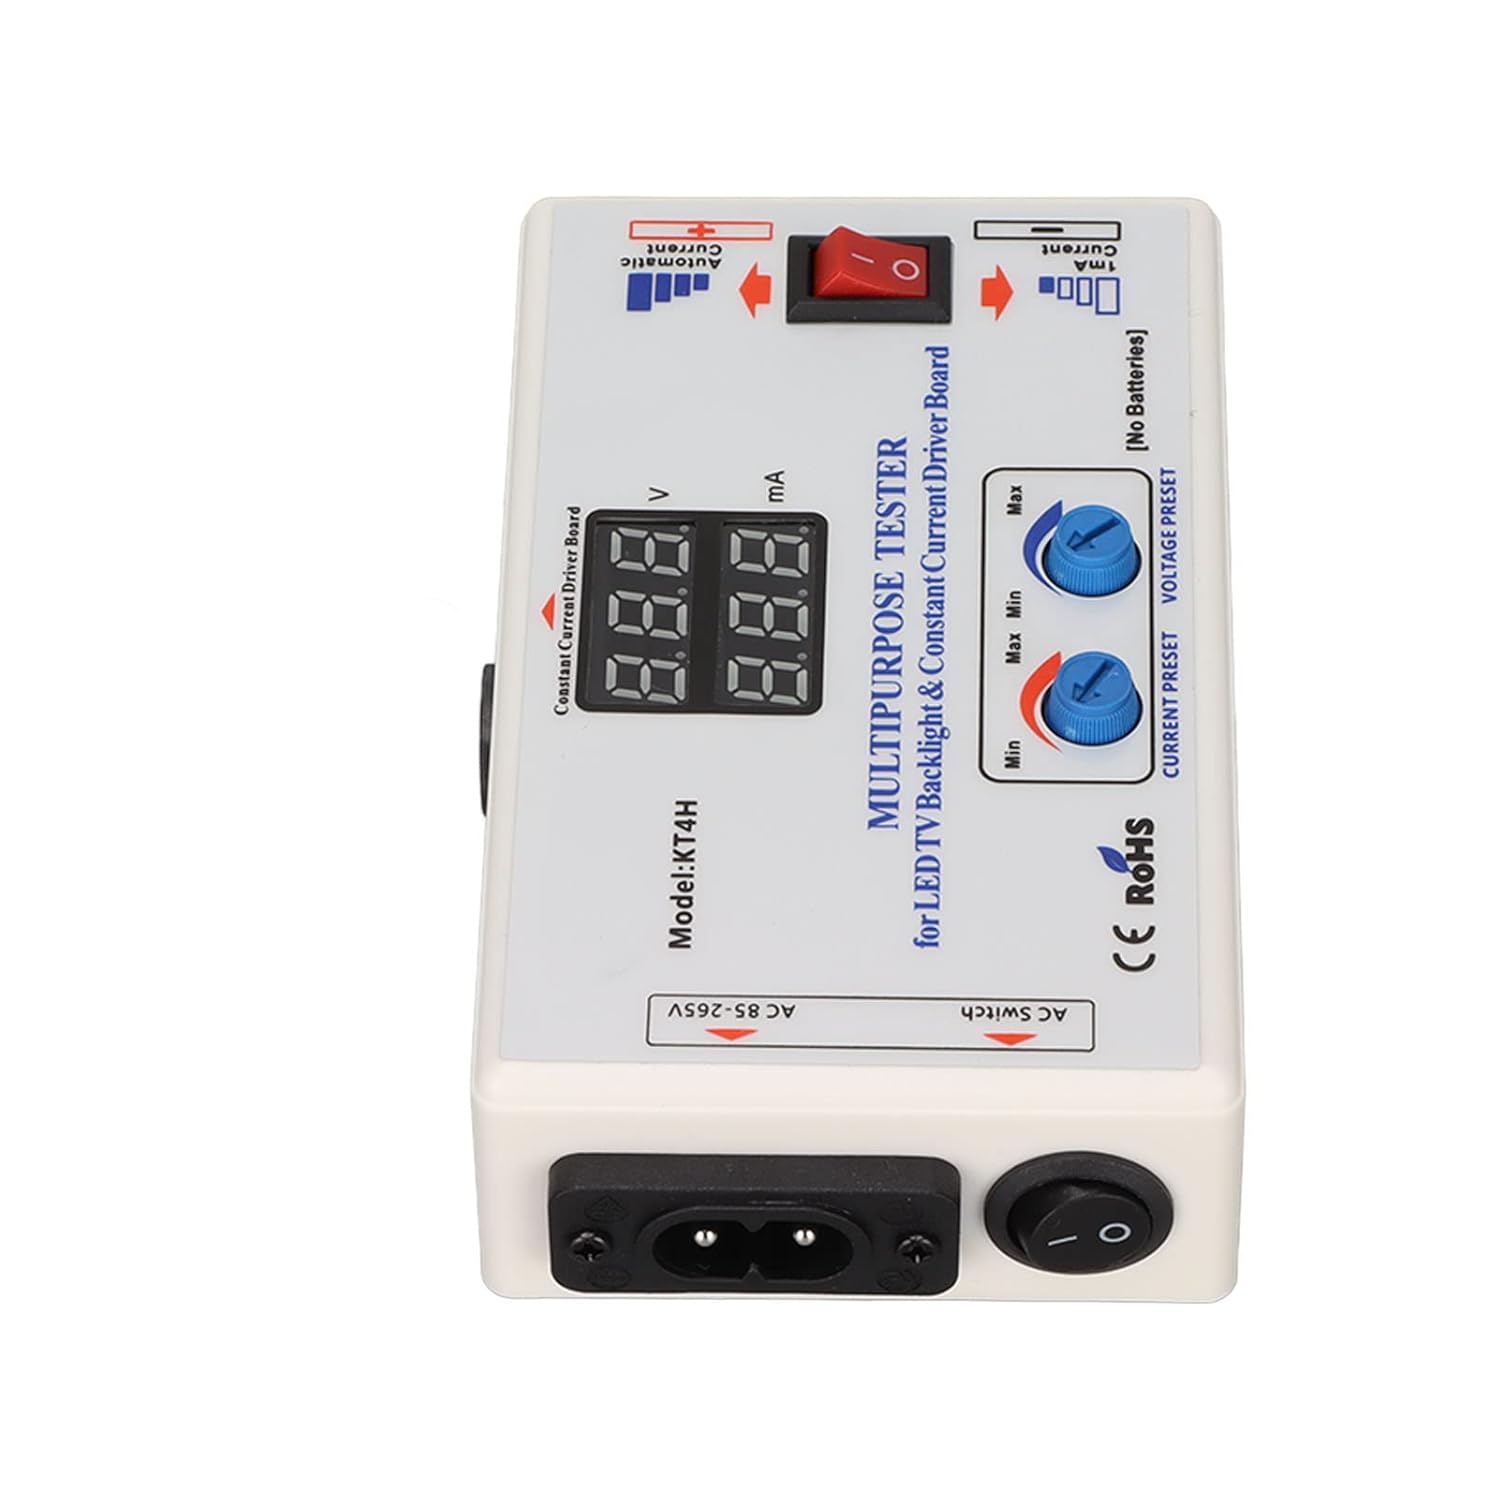
Image: Detailed view of the KT4H tester's interface, highlighting the display and control knobs.
7. Maintenance
Proper maintenance ensures the longevity and accuracy of your Heayzoki KT4H LED Backlight Tester.
- Cleaning: Wipe the device with a soft, dry cloth. Do not use abrasive cleaners or solvents.
- Storage: Store the tester and its accessories in the provided storage bag in a cool, dry place away from direct sunlight and extreme temperatures.
- Handling: Avoid dropping the device or subjecting it to strong impacts, which can damage internal components.
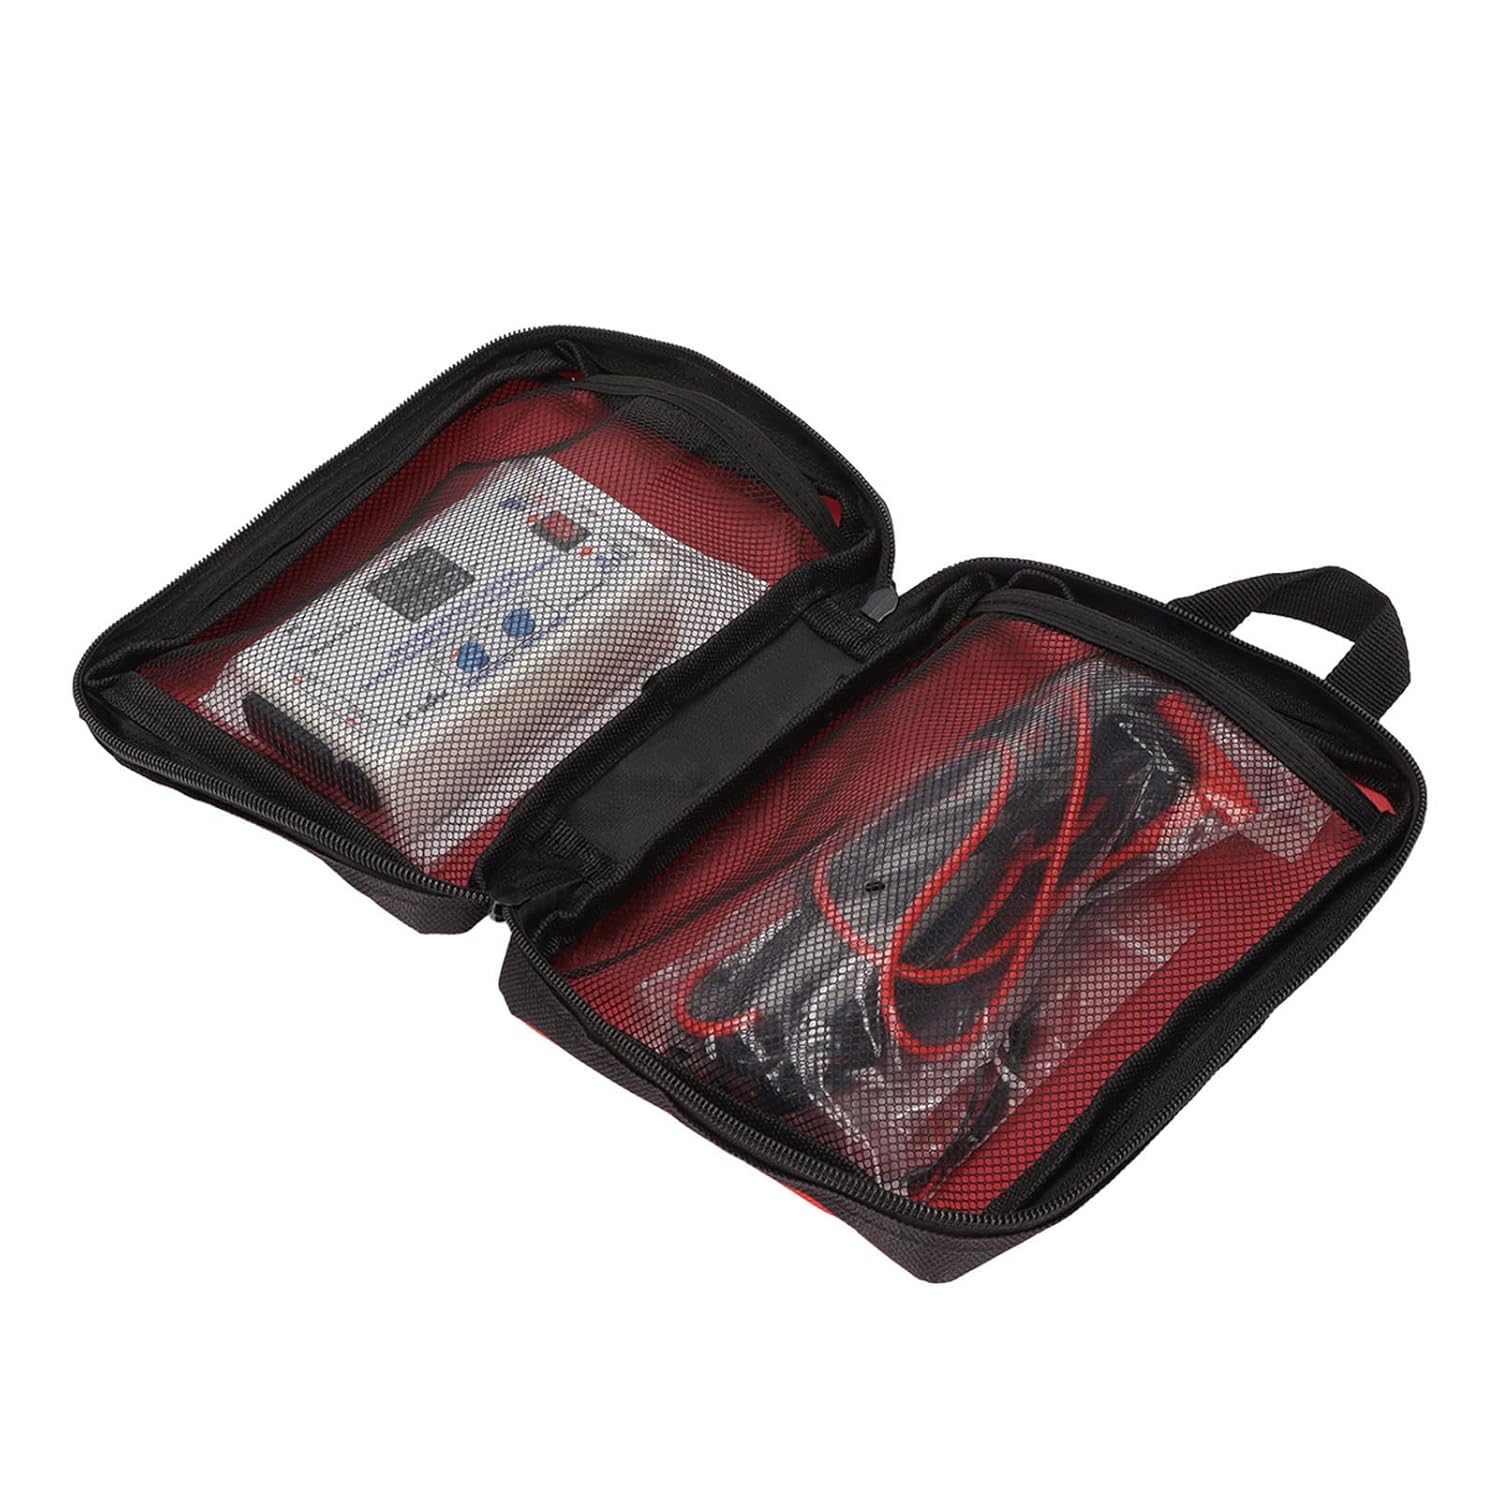
Image: The KT4H tester and its components stored in the protective carrying bag.
8. Troubleshooting
If you encounter issues with your tester, refer to the following troubleshooting guide:
- No Power:
- Ensure the power cord is securely connected to both the tester and a functional AC outlet.
- Check if the AC switch is in the 'ON' position.
- No Reading or Incorrect Reading:
- Verify that the meter pens (probes) are securely connected to the tester and making good contact with the component under test.
- Ensure the component being tested is properly connected and not short-circuited.
- Check the polarity of the probes when testing LEDs.
- LEDs Not Lighting Up (when testing strips/beads):
- Confirm correct polarity (+ to + and - to -).
- The LED strip or individual LED might be faulty (open circuit).
- Ensure the current preset knob is not set to minimum if manual adjustment is desired for specific tests.
9. Warranty and Support
Heayzoki products are manufactured to high-quality standards. While specific warranty details are not provided in this manual, please retain your proof of purchase for any warranty claims.
For product support, technical assistance, or inquiries, please contact Heayzoki customer service through the platform where you purchased the product. Our support team is available to assist you with any questions or issues you may encounter.