
1. Product Overview
The Hooomyai 25FT Telescopic Flag Pole Kit is designed for outdoor use, providing a robust and versatile solution for displaying flags. Constructed from heavy-duty aluminum, this flagpole is engineered to withstand various weather conditions, making it suitable for both residential and commercial applications. Its telescopic design allows for easy adjustment of height and compact storage.
Key Features:
- Premium Material: Made of heavy-duty 16-gauge aluminum with a 1.2mm wall thickness for durability.
- Upgraded Twist-Locking System: Ensures secure locking of each section, preventing slippage.
- Tangle-Free Design: Features 360° rotating flagpole top clips to prevent flags from tangling.
- Easy Assembly: Extends from 5.7 FT to 25 FT in minutes with a simple twist-locking mechanism.
- Versatile Flag Display: Capable of flying one or two flags simultaneously.

Figure 1.1: The Hooomyai 25FT Telescopic Flag Pole Kit, showcasing the pole, two USA flags, and the gold ball finial.
2. Setup and Installation
Proper installation is crucial for the stability and longevity of your flagpole. Follow these steps carefully for a secure setup.
2.1 Site Preparation
- Choose a location that is clear of overhead obstructions (power lines, tree branches) and has sufficient space for the flag to fly freely.
- Ensure the ground is stable and well-drained.
2.2 Ground Sleeve Installation
For optimal stability, it is recommended to install the flagpole with a ground sleeve set in concrete.
- Dig a hole approximately 16 inches deep and 8-10 inches in diameter.
- Insert a PVC pipe (not included, typically 2-3 inches in diameter) into the center of the hole. Ensure the top of the PVC pipe is flush with or slightly above ground level.
- Fill the hole with concrete, ensuring the PVC pipe remains vertical and centered. Allow the concrete to cure completely according to the concrete manufacturer's instructions (typically 24-48 hours).
- Alternatively, for less permanent installations, the pole can be inserted directly into firm soil, but this may offer less stability in high winds.

Figure 2.1: Key components and installation considerations, including the protective PVC sleeve for ground installation.
2.3 Assembling the Flagpole
- Unpack all components. Ensure you have the flagpole sections, gold ball finial, and flag clips.
- Begin with the largest (bottom) section of the flagpole.
- Extend each section by pulling it upwards and twisting clockwise to lock it securely into place. The upgraded twist-locking system ensures a firm hold.
- Continue extending and locking each section until the desired height is reached, up to 25 feet.
- Attach the gold ball finial to the top of the uppermost section. Ensure it is securely fastened.
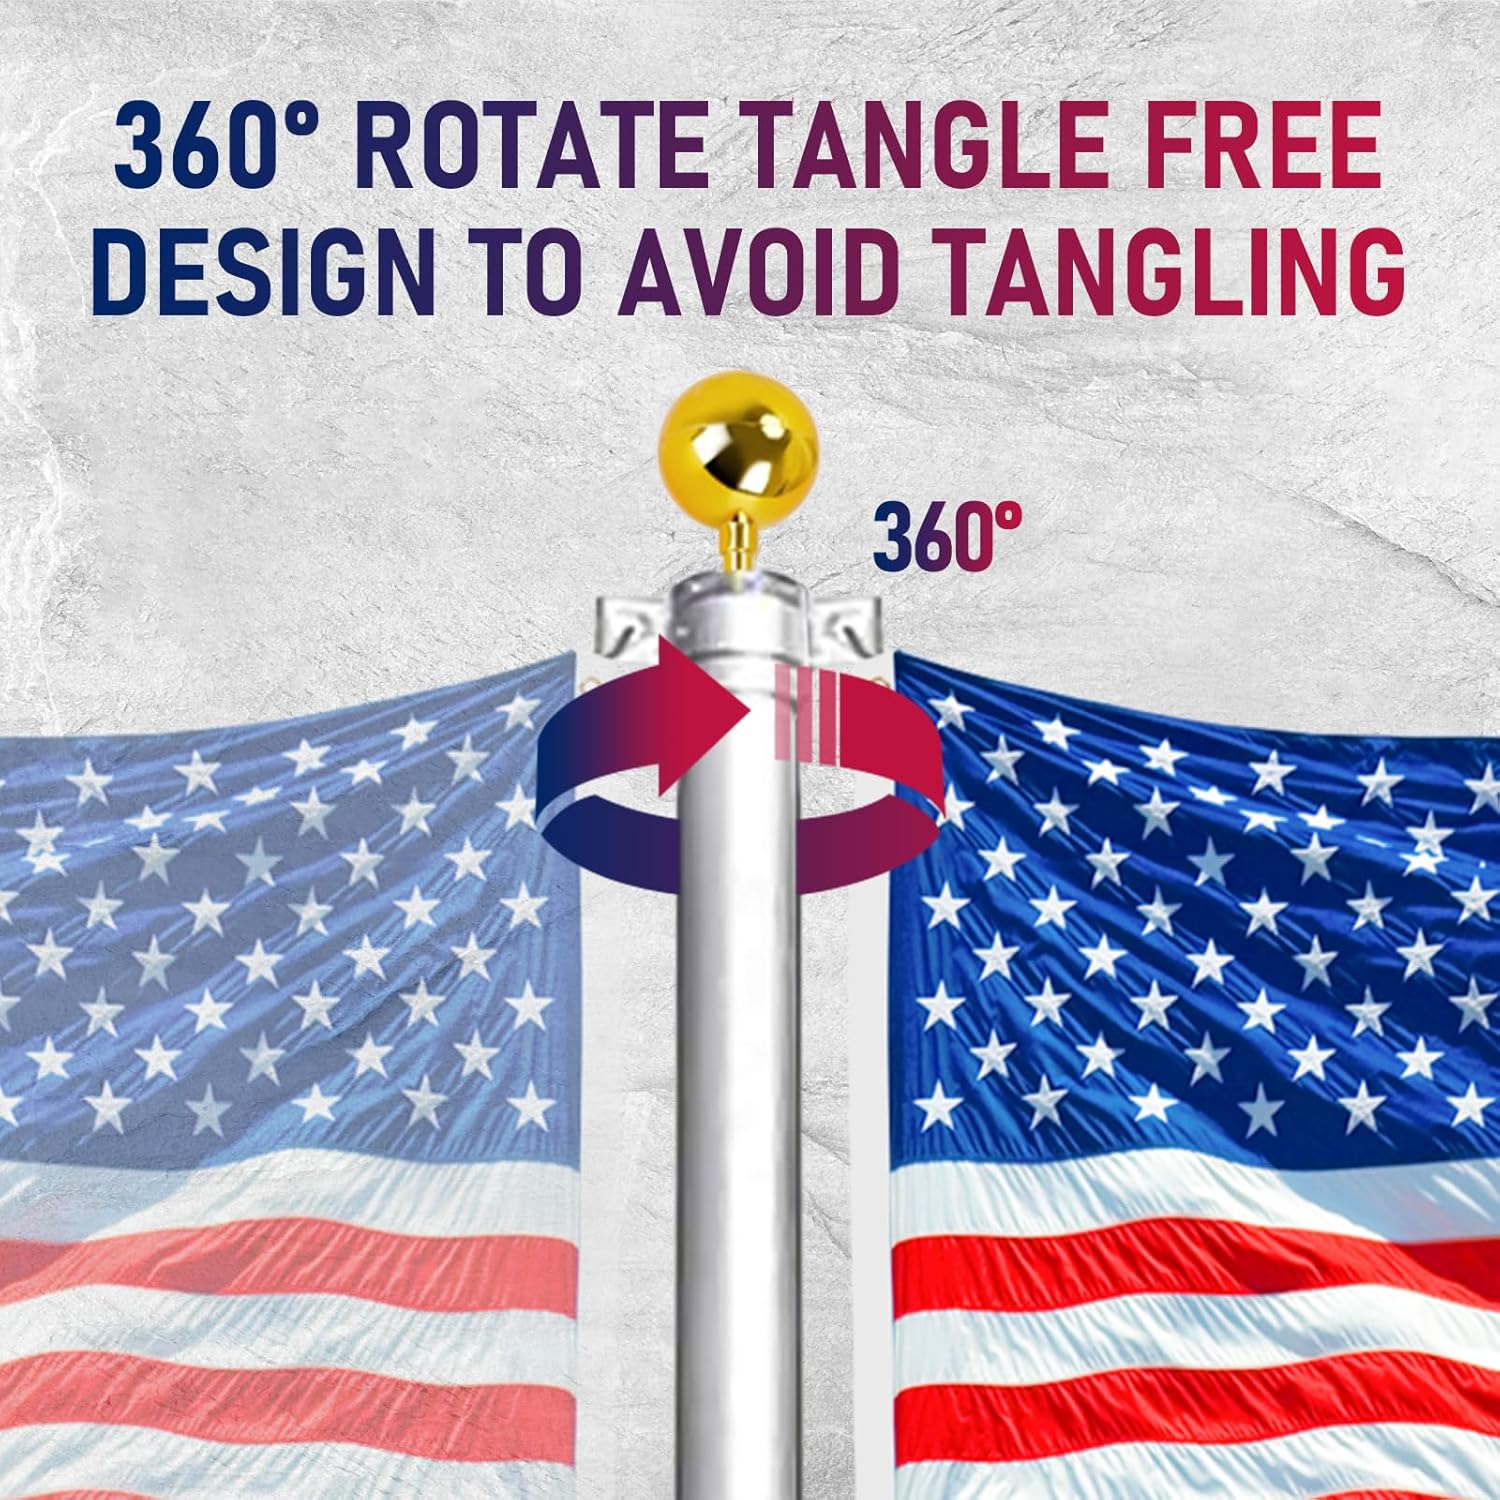
Figure 2.2: Illustration of the flagpole's adjustable length and twist-locking mechanism.

Figure 2.3: Detail of the twist-locking system for extending and securing flagpole sections.
3. Operating Instructions
This section details how to properly use your telescopic flagpole for displaying flags.
3.1 Attaching Flags
- The flagpole includes rotating clips designed to prevent flag tangling.
- Attach the grommets of your flag(s) to the provided clips. For one flag, use the top and middle clips. For two flags, use the top, middle, and bottom clips.
- Ensure the flag is securely fastened to prevent it from detaching in windy conditions.

Figure 3.1: The flagpole configured to fly two flags simultaneously.

Figure 3.2: Detail of a flag grommet for attachment to flagpole clips.
3.2 Adjusting Height and Position
- To adjust the height, twist the sections counter-clockwise to unlock, then slide them to the desired height. Twist clockwise to re-lock.
- The "Free Positioning Design" allows you to set the flagpole at any length within its 5.7 FT to 25 FT interval.
- For half-mast display, lower the flag to approximately half the height of the flagpole.

Figure 3.3: Illustration of the flagpole's free positioning capability and locking mechanism.
3.3 Tangle-Free Operation
The flagpole's top clips are designed to rotate 360° with the shaft, ensuring that your flag remains untangled and flies freely, even in changing wind directions.
Figure 3.4: The 360° rotating design prevents flag tangling.
4. Maintenance
Regular maintenance will help ensure the longevity and optimal performance of your flagpole.
- Cleaning: Periodically clean the aluminum pole with a mild soap and water solution. Rinse thoroughly with clean water and dry with a soft cloth to prevent water spots and maintain its appearance.
- Inspecting Locking Mechanisms: Regularly check the twist-locking mechanisms on each section to ensure they are functioning correctly and providing a secure lock. If any section feels loose, ensure it is twisted firmly clockwise to engage the lock.
- Checking Flag Clips: Inspect the flag clips for any signs of wear or damage. Replace them if they appear weakened to prevent flags from detaching.
- Finial Security: Ensure the gold ball finial at the top of the pole remains securely attached. Periodically check its connection point.
- Winter Care: In areas with heavy snow or ice, it is advisable to lower the flagpole or remove flags to prevent excessive stress on the pole.
5. Troubleshooting
This section addresses common issues you might encounter with your flagpole.
| Problem | Possible Cause | Solution |
|---|---|---|
| Flagpole sections slip or do not lock securely. | Sections not fully twisted and locked; internal locking mechanism wear. | Ensure each section is twisted firmly clockwise until it locks into place. If the issue persists, inspect the internal locking components for damage. |
| Flag tangles around the pole. | Flag clips are not rotating freely; flag attached incorrectly. | Check that the flag clips can rotate 360° freely. Ensure the flag grommets are properly attached to the clips. Strong winds can sometimes cause temporary tangling; the design minimizes this. |
| Gold ball finial is loose or detached. | Finial not securely screwed or attached to the top section. | Verify that the finial is properly threaded and tightened onto the top of the flagpole. If threads are damaged, contact customer support. |
| Pole appears unstable after installation. | Improper ground sleeve installation; insufficient depth or concrete. | Review the ground sleeve installation steps (Section 2.2). Ensure the PVC pipe is set vertically in concrete to the recommended depth. For temporary installations, consider adding more support around the base. |
6. Product Specifications
| Attribute | Detail |
|---|---|
| Model Number | HCQG09-25US-V2 |
| Brand | Hooomyai |
| Material | Heavy-duty 16-gauge Aluminum (1.2mm wall thickness) |
| Adjustable Height | 5.7 FT to 25 FT (1.74m to 7.62m) |
| Product Dimensions (Collapsed) | 3.74 x 3.71 x 74 inches (approx. 9.5 x 9.4 x 188 cm) |
| Item Weight | 8.98 pounds (approx. 4.07 kg) |
| ASIN | B0B3XB9HD5 |
7. Warranty and Support
Hooomyai is committed to providing high-quality products and customer satisfaction.
7.1 Customer Support
If you encounter any issues with your Hooomyai 25FT Telescopic Flag Pole Kit, or if you are not satisfied with the product for any reason, please do not hesitate to contact our customer service team. We are available to assist you with any questions or concerns.
Please refer to your purchase documentation or the retailer's website for specific contact information.
7.2 Product Warranty
While specific warranty terms may vary by retailer or region, Hooomyai stands behind the quality of its products. For detailed warranty information, please retain your proof of purchase and contact customer support.