Pyle PLTLD19
Pyle 18.5 Inch 768p LED RV Television User Manual
Model: PLTLD19
Introduction
This manual provides comprehensive instructions for the setup, operation, and maintenance of your Pyle 18.5 Inch 768p LED RV Television. Designed for versatility, this flat screen monitor features an integrated multimedia disk combo, multiple input options, and is suitable for both RV and home use. Please read this manual thoroughly before operating the device to ensure proper use and longevity.
What's in the Box

Image: The Pyle 18.5 Inch LED RV Television and its included accessories, such as the remote control, power adapter, and various cables.
- 18.5'' ELED RV Digital TV
- Full Function Remote Control (requires 2 x 'AAA' batteries, included)
- Power Adapter (100/240V, 50/60Hz)
- Removable Base Stands
- User Manual (this document)
Setup
1. Attaching the Base Stand
If you intend to place the television on a flat surface, attach the included base stands. Align the stand with the designated slots on the bottom of the TV and secure it using the provided screws. Ensure the stand is firmly attached for stability.
2. Wall Mounting (Optional)
The television is compatible with universal VESA mounting standards (100mm x 100mm). If wall mounting, remove the base stands. Use a compatible VESA wall mount kit (sold separately) and follow the instructions provided with your wall mount. Ensure the wall can support the weight of the television (approximately 8.64 lbs).

Image: A person demonstrating the wall mounting process for the Pyle RV Television, highlighting its VESA compatibility.
3. Connecting External Devices
The television offers various input and output interfaces:

Image: A detailed view of the back panel of the Pyle RV Television, illustrating the various input and output ports available for connectivity.
- HDMI: For high-definition audio and video from devices like Blu-ray players, gaming consoles, or set-top boxes.
- CVBS (Composite Video Broadcast Signal) / RCA (L/R) Audio: For standard definition video and stereo audio from older devices.
- VGA/PC & PC Audio: To connect the TV as a monitor for a computer.
- RF (Antenna): To connect an antenna for receiving over-the-air broadcast signals.
- Coax (Digital) Audio Out: For digital audio output to a sound system.
- Headphones: For private listening.
- Line Out (Analogue) Audio: For analogue audio output to external speakers or sound systems.
- USB: For multimedia playback from USB storage devices.
Note: When connecting a coaxial cable for antenna input, a 90-degree adapter may be beneficial due to the placement of the speaker near the input port, as noted by some users.
4. Power Connection
Connect the power adapter to the DC IN port on the television and then plug the adapter into a standard electrical outlet (100-240V, 50/60Hz). For RV use, the TV supports 12V/24V car adapters.
Operating Instructions
1. Basic Controls
The television can be operated using the included remote control or the side panel buttons.

Image: Close-up of the side panel controls on the Pyle RV Television, indicating buttons for Play/Pause, Eject, Volume, Channel, Menu, Source, and Power.
- Power: Press to turn the TV On or Off.
- Volume (+/-): Adjusts the audio volume.
- Channel (+/-): Changes the TV channel.
- Source: Selects the input source (HDMI, AV, VGA, RF, USB, DVD).
- Menu: Accesses the On-Screen Display (OSD) menu for settings adjustments.
Note: Some users have reported a loud voice alert when turning the TV on/off or changing settings. This feature is internal and cannot be disabled or volume-adjusted.
2. DVD Player Operation
The television features a built-in slot-in DVD player. Insert a DVD disc into the slot on the side of the TV. The TV will automatically switch to the DVD source or you can select it manually using the 'Source' button. Use the remote control for playback functions (Play, Pause, Stop, Skip, Eject).

Image: A hand demonstrating the insertion of a DVD disc into the integrated slot-in DVD player on the side of the Pyle RV Television.
3. Display Modes and PC Compatibility
The TV supports various display modes including 16:9, 4:3, Zoom, and Cinema. These can be adjusted via the OSD menu. The television is compatible with both Mac and PC systems, allowing it to function as an external monitor.
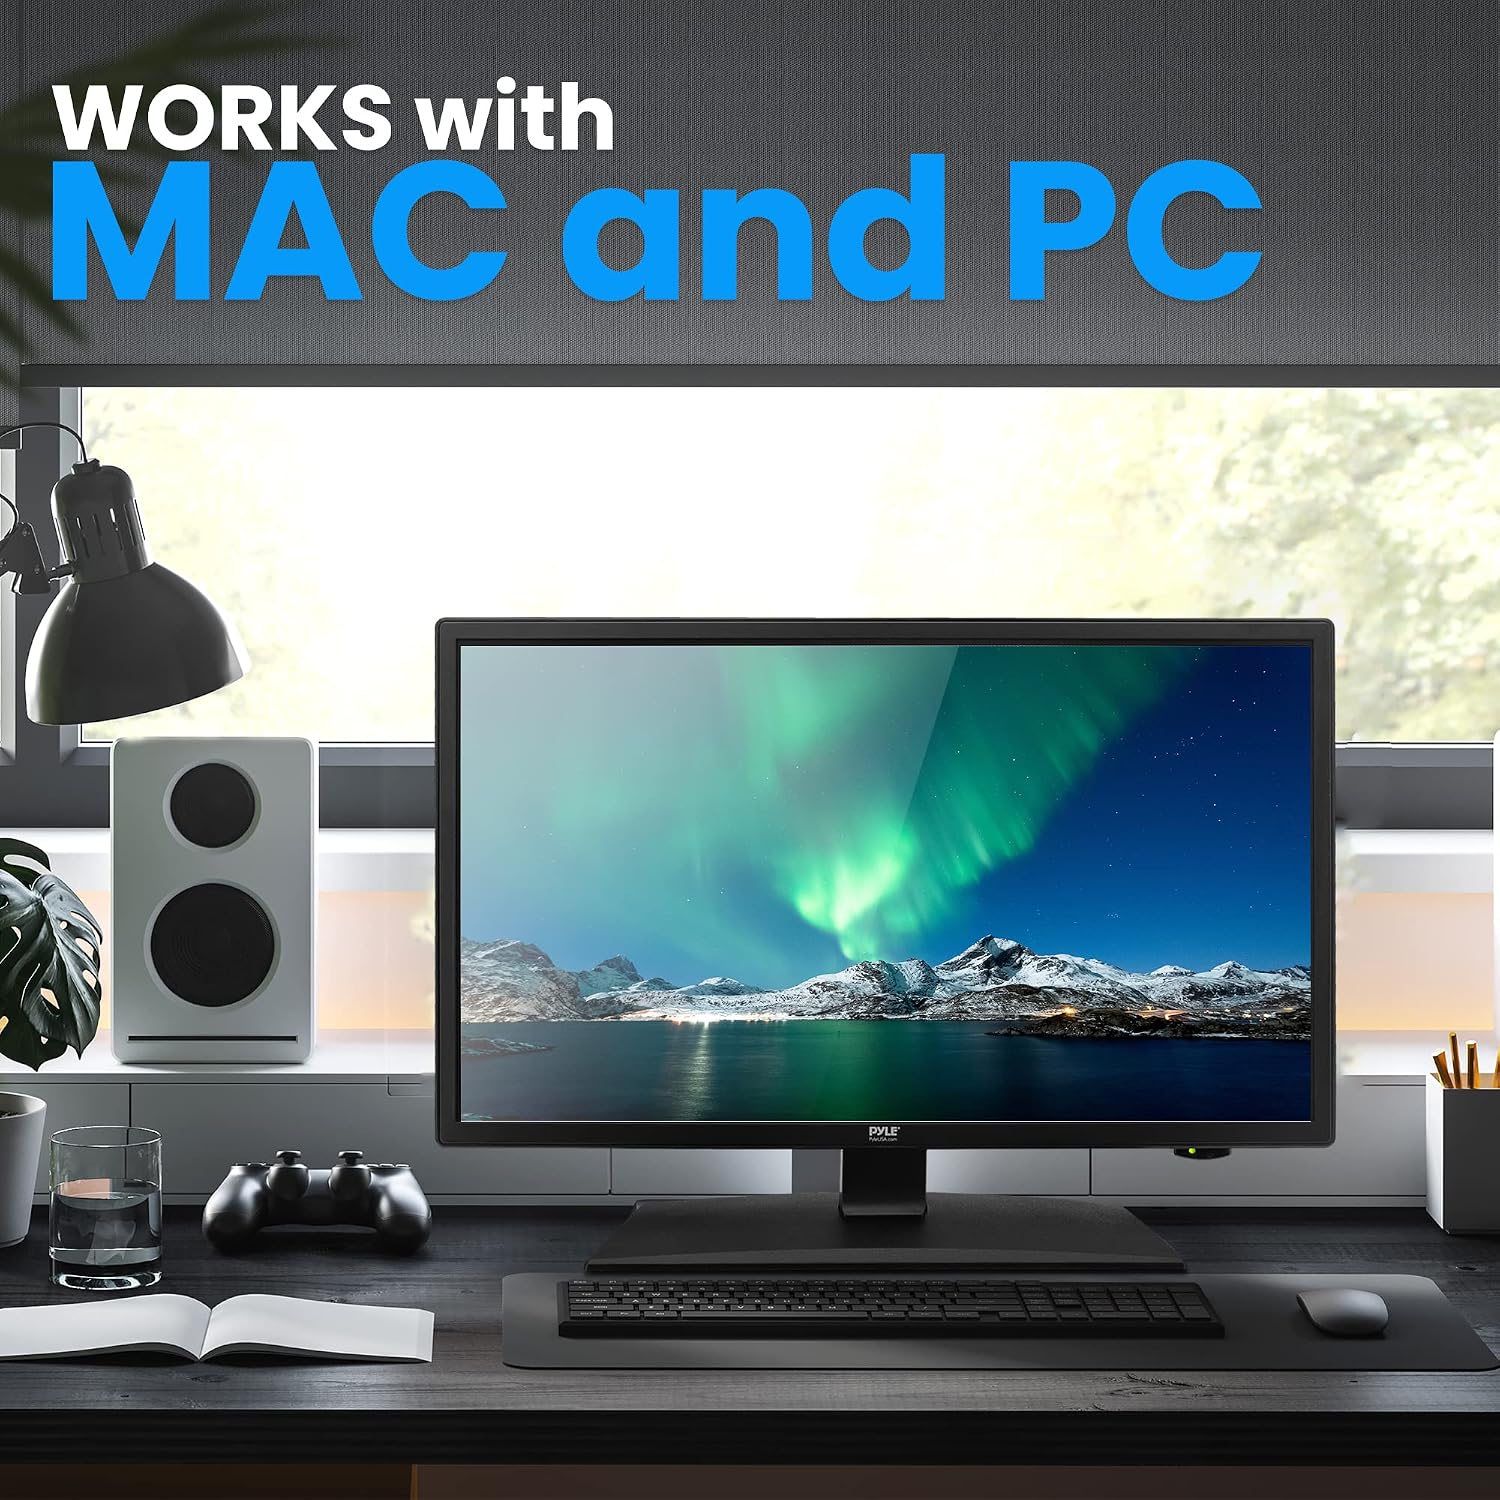
Image: The Pyle RV Television integrated into a desktop computer setup, illustrating its compatibility and use as a monitor for both Mac and PC systems.
4. Advanced Features
- V-Chip: Allows parental control over programming based on ratings.
- Closed Caption: Displays on-screen text of the audio portion of a program.
- Sleep Timer: Sets the TV to automatically turn off after a specified period.
These features can be accessed and configured through the TV's main menu.
Maintenance
- Cleaning: Use a soft, dry cloth to clean the screen and exterior. For stubborn marks, slightly dampen the cloth with water. Avoid harsh chemicals or abrasive cleaners.
- Ventilation: Ensure proper ventilation around the TV. Do not block ventilation openings.
- Storage: If storing the TV for an extended period, disconnect it from power and store it in a cool, dry place, protected from dust.
Troubleshooting
| Problem | Possible Cause / Solution |
|---|---|
| No Power / TV won't turn on |
|
| No picture / No signal |
|
| Poor sound quality / Tinny sound |
|
| DVD player not working |
|
| Remote control not responding |
|
Specifications
| Feature | Detail |
|---|---|
| Screen Size | 18.5 inches (Diagonal) |
| Display Type | E-LED Backlight |
| Display Resolution | 1366 x 768 Pixels (HD 768p) |
| Signal Support | 1080p, 1080i, 720p, 480p, 480i |
| Display Modes | 16:9, 4:3, Zoom, Cinema |
| Viewing Angle | 178° Vertical, 178° Horizontal |
| Speaker Power | (2) 3 Watt, 4Ω |
| Refresh Rate | 60Hz |
| TV Tuner | ATSC/NTSC |
| Response Time | 14ms |
| Max. Color | 16.7M |
| Contrast | 1000:1 (10,000:1 Dynamic) |
| Brightness | 200 cd/m2 |
| VESA Mounting | 100mm x 100mm |
| Power Input | 100/240V, 50/60Hz (supports 12V/24V car adapter) |
| Power Consumption | 36W |
| Product Dimensions (with Stand) | 17.17’’ x 6.3’’ x 12’’ -inches (L x W x H) |
| Product Dimensions (without Stand) | 17.17’’ x 1.8’’ x 10.2’’ -inches (L x W x H) |
| Weight | 8.64 lbs |

Image: A visual representation of the Pyle RV Television's dimensions, including width, height, and screen diagonal, along with its weight.
Warranty and Support
For warranty information and technical support, please refer to the official Pyle website or contact their customer service. The user manual PDF is also available for download here.
Pyle support is available in the U.S. for assistance with product inquiries and troubleshooting.