1. Introduction
This manual provides detailed instructions for the installation, operation, and maintenance of your Newgoal 1 Channel Smart WiFi Relay Switching Module. This wireless switch allows you to remotely control connected home appliances or electrical devices via the eWeLink app, Bluetooth, or voice commands through Amazon Alexa and Google Home. It supports various working modes to suit different applications.
2. Safety Information
Please read and understand all safety warnings and instructions before installing or operating this device. Failure to follow these instructions may result in electric shock, fire, or serious injury.
- Ensure power is disconnected at the circuit breaker before performing any wiring.
- All wiring should be performed by a qualified electrician or in accordance with local electrical codes.
- Do not exceed the maximum current and wattage ratings of the device (10A/2000W per channel, 16A/3500W total).
- This device is designed for indoor use only. Avoid exposure to moisture or extreme temperatures.
- The relay is a switch with no output; the power input (AC/DC) is only for the PCBA.
3. Product Overview
The Newgoal Smart WiFi Relay Switching Module is a compact device designed for smart home integration. It features a single channel relay for controlling electrical loads.

Figure 3.1: Newgoal 1 Channel Smart WiFi Relay Switching Module. This image shows the compact design of the smart relay module, highlighting its small form factor suitable for various installations.
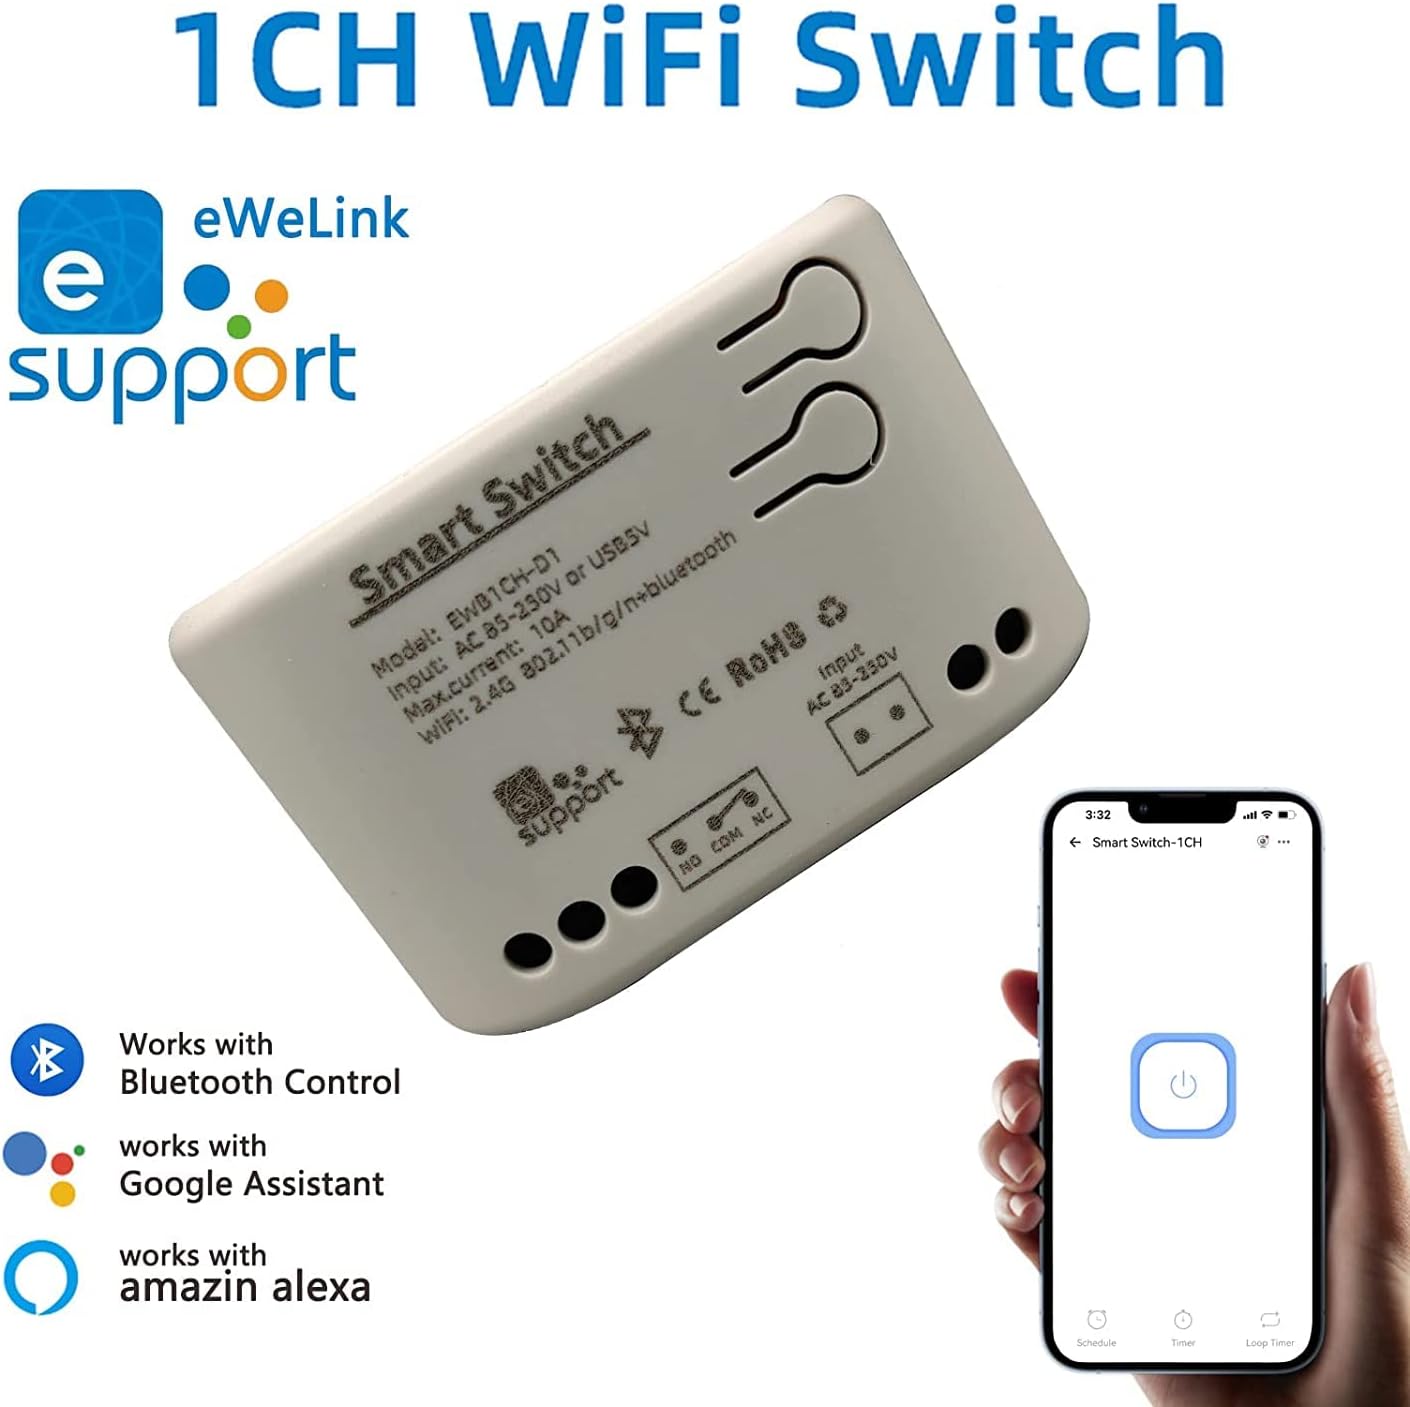
Figure 3.2: Module with eWeLink and Voice Assistant Compatibility. This image illustrates the module's compatibility with eWeLink, Bluetooth, Amazon Alexa, and Google Assistant, emphasizing its versatile control options.
Key Components:
- Relay: Controls the connected electrical load.
- Input Terminals (AC85V-250V or USB 5V): For powering the module.
- Output Terminals (NO, COM, NC): For connecting to the device to be controlled.
- Reset/Manual Switch Button: For pairing and manual control.
- Network Indicator/Power Indicator LED: Provides status feedback.

Figure 3.3: Internal Board and Wiring Diagram. This image displays the internal circuit board of the module, clearly labeling the input terminals (AC 85-250V, USB 5V), output terminals (NO, COM, NC), reset/manual switch, network indicator, and the relay component.
4. Specifications
| Parameter | Value |
|---|---|
| Input Voltage | AC85V-250V or USB 5V |
| Maximum Current (Single Channel) | 10A |
| Maximum Wattage (Single Channel) | 2000W |
| Total Power | 3500W/16A (for 4-channel models, not applicable to this 1-channel model's total) |
| Wireless Standard | Wi-Fi 2.4GHz b/g/n + Bluetooth |
| Remote Control Frequency | 2.4G (for optional wireless remote control) |
| Working Temperature | -20~70℃ |
| Body Material | Fire Retardant ABS |
| Dimensions | 73 x 46 x 30mm (2.76 x 1.77 x 1.18 inches) |
| Item Weight | 2.04 ounces |
| Contact Type | Normally Open |
| Number of Terminals | 2 (for relay output) |
| Model Number | NG8000006ew-RF |
| UPC | 735372698226 |
5. Setup
5.1 Wiring
Before wiring, ensure the power supply to the circuit is completely disconnected. Connect the module according to your application's requirements. The module can be powered by AC85V-250V or USB 5V. The relay output has Normally Open (NO), Common (COM), and Normally Closed (NC) terminals. Connect your device to be controlled to the COM and NO terminals for typical switching applications.
Refer to Figure 3.3 for a visual representation of the wiring terminals.
5.2 App Installation & Pairing
To control the module via your smartphone, you need to install the eWeLink app and pair the device.
- Download the eWeLink App: Search for "eWeLink" in your mobile device's app store (available for Android and iOS) and install it.
- Register/Log In: Open the eWeLink app and register a new account or log in with an existing one.
- Power On the Module: Connect the module to a power source (AC85V-250V or USB 5V). The network indicator LED should start blinking.
- Enter Pairing Mode: Press and hold the reset/manual switch button on the module for approximately 5-7 seconds until the network indicator LED blinks rapidly.
- Add Device in App: In the eWeLink app, tap the "+" icon to add a new device. Select "Quick Pairing Mode" or follow the on-screen instructions for Bluetooth pairing.
- Connect to Wi-Fi: Enter your 2.4GHz Wi-Fi network name and password when prompted. (Note: The device only supports 2.4G WiFi networks, not 5.0G WiFi).
- Complete Pairing: The app will search for and connect to the module. Once connected, you can rename the device and assign it to a room.
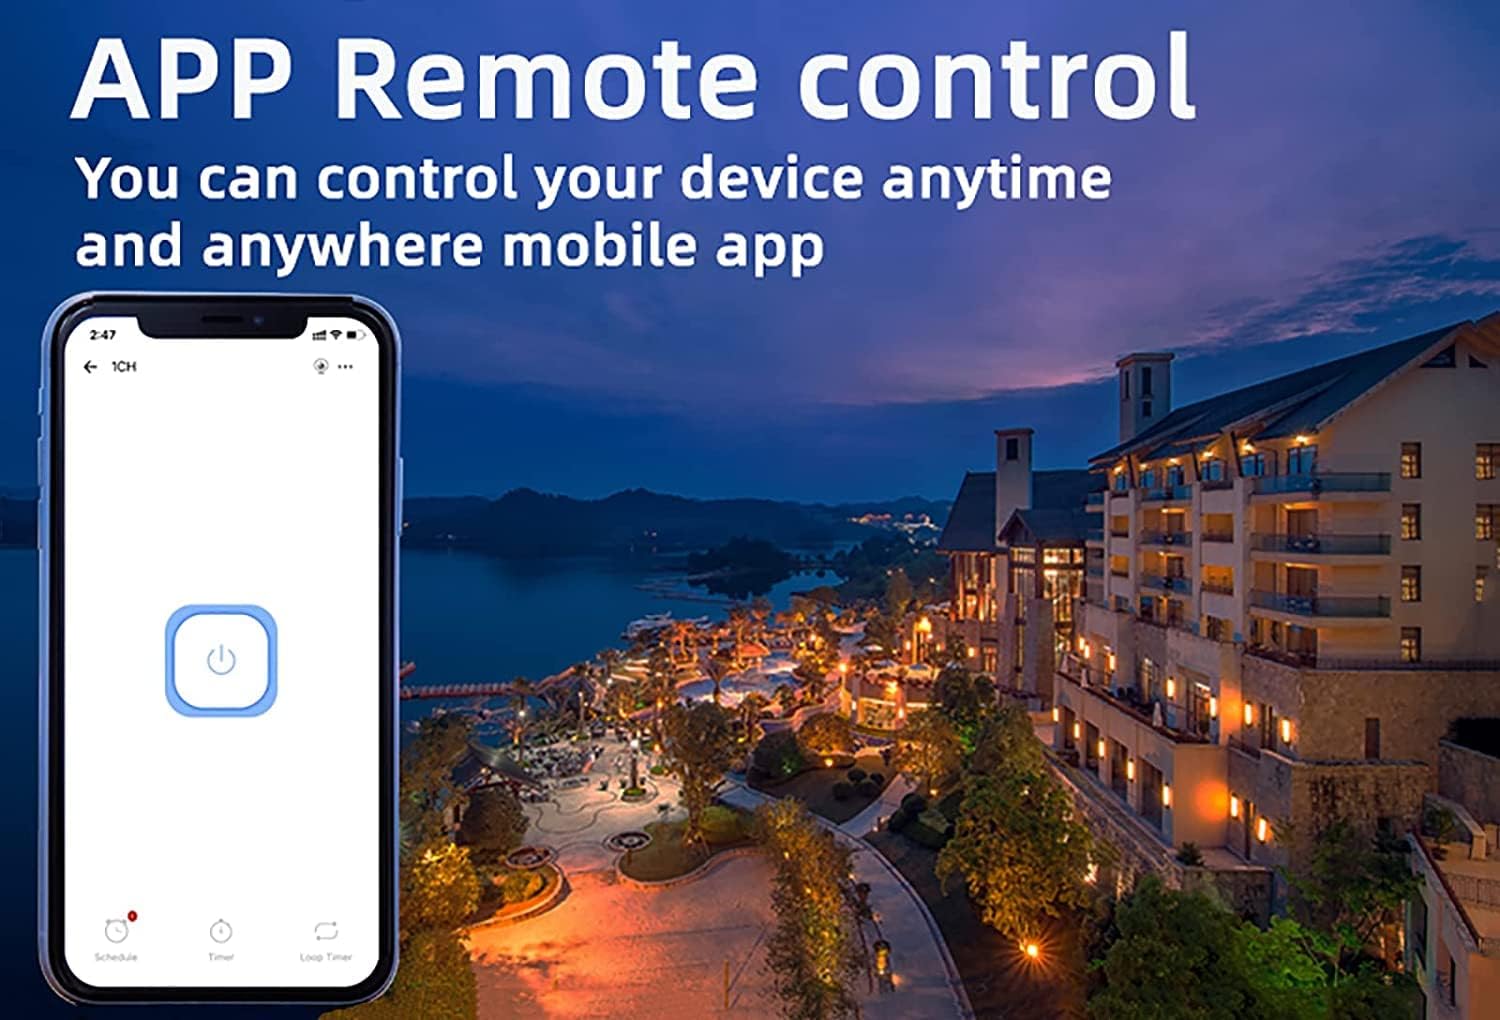
Figure 5.1: eWeLink App Remote Control. This image shows the eWeLink mobile application interface, demonstrating how users can remotely control their devices from anywhere.
6. Operating Instructions
6.1 Working Modes
The 1-channel relay module supports two primary working modes: Self-locking and Jog (Inching) mode. These modes can be configured within the eWeLink app.
- Self-locking Mode: In this mode, the relay acts like a traditional on/off switch. One tap turns the device on, and another tap turns it off. The state remains until manually changed.
- Jog (Inching) Mode: In this mode, the relay will automatically turn off after a set period (0.5 to 3600 seconds) once it's turned on, or automatically turn on after a set period once it's turned off. This is useful for momentary actions like garage door openers or pulse switches. The duration can be customized in the app.

Figure 6.1: Dual Mode Options: Self-locking and Inching. This diagram visually explains the difference between self-locking mode, where channels operate independently, and inching mode, which allows for customizable timed operations.
6.2 Remote Control & Voice Control
Once paired, you can control your device using the following methods:
- eWeLink App: Remotely turn devices on/off, set schedules, and manage groups from anywhere with an internet connection.
- Bluetooth Control: Control the device at close range even when your Wi-Fi network is disconnected.
- Amazon Alexa / Google Home: Integrate the module with your smart home ecosystem for convenient voice control. Follow the instructions within the Alexa or Google Home app to link your eWeLink account.
- 2.4G Wireless Remote Control: (Sold separately) For local control without needing a smartphone or internet connection.

Figure 6.2: Multiple Control Modes. This image illustrates the various ways to control the smart switch, including mobile app control, remote control, and manual control.
6.3 Device Sharing & Group Management
The eWeLink app allows for enhanced control and collaboration:
- Device Sharing: Share control of your smart relay with family members or other authorized users through the eWeLink app. This enables multiple mobile phones to control the same smart device.
- Group Management: Organize multiple eWeLink devices into groups for simultaneous control.
- Schedules/Timers: Set up schedules or countdown timers for automated on/off operations.

Figure 6.3: Sharing Function in eWeLink App. This image demonstrates the device sharing feature within the eWeLink app, allowing multiple users to control smart breakers from their mobile phones.
7. Maintenance
The Newgoal Smart WiFi Relay Switching Module requires minimal maintenance. Follow these guidelines to ensure optimal performance:
- Keep the device clean and free from dust. Use a soft, dry cloth for cleaning.
- Do not use liquid cleaners or aerosols.
- Ensure the module is installed in a well-ventilated area to prevent overheating.
- Regularly check wiring connections to ensure they are secure.
8. Troubleshooting
If you encounter issues with your Newgoal Smart WiFi Relay Switching Module, refer to the following common problems and solutions:
| Problem | Possible Cause & Solution |
|---|---|
| Device cannot connect to Wi-Fi / Flaky connectivity |
|
| Device is offline in eWeLink app |
|
| Voice control (Alexa/Google Home) not working |
|
| Inching mode time is not as expected |
|
| Manual switch button not responding |
|
9. Warranty and Support
Newgoal products are designed for reliability and performance. For specific warranty information and technical support, please refer to the documentation included with your purchase or contact Newgoal customer service directly. You can typically find contact information on the manufacturer's website or through your point of purchase.