1. Introduction
This manual provides essential information for the proper installation, operation, and maintenance of your AUTO-VOX Solar Panel, Model BCAM-AC-SOLAR4PANEL. This solar panel is designed to provide continuous power to your AUTO-VOX Solar4 Wireless Backup Camera, ensuring its battery remains charged for reliable performance in various vehicle applications, including cars, trucks, RVs, and trailers.
2. Product Features
- Exclusive Compatibility: Specifically designed to work with the AUTO-VOX Solar4 wireless backup camera only. It is not compatible with other solar series like Solar1 or TW1.
- High Energy Conversion: Utilizes multi-layered cell technology for a higher conversion efficiency of up to 23%, maximizing power generation from sunlight.
- Durable & Waterproof: Features a seamless, one-piece design with an IP67 waterproof rating, allowing it to withstand rain, fog, and other challenging weather conditions.
- Easy Installation: Equipped with a strong double-sided adhesive for secure placement on flat surfaces.
- Optimized Design: Lightweight and aesthetic, designed for aerodynamic installation to minimize wind resistance.
- Material: Constructed from Monocrystalline Silicon for enhanced performance and longevity.

This graphic details the advanced multi-layered cell technology of the solar panel, emphasizing its high efficiency (up to 21%), extended service life, resistance to corrosion, and lightweight, aesthetic design.
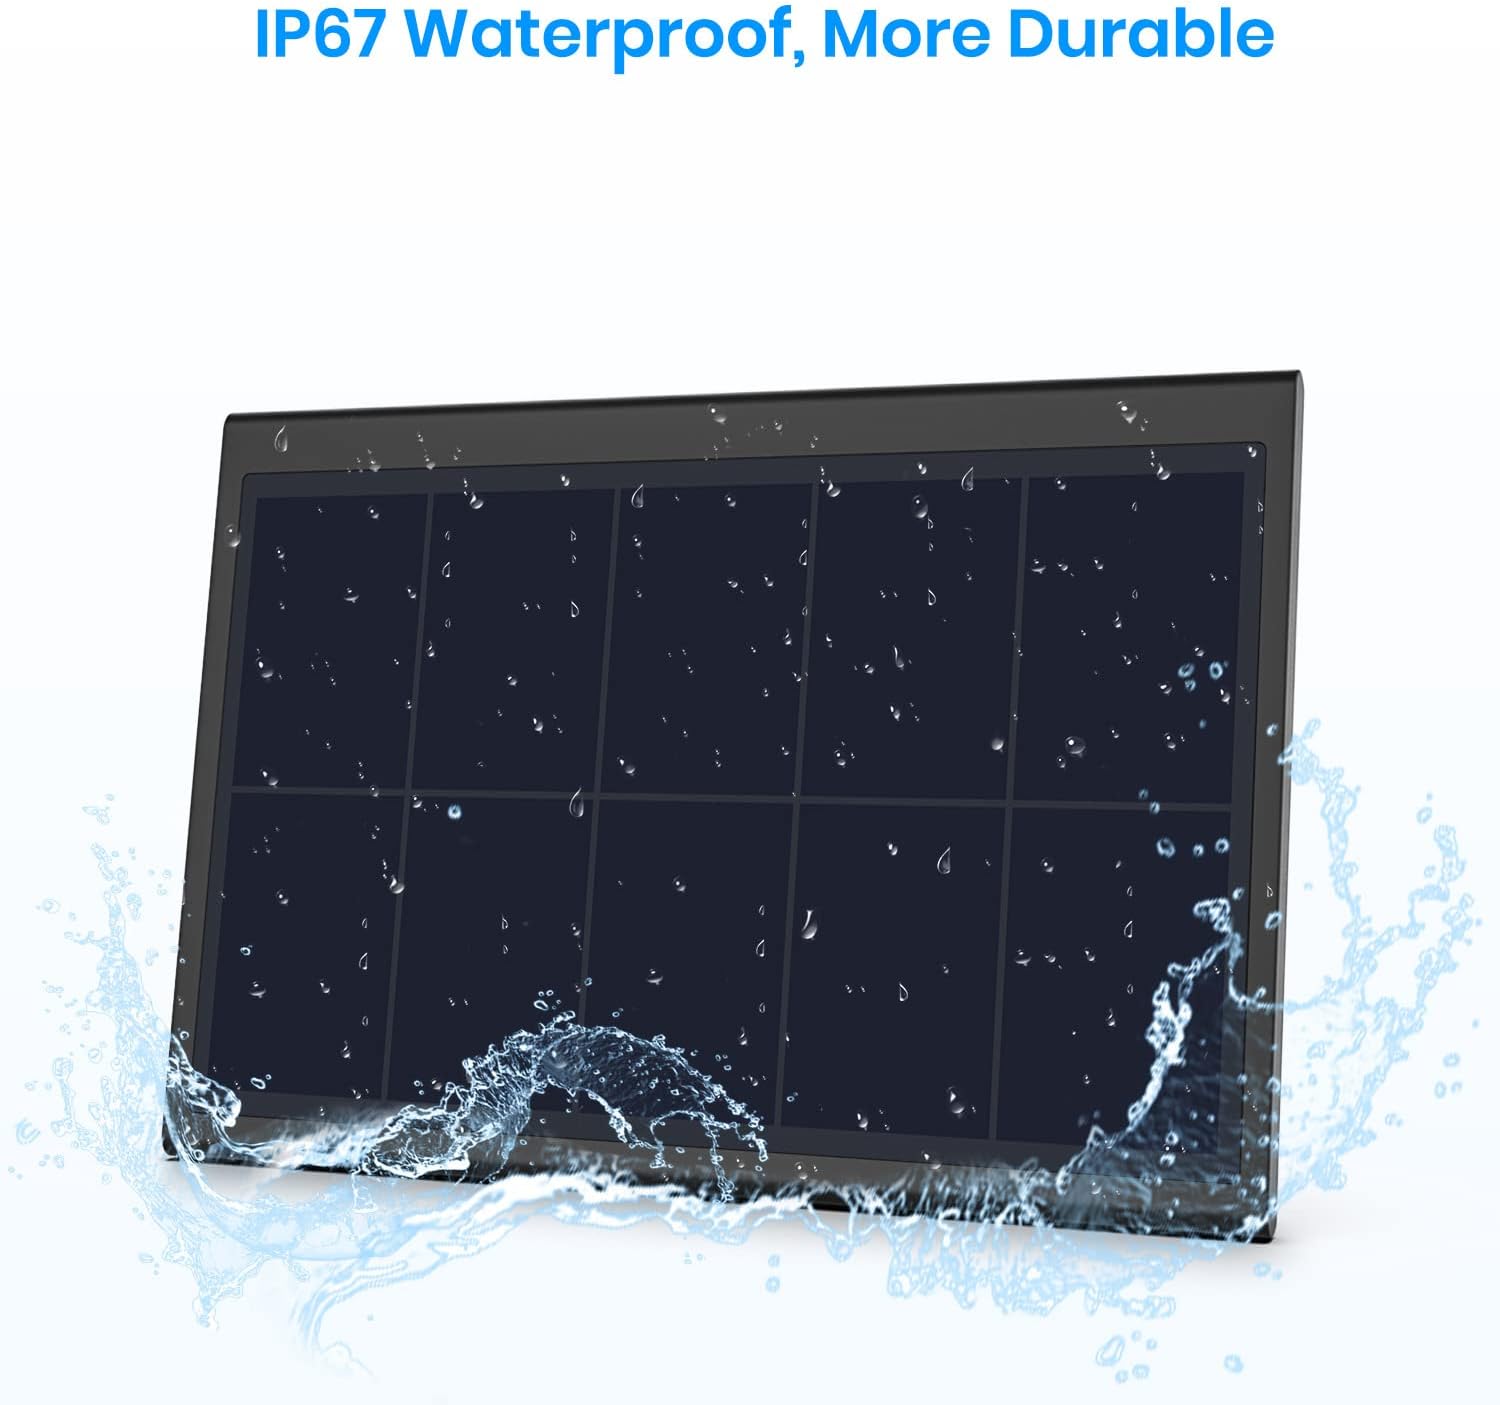
The image shows the solar panel being subjected to water splashes, visually confirming its IP67 waterproof and durable construction, suitable for various weather conditions.
3. Setup and Installation
Follow these steps to properly install your AUTO-VOX Solar Panel:
- Prepare the Surface: Ensure the installation surface on your vehicle (e.g., car, truck, RV, trailer roof) is clean, dry, and flat. This is crucial for the adhesive to bond effectively.
- Connect to Camera: Locate the power input port on your Solar4 wireless backup camera. Remove any existing plug from this port.
- Plug in Solar Panel: Connect the barrel plug from the solar panel cable into the camera's power input port. Ensure the cable is oriented downwards to prevent water from seeping into the connection.
- Position the Panel: Peel off the protective backing from the double-sided adhesive on the solar panel. Carefully position the panel on the prepared surface. For optimal aerodynamics and to prevent wind from lifting the panel, ensure the slanted edge of the panel faces forward (into the direction of travel).
- Secure the Panel: Press firmly on the solar panel for several seconds to ensure a strong and secure bond with the vehicle surface.
This video provides a visual guide to the AUTO-VOX Solar Panel, showcasing its features and demonstrating the simple steps for connecting it to the Solar4 wireless backup camera and mounting it on a vehicle. It highlights the importance of proper orientation for optimal performance and water resistance.

This diagram illustrates the recommended installation of the solar panel on a vehicle roof, such as an RV. It advises against installing the panel facing directly into the wind (upwind) to ensure secure attachment and optimal performance.
4. Operating Instructions
Once installed, the AUTO-VOX Solar Panel operates automatically:
- The solar panel will convert sunlight into electrical energy to charge the battery of your Solar4 wireless backup camera.
- Ensure the solar panel is exposed to direct sunlight as much as possible for optimal charging efficiency.
- The camera's battery level will be maintained, reducing the need for manual charging.

An AUTO-VOX Solar Panel is shown installed on the roof of an RV, illustrating its function in providing a continuous power supply to the wireless backup camera through solar charging.
5. Maintenance
To ensure the longevity and optimal performance of your solar panel, follow these maintenance guidelines:
- Cleaning: Regularly clean the surface of the solar panel with a soft, damp cloth to remove dust, dirt, and debris. A clean surface ensures maximum sunlight absorption and charging efficiency.
- Connection Check: Periodically inspect the connection between the solar panel and the camera to ensure it remains secure and free from corrosion.
- Adhesive Check: Occasionally check the adhesive bond to the vehicle surface, especially after extreme weather conditions or long trips, to ensure the panel remains firmly attached.
6. Troubleshooting
If you encounter issues with your solar panel, consider the following:
- Camera Not Charging:
- Ensure the solar panel is receiving direct sunlight and is not obstructed by dirt, snow, or shadows.
- Verify that the connection cable between the solar panel and the camera is securely plugged in.
- Clean the solar panel surface as described in the Maintenance section.
- Panel Not Sticking Securely:
- Re-evaluate the installation surface. It must be clean, dry, and flat for the adhesive to work properly.
- Ensure sufficient pressure was applied during initial installation.
7. Specifications
| Brand | AUTO-VOX |
| Model Number | BCAM-AC-SOLAR4PANEL |
| Material | Monocrystalline Silicon |
| Efficiency | Up to 23% |
| Waterproof Rating | IP67 |
| Dimensions (L x W) | 5.31 inches x 3.74 inches |
| Connector Type | Barrel Plug (for Solar4 Camera) |
| Amperage Capacity | 5000 Milliamps |

This image displays the AUTO-VOX Solar Panel, highlighting its dimensions of 5.31 inches in length and 3.74 inches in width. It is specifically designed for use with the Solar4 wireless backup camera.