1. Introduction
This manual provides detailed instructions for the setup, operation, and maintenance of the Flysky FGr8B 2.4GHz 8-channel remote control receiver. The FGr8B receiver utilizes Flysky's third-generation Automatic Frequency Hopping Digital System (AFHDS 3) protocol, ensuring reliable communication for RC car and boat applications. It is compatible with all AFHDS 3 transmitters and RF modules, including models such as PL18, Noble NB4, NB4 Lite, and FRM302.
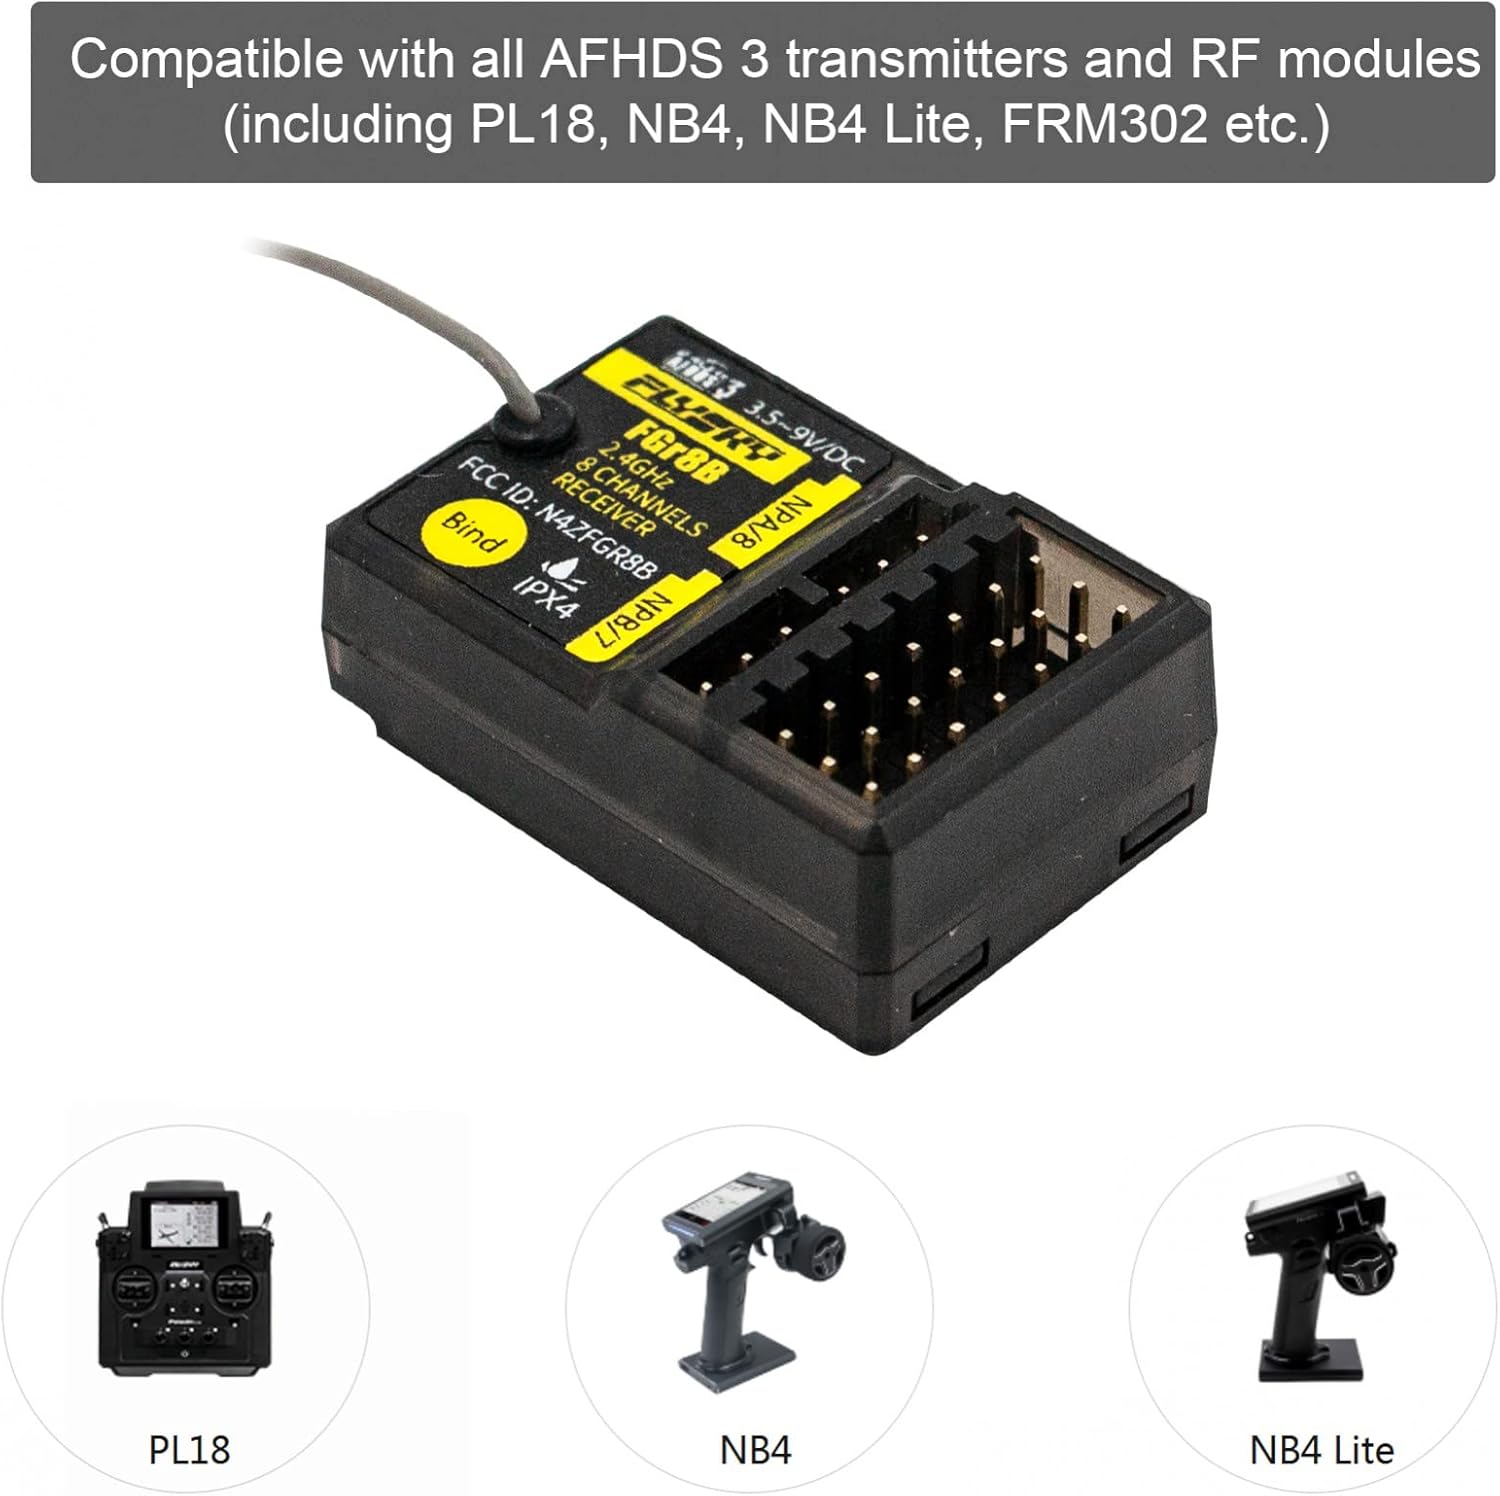
Image 1.1: The FGr8B receiver highlighting its compatibility with AFHDS 3 transmitters like PL18, NB4, and NB4 Lite.
2. Product Overview
The FGr8B is a compact and lightweight 8-channel receiver designed for various RC models. It features a single antenna for signal reception and multiple output ports for PWM, PPM, and i-Bus signals.
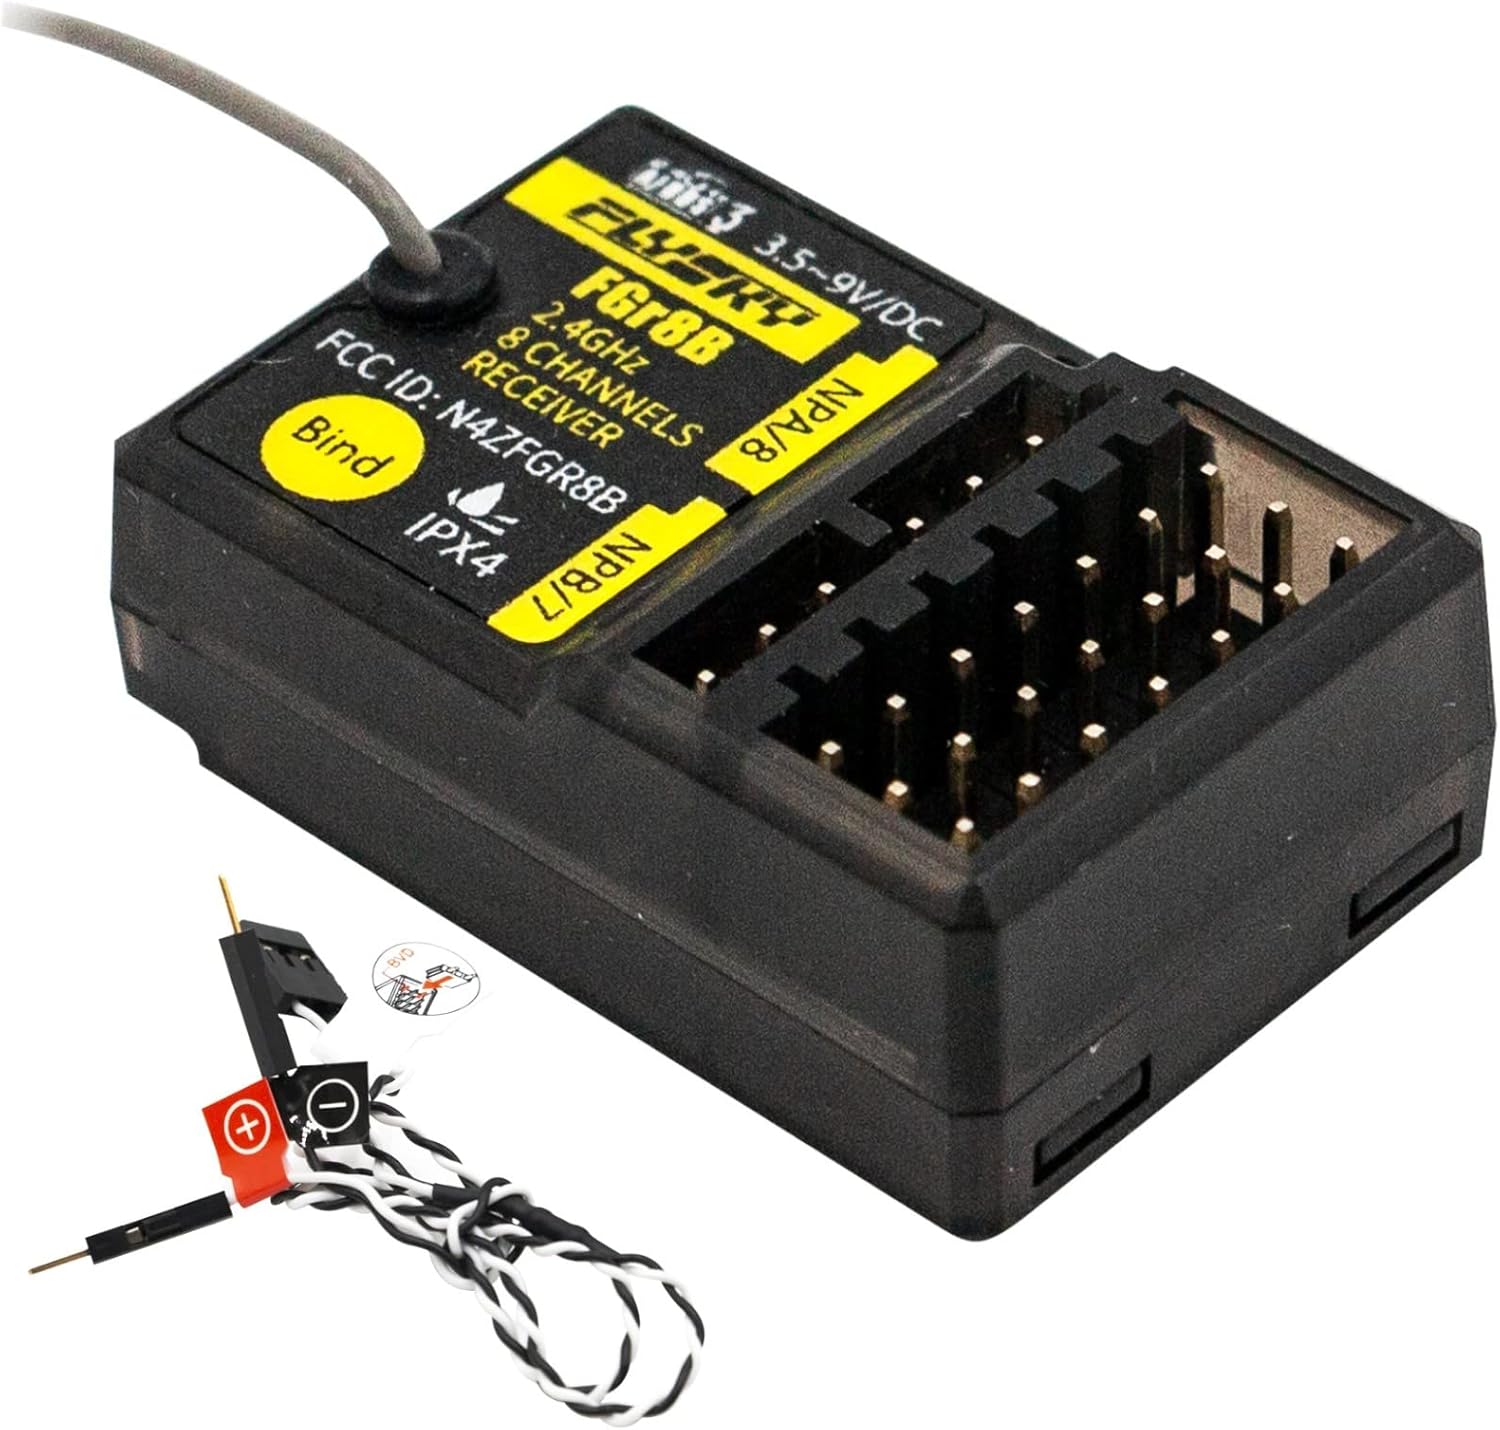
Image 2.1: A clear view of the Flysky FGr8B receiver, showing its main body, antenna, and connection ports.
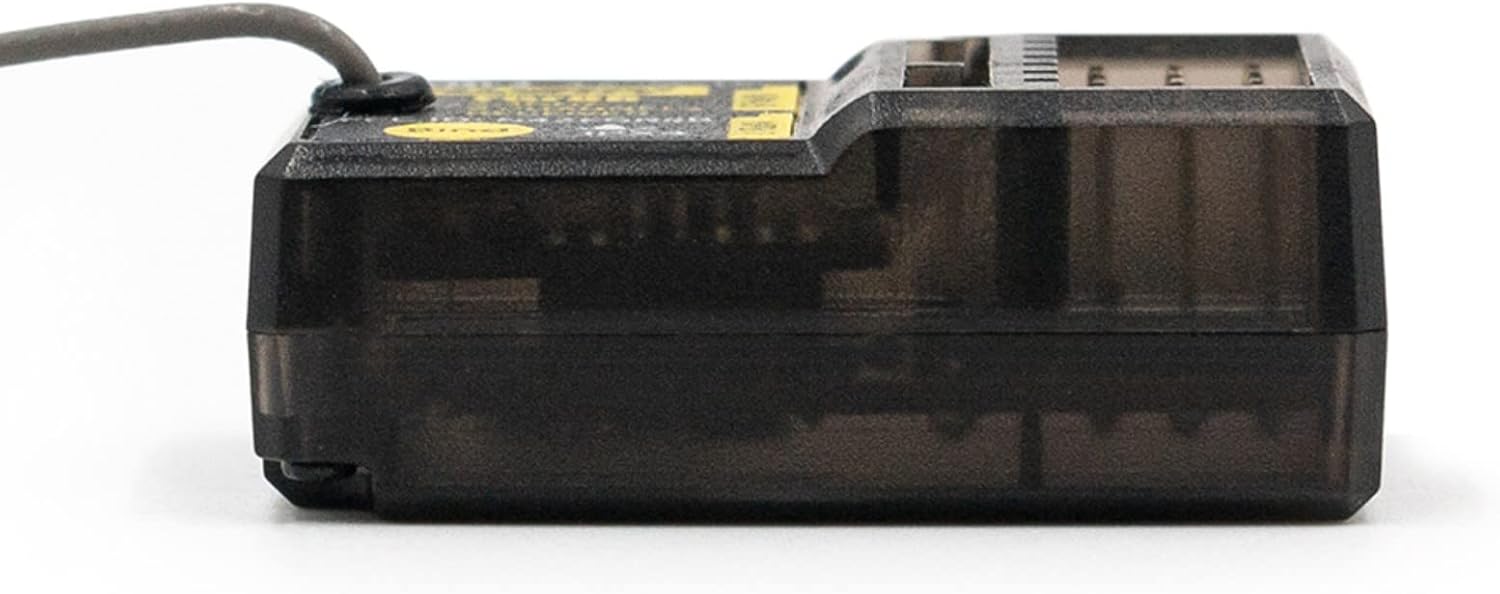
Image 2.2: Side profile of the FGr8B receiver, illustrating its compact design.
2.1 Component Identification
Refer to the diagram below for identification of the receiver's components and pin assignments.

Image 2.3: Detailed diagram of the FGr8B receiver, showing the layout of PWM/PPM/i-Bus channels, power input, BIND button [11], and LED indicator [12].
- [1] CH1 (PWM/PPM)
- [2]-[4] CH2-CH4
- [5] CH5 (NPD)
- [6] CH6 (NPC)
- [7] CH7 (NPB)
- [8] i-bus in (CH8/NPA)
- [9] VCC/BVD (Battery voltage detection power supply interface)
- [10] Antenna
- [11] BIND button
- [12] LED indicator
- [13] S (Signal Pin)
- [14] + (Positive power terminal)
- [15] - (Power ground)
- [16] BVD harness
- [17] Connect to battery positive pole
- [18] Connect to battery negative pole
Note on BVD and i-bus/s.bus: The added new NPA/B/C/D and BVD functions will be available with the release of a new firmware update in November 2020. The BVD harness [16] will not function until the new firmware has been installed. The i-bus/s.bus terminal will be replaced with the CH8 (NPA) function after the firmware upgrade.
3. Specifications
| Product Model | FGr8B |
| Adaptive Transmitters | All transmitters supporting AFHDS3 (e.g., PL18, NB4, NB4 Lite) |
| Model Type | Car, Boat, etc. |
| PWM Channels | 8 |
| RF Frequency | 2.4GHz |
| 2.4G Protocol | AFHDS 3 |
| Antenna | Single Antenna |
| Input Power | 3.5-9V |
| Data Output | PWM, PPM, i-Bus |
| Temperature Range | -10℃ to +60℃ |
| Humidity Limit | 20%-95% |
| Dimensions (L*W*H) | 35mm * 23.3mm * 13.3mm (1.37in * 0.91in * 0.52in) |
| Weight | 9.4g |
| Certification | CE, FCC ID: N4ZFGR8B |
Image 3.1: The FGr8B receiver with its physical dimensions indicated.
4. Setup
4.1 Binding Instructions
The binding process establishes a secure connection between your FGr8B receiver and a compatible AFHDS 3 transmitter.
- Prepare Transmitter: Put your transmitter into bind mode. Refer to your transmitter's user manual for specific instructions on how to activate bind mode.
- Power On Receiver in Bind Mode: Press and hold the BIND button [11] on the receiver while powering it on. Release the BIND button after the receiver is powered on. The LED [12] on the receiver will flash rapidly.
- Observe LED Indicator: The binding process is complete when the LED [12] on the receiver stops flashing and remains continuously on.
- Special Case (AFHDS3 1-way): If your transmitter's radio frequency (RF Standard) is set to "AFHDS3 1 way" and it enters bind mode, the receiver LED will flash slowly instead of rapidly. Exit bind mode on the transmitter. If the receiver LED then stops flashing and remains continuously on, the binding process is complete.
- Verify Functionality: After binding, check to ensure the transmitter and receiver functions are working correctly. If any problems arise, repeat steps 1 to 3.
5. Operating
Once successfully bound, the FGr8B receiver will respond to commands from your paired transmitter. Ensure all connections to servos, ESCs, and other components are secure and correctly oriented according to their respective manuals. Always perform a range check before operating your RC model to confirm signal integrity.
6. Maintenance
To ensure optimal performance and longevity of your FGr8B receiver, follow these general maintenance guidelines:
- Keep the receiver clean and free from dust, dirt, and moisture.
- Avoid exposing the receiver to extreme temperatures or direct sunlight for extended periods.
- Regularly inspect all wiring and connections for signs of wear or damage.
- Ensure the antenna is not kinked or damaged, and is positioned for optimal signal reception.
7. Troubleshooting
7.1 Forced Firmware Update
If a firmware update has been performed on your transmitter and it is subsequently unable to bind to the receiver, the receiver may need to be put into a forced update mode.
- Activate Forced Update Mode: Power on the receiver while pressing the BIND button [11]. Continue holding the BIND button for approximately ten seconds until the LED [12] flashes three times. Release the BIND button.
- Initiate RX Update on Transmitter: Go to the RX Setup menu on your transmitter and select the "RX Update" option.
- Confirm Update Success: The update is successful when the receiver LED [12] flashes slowly.
8. Package Contents
The FGr8B receiver package typically includes:
- 1 x FGr8B Receiver
9. Warranty and Support
For warranty information and technical support, please refer to the official HTLNUZD or Flysky website, or contact your authorized dealer. Keep your purchase receipt as proof of purchase for any warranty claims.